Give your friends $10 off their first order!
Refer a FRIEND








A project from our live show ONE DAY SPECIAL - Join Toni for her brand new release - Broadcast 23rd August 24 · 08/23/2024 · watch it from 12:00
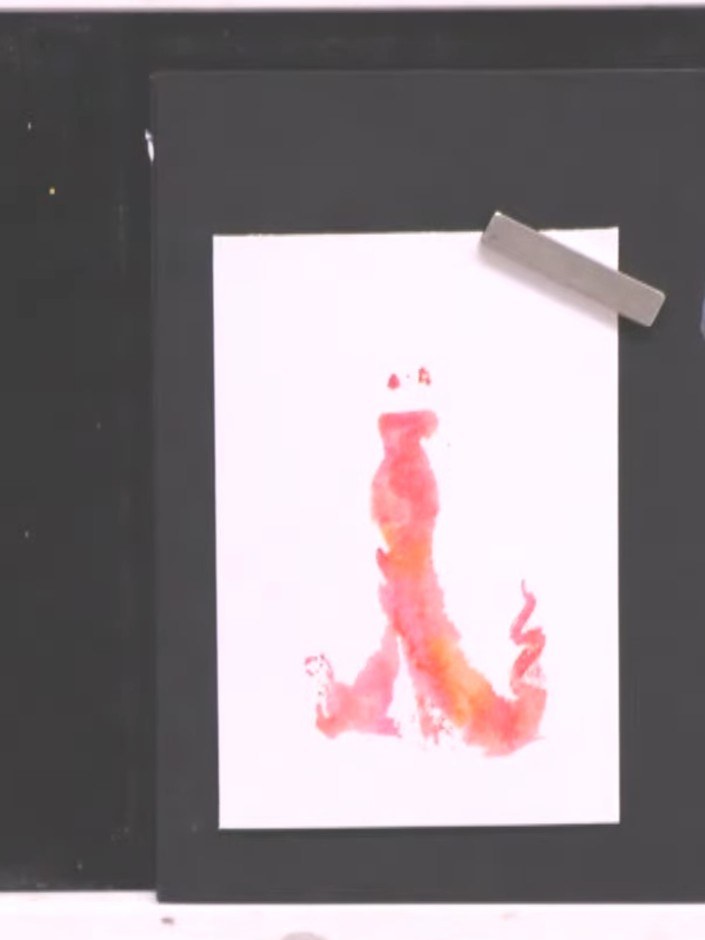
Create a stunning watercolour gown card using the innovative two-part lamination stamp system. Stamp the solid portion in vibrant pink and coral tones, spray with water to blend the colours beautifully, then add the detailed outline stamp in black ink for definition. The result is an elegant card with a gorgeous watercolour effect that looks hand-painted.
 A5 Stamp - Lamination - One of a Kind - 240424ESEE IT
 Stamps By Me - Premium Hybrid Ink - Midnight - 121022NSEE IT
 Stamps By Me - Premium Pigment Ink Pure White - Cotton - 121022MSEE IT
 Stamps By Me - White Blank Cards & Envelopes 6 X 8 - 240323FSEE IT
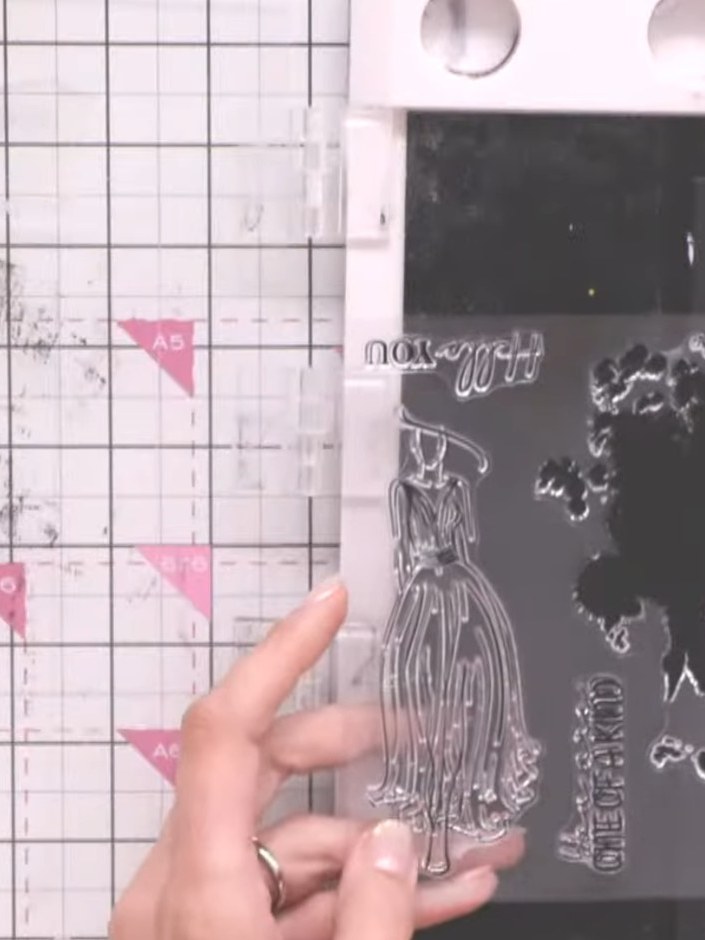
Take the solid portion of the lamination gown stamp and ink it with the corner of your ink pad in your first colour. Use the Midnight hybrid ink to apply colour to the dress stamp.
▶ watch this step (13:00)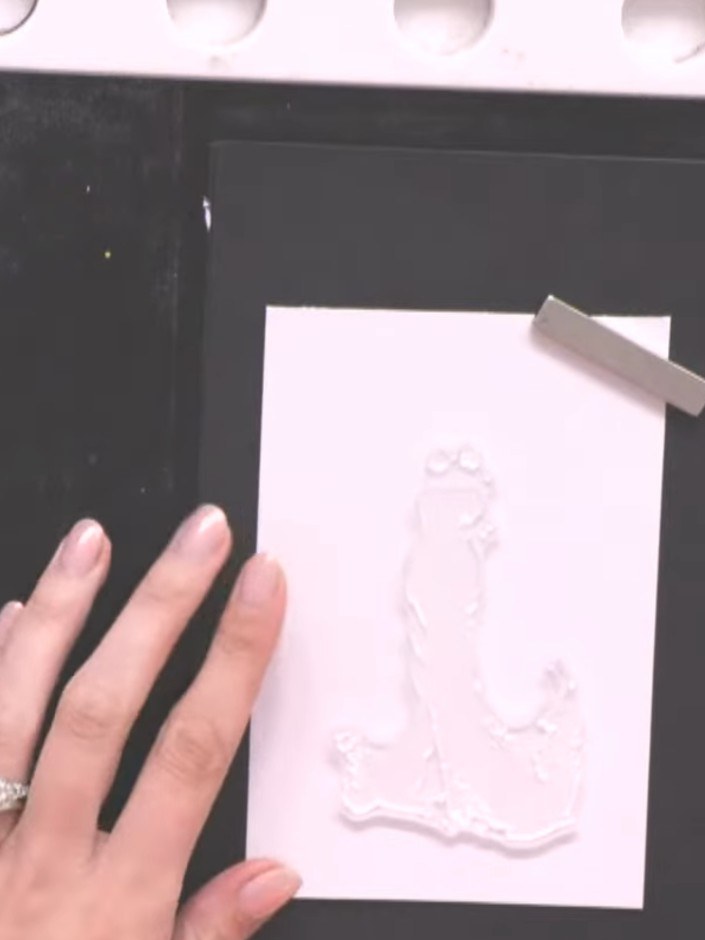
Spot a second colour onto the stamp in different areas to create an ombre effect. Move the stamped card aside to set.
▶ watch this step (13:15)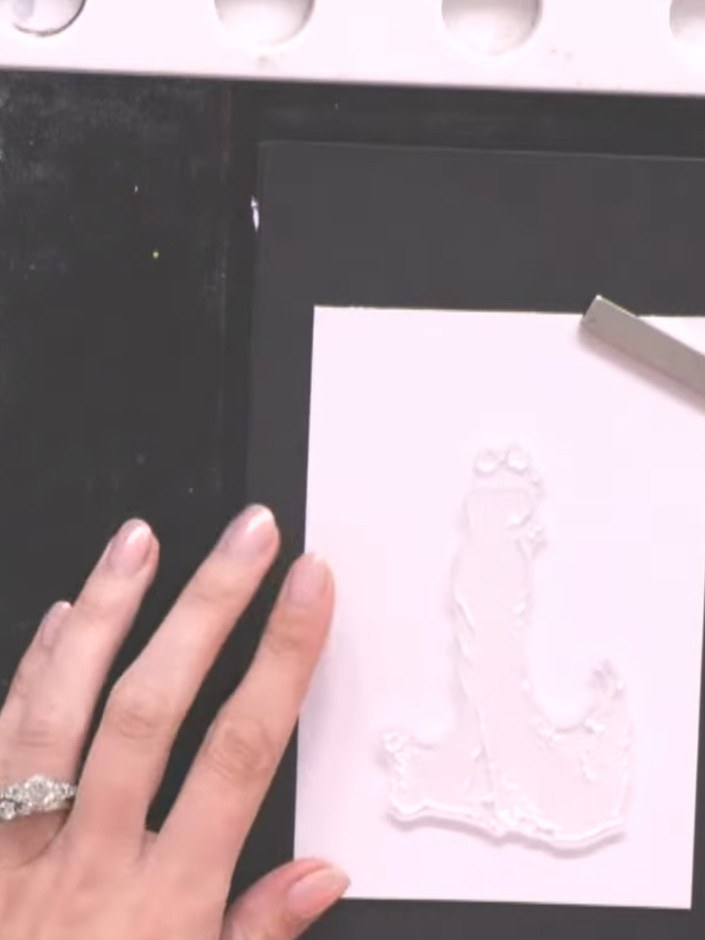
Stamp the inked gown image onto your white card blank, positioning it centrally with space at the top for the head detail. Use the pink ink pad to create the impression.
▶ watch this step (13:30)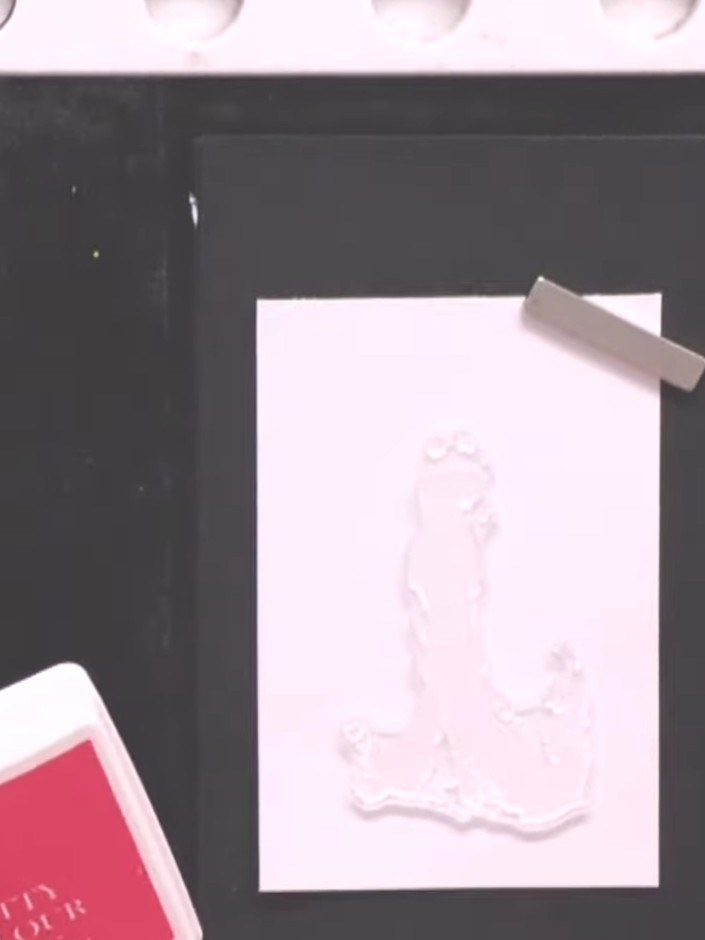
Spray the stamped image two or three times with water from a spray bottle to blend and bleed the pink and purple colours together.
▶ watch this step (13:45)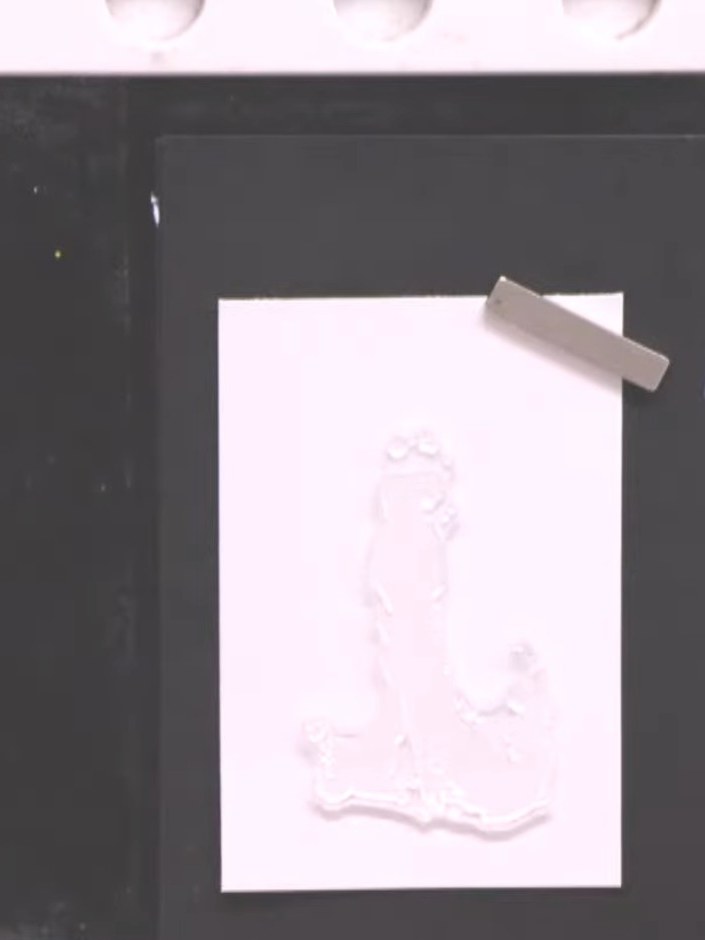
Allow the watercolour to dry slightly, then open the card to reveal the blended ombre effect on the inside.
▶ watch this step (14:00)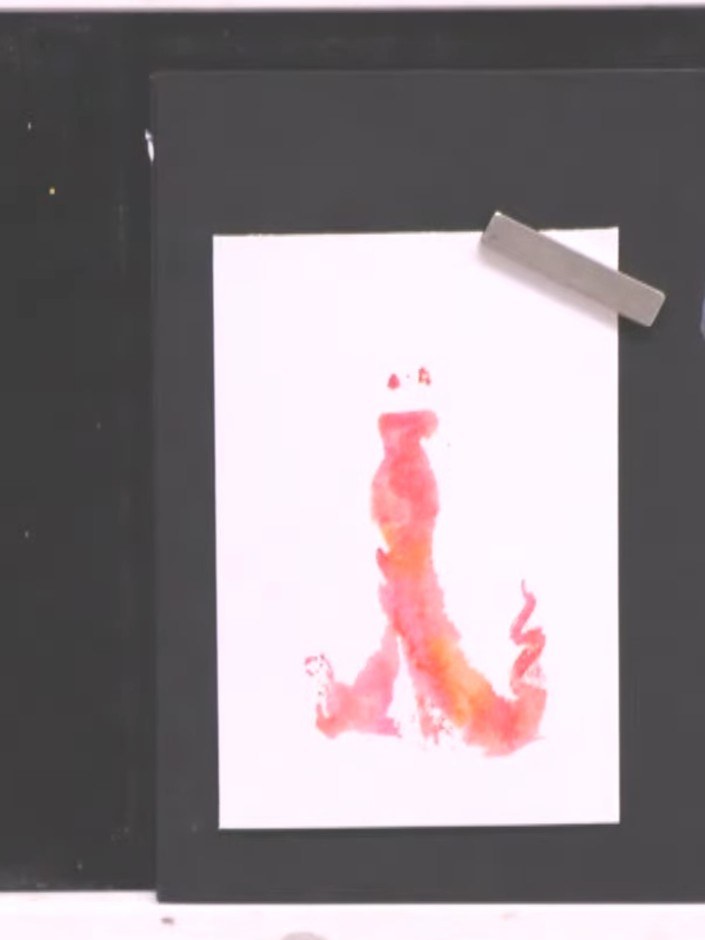
Clean the stamp thoroughly with a cloth and dry it completely before using the outline portion. Ensure all the watercolour ink is removed from the stamp surface.
▶ watch this step (14:30)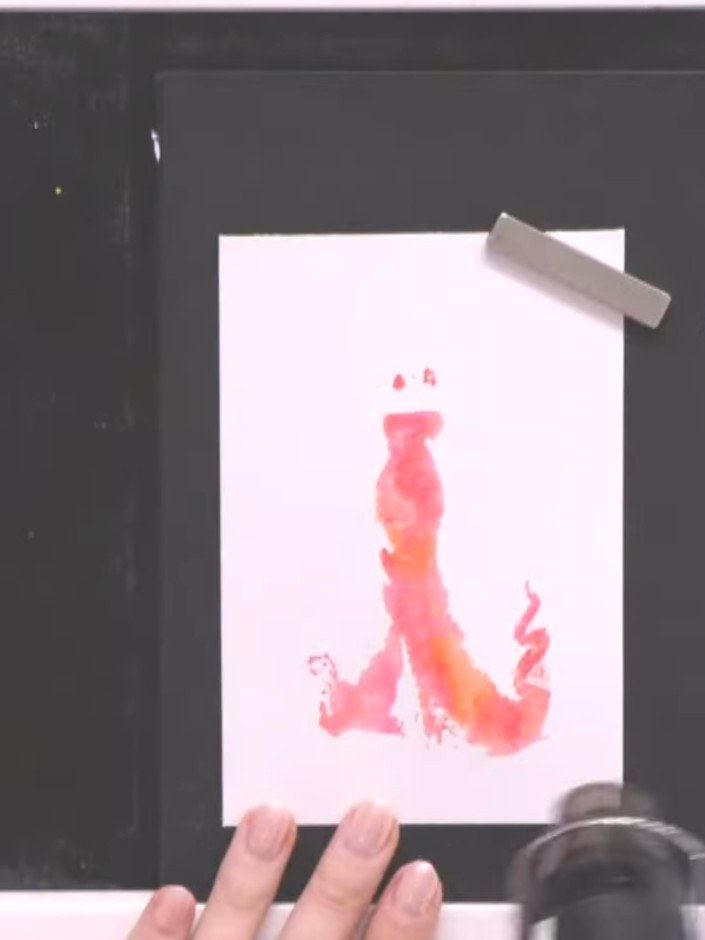
Using the packet visual as a reference, position the brayer over the stamped gown image to align where the detail lines should appear on your card.
▶ watch this step (15:00)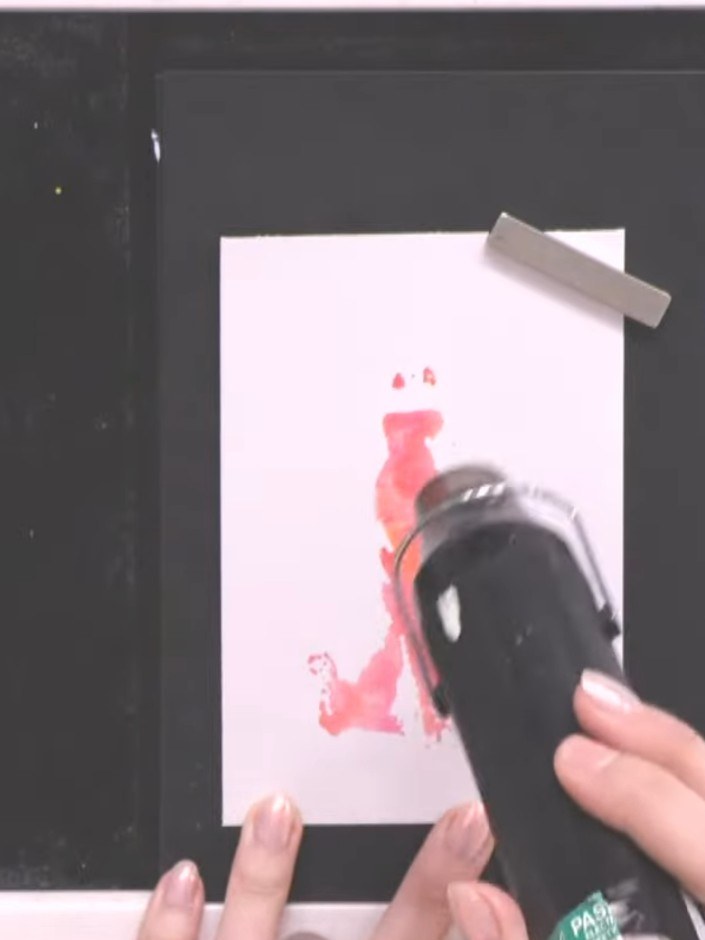
Ink the detailed outline stamp in black ink. Carefully position it over the watercoloured gown, aligning it with the earrings and other details, then stamp to add the fine details.
▶ watch this step (15:15)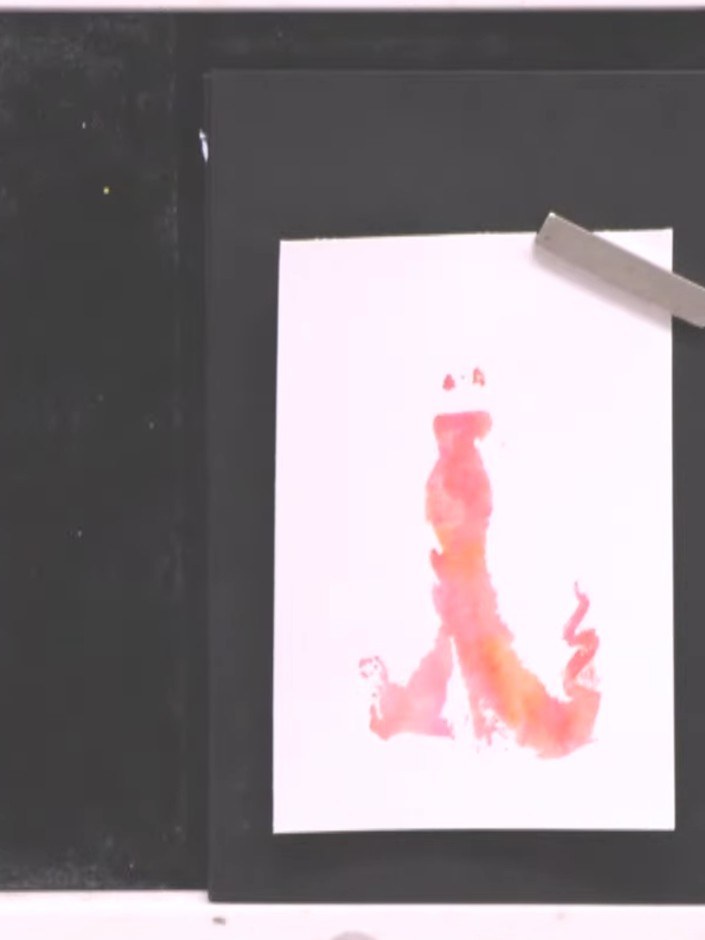
Stamp the outline of the gown firmly over the watercoloured image to complete the lamination effect. Ensure the stamp is aligned with the coloured areas beneath.
▶ watch this step (15:30)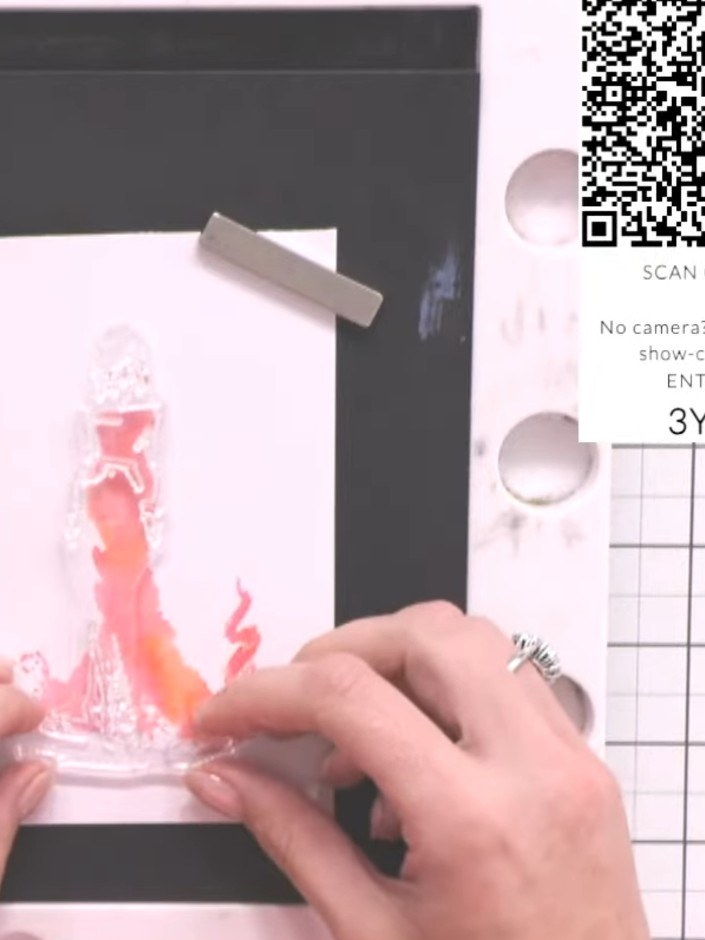
Add a sentiment strip to the bottom of your card. Use the blending tool to add any final decorative details, such as colour to the ears of the figure.
▶ watch this step (16:00)Written up from the show itself. See every guide from our shows · free how-to guides · watch live on My Telly