Give your friends $10 off their first order!
Refer a FRIEND








A project from our live show QVC.DE Produktvorschau – Ausstrahlung am 24. August · 08/24/2024 · watch it from 13:30
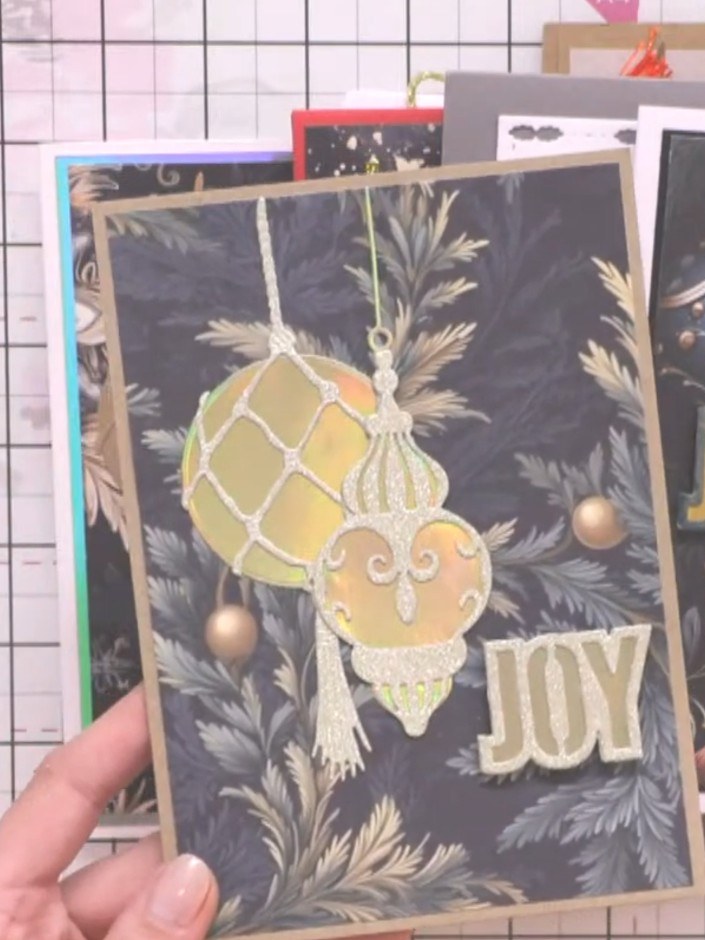
Create a stunning festive card featuring layered die-cut baubles in sparkly mirror board and coordinating papers. This luxurious design showcases dimensional ornaments with elegant word sentiments including 'Noel', 'Joy' and 'Sparkle'. The multi-layered technique creates beautiful depth and shimmer for a truly special Christmas card.
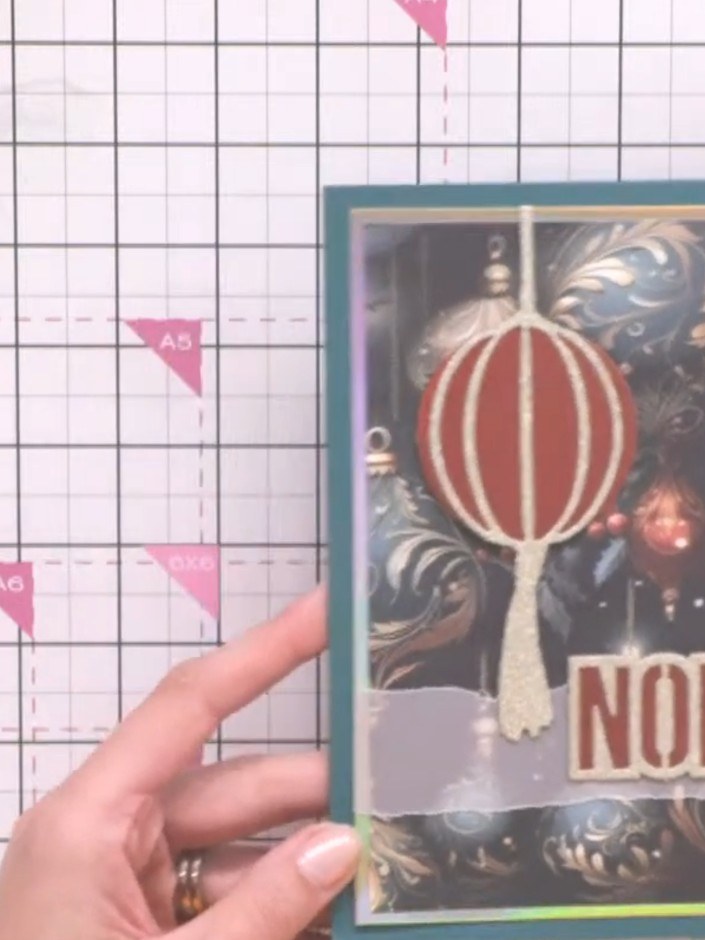
Select a 5x7 inch or A2 card blank in your chosen colour as your base. This will form the foundation for your layered Christmas card.
▶ watch this step (13:30)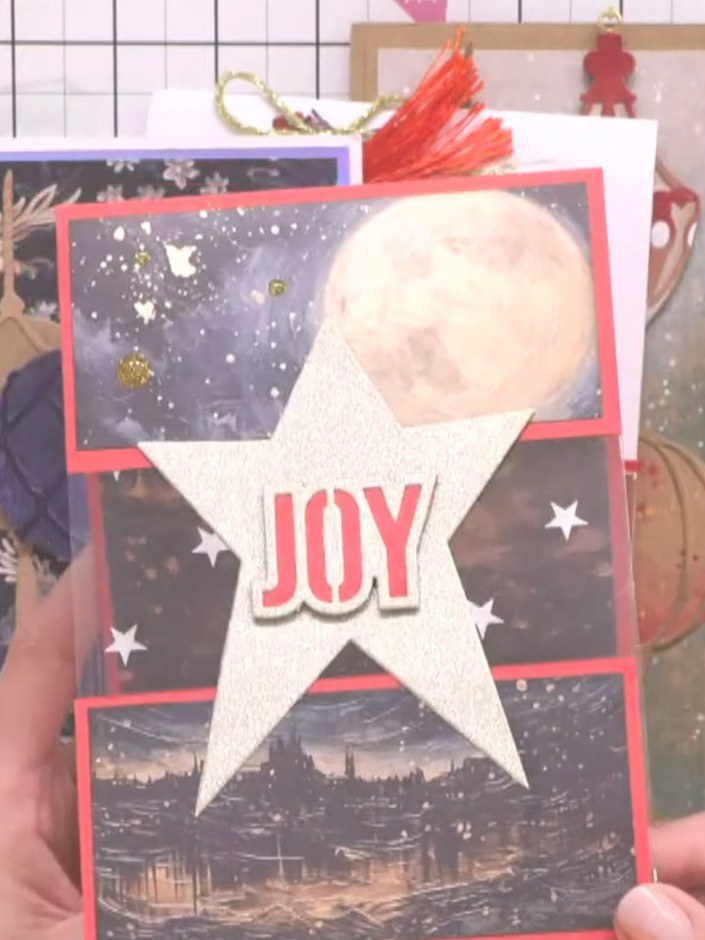
Cut out the bauble designs from the festive baubles paper pad using the coordinating dies. Select your favourite designs to feature on your card.
▶ watch this step (13:45)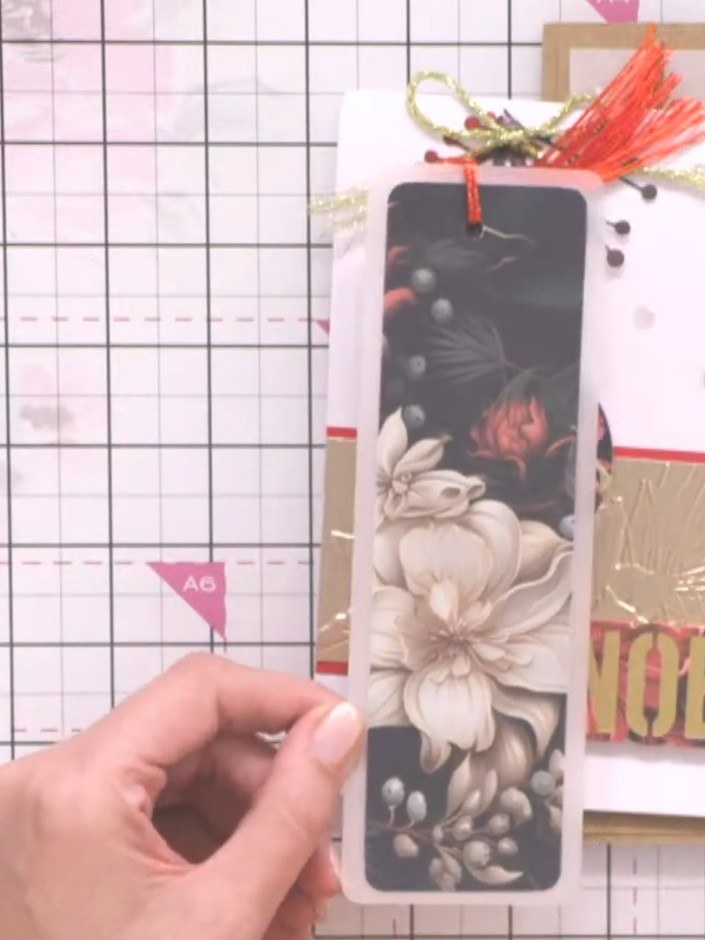
Layer your bauble cut-outs onto mirror board or sparkly card stock to add dimension and sparkle to your design.
▶ watch this step (13:50)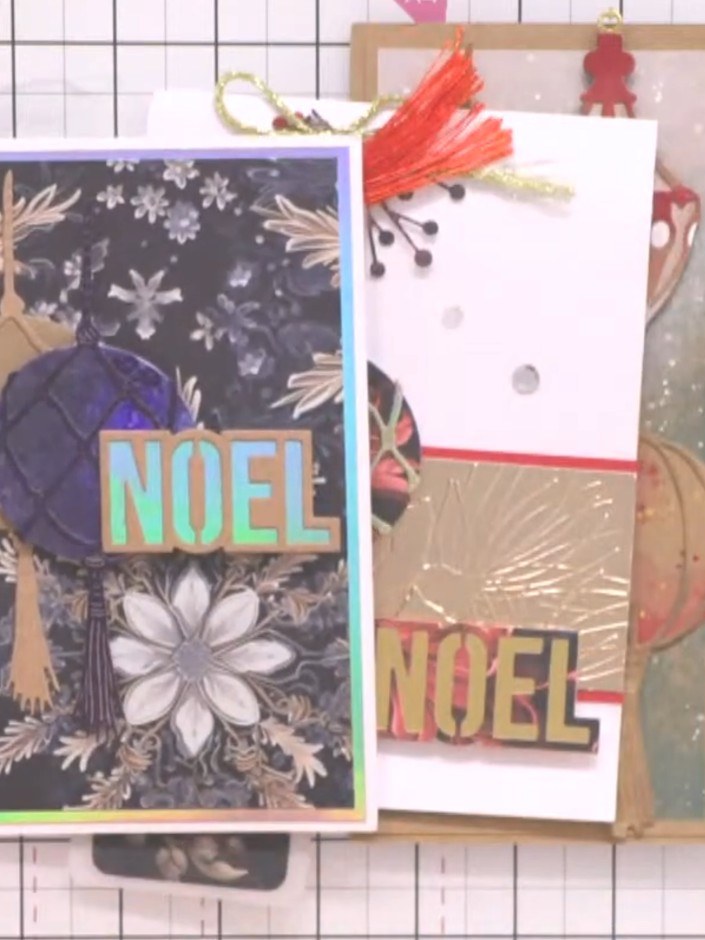
Adhere the layered word die-cuts onto the lower panel of your card. Position the sentiment word centrally to create depth and dimension.
▶ watch this step (14:15)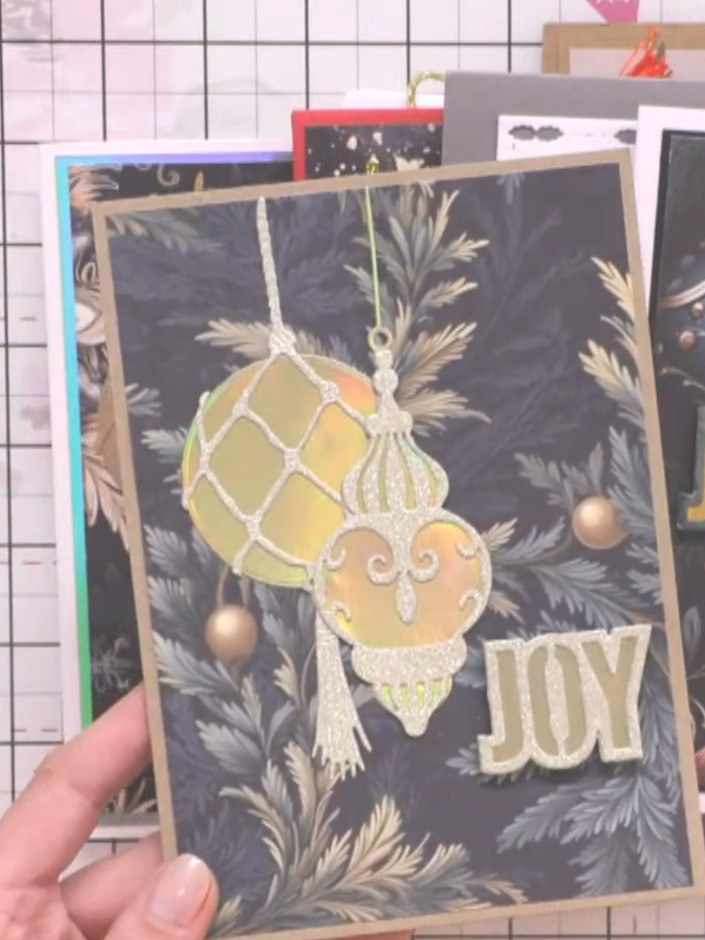
Mount the decorated bauble element onto your card base using foam pads for dimension. Position the gold bauble with white embossed details centrally on the dark patterned background. Add the 'JOY' sentiment below the bauble.
▶ watch this step (14:30)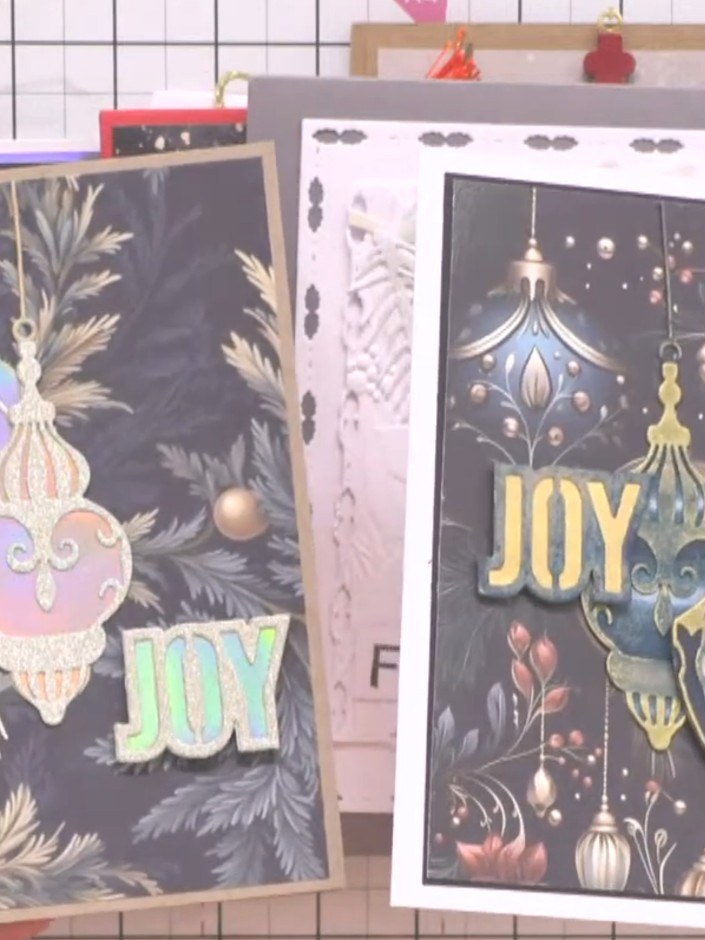
Place the decorative paper panels on top of a card blank to complete your festive baubles layered Christmas card. Add any additional sparkles or embellishments as desired to finish.
▶ watch this step (14:40)Written up from the show itself. See every guide from our shows · free how-to guides · watch live on My Telly