Give your friends $10 off their first order!
Refer a FRIEND








A project from our live show CREATE AND CRAFT TV - New and Exclusive - Broadcast 27th August 24 · 08/27/2024 · watch it from 33:00
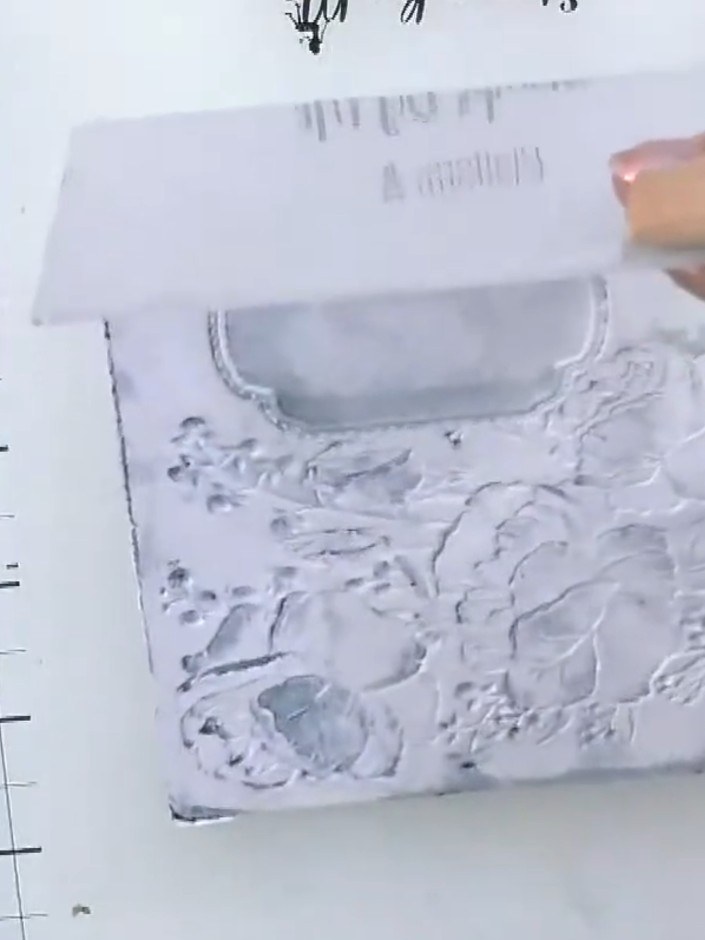
Create a stunning embossed card with a beautiful watercolour stone effect finish. Using the All Occasions 3D embossing folder, you'll emboss a floral design with a decorative frame, then apply ink and water to both sides to achieve an atmospheric, weathered look in soft blues and greys. This elegant technique transforms simple cardstock into a sophisticated A2 card perfect for any occasion.
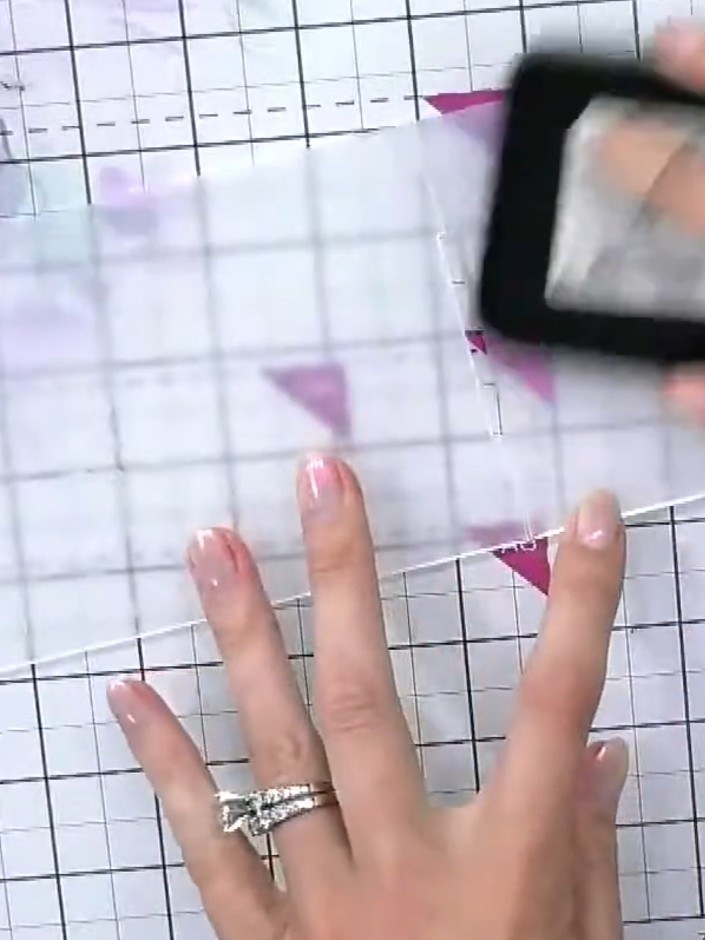
Place your A2 embossing folder into your die-cutting machine. Run it through the machine to emboss the design onto your card.
▶ watch this step (33:00)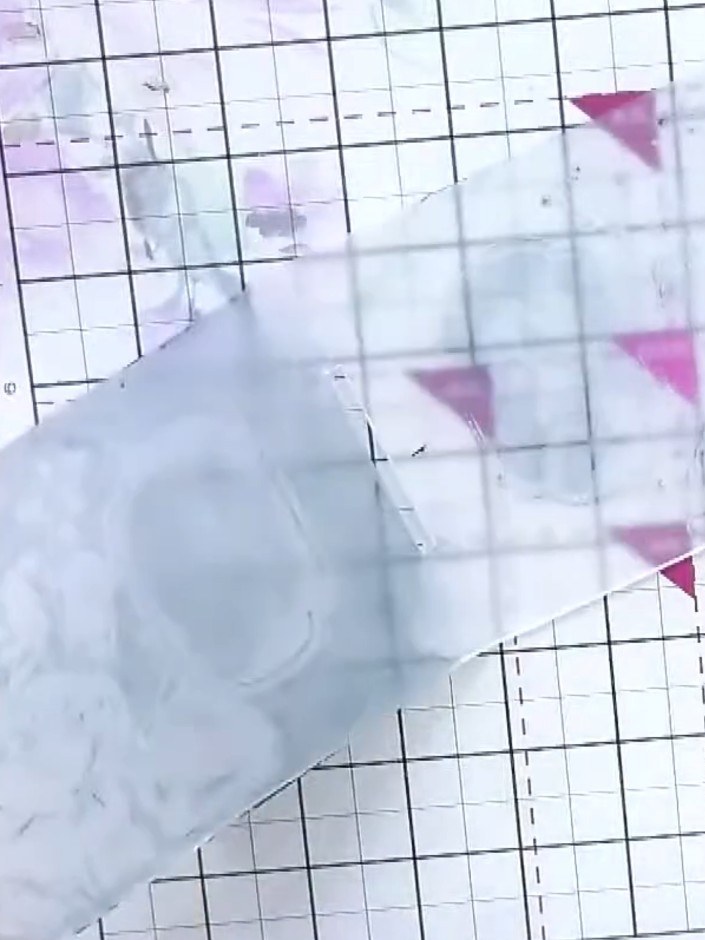
Apply blue ink pad to both sides of the embossing folder, gently smooshing the ink pad over the raised design to coat it evenly.
▶ watch this step (33:30)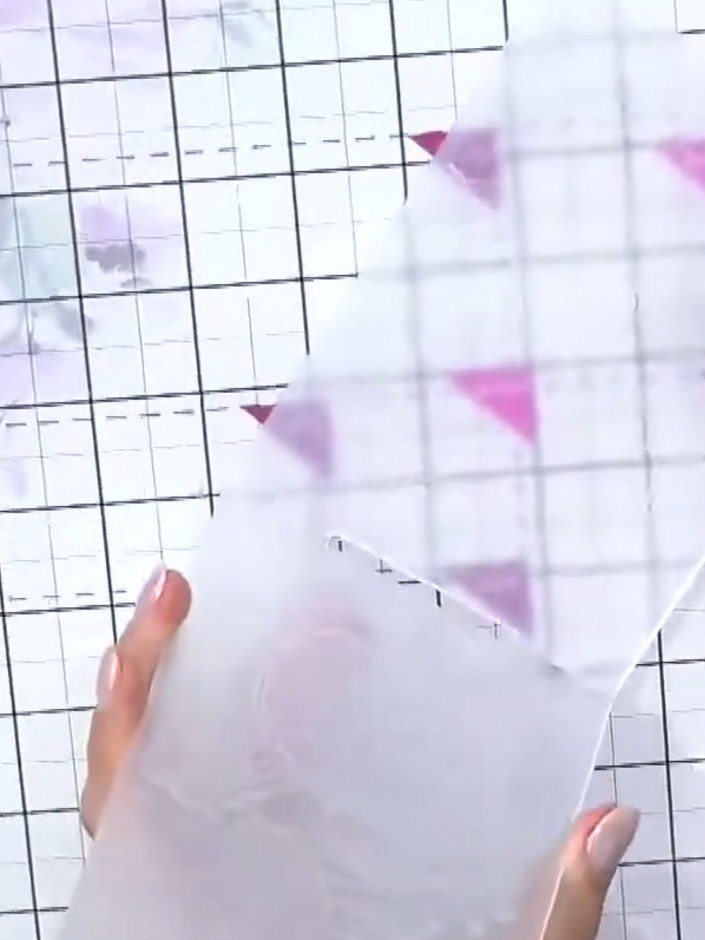
Lightly spray the embossed folder with water using an ink pad or spray bottle to create a watercolour effect on the embossed design.
▶ watch this step (34:00)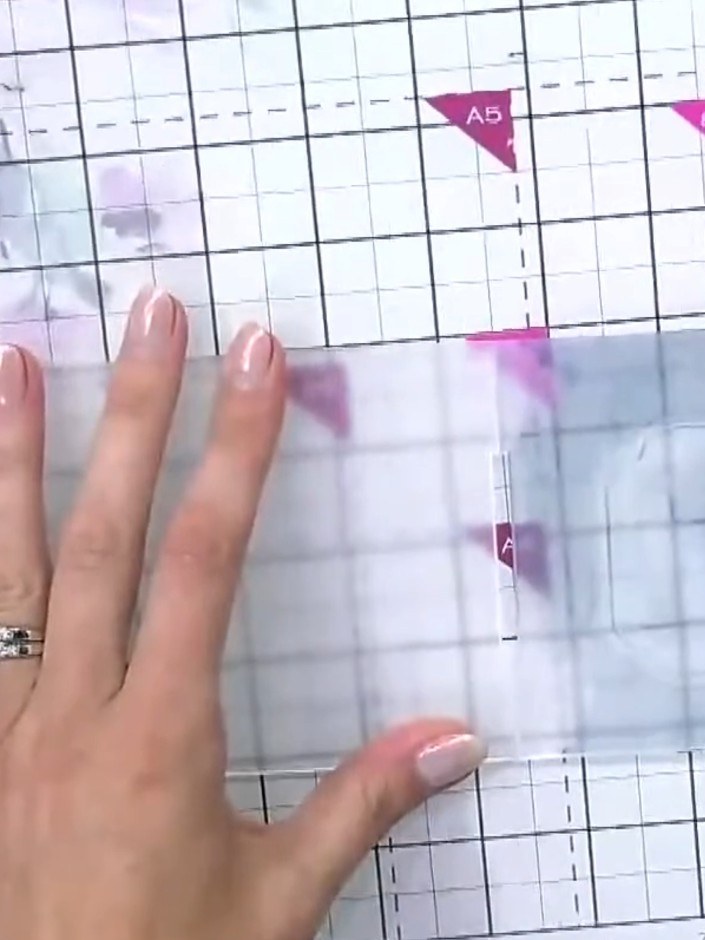
Place your inked and wet card into the embossing folder. Run the folder through your die-cutting machine to emboss the design and transfer the ink pattern onto the card.
▶ watch this step (34:30)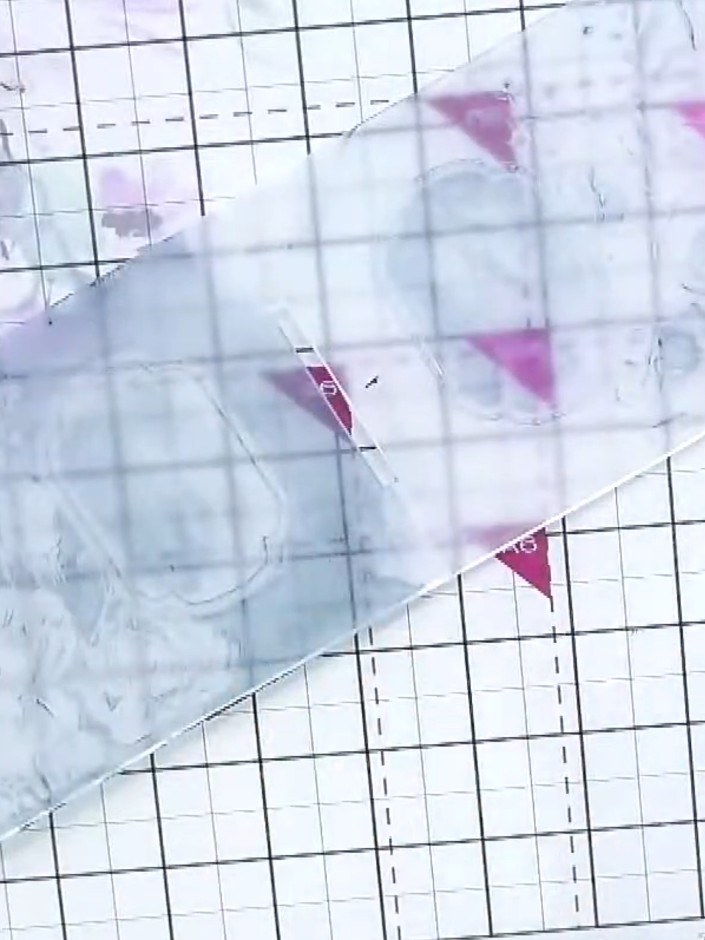
Remove the embossed card from the cutting mat and set it aside to dry completely. The water and ink will create an atmospheric wash effect as it dries.
▶ watch this step (35:00)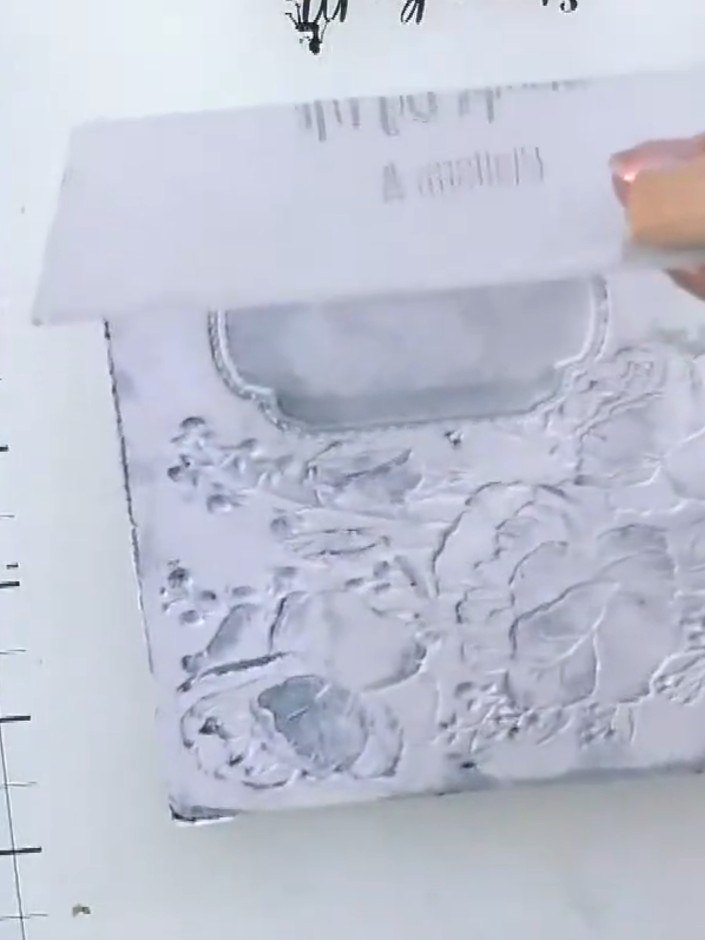
If the embossed design appears too light on one side, use a white ink pad to go back over the flowers and restore the detail. Gently dab the ink pad over the raised areas to enhance the white embossed elements.
▶ watch this step (35:30)Written up from the show itself. See every guide from our shows · free how-to guides · watch live on My Telly