Give your friends $10 off their first order!
Refer a FRIEND








A project from our live show ONE DAY SPECIAL - Join Toni for her brand new release - Broadcast 30th August 24 · 08/30/2024 · watch it from 32:00
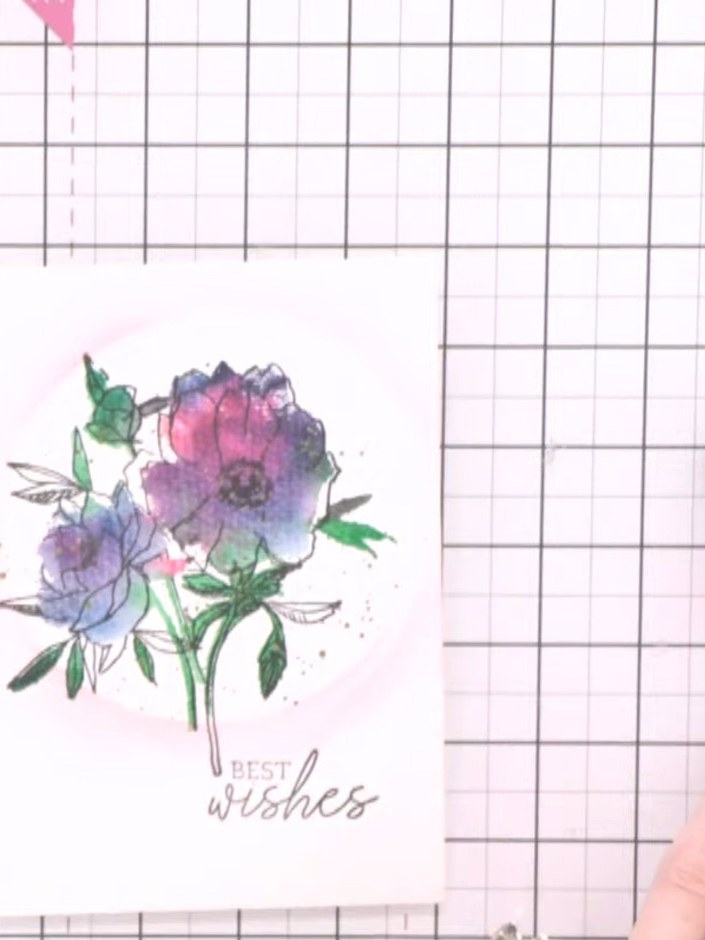
Make a beautiful 'Best Wishes' card featuring watercolour flowers in shades of pink, purple and blue with delicate green leaves. The floral arrangement is enhanced with a subtle stencilled halo effect and scattered gold metallic ink splats for added sparkle. This elegant design uses textured watercolour paper and combines stamping, watercolour painting and stencilling techniques.
 Stamps By Me Confetti Ink - Mushroom - 180822HSEE IT
 Carta - Traditional Watercolour Paper - A5 - WCPA501SEE IT
 Stamps By Me Lamination Stamp - Celebrate - 221223ASEE IT
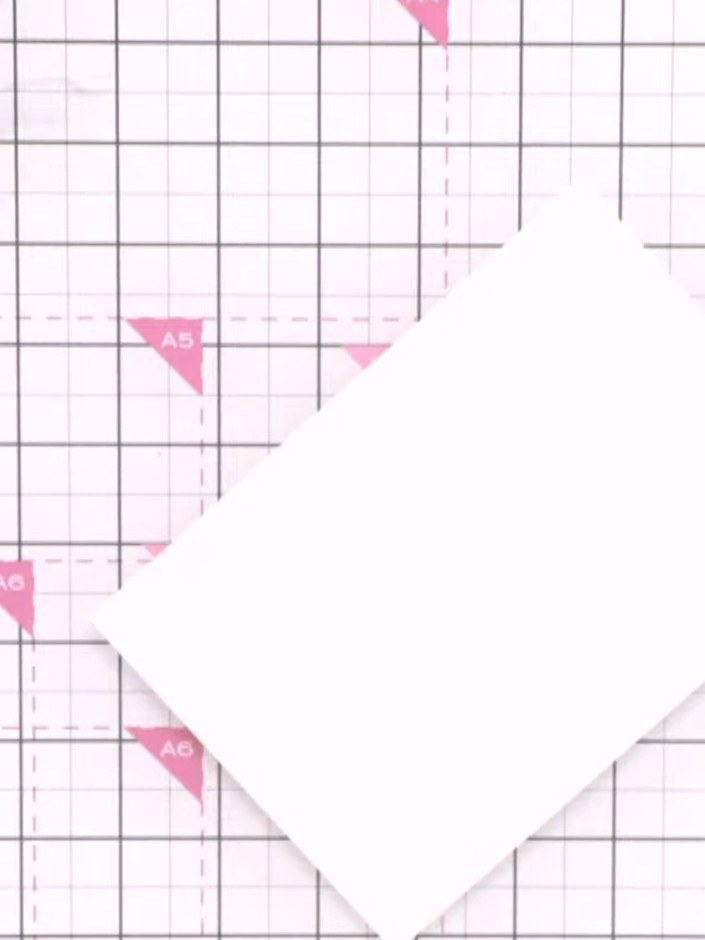
Cut a piece of A5 watercolour card and position it textured side up on your craft mat.
▶ watch this step (32:30)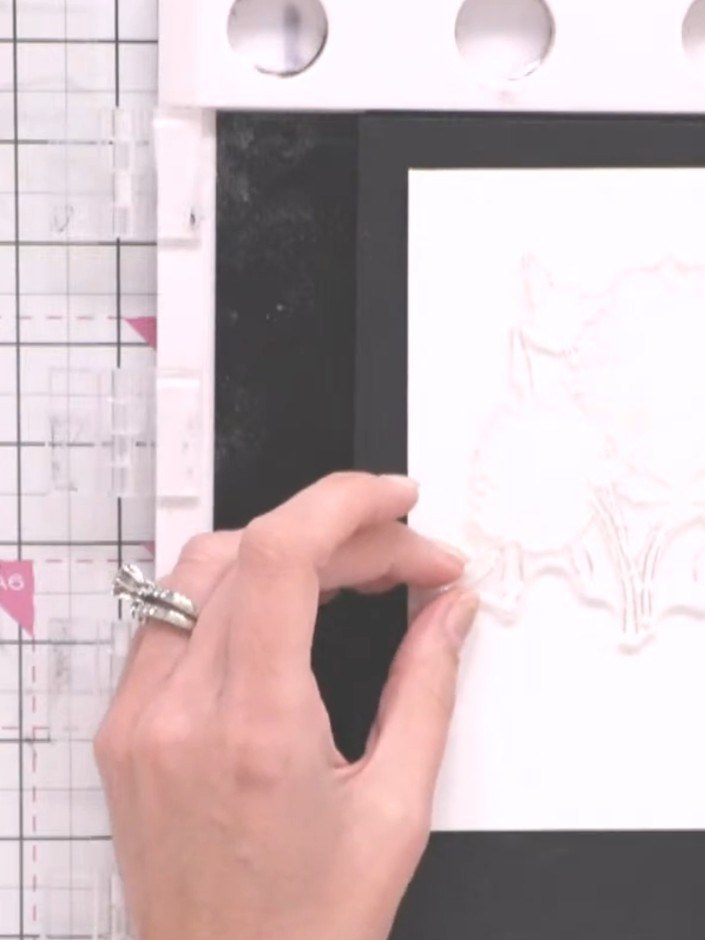
Position a second piece of watercolour card beneath the first piece to create a fold line for your card base. Tape the pieces together at the fold.
▶ watch this step (33:00)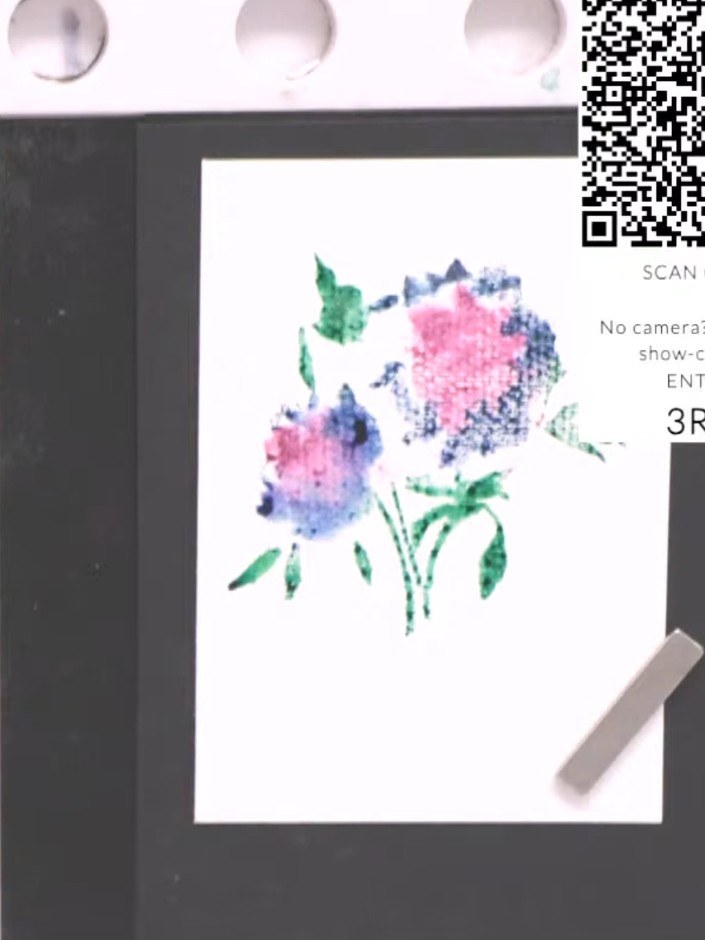
Apply purple ink to the flower centres and teal ink around the edges using the solid portion of the Celebrate stamp. Work the ink into the textured areas of the watercolour paper.
▶ watch this step (33:15)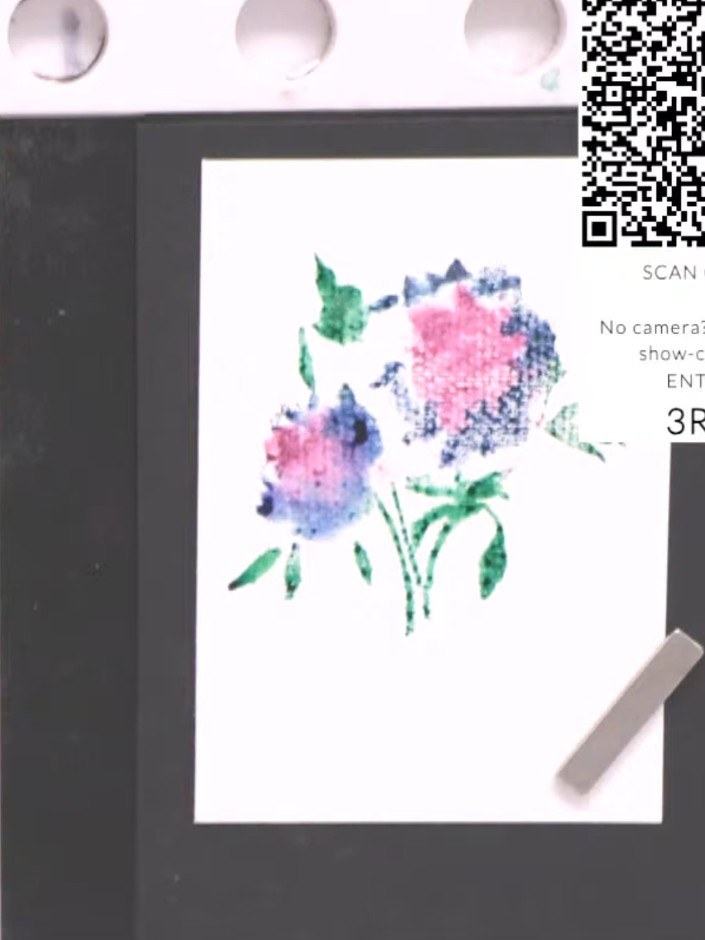
Apply green ink to all the leaf and stem areas of the stamped floral design using a blending brush or sponge.
▶ watch this step (33:45)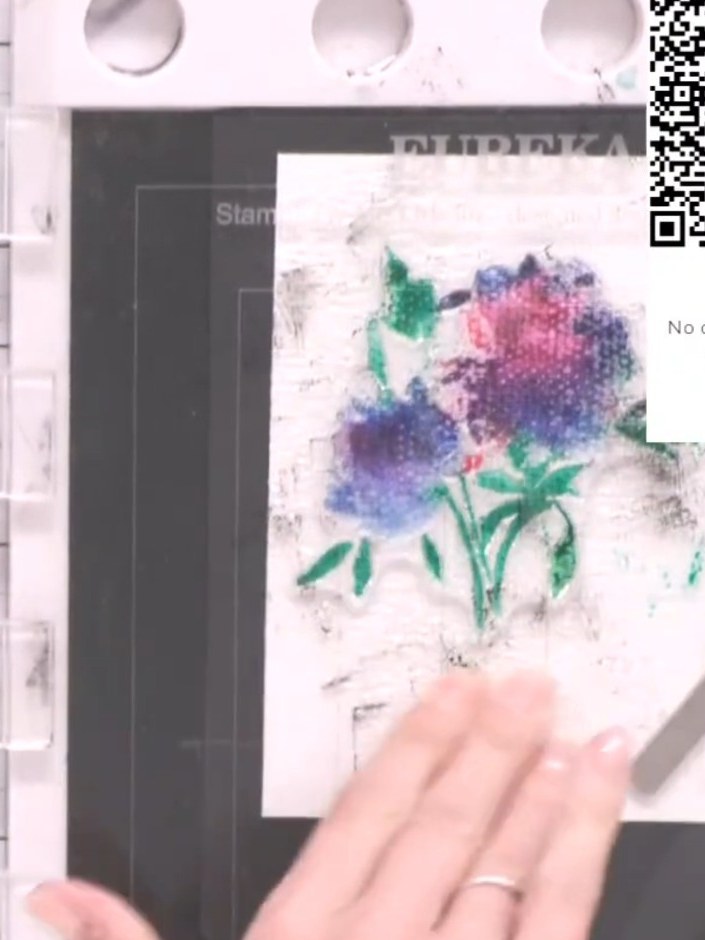
Spray the inked stamp with water three times using a water sprayer to activate the watercolour effect on the mushroom ink.
▶ watch this step (34:00)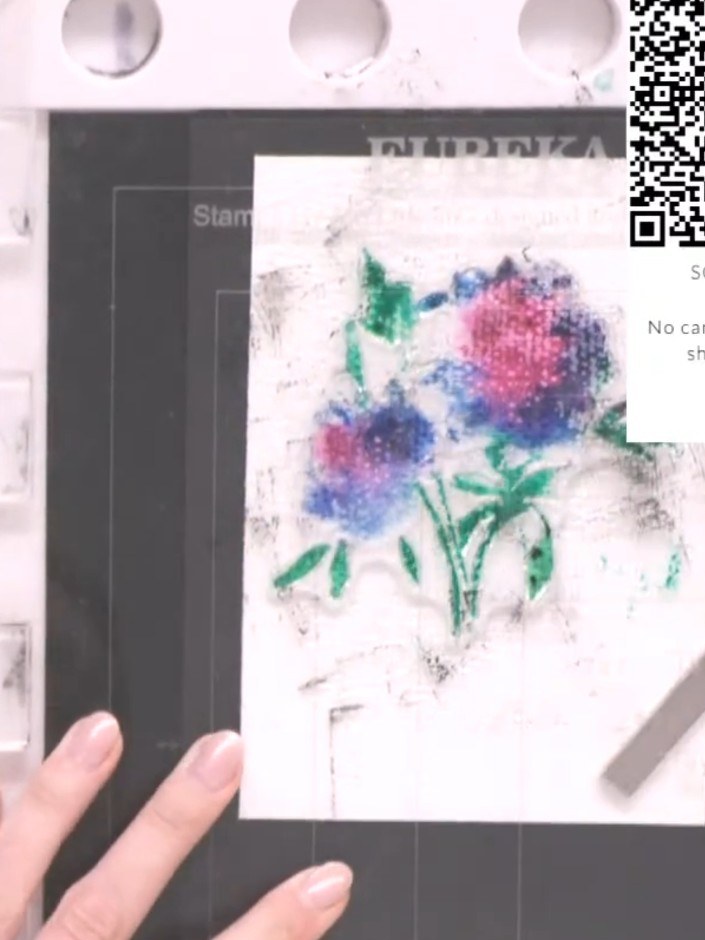
Press the Celebrate stamp firmly onto the textured watercolour card, holding it in place to ensure good ink transfer from the mushroom ink pad.
▶ watch this step (34:15)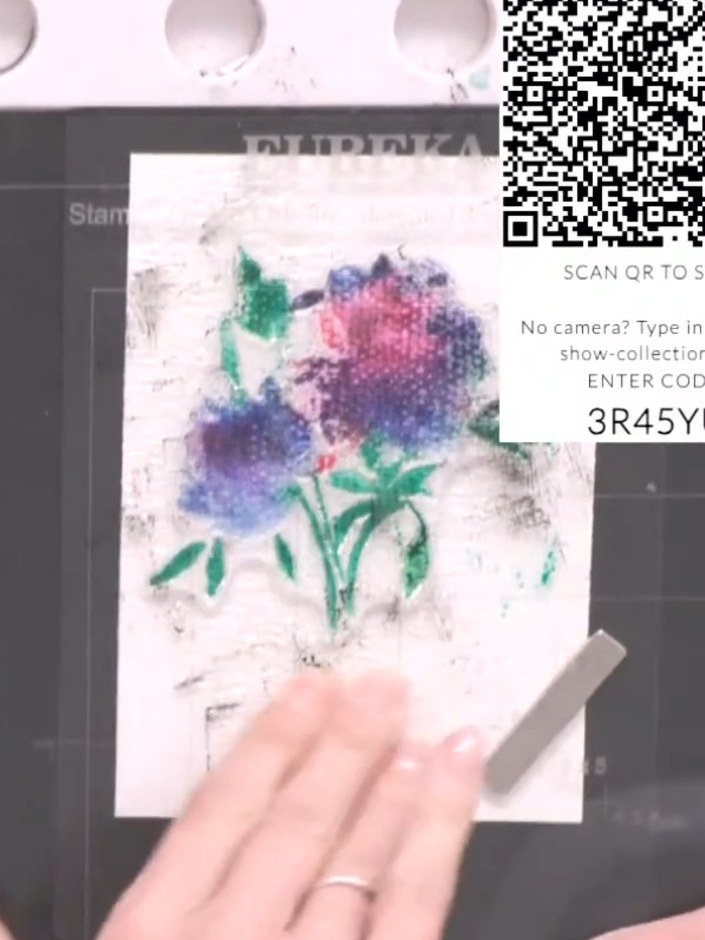
Dry the coloured floral design thoroughly using a heat gun, moving it over the entire stamped area until the watercolour is completely dry.
▶ watch this step (35:00)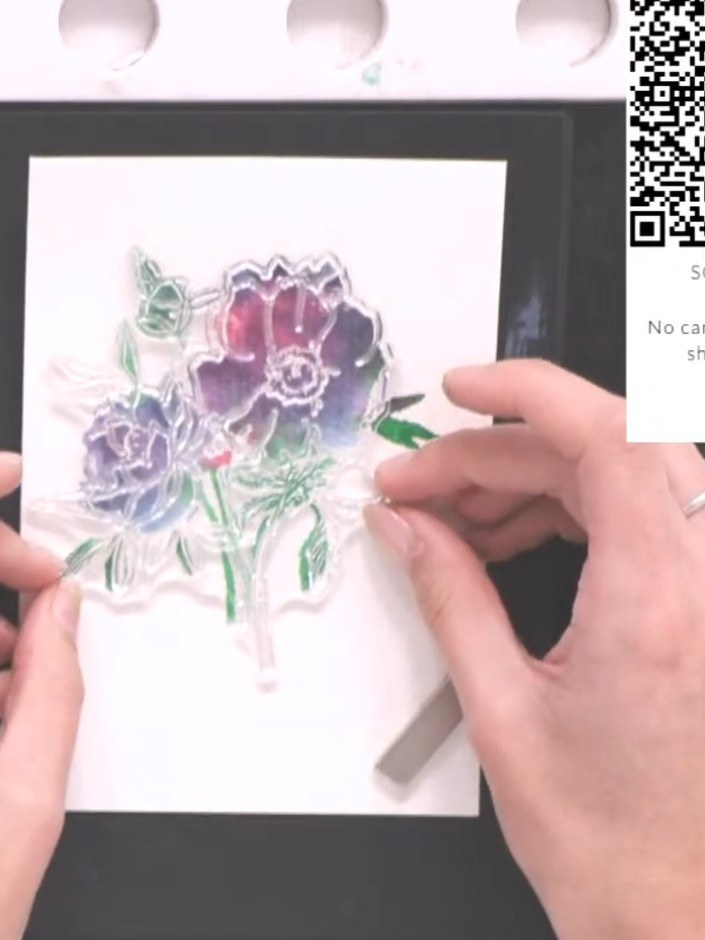
Stamp the outline portion of the Celebrate stamp in black ink over the dried watercoloured floral design, positioning it carefully to frame the flowers.
▶ watch this step (37:00)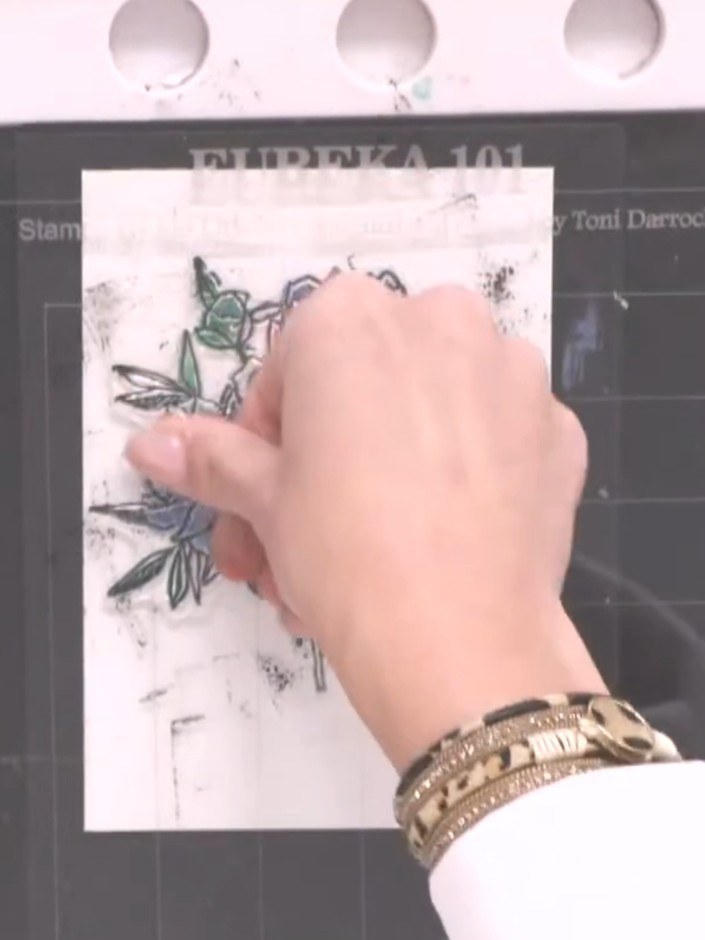
Clean the stamp thoroughly. Position the mini stylized circle stencil over the stamped flower design, centring it to create a halo effect around the flowers.
▶ watch this step (38:00)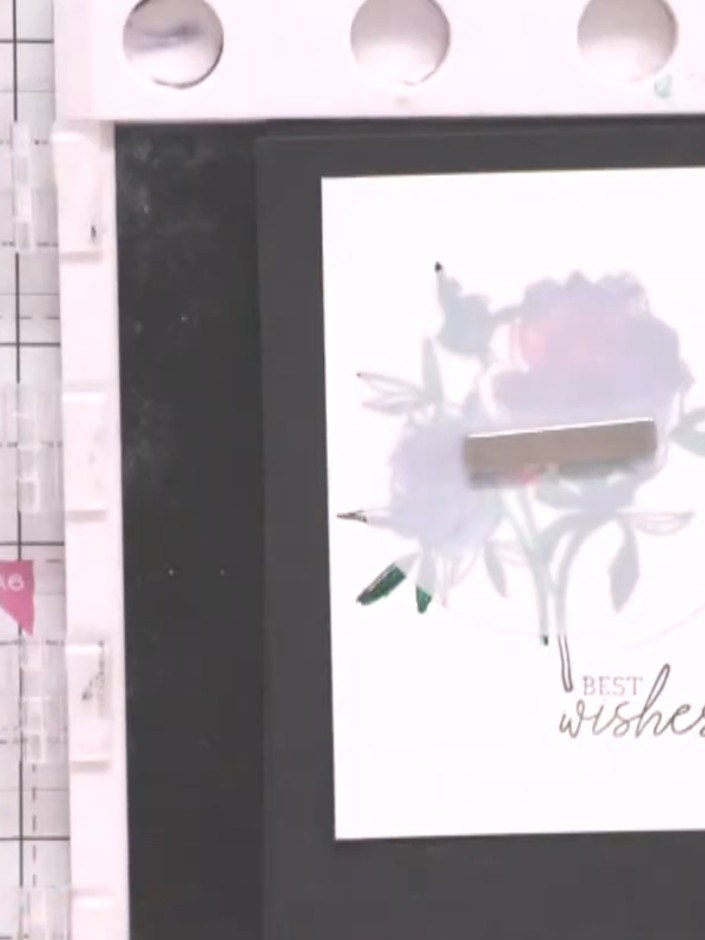
Using a blending brush lightly loaded with pink ink, tap gently through the stencil to create a soft halo effect around the flower. Keep the application subtle and light.
▶ watch this step (42:00)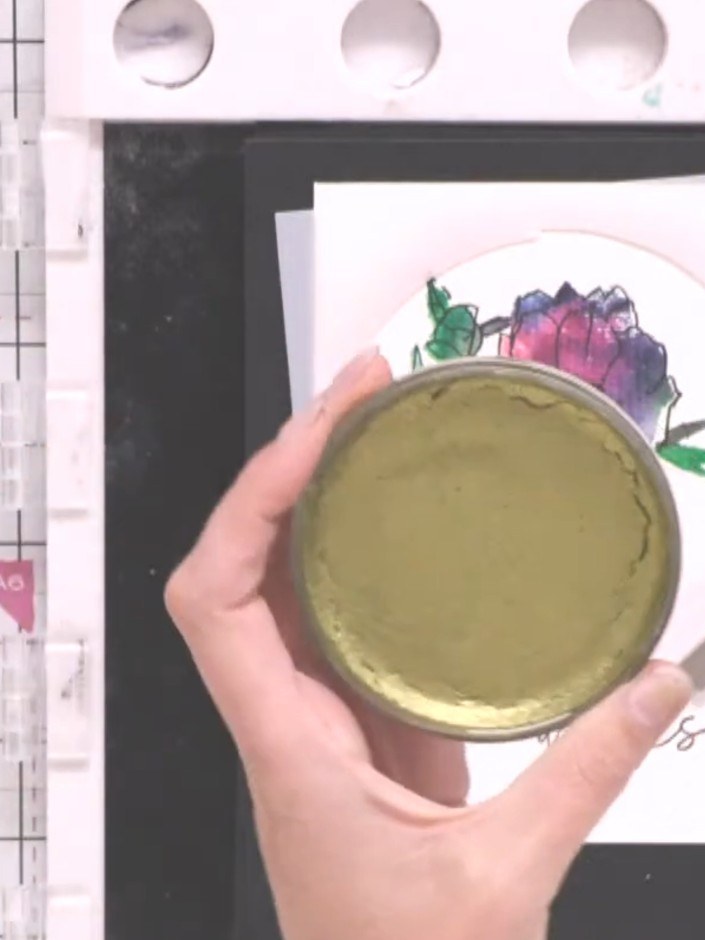
Reposition the stencil over the card and apply gold metallic confetti ink with a brush, creating splats within the circular aperture.
▶ watch this step (43:30)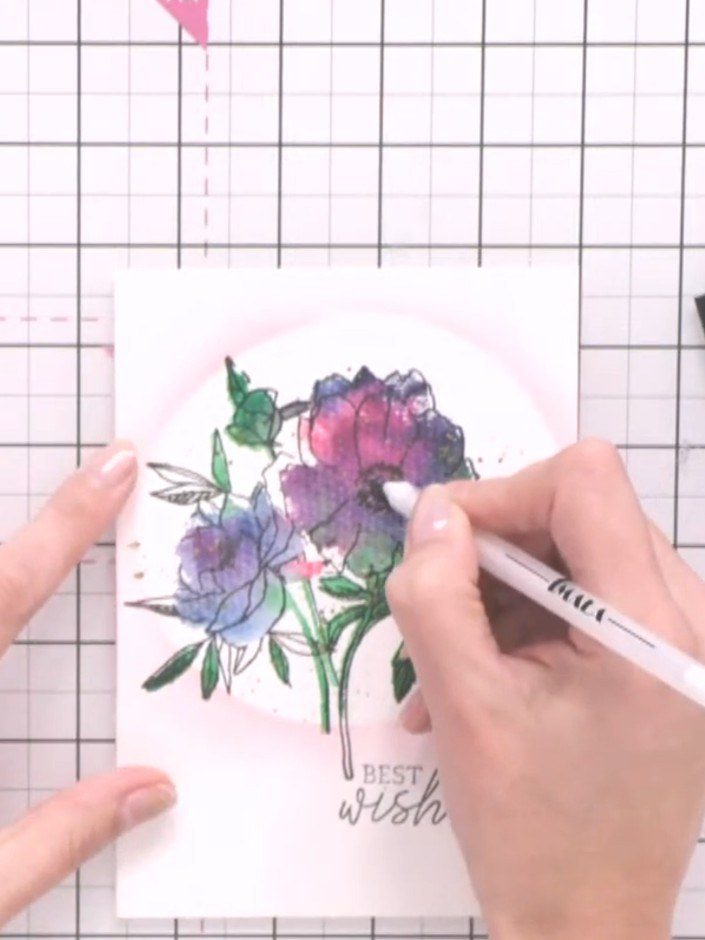
Use a white gel pen to add detail to the flower centres and enhance any lost design elements on the watercolour floral image.
▶ watch this step (47:00)Written up from the show itself. See every guide from our shows · free how-to guides · watch live on My Telly