Give your friends $10 off their first order!
Refer a FRIEND








A project from our live show ONE DAY SPECIAL - Join Toni for her brand new release - Broadcast 6th September 24 · 09/06/2024 · watch it from 14:30
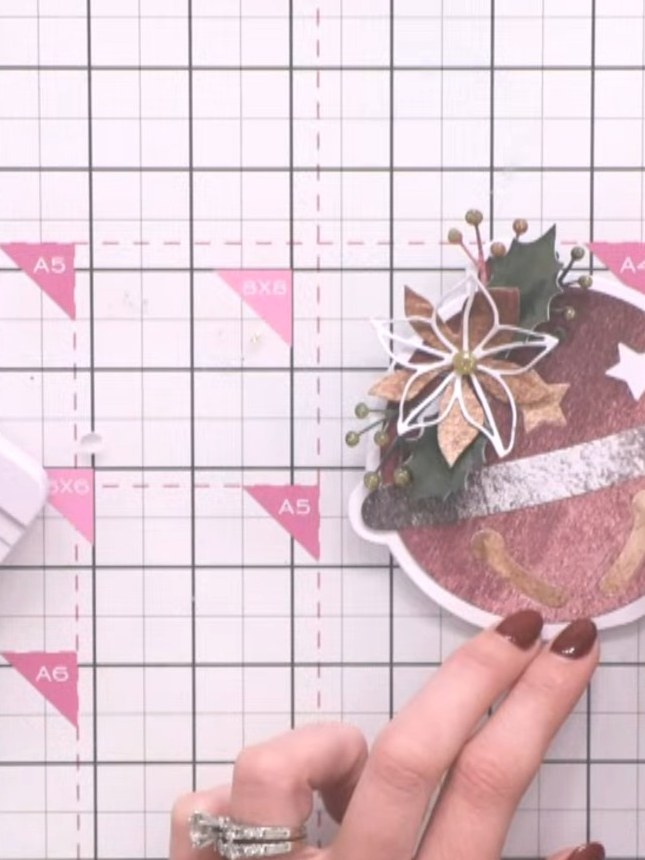
Create a charming festive mini gift book featuring a three-dimensional bell that opens to reveal a decorative pocket inside. The bell is embellished with metallic papers in bronze and copper tones, adorned with die-cut poinsettias, stars, and delicate pearl sprays for an elegant Christmas look. This delightful project combines die-cutting, layering, and dimensional assembly techniques to create a unique gift holder or keepsake.
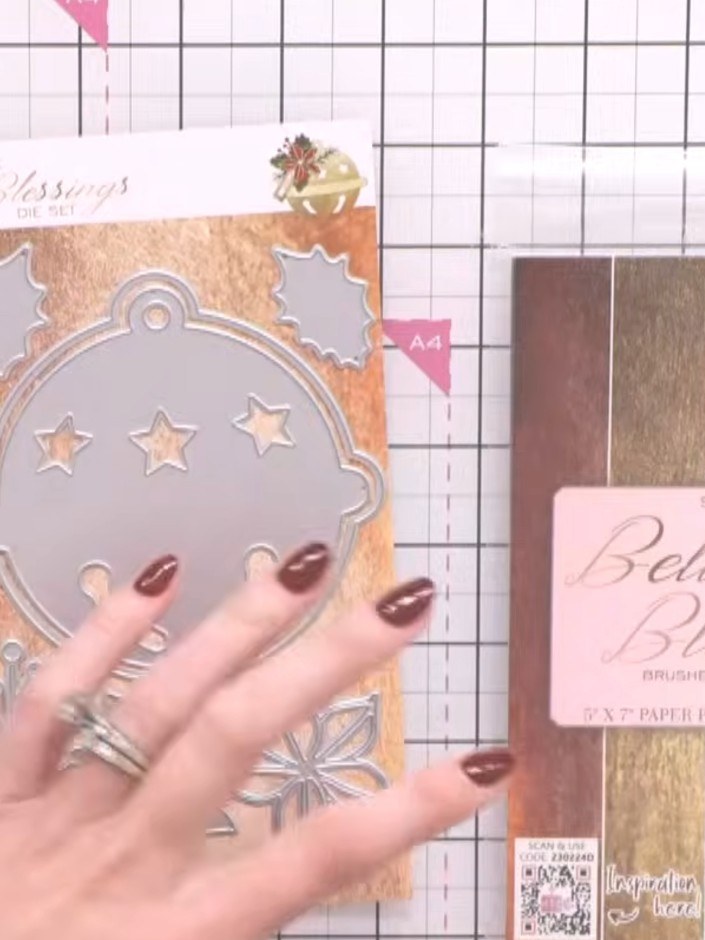
Select the pink brushed steel effect paper from the Bells & Blessings paper pad. Use the bell die from the A5 die set to cut out the bell shape from the pink paper.
▶ watch this step (14:30)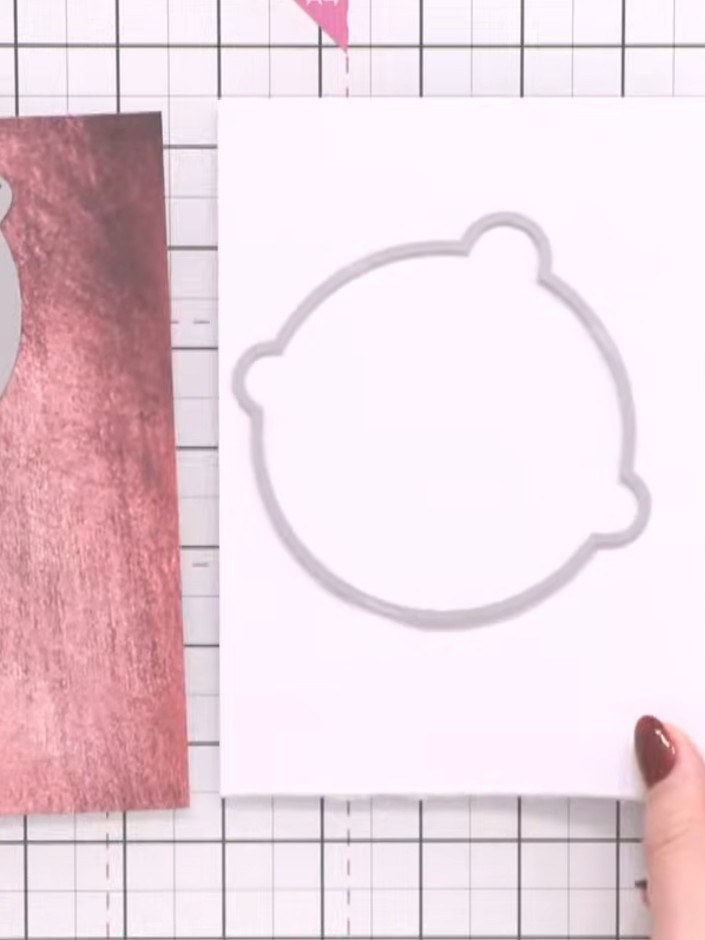
Cut a second bell shape from white cardstock using the same die. This will form the exterior of your bell decoration.
▶ watch this step (16:00)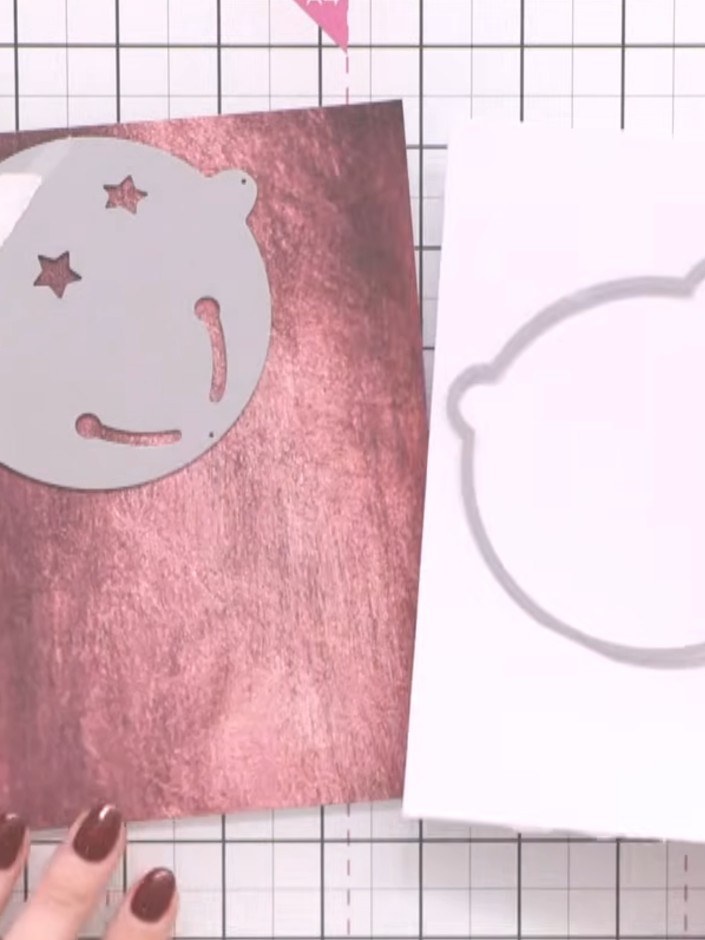
Paper piece the decorative elements back into the die-cut bells using different coloured papers. Add the stars and facial details in contrasting colours to create dimension and interest.
▶ watch this step (16:15)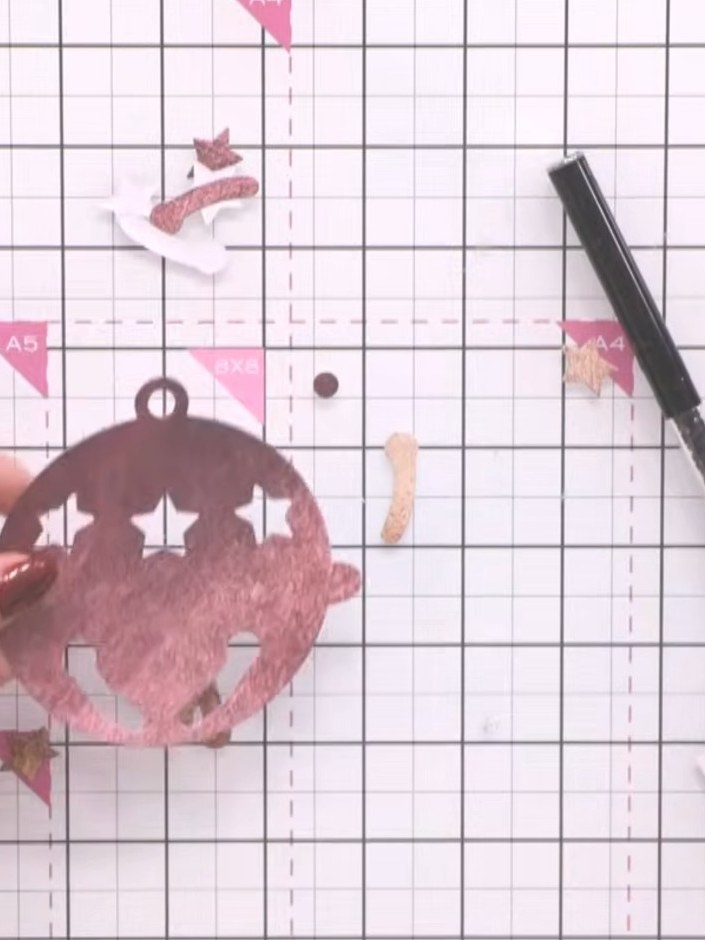
Attach the pink glittered bell die-cut to the front of your folded card using double-sided tape to create your cover.
▶ watch this step (21:00)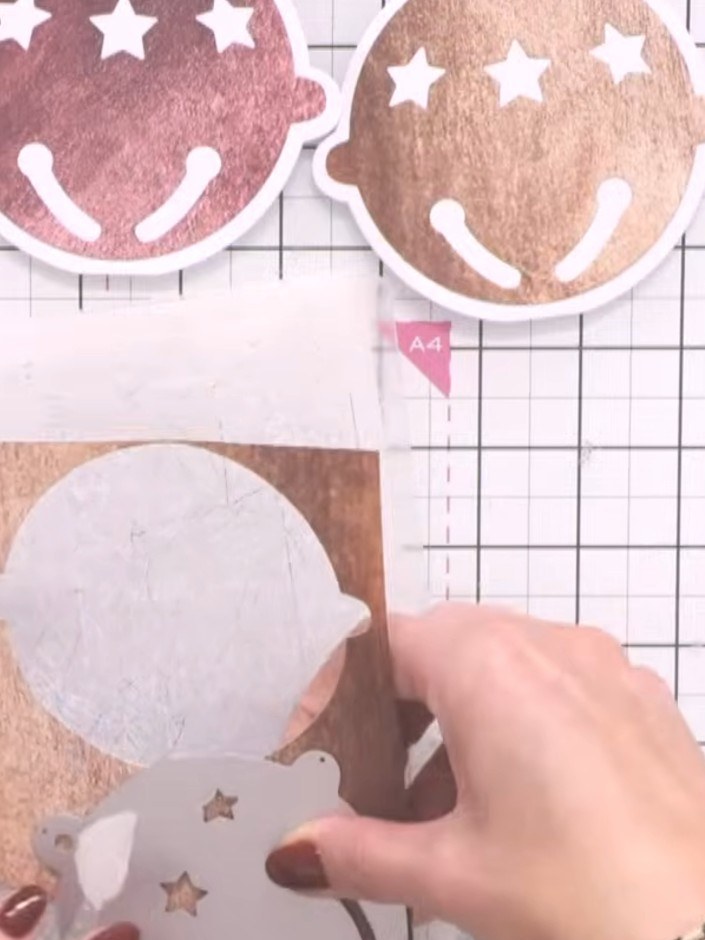
Cut the white bell piece in half horizontally to create a pocket for the inside of the mini book.
▶ watch this step (38:15)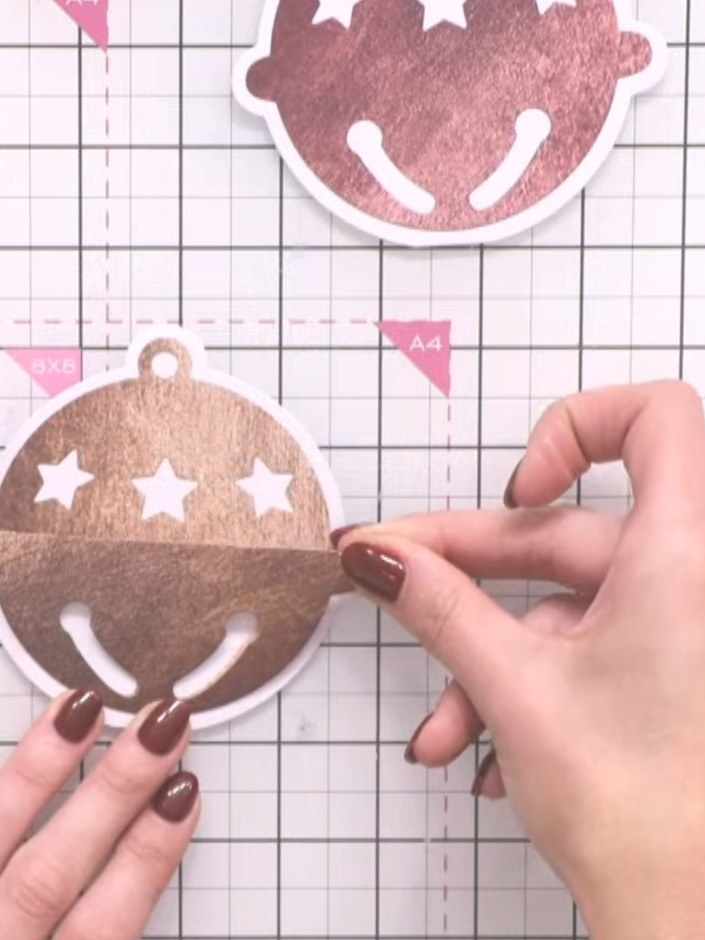
Secure the pocket to the inside back cover with tape along the bottom edge only, leaving the top open.
▶ watch this step (39:30)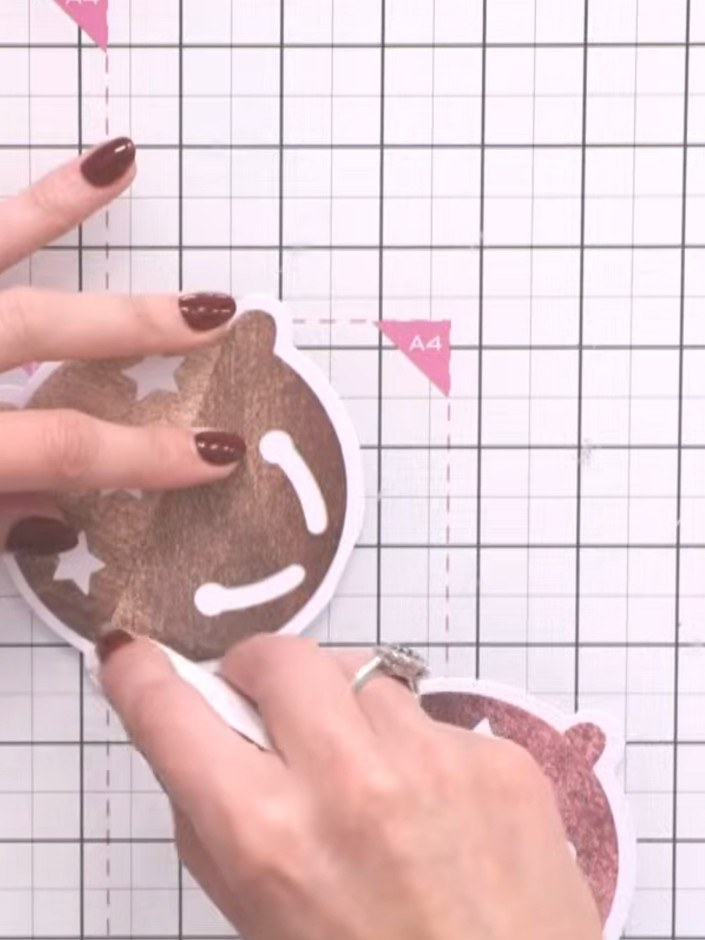
Attach the scored back piece to the front cover using tape along the hinge line. Position the tape carefully to create a smooth book binding that allows the cover to open and close properly.
▶ watch this step (41:15)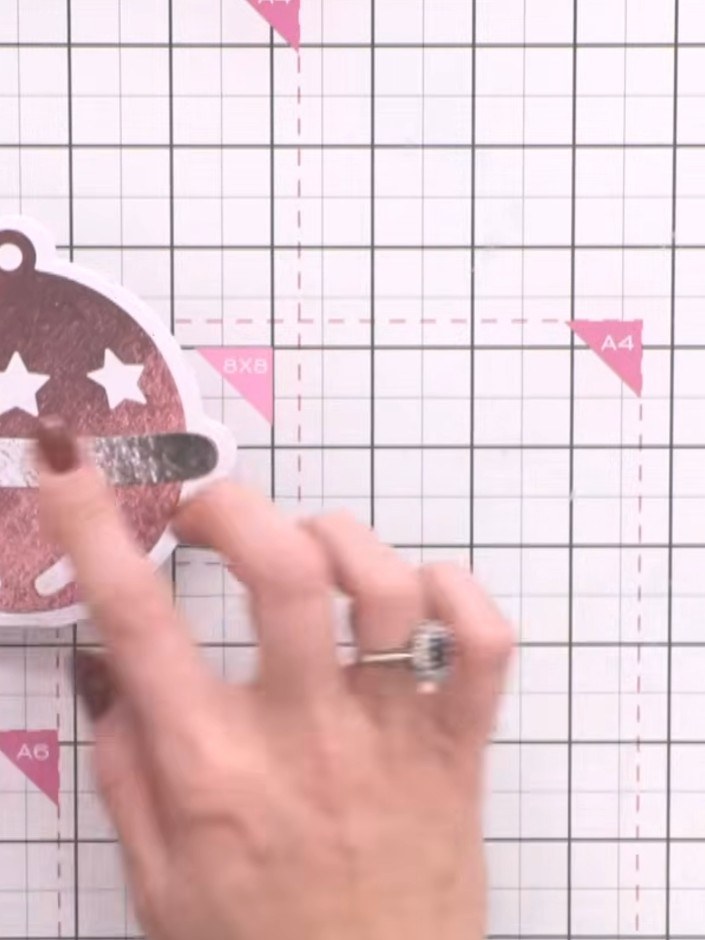
Cut a strip of metallic glitter effect paper and attach it horizontally across the centre of the bell ornament to create a belly band. Position it between the stars at the top and the smile at the bottom.
▶ watch this step (42:00)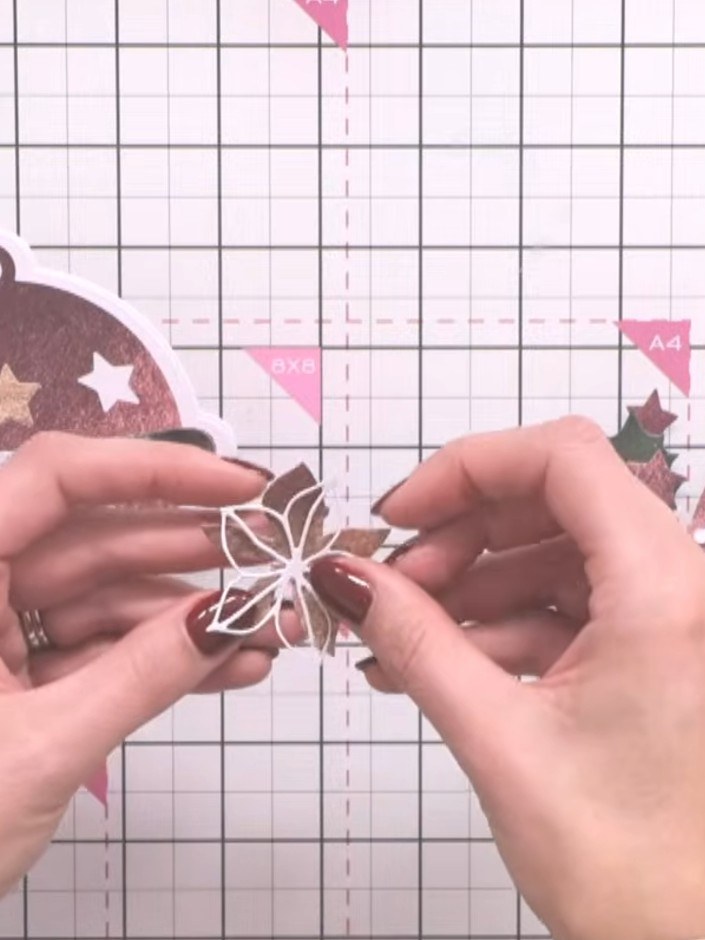
Layer and embellish the front cover with cut-out flowers, foliage and berries, offsetting them for visual interest.
▶ watch this step (43:00)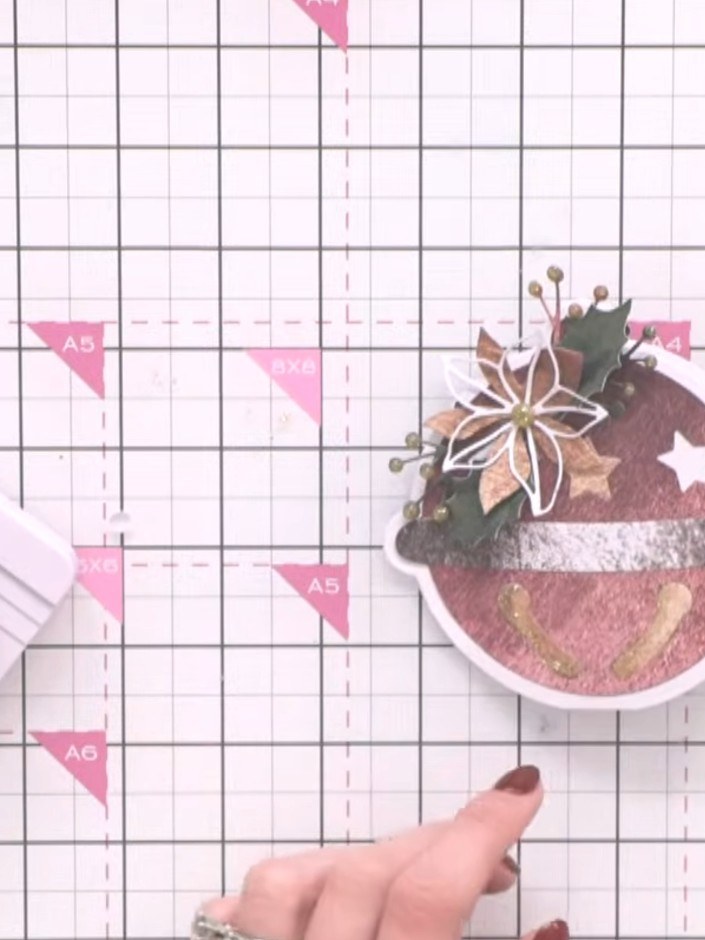
Add glitter glue or gems to the corners and embellishments for extra sparkle. Allow to dry completely before handling or gifting.
▶ watch this step (48:00)Written up from the show itself. See every guide from our shows · free how-to guides · watch live on My Telly

