Give your friends $10 off their first order!
Refer a FRIEND








A project from our live show MY PODCAST - Catch my latest updates broadcast September 9th 2024 · 09/09/2024 · watch it from 14:45
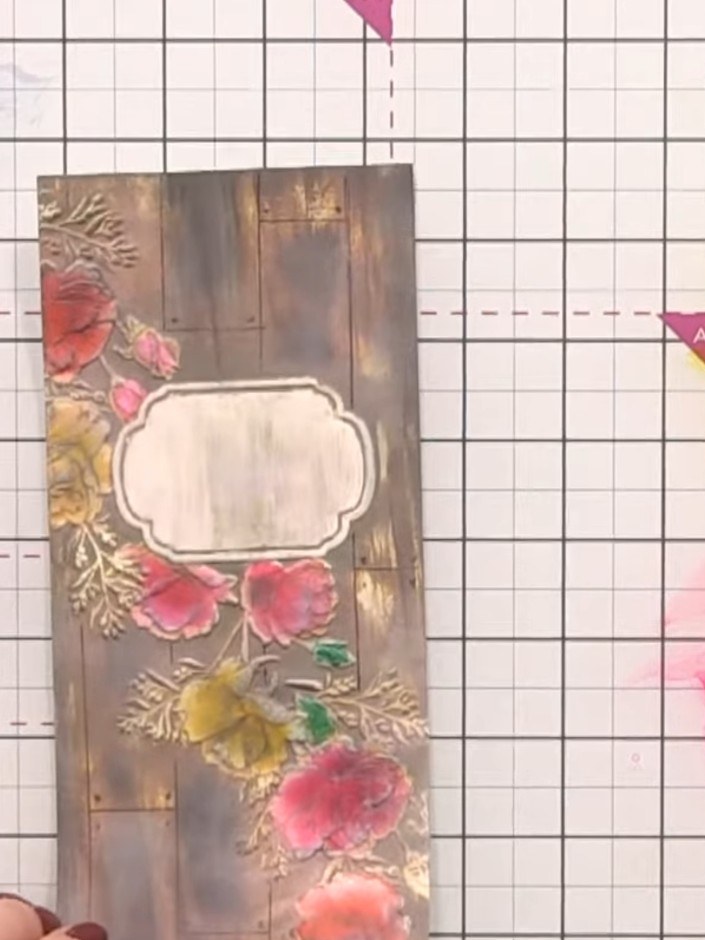
Create a vintage-style card featuring embossed flowers with a distressed wood grain background. Using layered inking and water techniques, you'll build depth and texture to achieve a grungy, artistic finish. The design showcases dimensional florals in soft pinks and yellows against a weathered brown wood effect, with a central label frame for your sentiment.
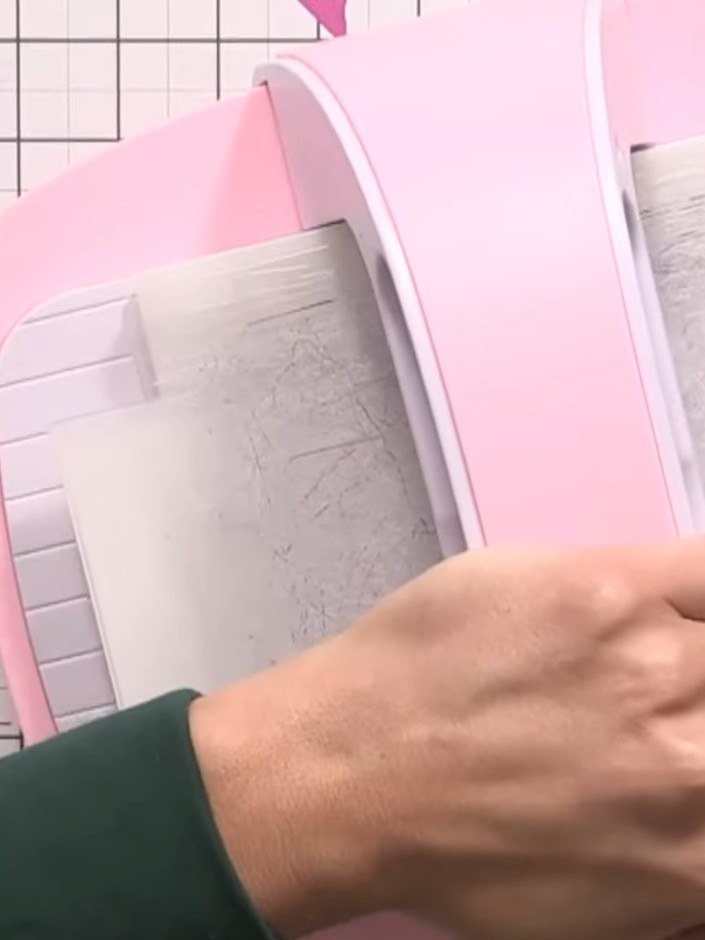
Run the watercolour card through the embossing folder with the pink embossing machine to create the raised floral design.
▶ watch this step (16:00)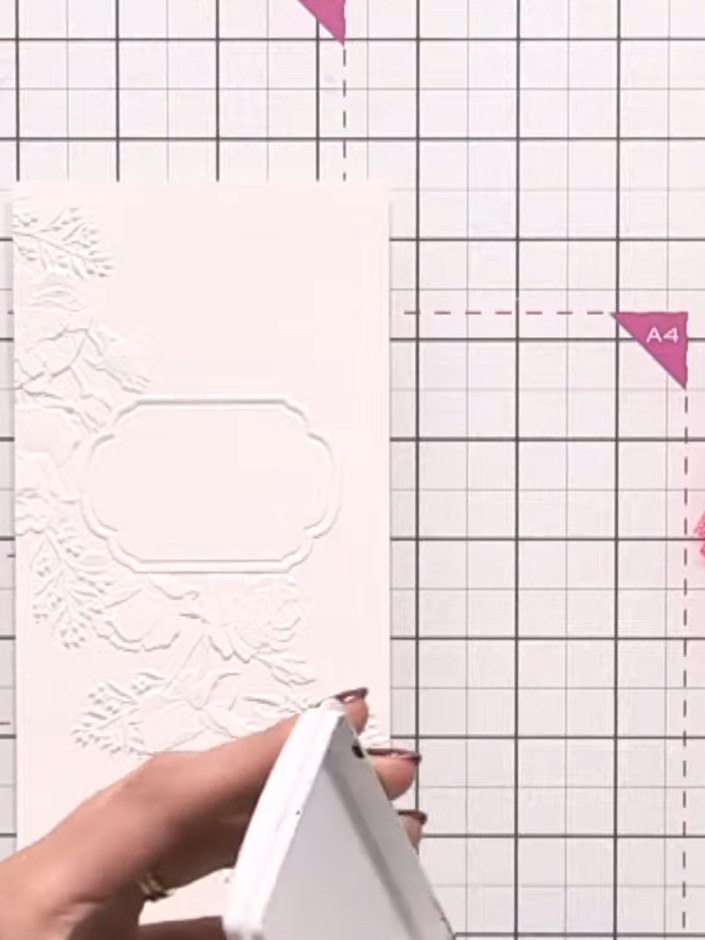
Add colour to the flower petals using pink, orange and yellow ink pads with a brush. Apply the colour directly to each flower petal, blending the colours as desired.
▶ watch this step (19:00)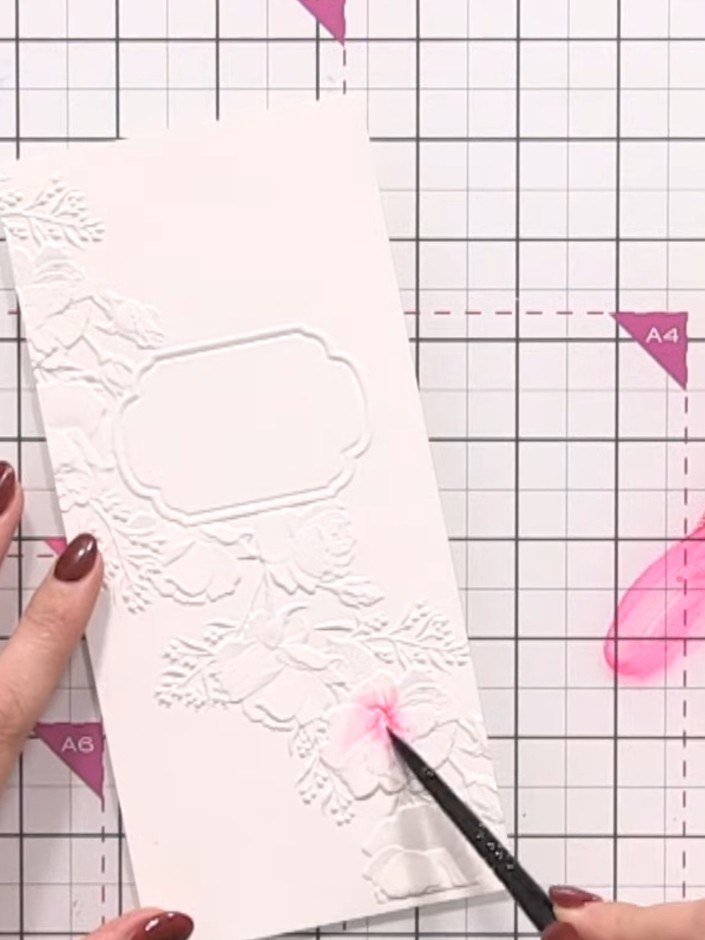
Using a clean, damp brush, apply water to the coloured flower areas to help the pink and orange inks blend and disperse naturally on the embossed card.
▶ watch this step (19:45)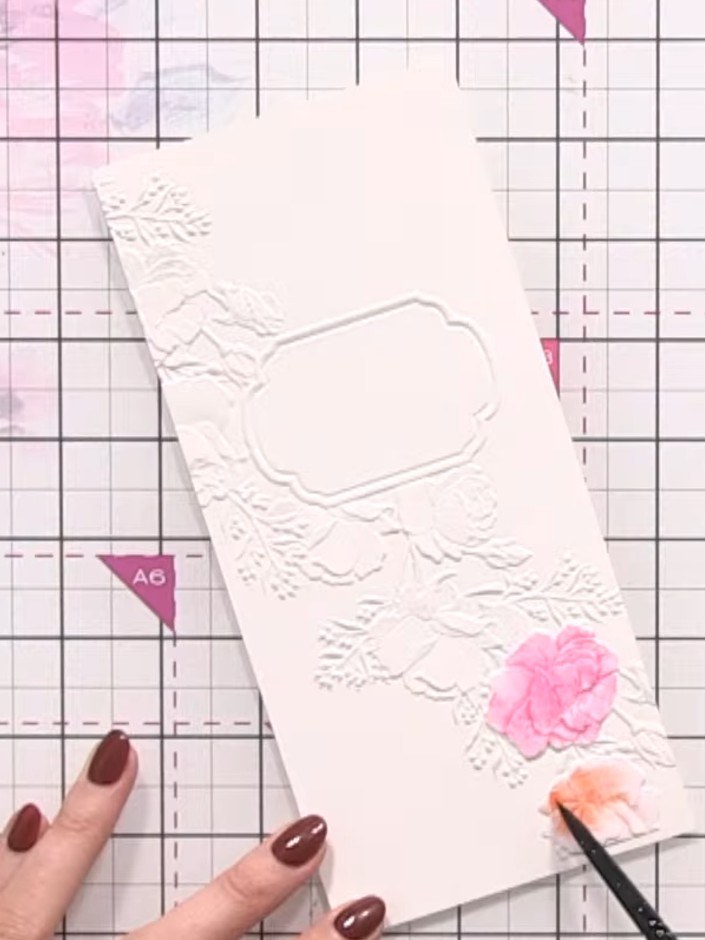
Add colour to the leaves and stems using green ink with water to create soft, blended colour. Use a brush to apply the diluted ink to the embossed areas.
▶ watch this step (20:45)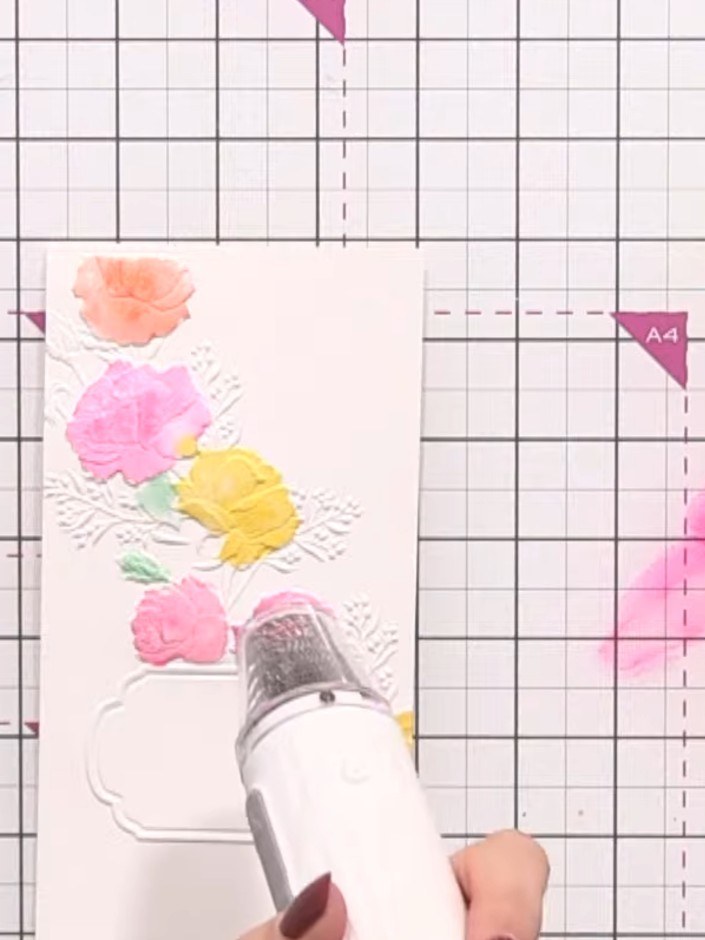
Dry the card completely using a heat gun, holding it over the watercoloured flowers and embossed background until fully dry.
▶ watch this step (24:00)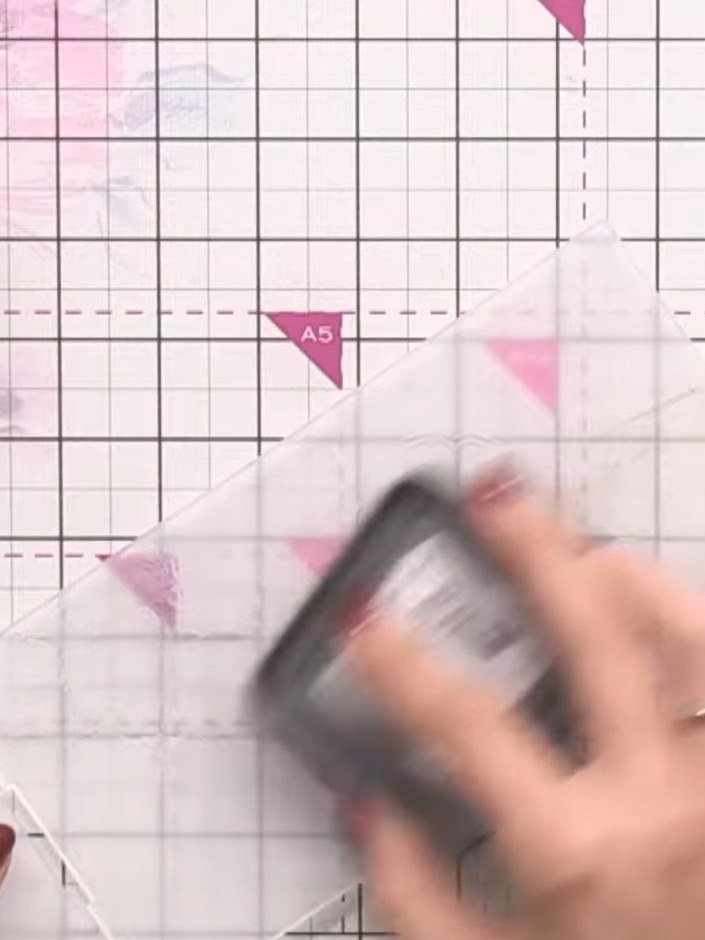
Ink the embossing folder with brown distress ink, swiping the ink pad across the entire textured surface to create distressed lines and texture.
▶ watch this step (25:00)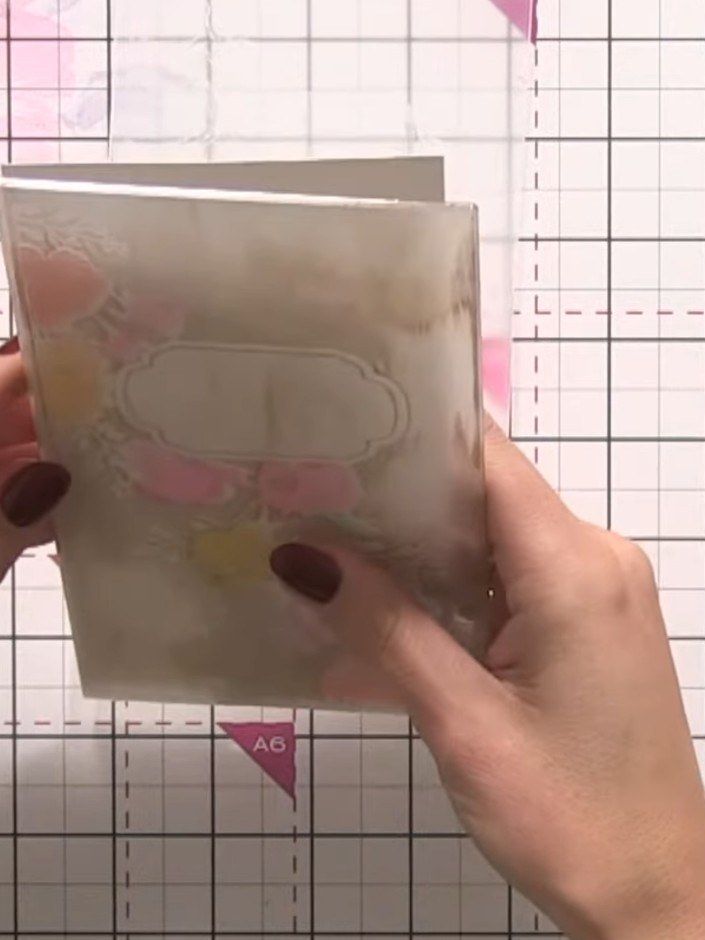
Run the inked embossing folder through your die-cutting machine with the card base inside to transfer the brown wood grain texture onto the card.
▶ watch this step (26:00)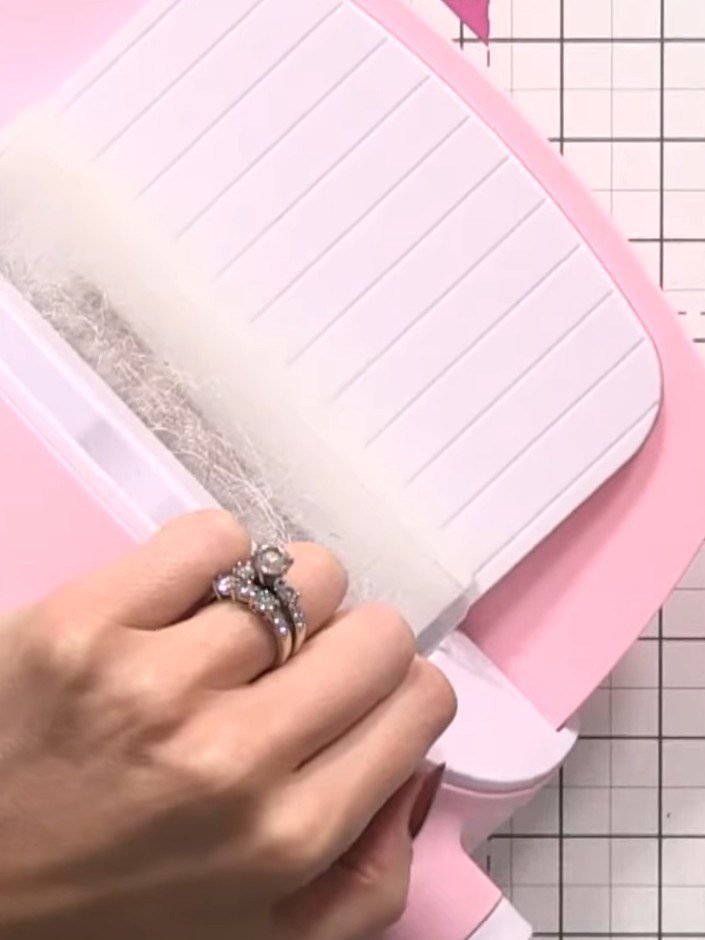
Spray the entire card with water to blend and activate the brown ink, creating a vintage wood stain effect. Use a water mister to lightly mist the surface until the ink begins to blend.
▶ watch this step (29:00)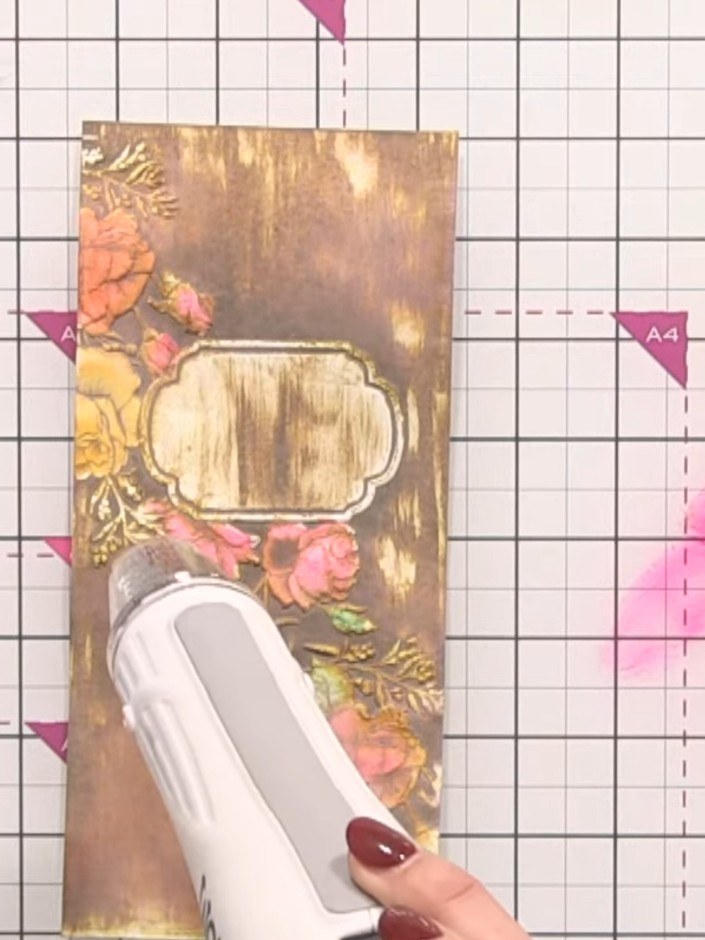
Apply white ink from the ink pad directly onto the raised embossed design on the card. Run the card through the embossing folder again to lighten and highlight the wood grain background.
▶ watch this step (35:00)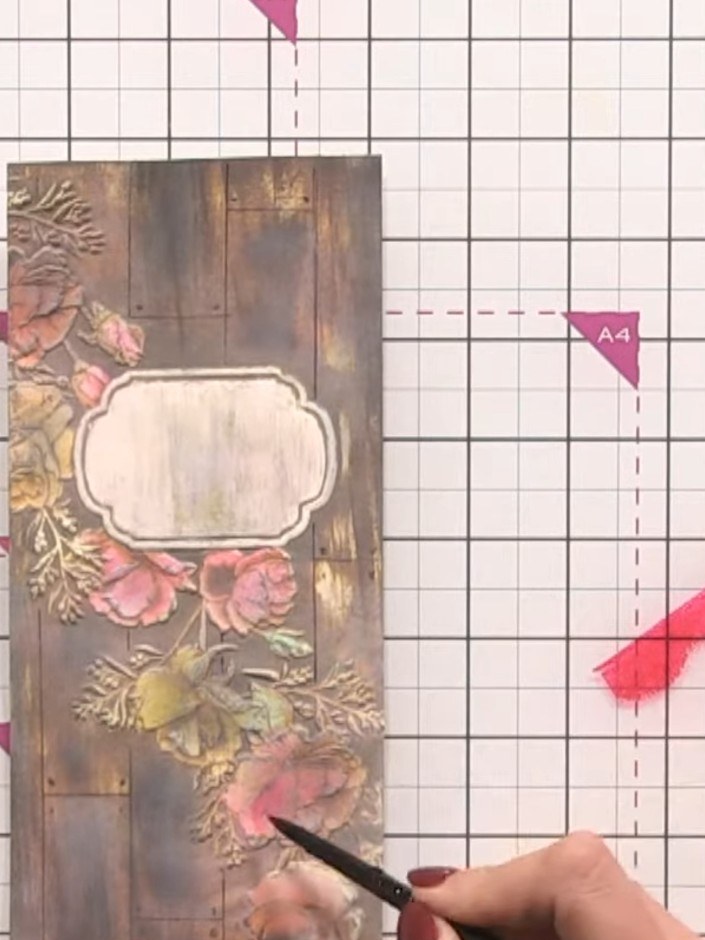
Add darker pink and orange tones to the centres of the flowers using a brush or applicator to create dimension and depth.
▶ watch this step (50:00)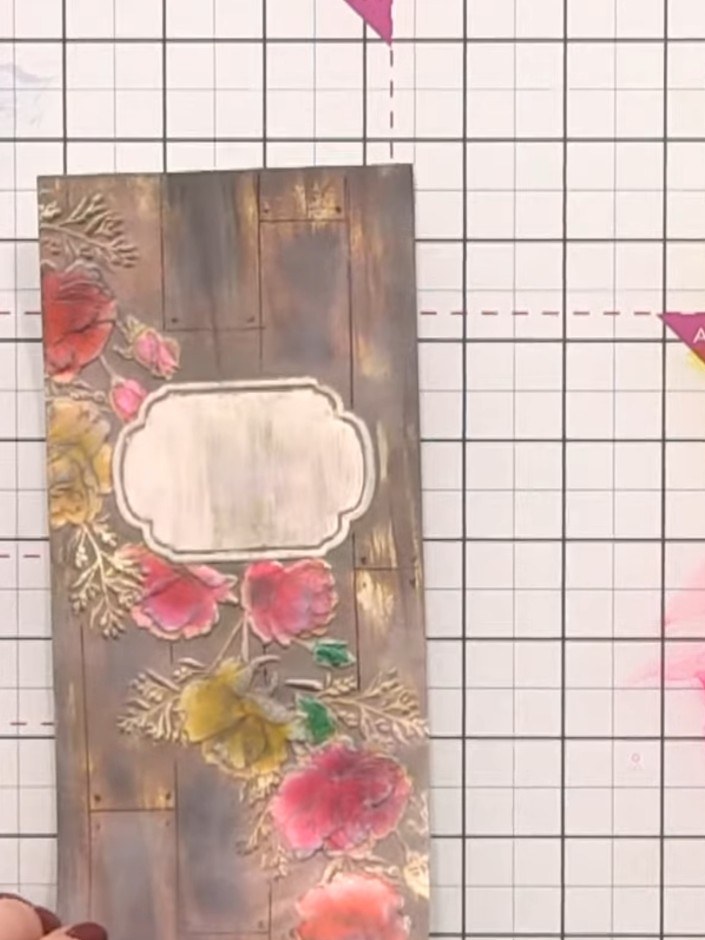
Run the card through the embossing folder one final time with white ink to push back the background and enhance the floral details.
▶ watch this step (54:00)Written up from the show itself. See every guide from our shows · free how-to guides · watch live on My Telly
