Give your friends $10 off their first order!
Refer a FRIEND








A project from our live show CREATE AND CRAFT TV - New and Exclusive - Broadcast 12th September 24 · 09/12/2024 · watch it from 36:45
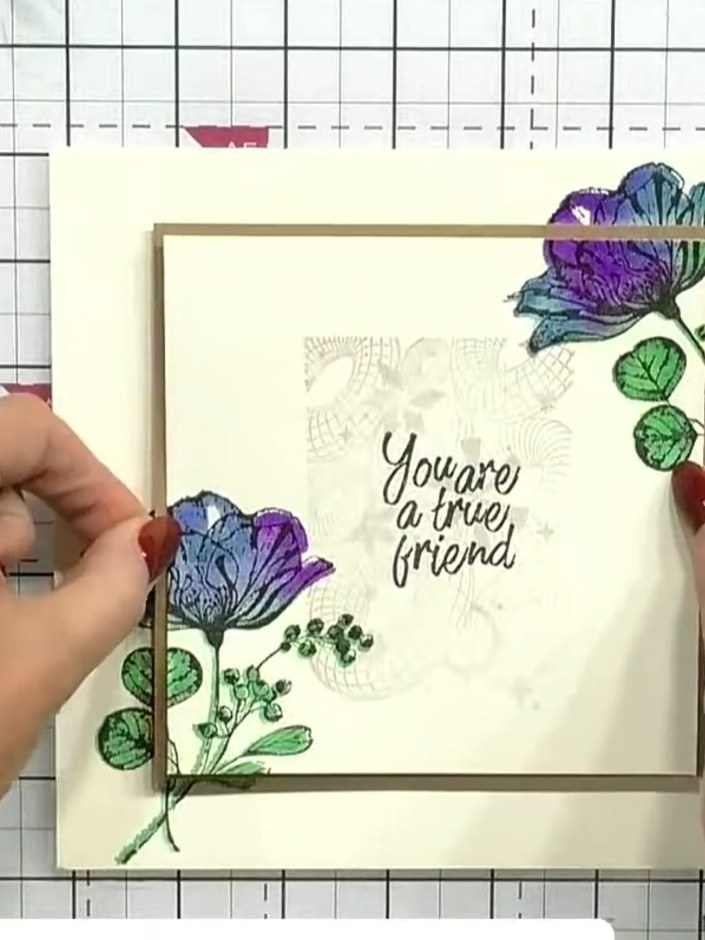
Create a stunning dimensional card featuring beautiful floral imagery with a spotlight stamping effect. The design showcases purple and blue flowers with green foliage on a cream background, framed with a kraft card border and accompanied by a heartfelt sentiment. This project uses the spotlight technique where coloured card is positioned behind stamped designs to create an eye-catching 3D effect.
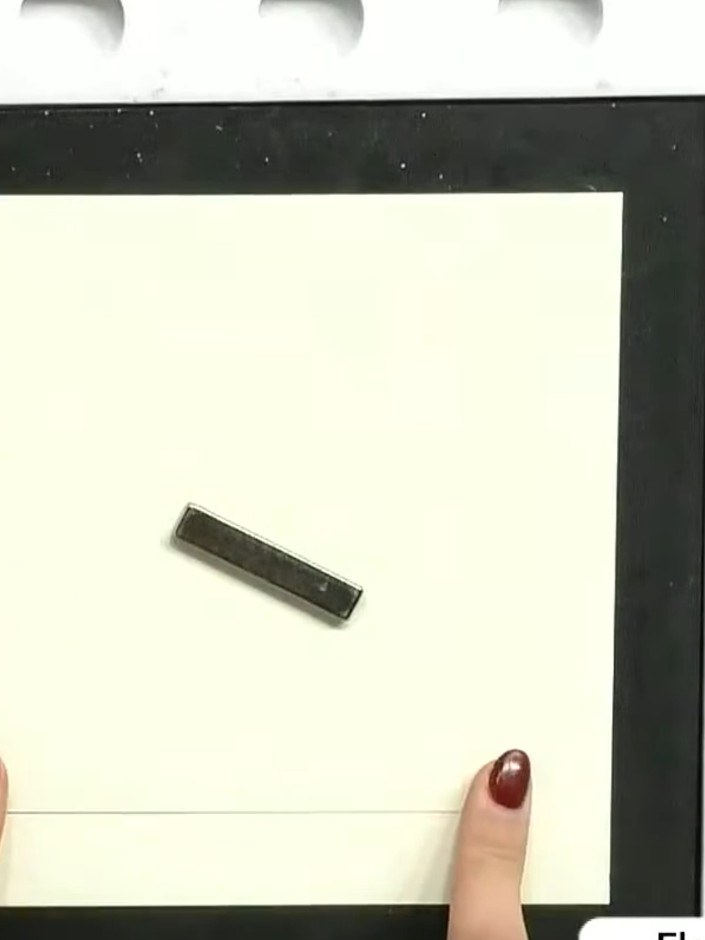
Take a cream card blank and position a white card panel horizontally across the lower portion of the card front. Place a clear stamp showing flowers at the top right of the card.
▶ watch this step (36:45)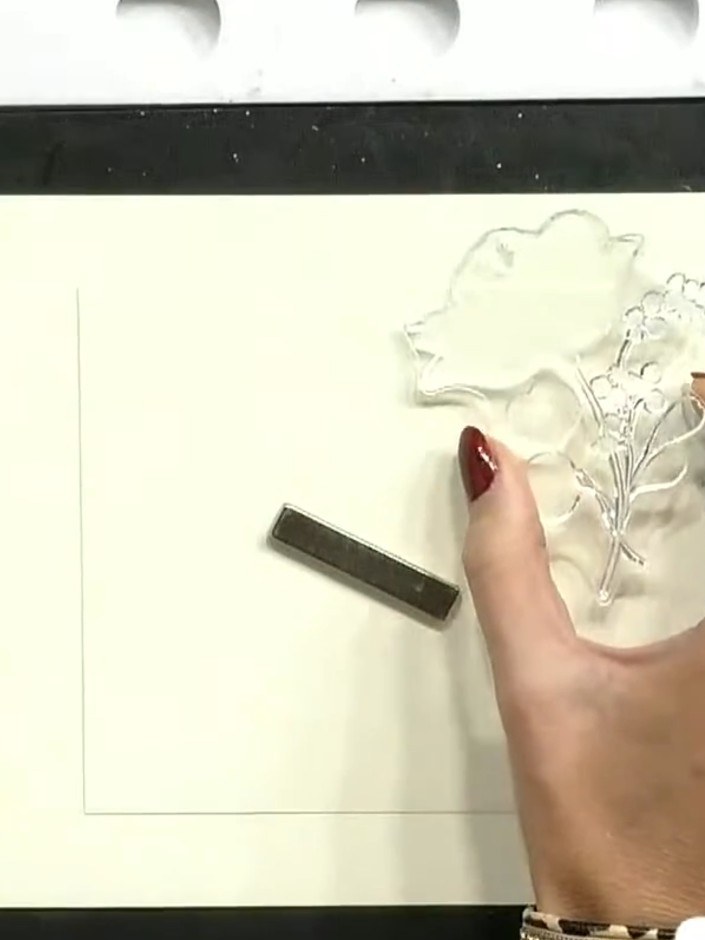
Select the floral stamp and position it on your card blank. Choose two or three ink pad colours such as purple, teal, and green for stamping.
▶ watch this step (37:00)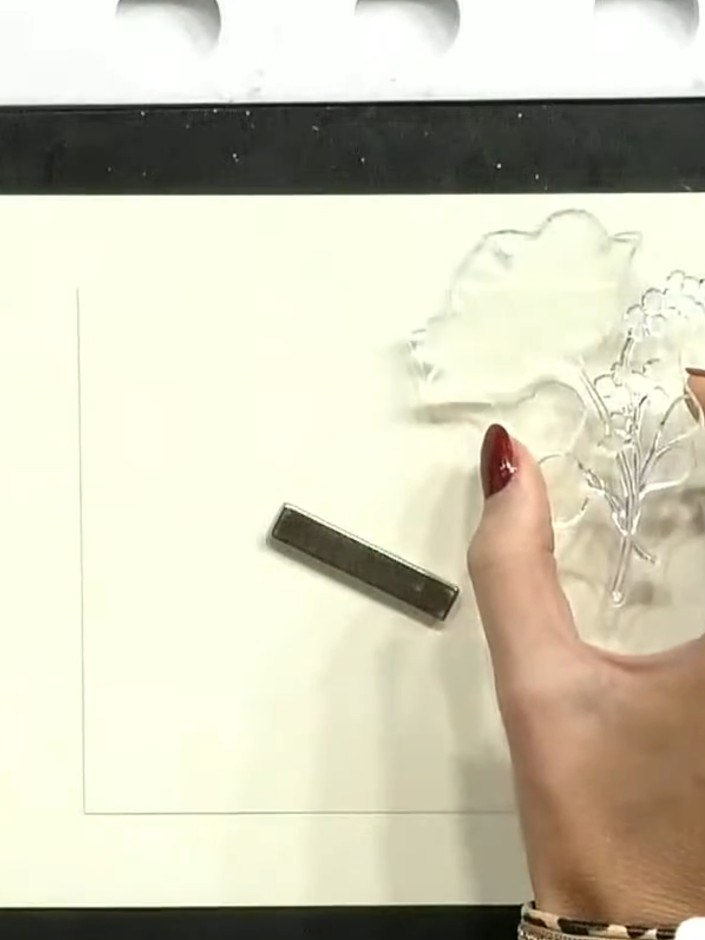
Using purple ink, spot colour onto the flower centres of the stamp. Apply the ink directly to the raised flower areas on the stamp.
▶ watch this step (37:15)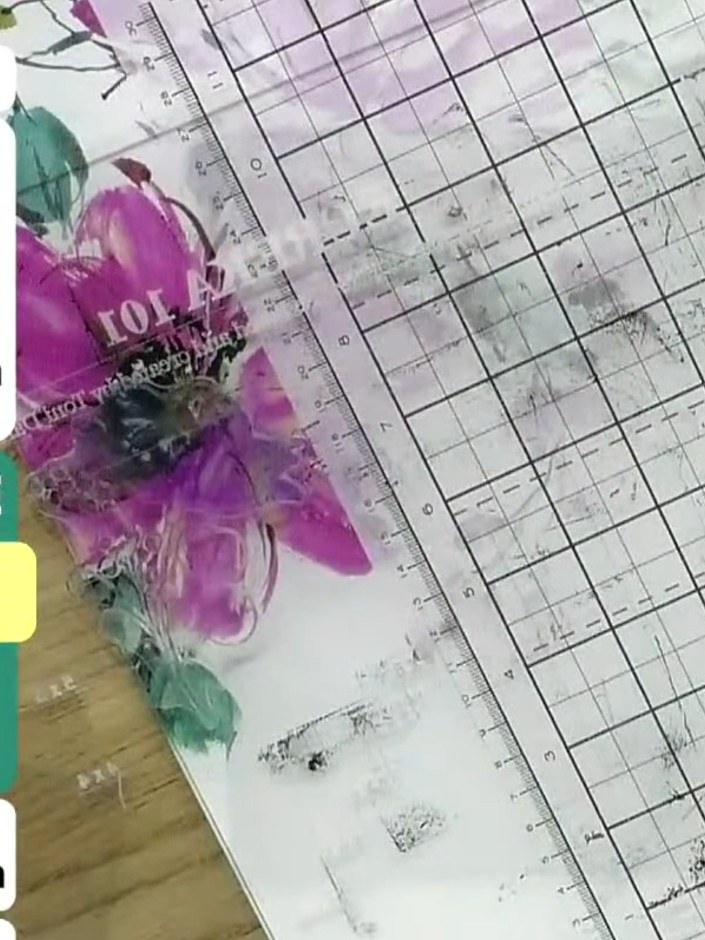
Apply teal ink to the outer edges of the flower petals and leaves using an ink pad or blending tool. Work carefully around the stamped flower design to add depth and dimension.
▶ watch this step (37:30)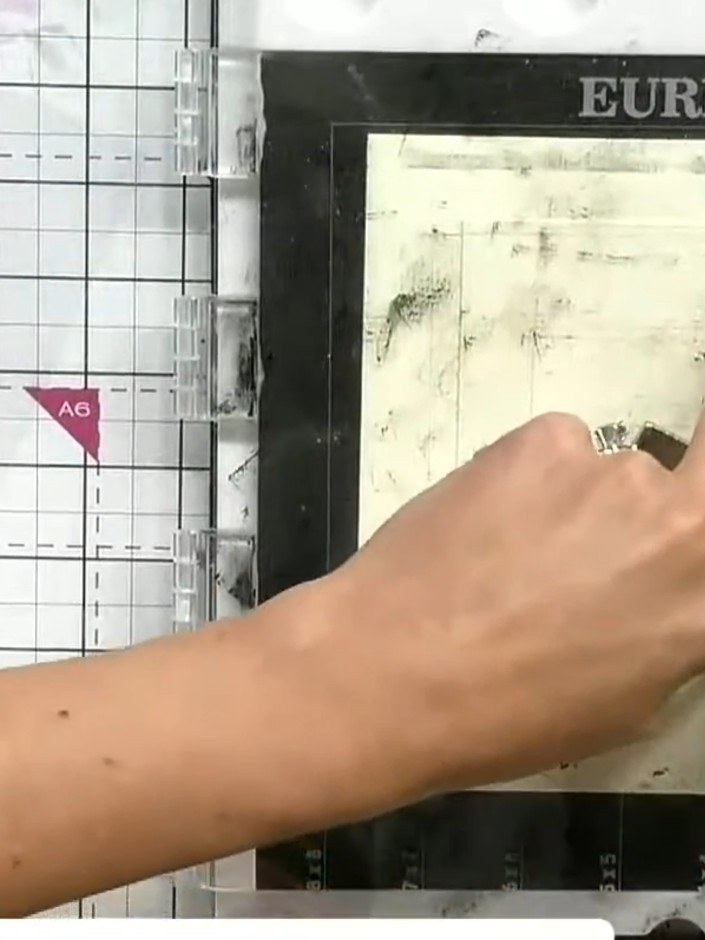
Apply green ink to the leaf areas of the stamp using a small brush or sponge. Work carefully to colour only the leaf portions, avoiding the flower areas.
▶ watch this step (37:45)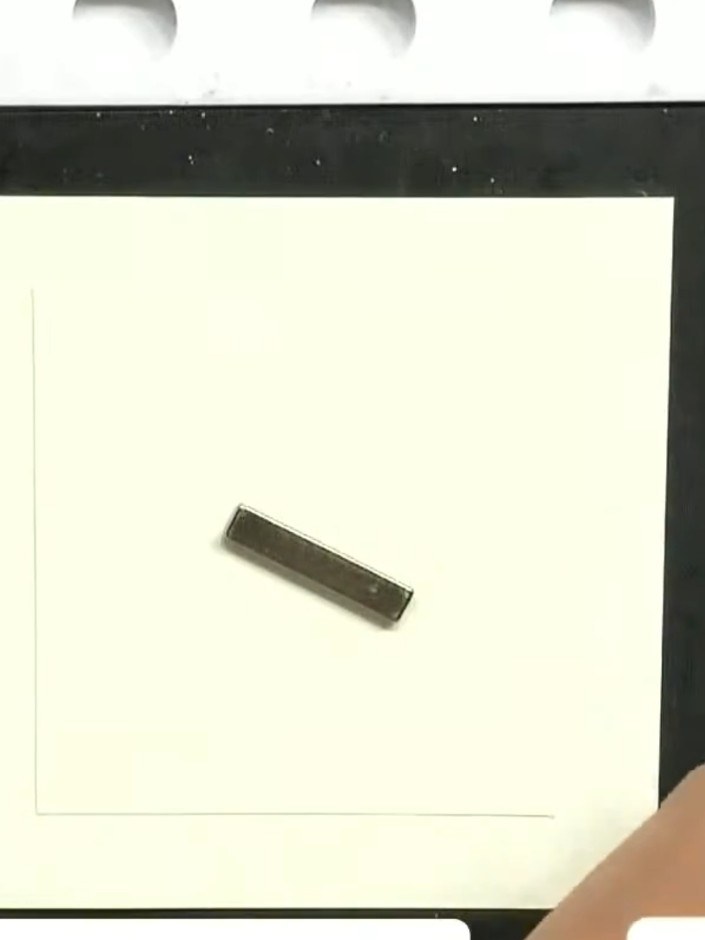
Lightly spray the inked stamp with water to blend the colours together.
▶ watch this step (38:00)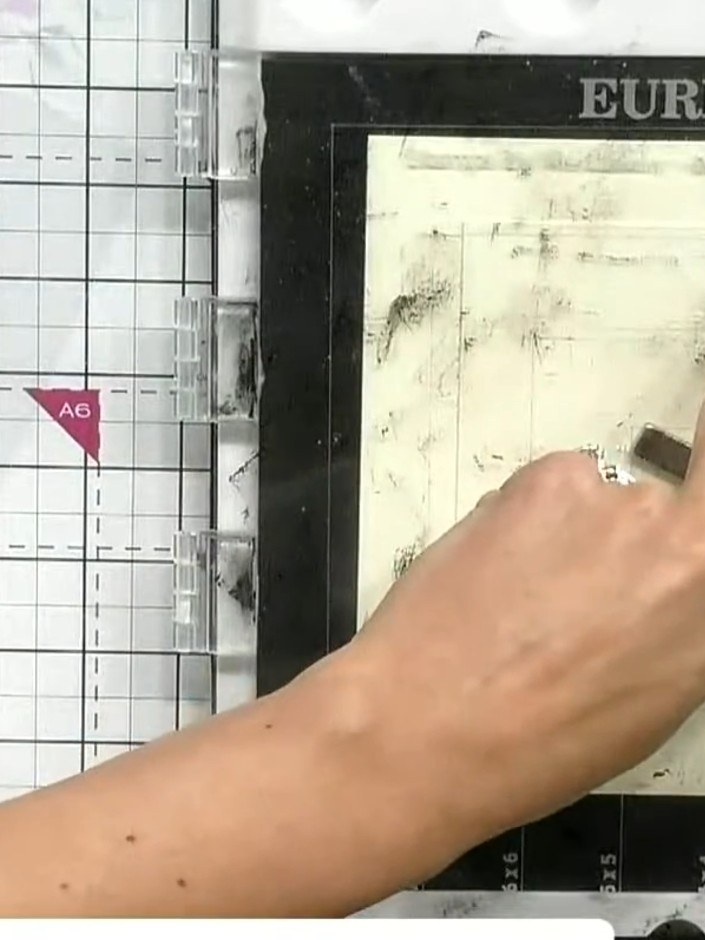
Press the stamp firmly onto the card stock and hold briefly to transfer the design. Ensure even pressure across the entire stamp for a clear impression.
▶ watch this step (38:15)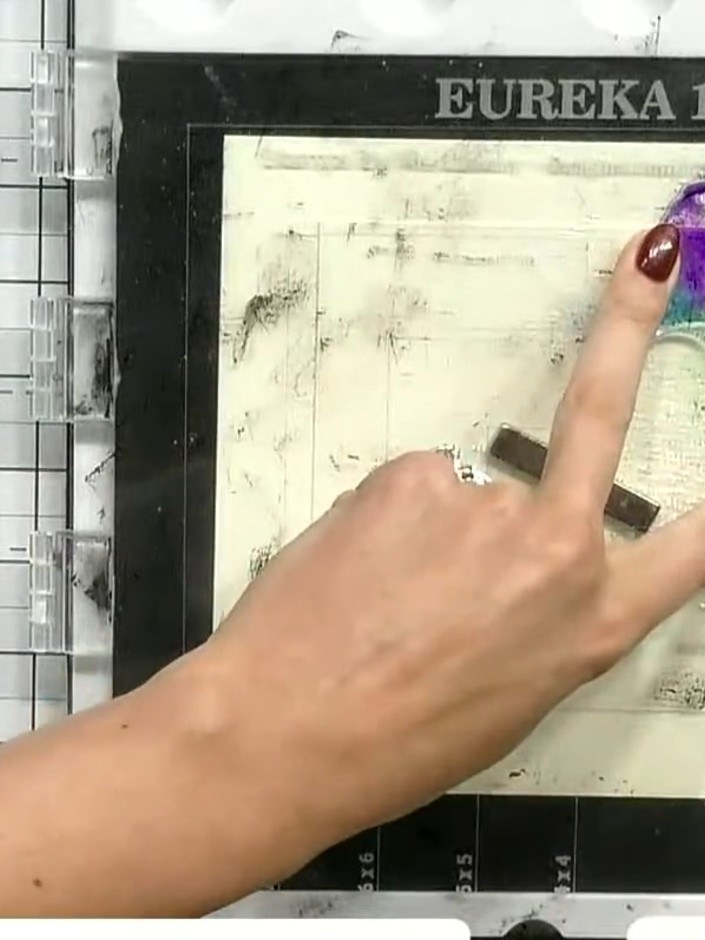
Carefully lift the stamp away from the card to reveal the watercolour floral design with purple, blue and green tones.
▶ watch this step (38:30)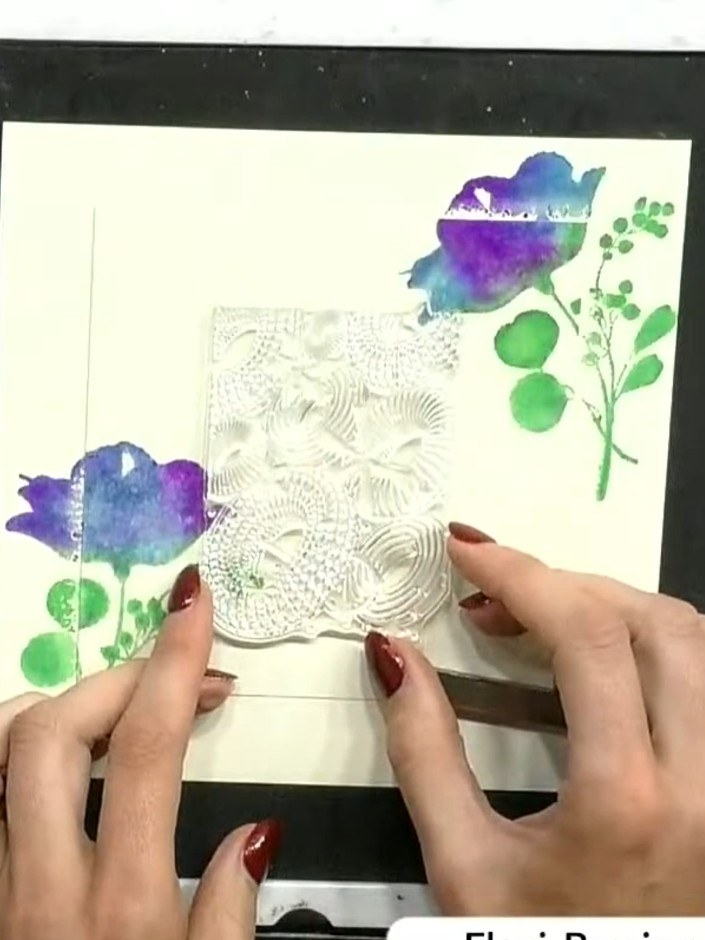
Select the abstract tile stamp from your stamp set. Choose a very light ink colour to avoid overpowering the watercoloured flowers when stamping the background.
▶ watch this step (40:45)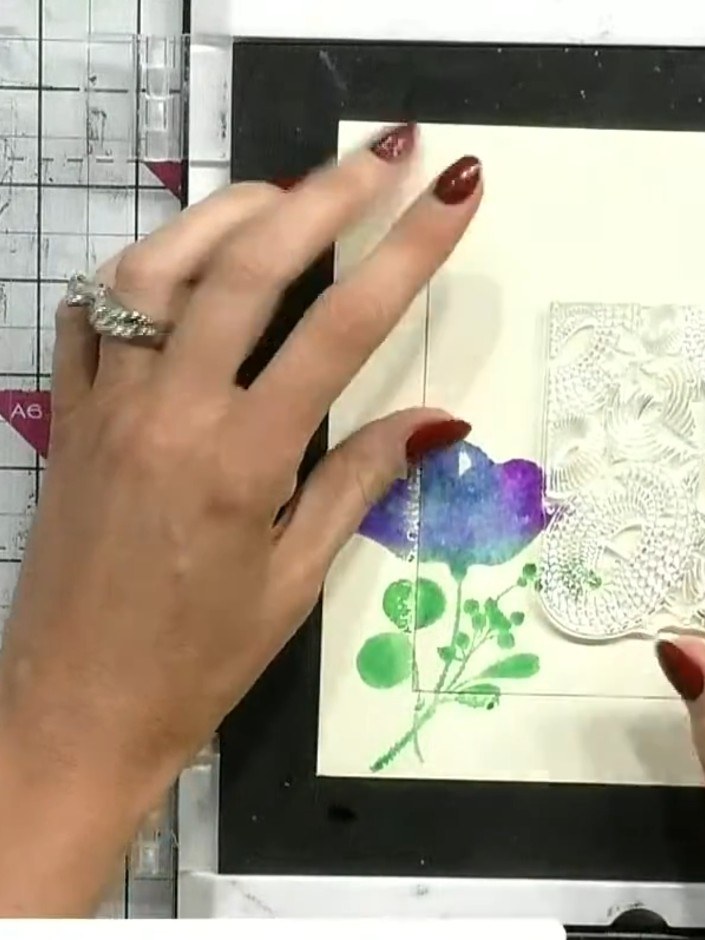
Position the abstract tile stamp in the centre of your card front. Press down gently with minimal pressure to stamp the design onto the card.
▶ watch this step (41:00)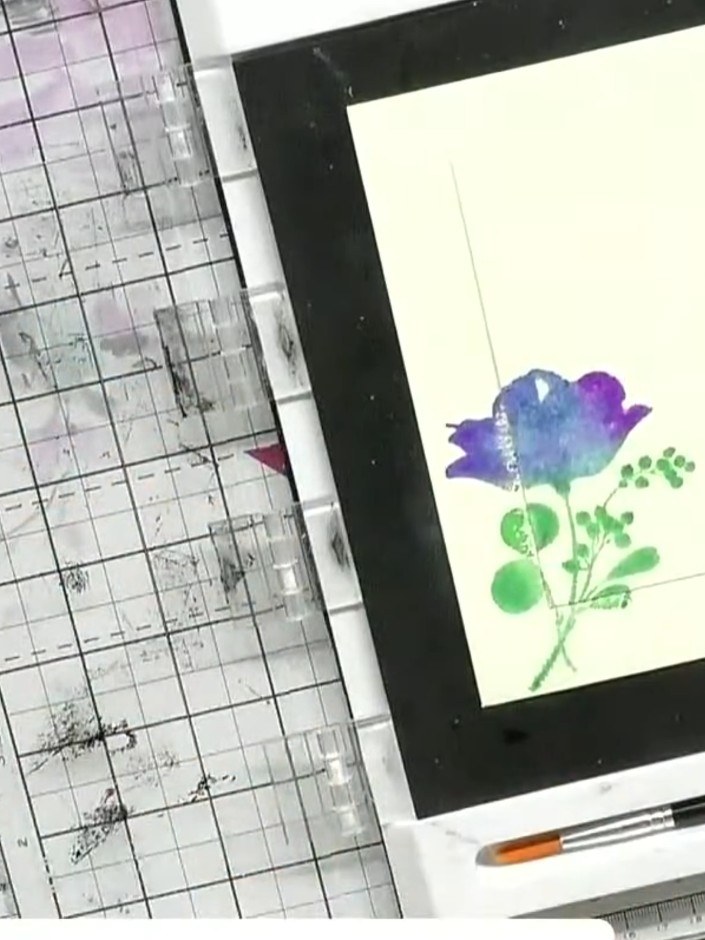
Clean the stamped design with a baby wipe or damp cloth to remove any excess ink or residue. Ensure the stamped image is completely dry before proceeding to the next step.
▶ watch this step (41:15)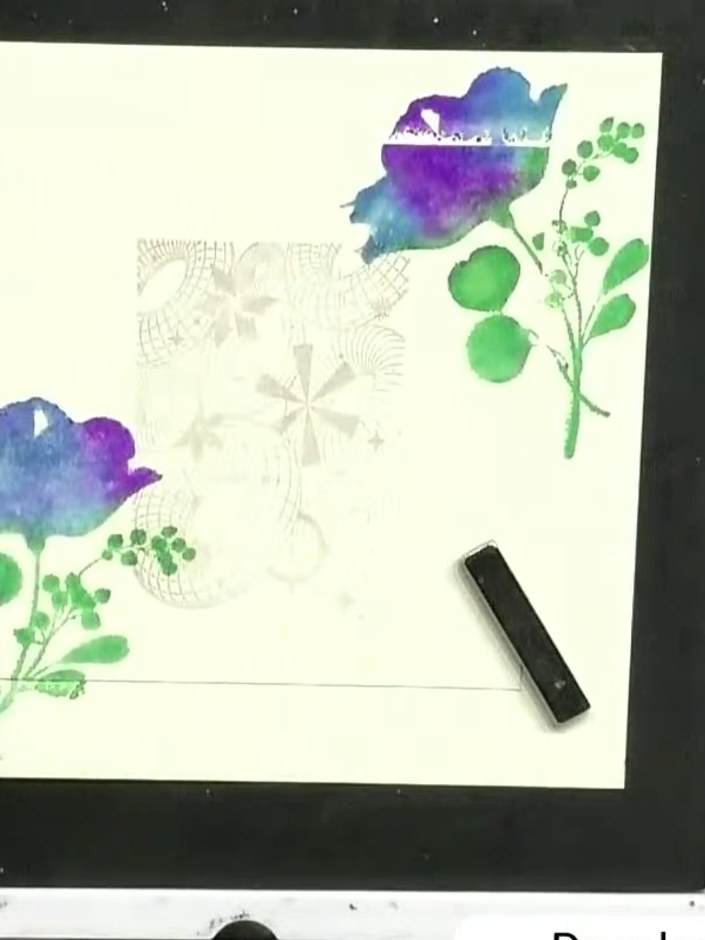
Adhere the stamped floral piece onto a piece of coloured card stock using craft adhesive to create dimension and a layered effect.
▶ watch this step (42:00)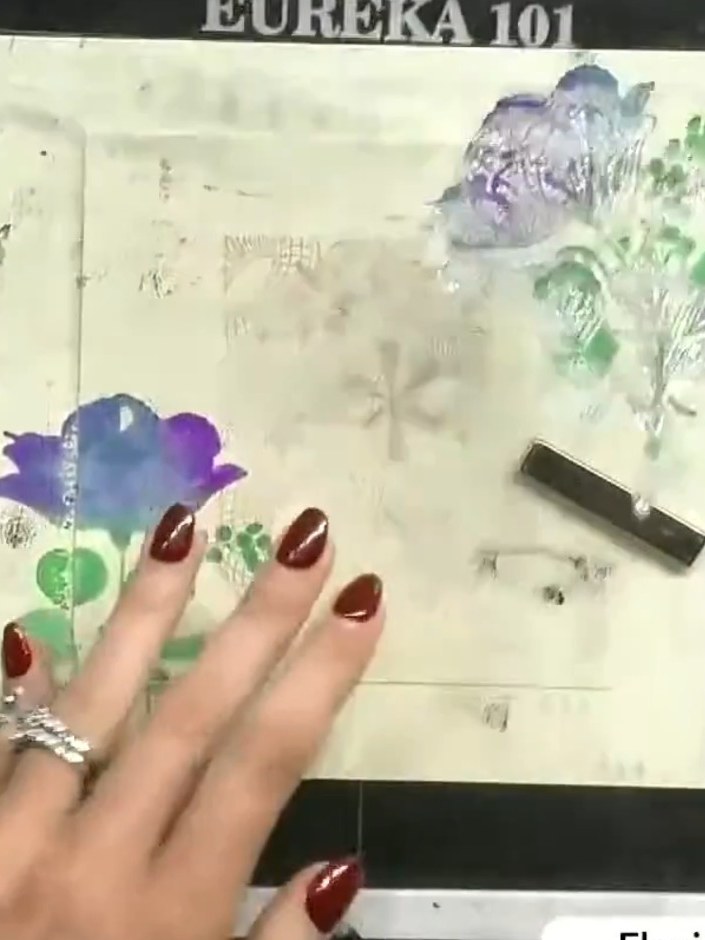
Mount the completed stamped and coloured panel onto your card base, ensuring the design is carefully aligned and centred.
▶ watch this step (42:15)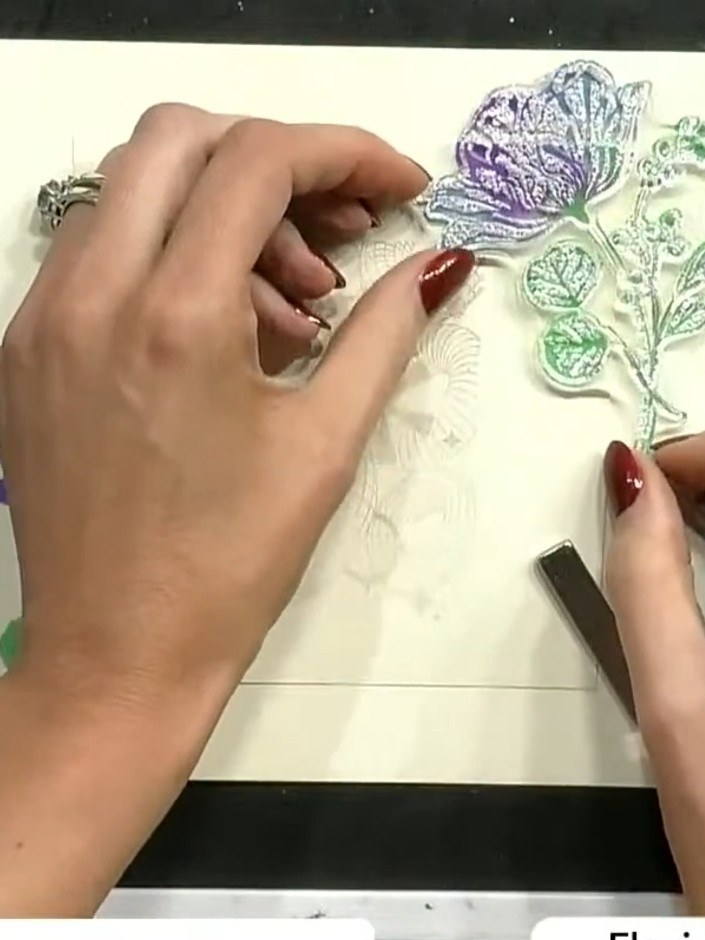
Add a sentiment stamp to the card to complete your design. Position it in a suitable space amongst the stamped flowers and background elements.
▶ watch this step (43:00)Written up from the show itself. See every guide from our shows · free how-to guides · watch live on My Telly