Give your friends $10 off their first order!
Refer a FRIEND








A project from our live show ONE DAY SPECIAL - Exclusive by Sarah Gray from Funky Fossil - Broadcast 13th September 24 · 09/13/2024 · watch it from 45:30
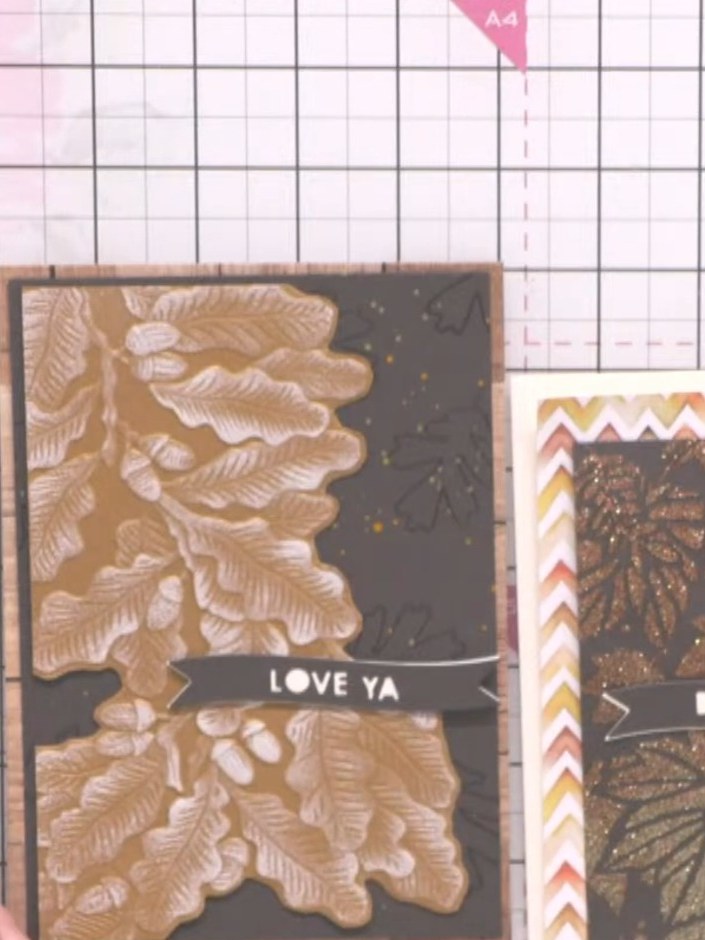
Create an elegant autumn card featuring a stunning oak leaf cascade design embossed on copper card stock. The three-dimensional embossed leaves are enhanced with clear heat embossing for a glossy finish, complemented by delicate leaf outlines, artistic splatter effects, and a wood-grain washi tape accent. Complete your card with a sentiment banner reading 'LOVE YA' for a warm, sophisticated greeting.
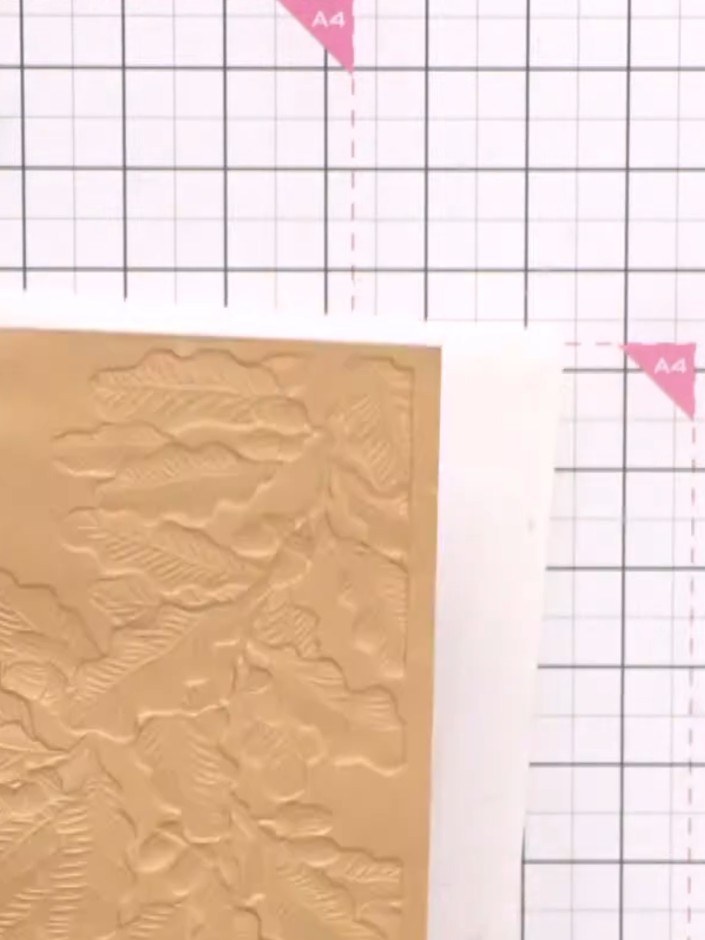
Run a piece of copper card stock through your die-cutting machine with the oak leaf cascade embossing folder to create the 3D textured design.
▶ watch this step (46:00)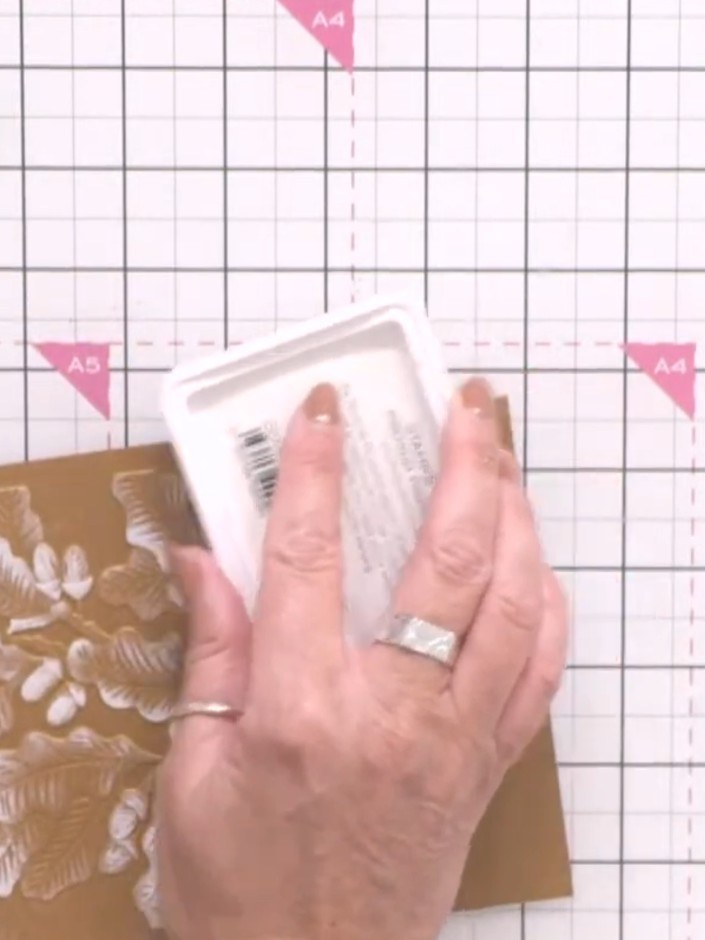
Clear heat emboss some of the outline leaves from the fallen leaves stamp set onto the embossed panel for added detail.
▶ watch this step (46:30)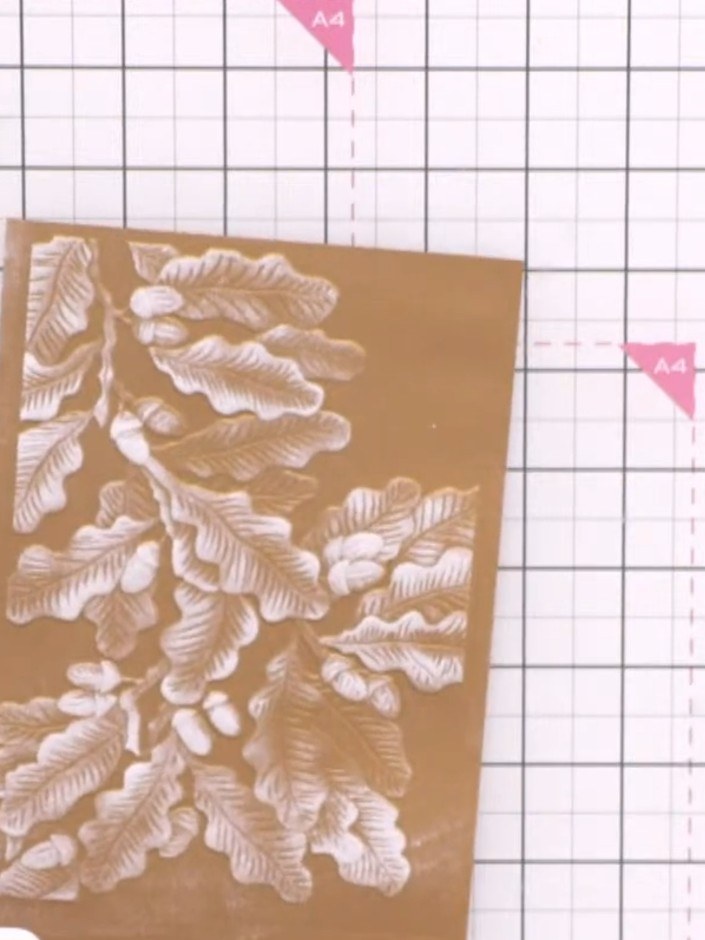
Add splatter effects to the embossed panel using white ink or paint to create texture and visual interest across the oak leaf design.
▶ watch this step (47:00)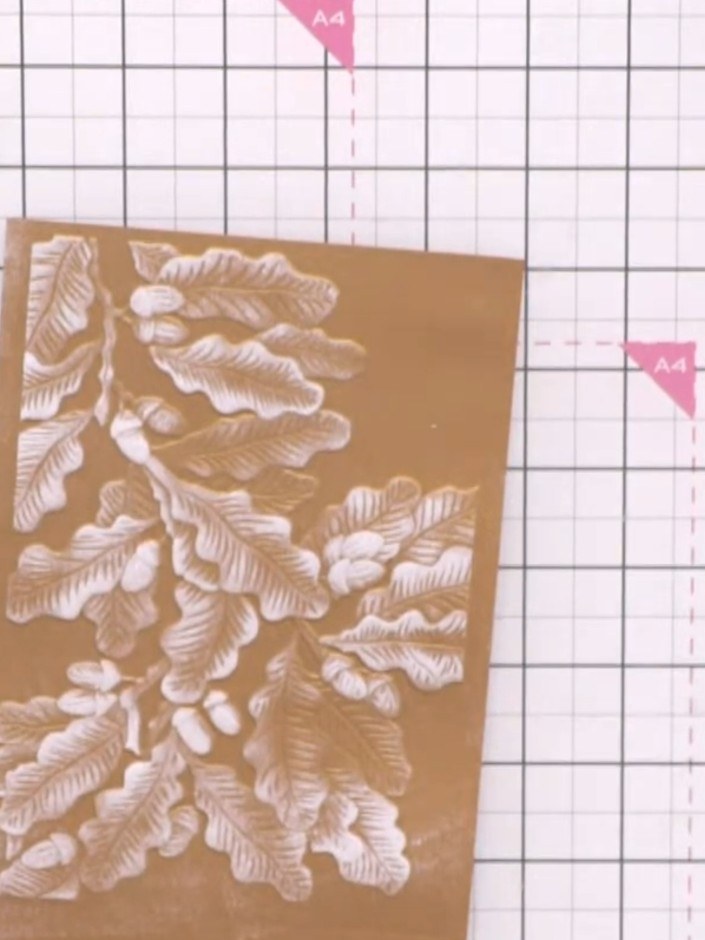
Adhere wood-grain washi tape horizontally across the dark card panel to create a rustic accent strip.
▶ watch this step (47:30)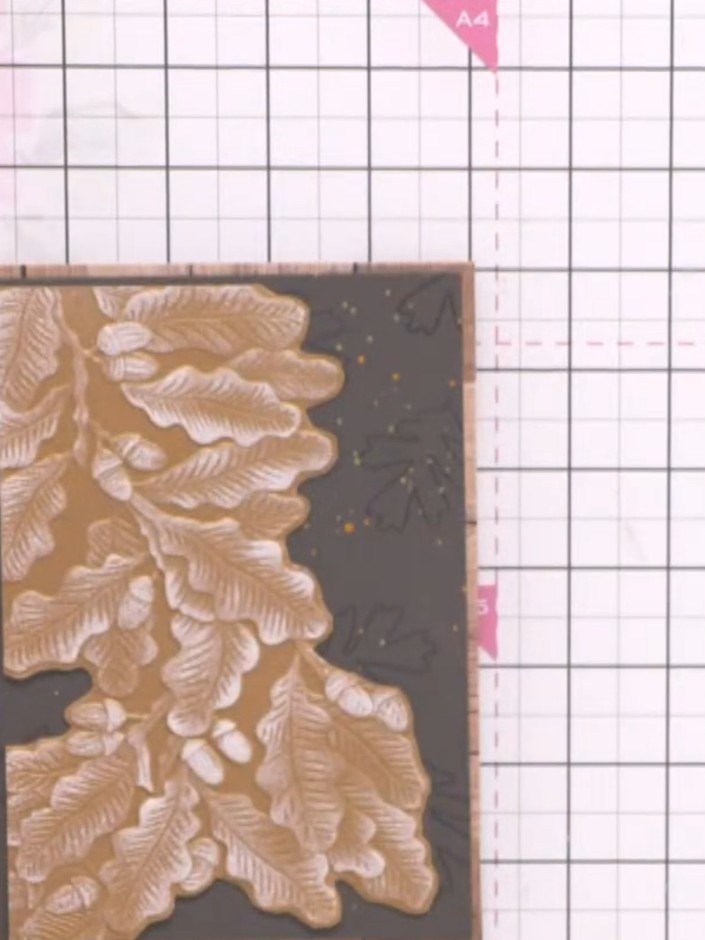
Die cut a sentiment such as 'love you' from the word banners die set using dark brown card stock.
▶ watch this step (48:00)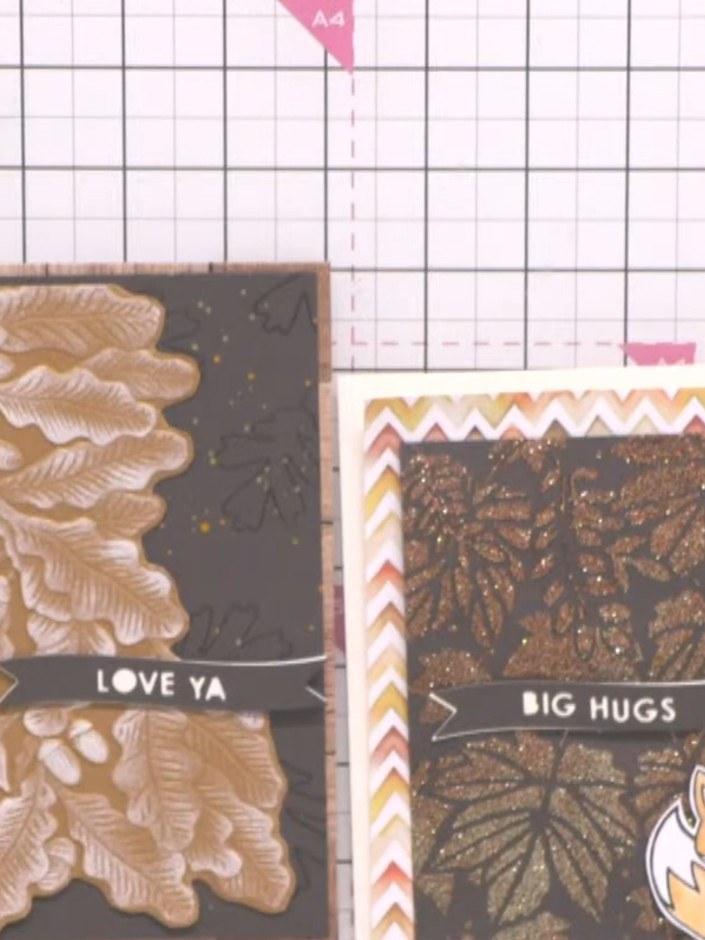
Layer the sentiment die cut onto a cream card underlay for contrast and dimension. Position the layered sentiment banner on your card design.
▶ watch this step (48:30)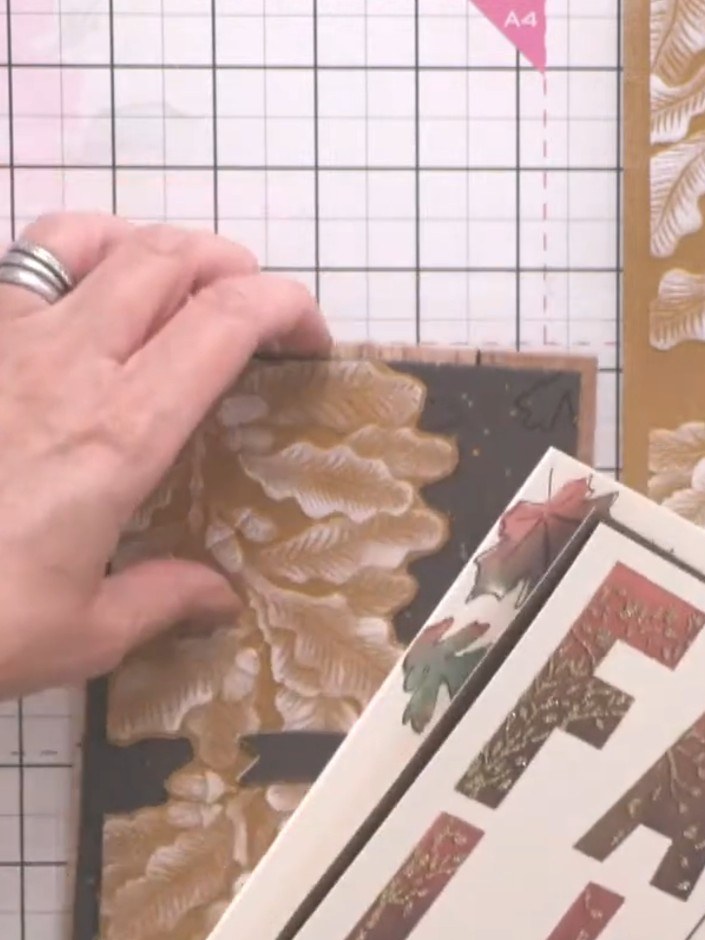
Adhere the layered sentiment banner to the card front, positioning it across the embossed oak leaf design.
▶ watch this step (49:00)Written up from the show itself. See every guide from our shows · free how-to guides · watch live on My Telly