Give your friends $10 off their first order!
Refer a FRIEND








A project from our live show ONE DAY SPECIAL - Join Toni for brand new launch - Broadcast 20th September 24 · 09/20/2024 · watch it from 15:00
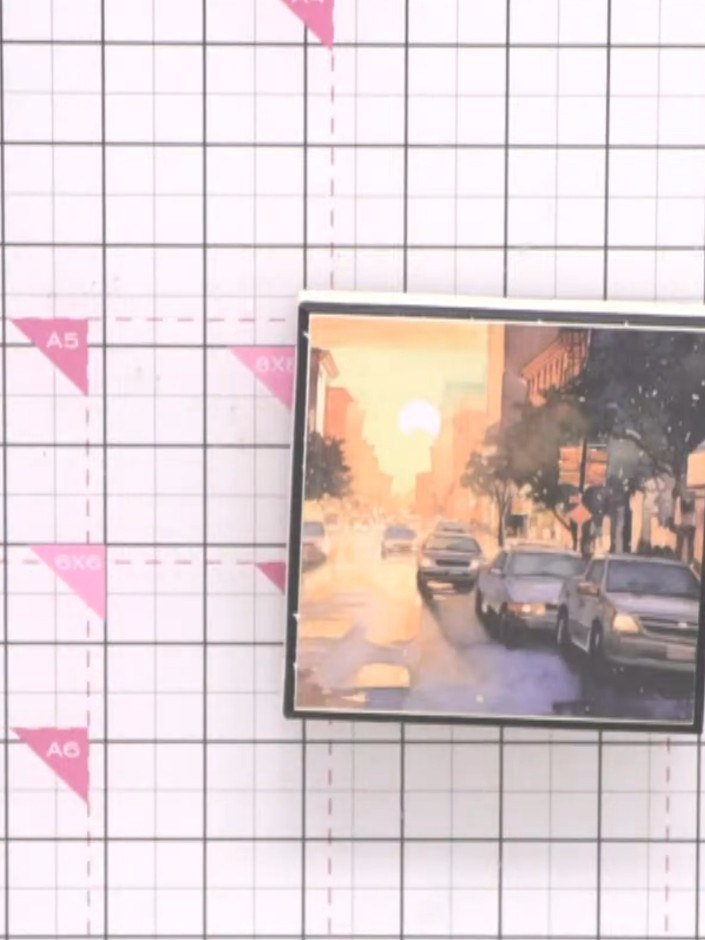
Create an elegant decorated gift box using Great Outdoors themed papers featuring cyclists and scenic imagery. This project transforms a plain cream and black box into a sophisticated presentation piece, perfect for giving money or small gifts. The design incorporates layered papers with coordinating card inserts inside, using simple layering and assembly techniques.
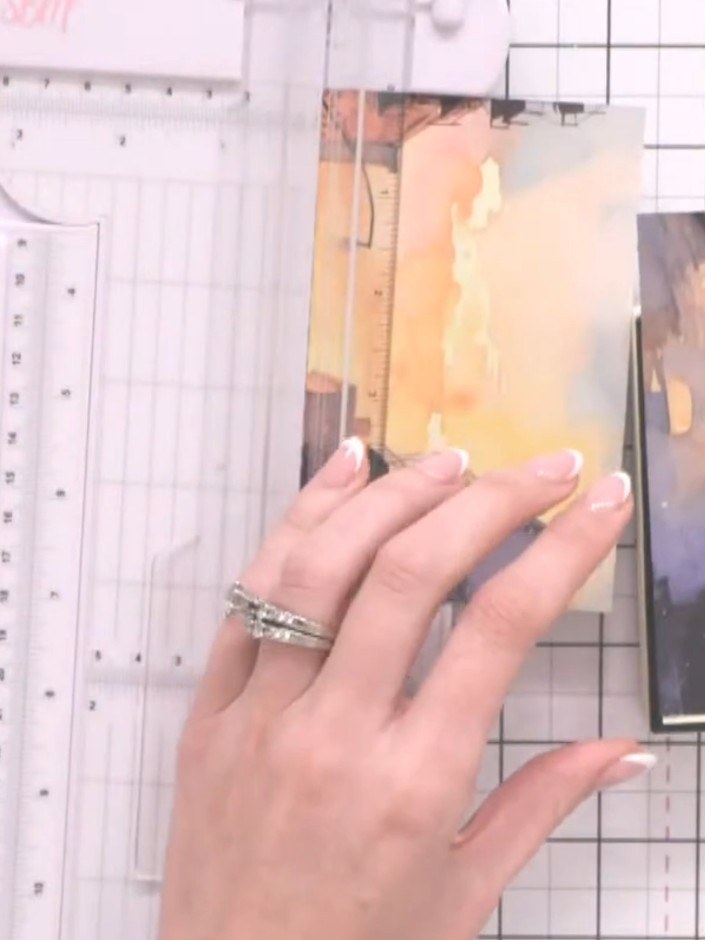
Select a focal point design from your Great Outdoors paper. Mark the desired area lightly with a pen or pencil to plan the placement on your box lid.
▶ watch this step (17:45)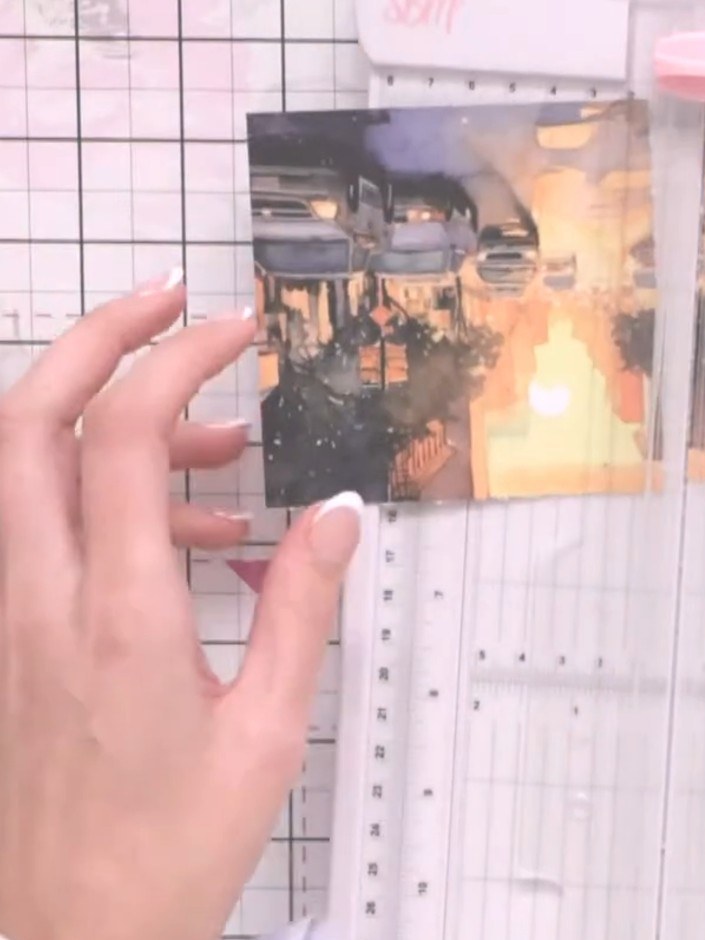
Cut out your focal point design from the paper, leaving a cream border around the edges if desired.
▶ watch this step (18:00)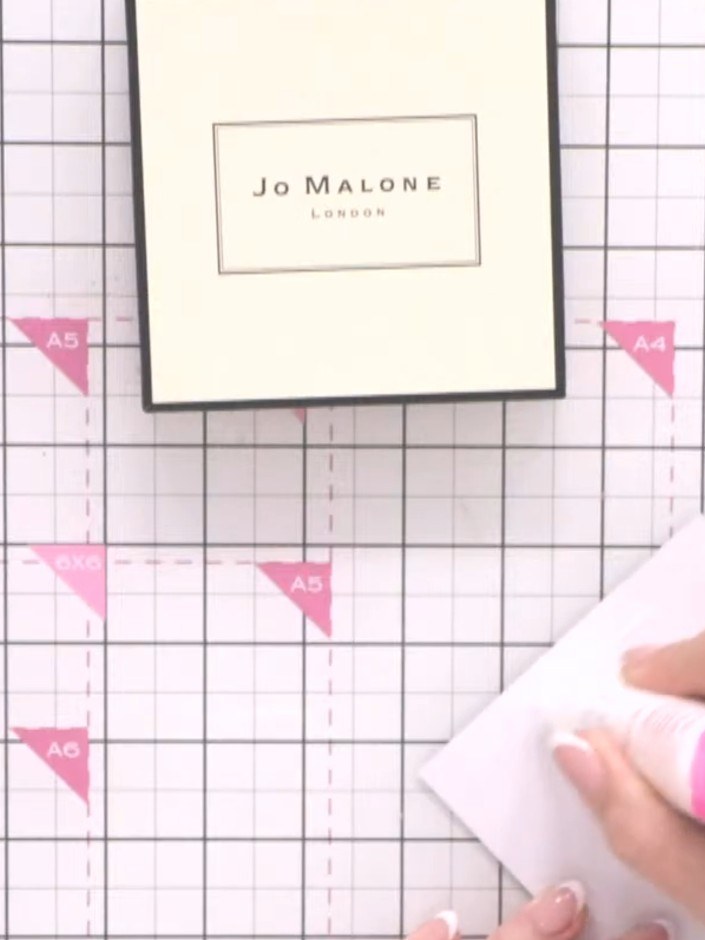
Apply glue all the way around the back of your focal point piece and press it firmly onto the centre of the box lid.
▶ watch this step (19:15)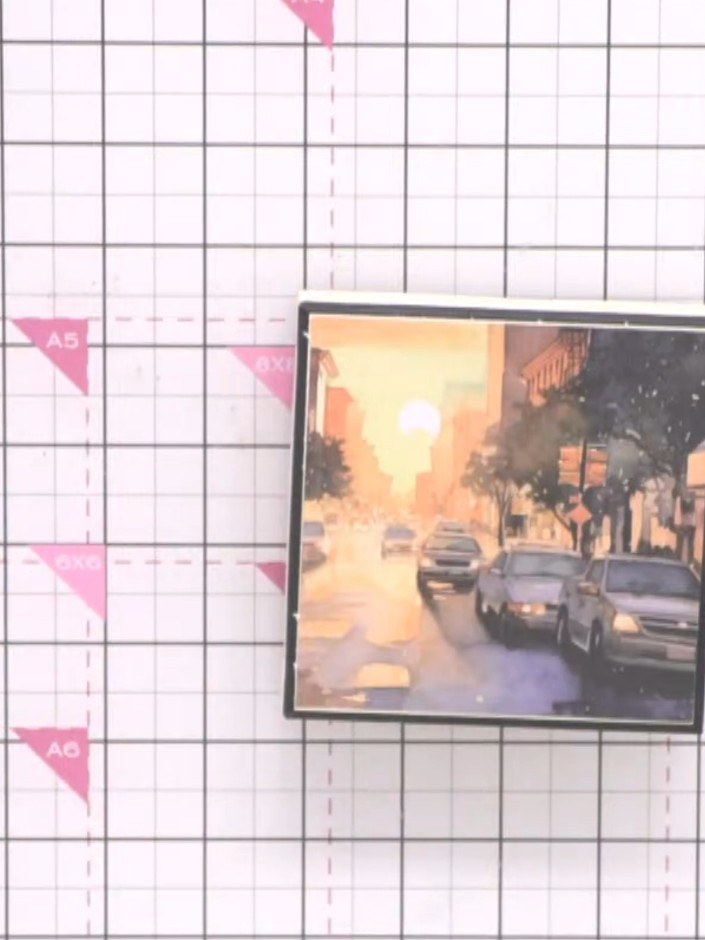
Cut additional pieces from the paper offcuts to cover the three remaining sides of the box, ensuring they fit neatly without overlapping.
▶ watch this step (20:00)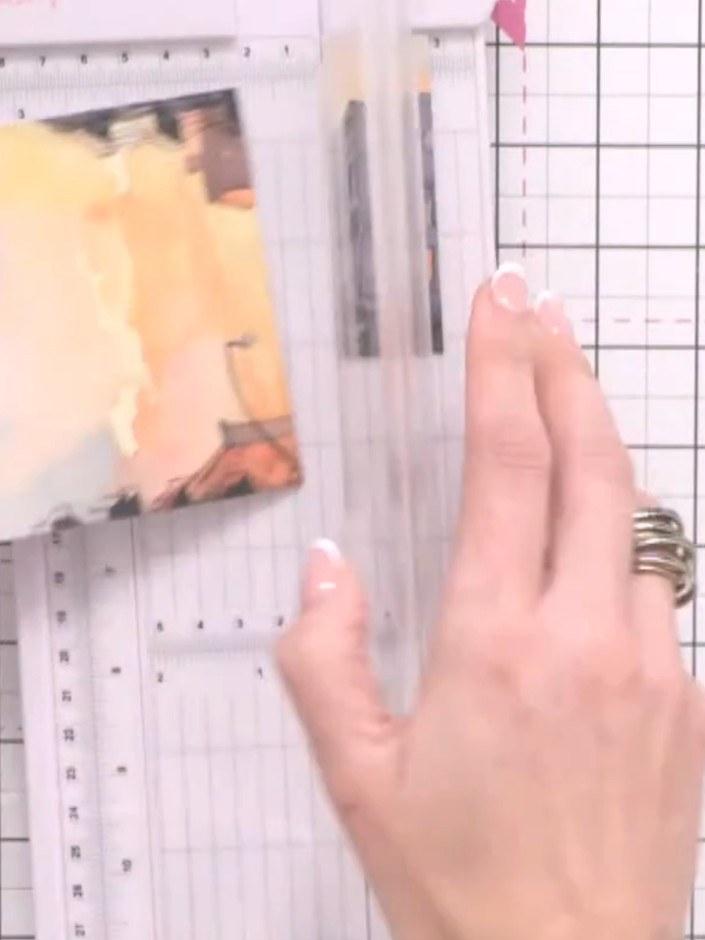
Glue each side piece onto the box, working carefully to maintain neat edges. Position the paper precisely and smooth down to ensure a professional finish.
▶ watch this step (20:45)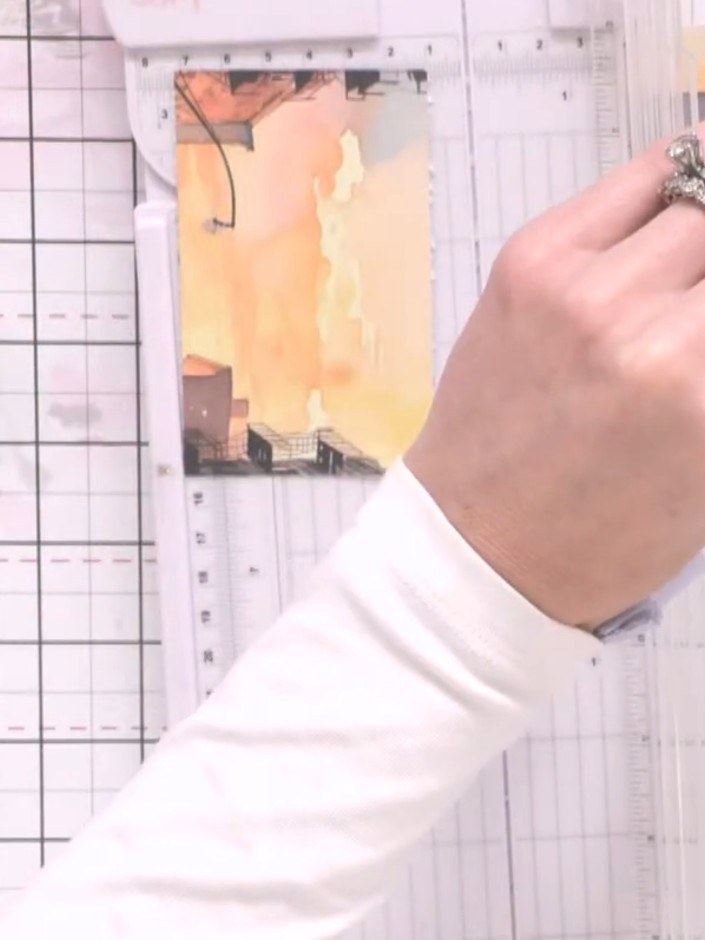
Cut a piece of cream card to gift card size. Stamp a bicycle design from the Great Outdoors stamp set onto the cream card to decorate it.
▶ watch this step (21:30)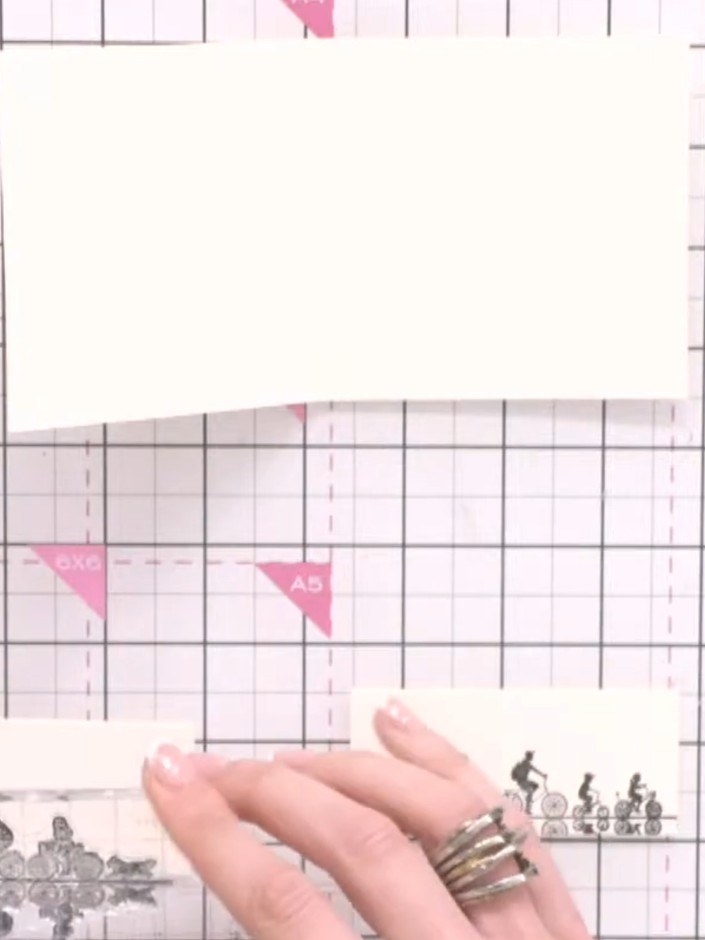
Stamp the bike image repeatedly across the top of your cream card insert using black ink.
▶ watch this step (30:45)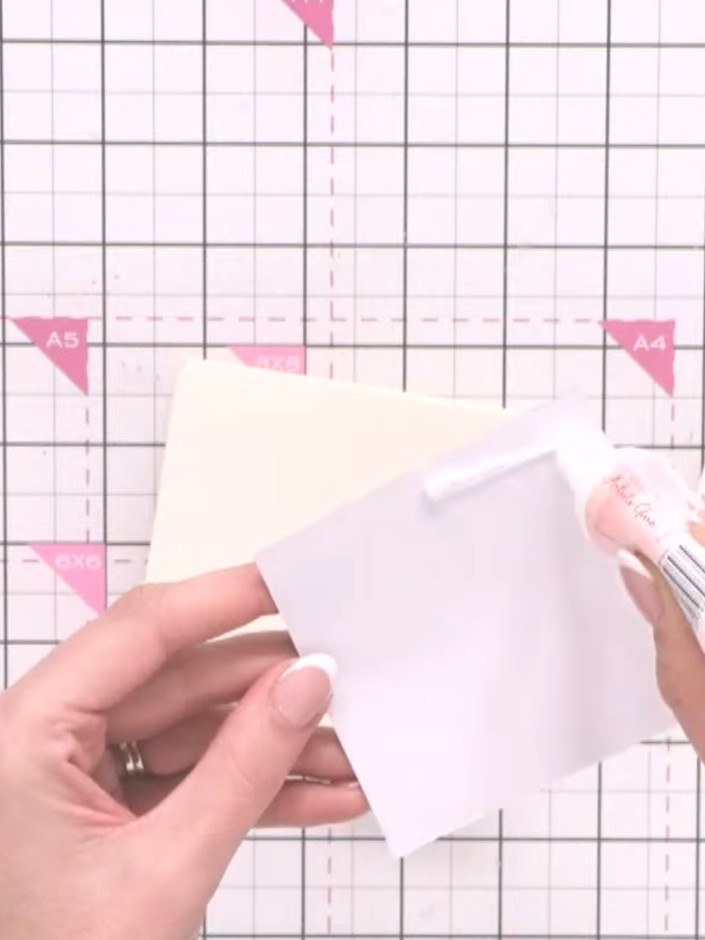
Place the decorated card inside the box with tissue paper and your gift to complete the presentation.
▶ watch this step (31:00)Written up from the show itself. See every guide from our shows · free how-to guides · watch live on My Telly
