Give your friends $10 off their first order!
Refer a FRIEND








A project from our live show HOBBYMAKER TV - Join us for the latest show - Broadcast 6 p.m. (UK) 8th August 2026 · 08/08/2026 · watch it from 1:00:30
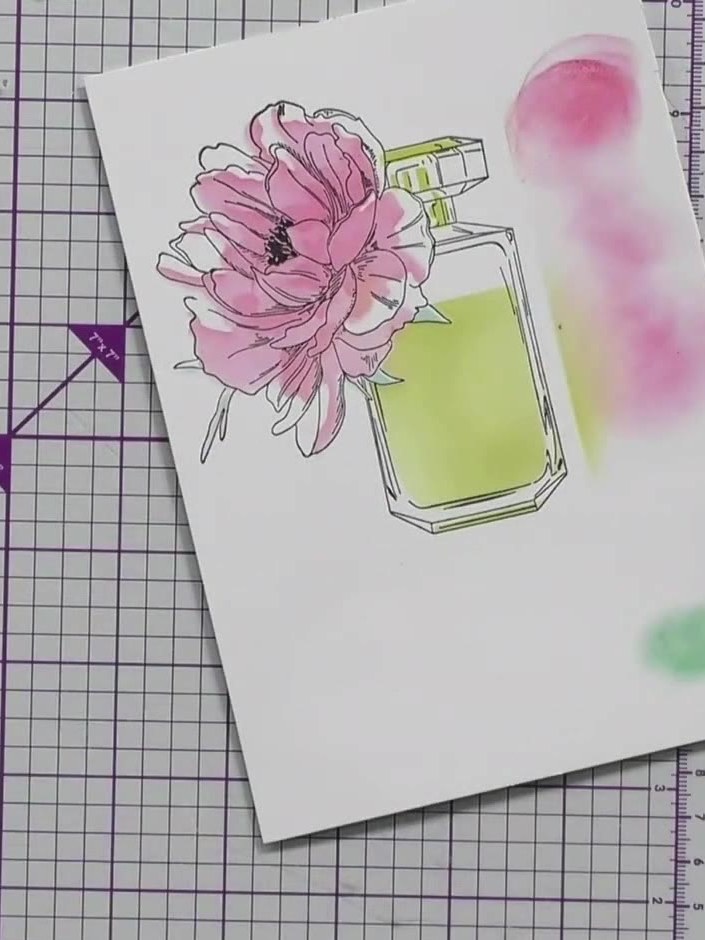
Create a stunning dimensional card featuring a delicate perfume bottle adorned with a beautiful pink flower. Using the Quattro layering system, you'll combine stamping, die-cutting, stencilling and embossing techniques to build up gorgeous texture and depth. The finished design showcases soft pinks and fresh greens with elegant 3D embossed details that bring your card to life.
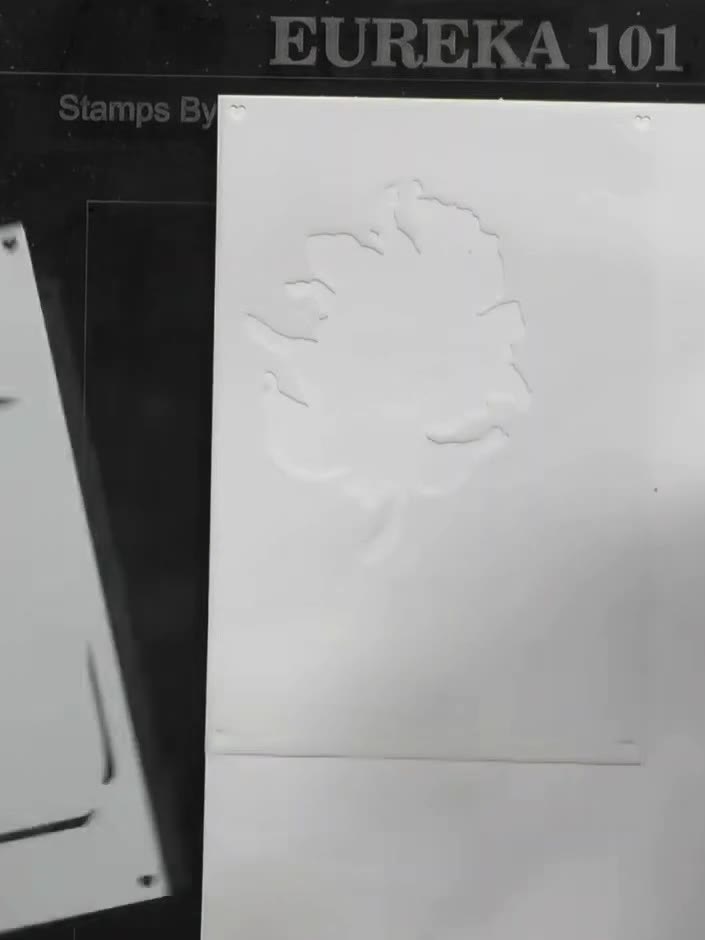
Position the first layering stencil on your white card base, aligning it carefully to the edge. The stencil features a floral design with a perfume bottle and 'WISHING YOU LOTS OF HAPPINESS' sentiment.
▶ watch this step (1:01:15)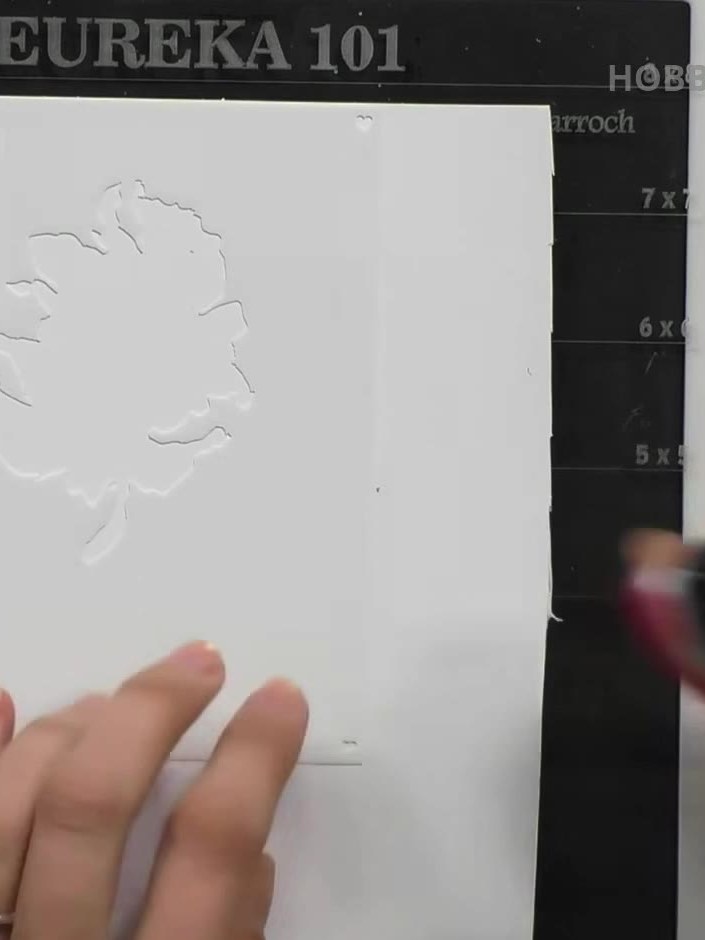
Apply pink ink through the stencil onto the embossed flower area using an ink pad. Gently dab the ink pad over the raised flower design to add colour.
▶ watch this step (1:02:00)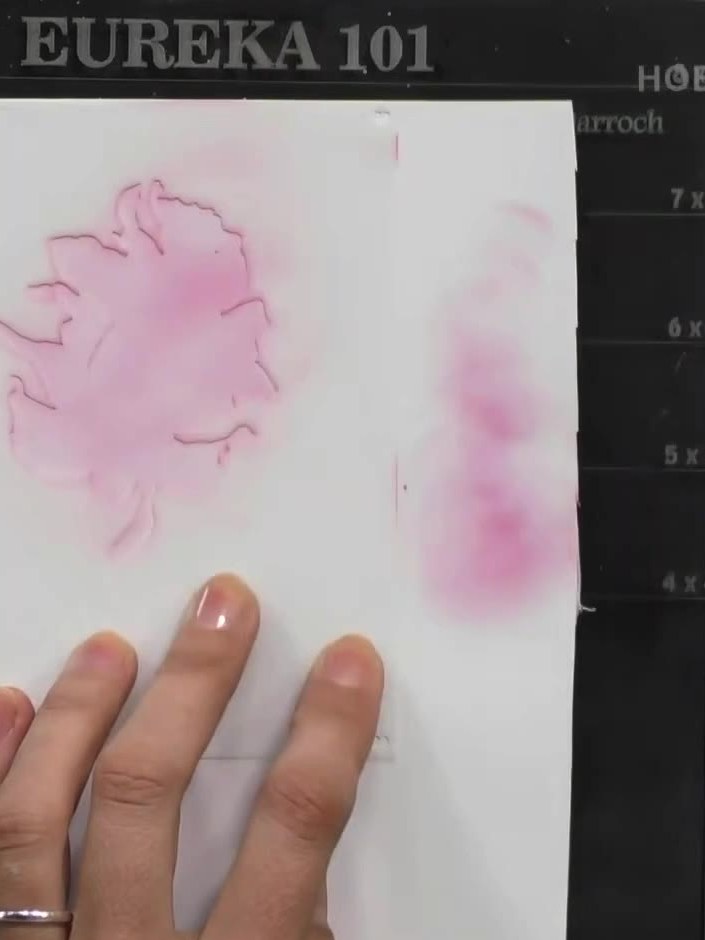
Position the second layering stencil over the perfume bottle image. Apply yellow ink to the perfume bottle top and add texture to the flower area using a blending tool.
▶ watch this step (1:02:30)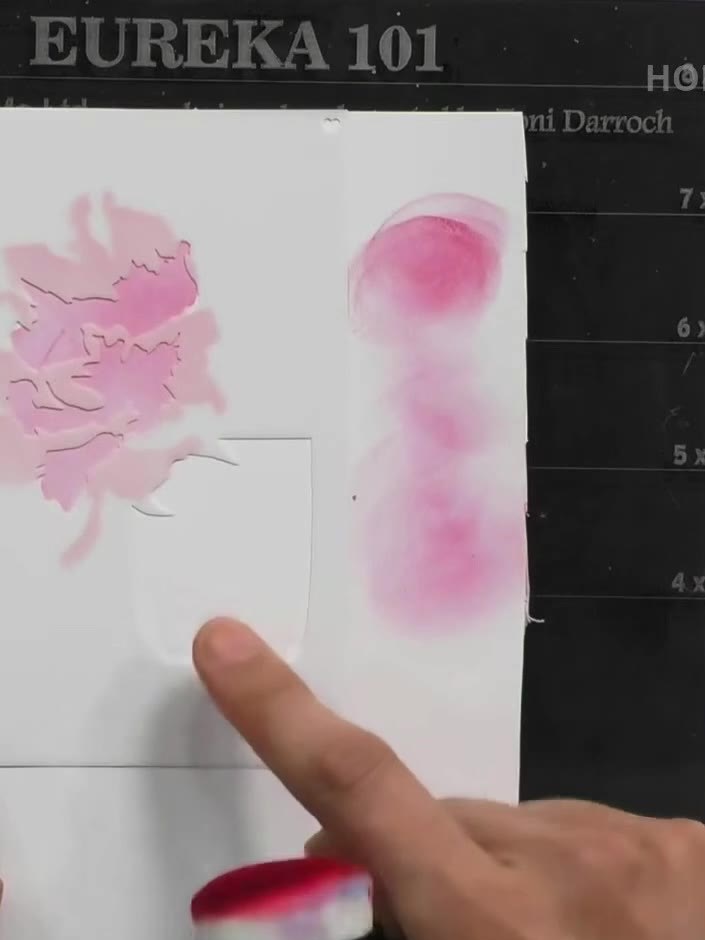
Apply green ink through the stencil to create the leaf details on the flower image. Use a blending tool to apply the ink evenly through the stencil openings.
▶ watch this step (1:03:00)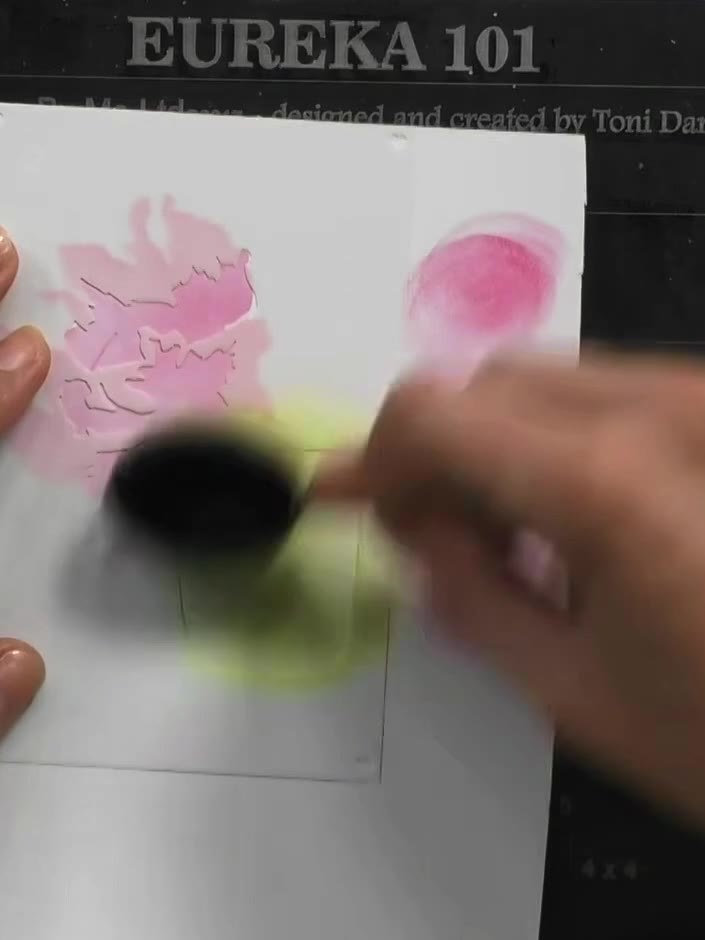
Stamp the floral design in black ink onto the white card, carefully lining up the stamp with the stencilled pink and green areas you created earlier.
▶ watch this step (1:03:30)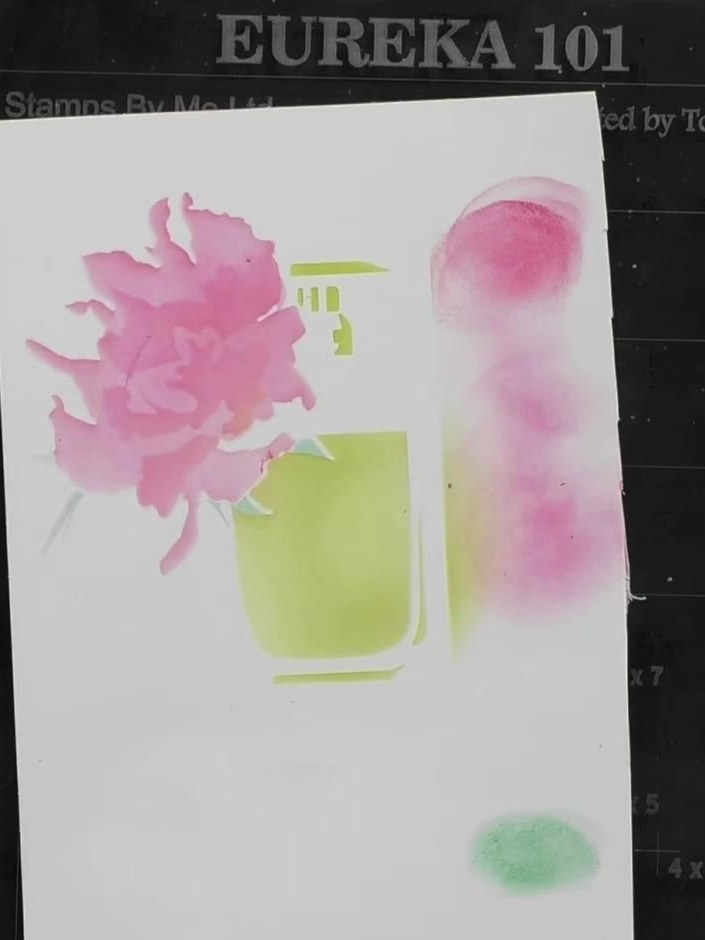
Die-cut the stamped design using your die-cutting machine. Place the stamped image on the cutting platform with the appropriate die and run it through the machine to cut out the pink flower and green vase shapes.
▶ watch this step (1:06:00)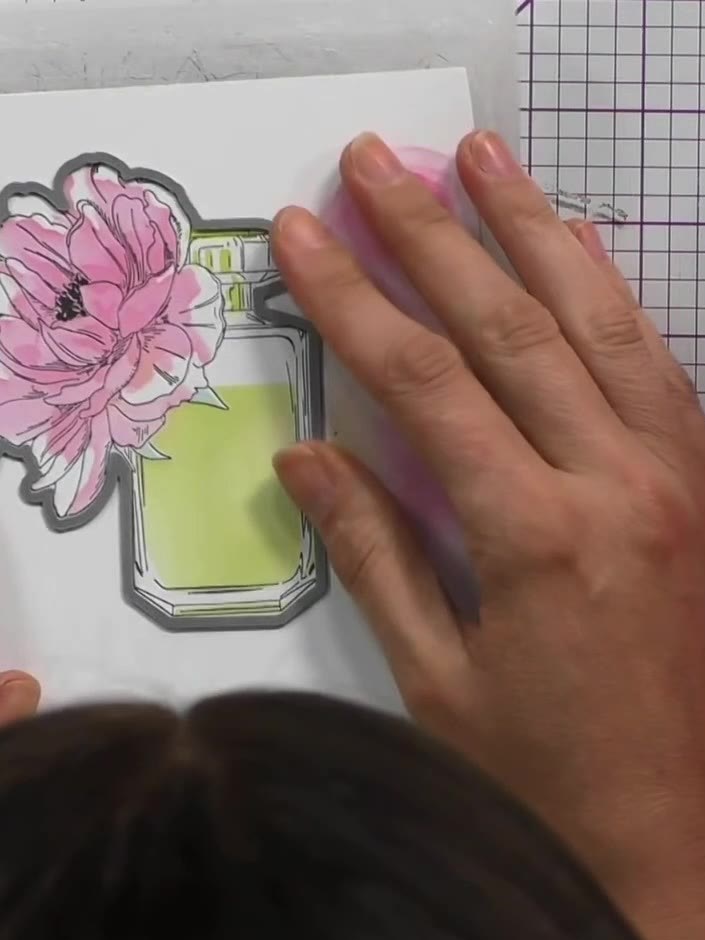
Place the die-cut perfume bottle and flower piece into an embossing folder, positioning it at the front of the folder.
▶ watch this step (1:07:30)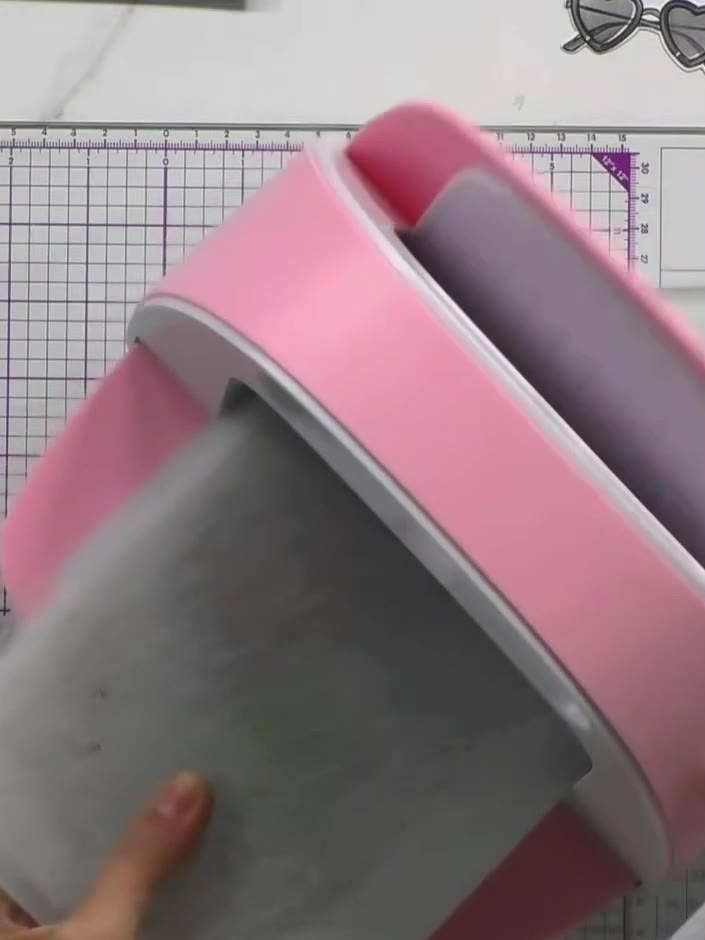
Run the embossing folder containing your design through your die-cutting machine to create 3D dimension on the embellishment.
▶ watch this step (1:08:15)Written up from the show itself. See every guide from our shows · free how-to guides · watch live on My Telly