Give your friends $10 off their first order!
Refer a FRIEND








A project from our live show ONE DAY SPECIAL - Join Toni for brand new launch - Broadcast 27th September 24 · 09/27/2024 · watch it from 14:15
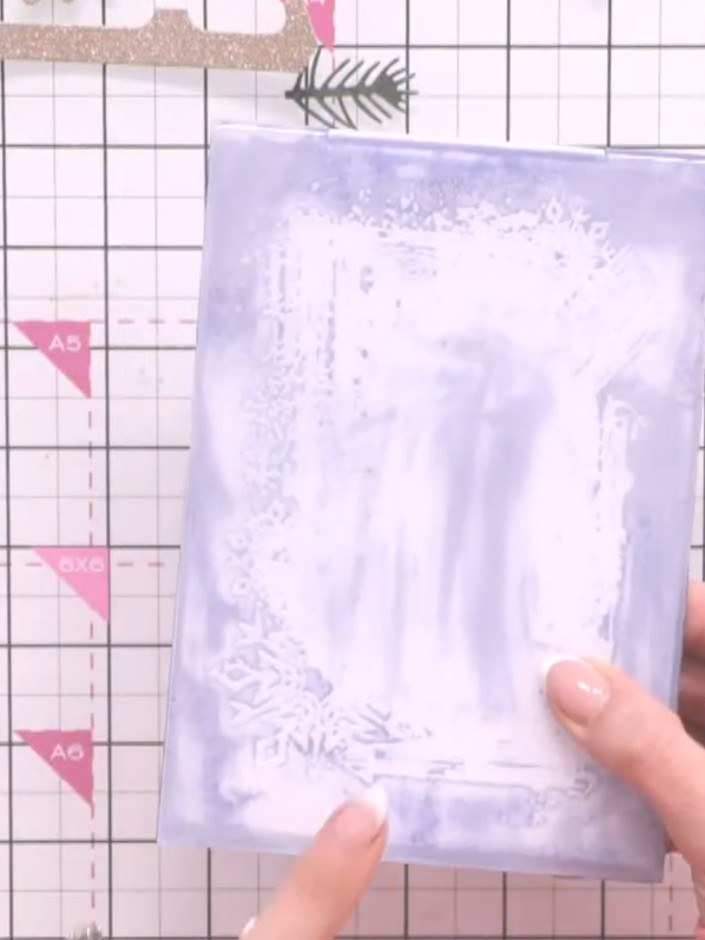
Create a beautiful textured card background featuring a vintage snowflake design. Using distress ink and water spray with an embossing folder, you'll achieve a grungy, atmospheric effect in soft purple and white tones. This technique is perfect for creating unique Christmas cards with depth and character that can be enhanced with additional layered elements.
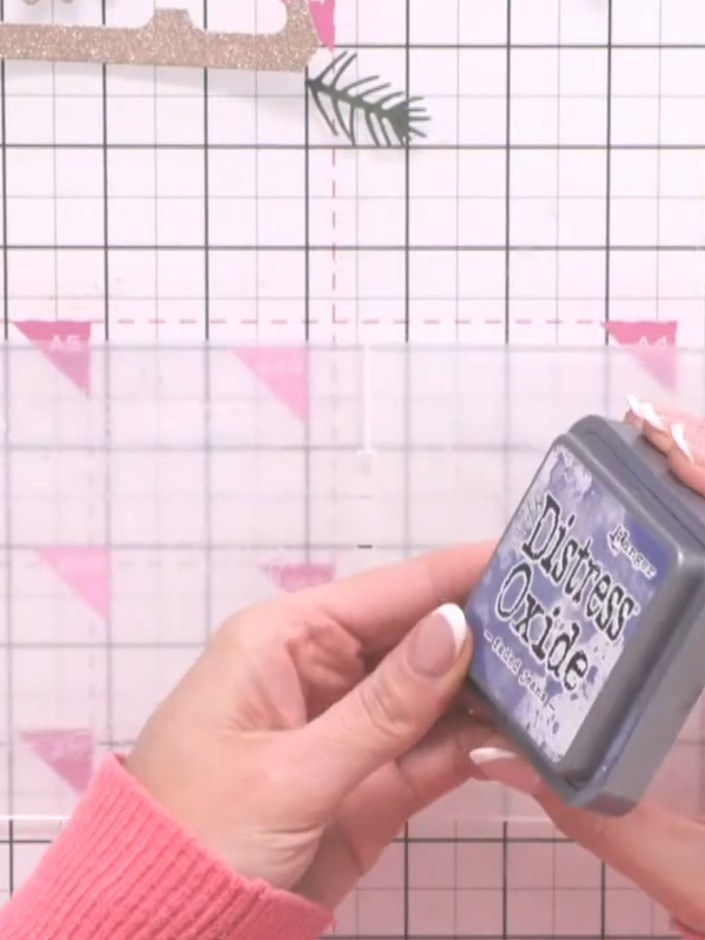
Ink both sides of the snowflake frame embossing folder using a vintage blue Distress Oxide ink pad, swiping the pad across the raised areas of the folder.
▶ watch this step (14:45)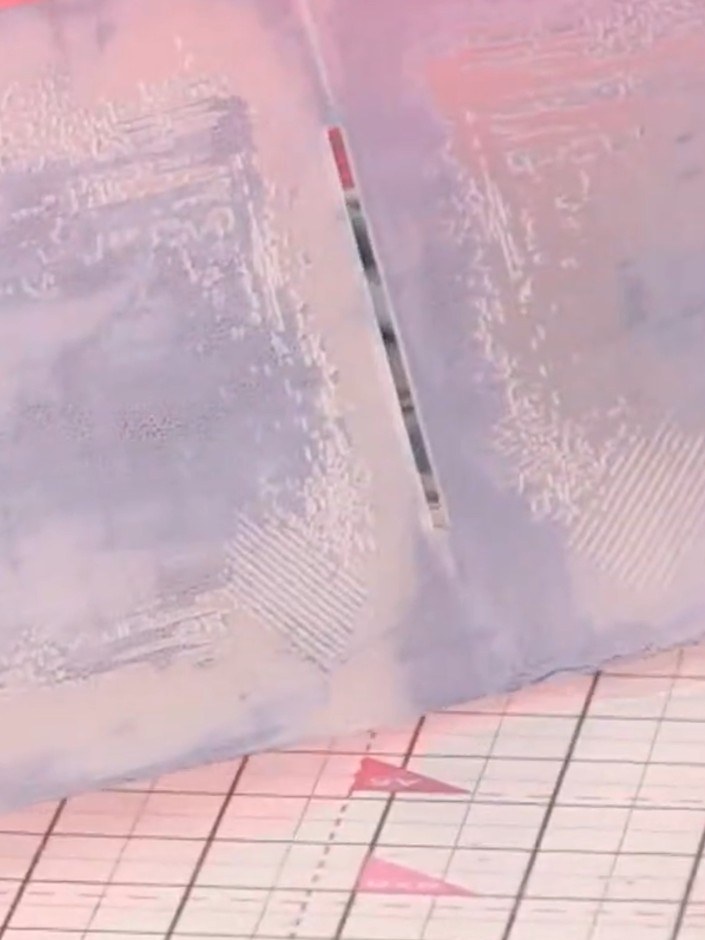
Place a piece of white card into the embossing folder and run it through your die-cutting machine to create the embossed snowflake frame design.
▶ watch this step (16:15)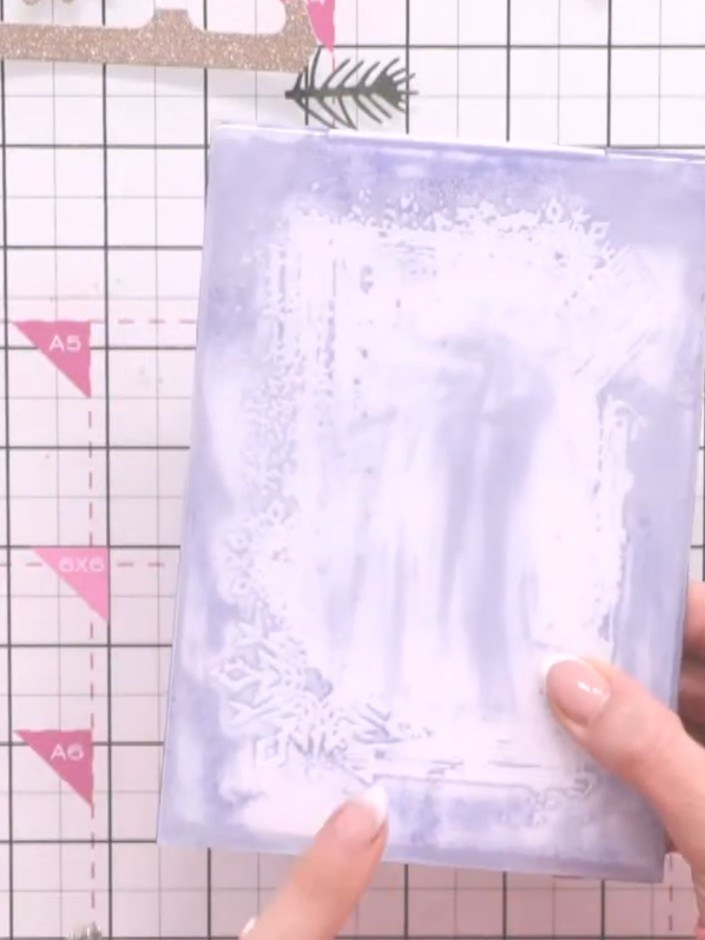
Remove the card from the embossing folder to reveal the embossed snowflake frame detail with the distressed ink effect on both sides.
▶ watch this step (16:45)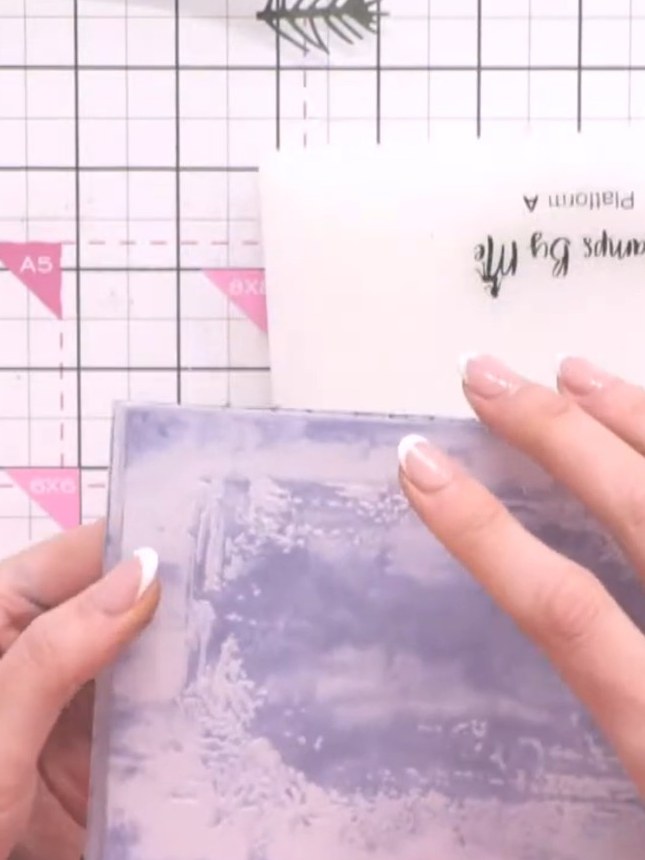
Allow the embossed card to dry completely before using it as a background or layering additional elements on top. Use the pink die-cutting and embossing machine to ensure a crisp finish.
▶ watch this step (17:00)Written up from the show itself. See every guide from our shows · free how-to guides · watch live on My Telly