Give your friends $10 off their first order!
Refer a FRIEND








A project from our live show ONE DAY SPECIAL - Join Sarah Gray from Funky Fossil for her brand new launch - Broadcast 11th October 24 · 10/11/2024 · watch it from 30:00
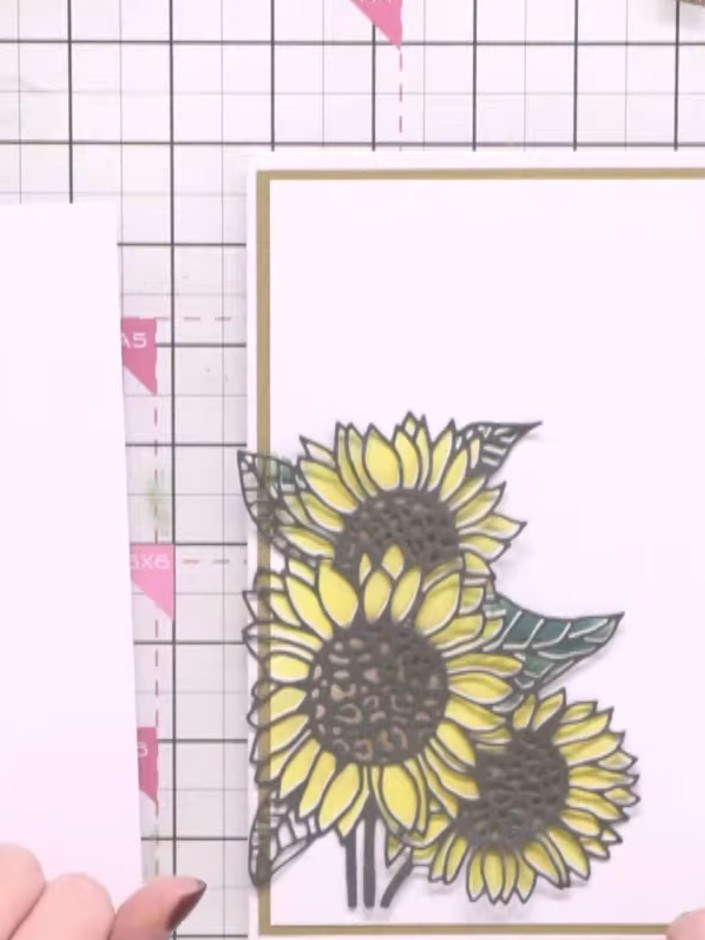
Create a beautiful card featuring a stamped and die-cut sunflower arrangement as the focal point. This project combines yellow and black sunflowers with a decorative letter 'H' on a white background with gold frame detailing. The main techniques include stamping, die-cutting, ink blending and dimensional layering to create an eye-catching floral design.
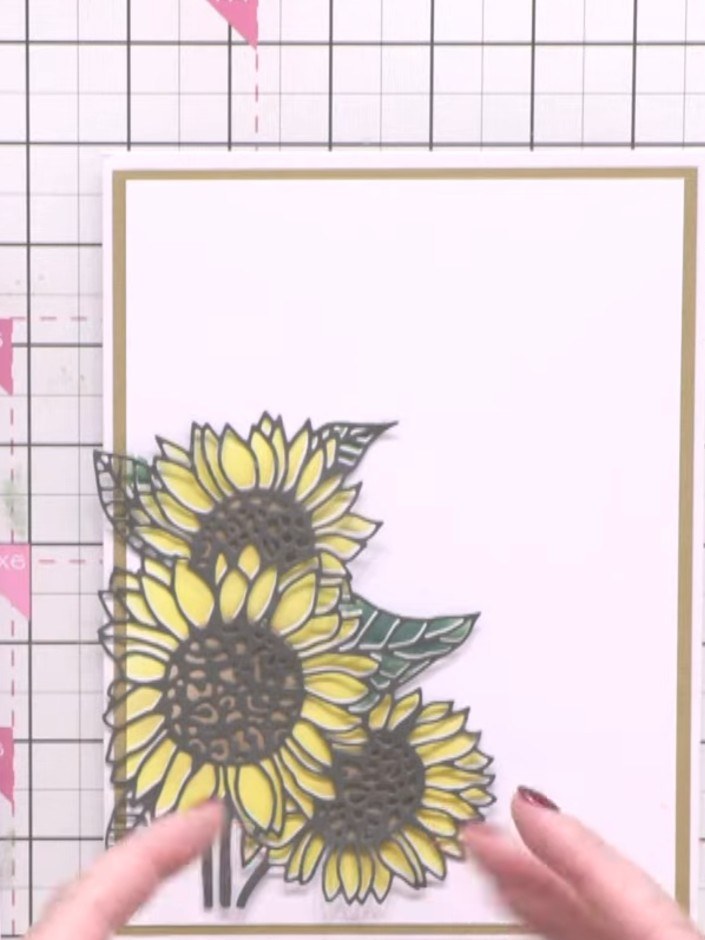
Stamp the sunflower image from the A6 stamp set onto white or light pink cardstock using grey or black ink. Position the stamped image centrally on your card front.
▶ watch this step (30:15)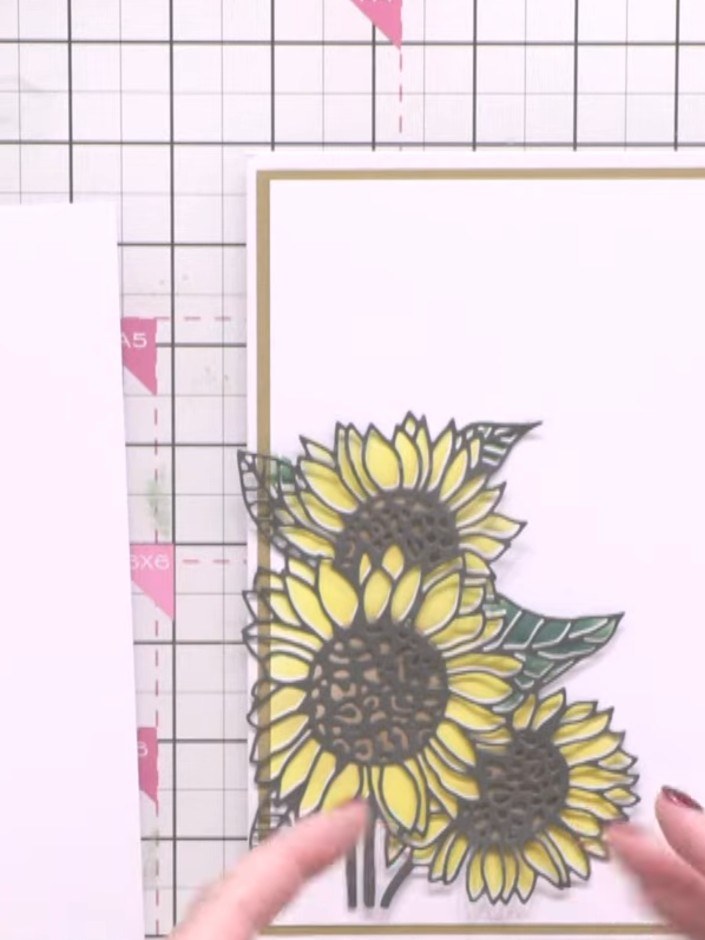
Die-cut the stamped sunflower image using the coordinating die set. This will create a precise cut-out of your stamped design ready for layering onto your card.
▶ watch this step (30:30)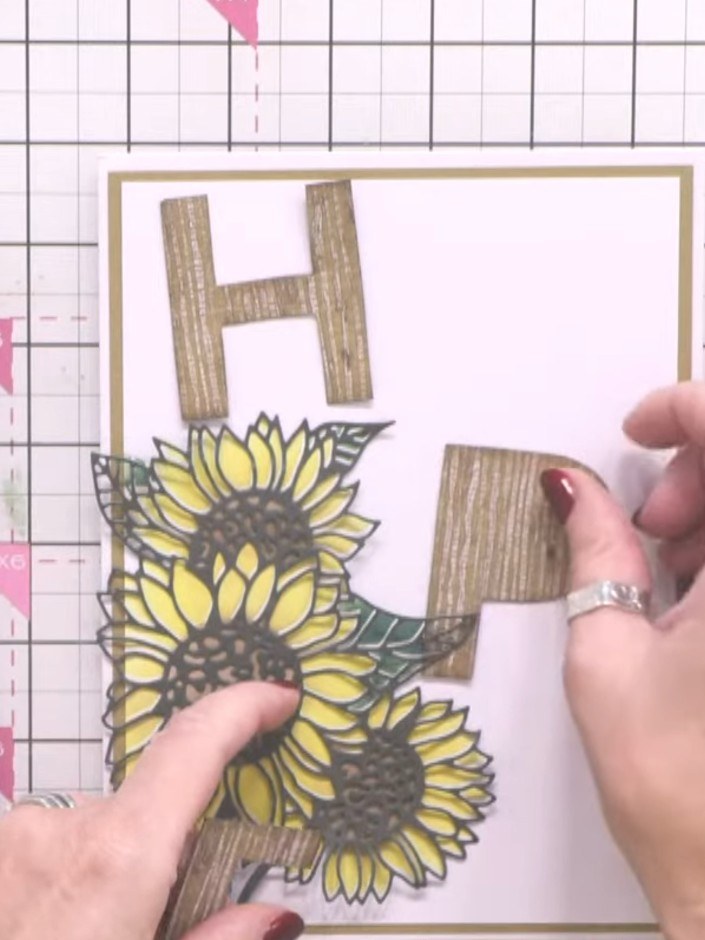
Layer the diecut sunflower onto patterned paper from the Hope Blooms collection, positioning it as your focal point on the card.
▶ watch this step (30:45)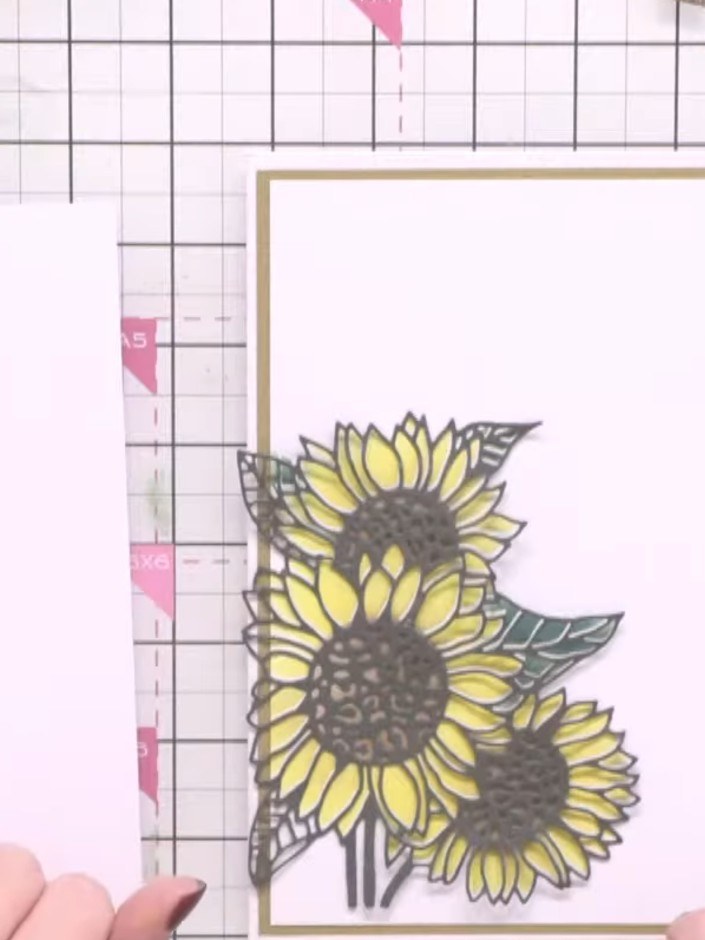
Mount the layered sunflower element onto your white card base using wet glue or adhesive, positioning it centrally within the gold border.
▶ watch this step (31:00)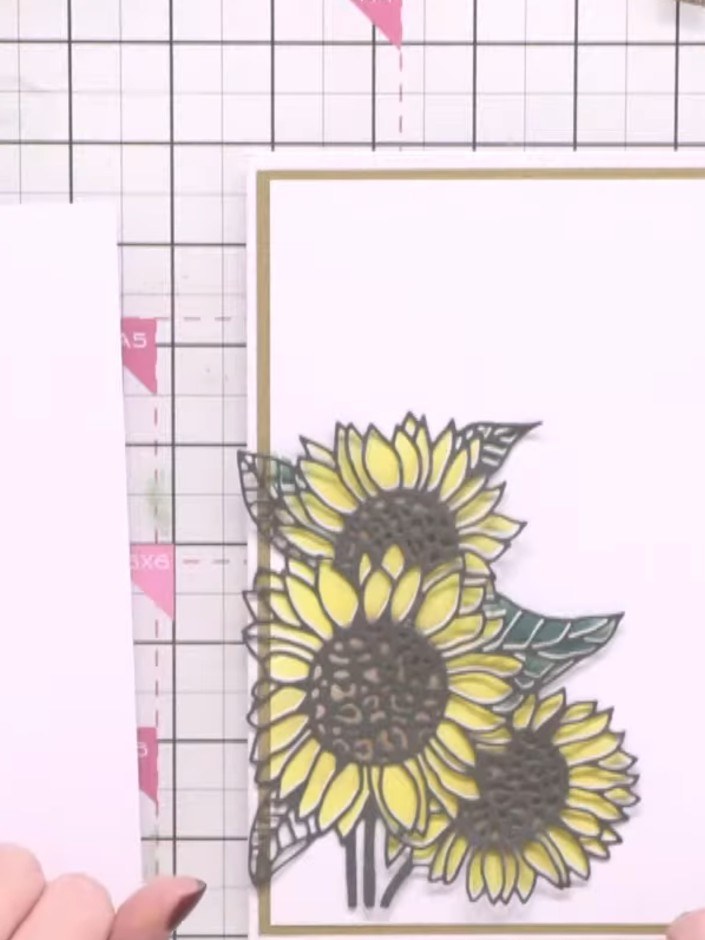
Add a sentiment and any additional embellishments to complete your card. The stamped and die-cut sunflower design creates a beautiful focal point on the white card base with gold matting.
▶ watch this step (31:15)Written up from the show itself. See every guide from our shows · free how-to guides · watch live on My Telly