Give your friends $10 off their first order!
Refer a FRIEND








A project from our live show ONE DAY SPECIAL - Join Toni for brand new launch - Broadcast 18th October 24 · 10/18/2024 · watch it from 6:00
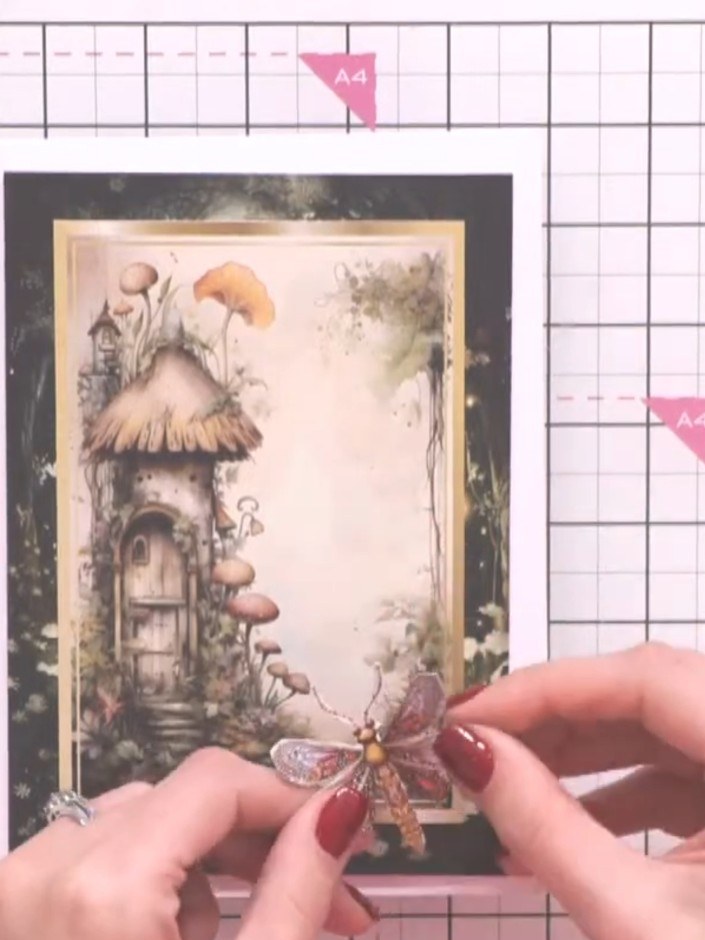
Create a charming multi-page mini album using spare envelopes transformed into pull-out pockets with decorative opening cards. This enchanting keepsake features whimsical fairy and floral imagery in soft purples, pinks and blues, perfect for displaying photos, messages or creating an advent-style surprise collection. The project uses simple techniques including envelope folding, layering decorative toppers, and assembling pages with tape to create an interactive memory book.
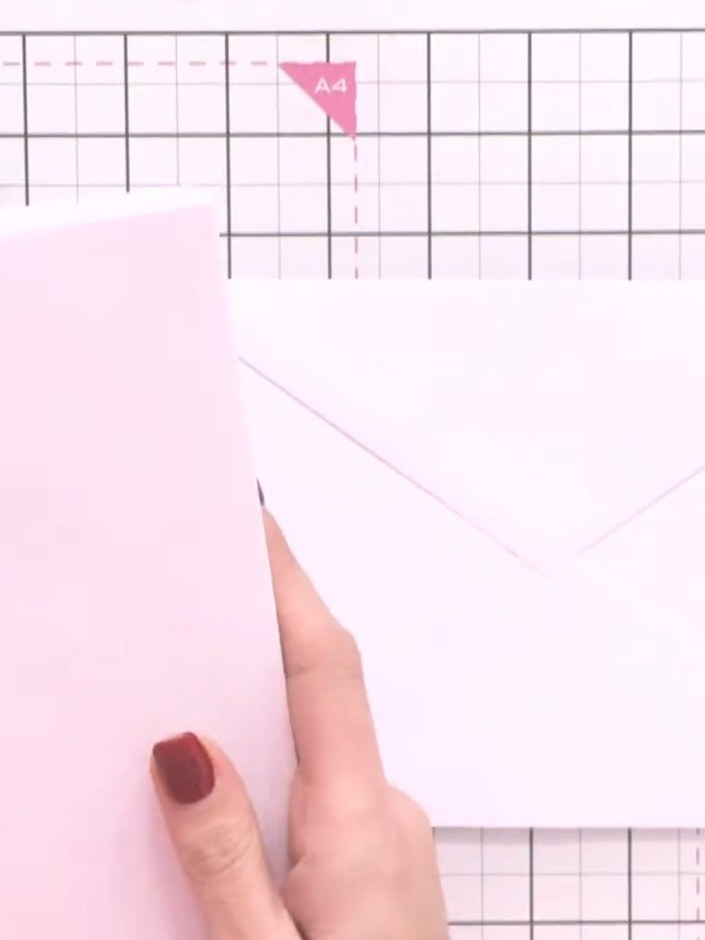
Take two envelopes and apply adhesive tape to the flap of one envelope.
▶ watch this step (6:15)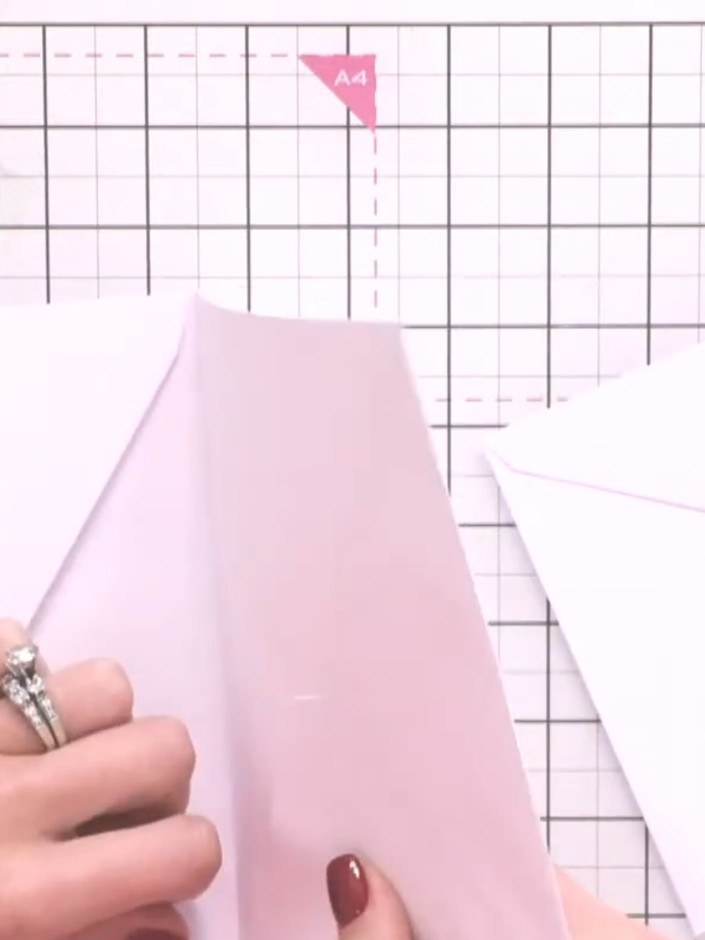
Tuck the taped envelope inside the second envelope, corner to corner, and press down firmly to create your base album.
▶ watch this step (6:30)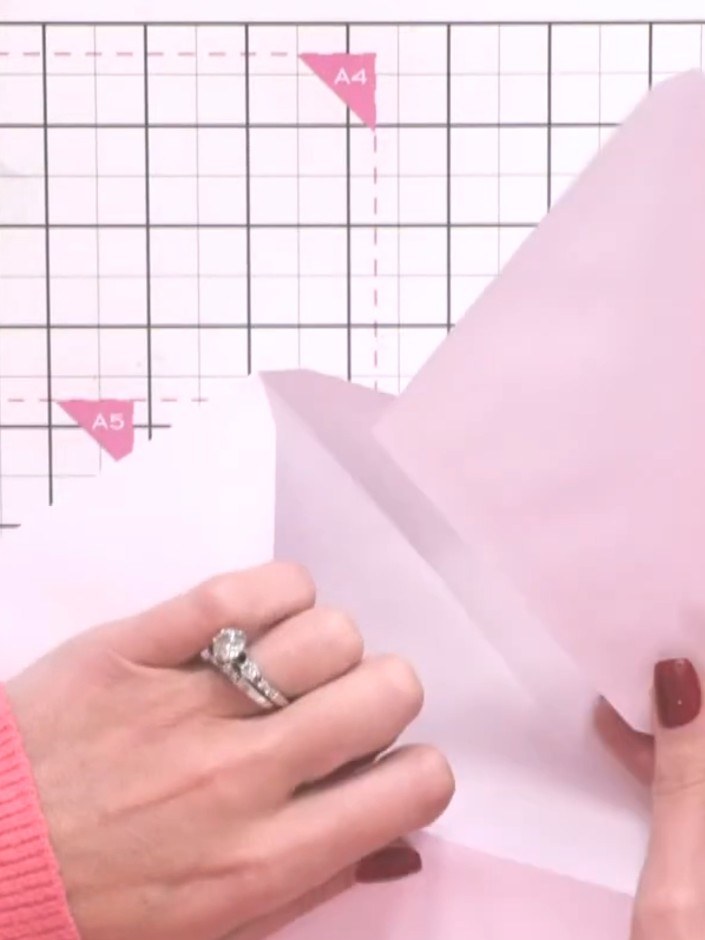
Apply tape to the flap of a third envelope, positioning it slightly away from the score line to ensure the album closes properly.
▶ watch this step (7:15)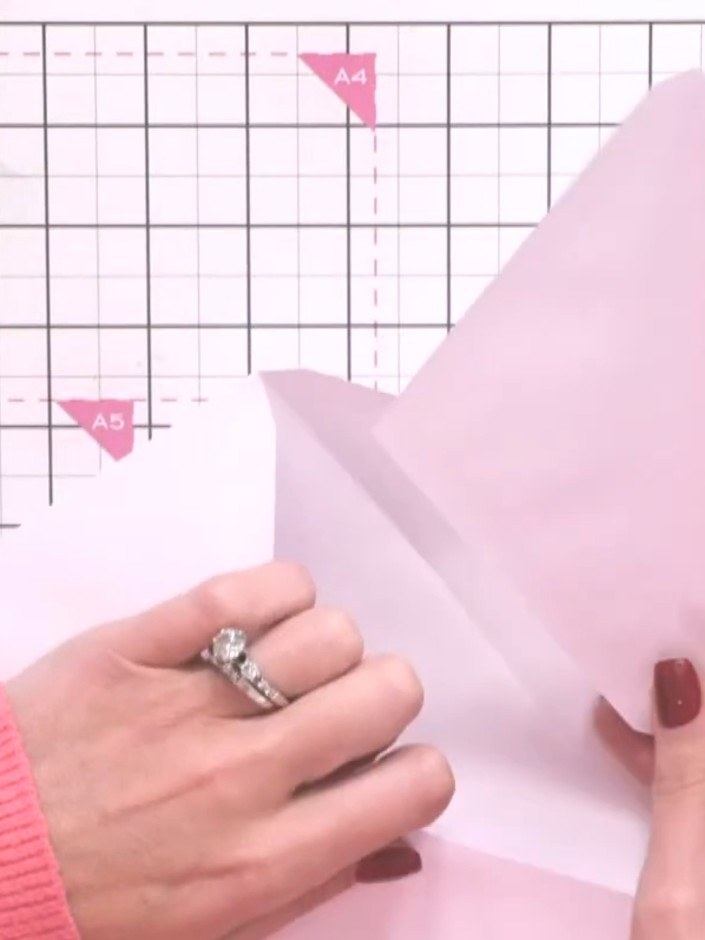
Position the third lilac envelope on top of your base envelope, aligning it with the previous envelope but leaving a small gap at the fold line to allow the album to open properly.
▶ watch this step (7:45)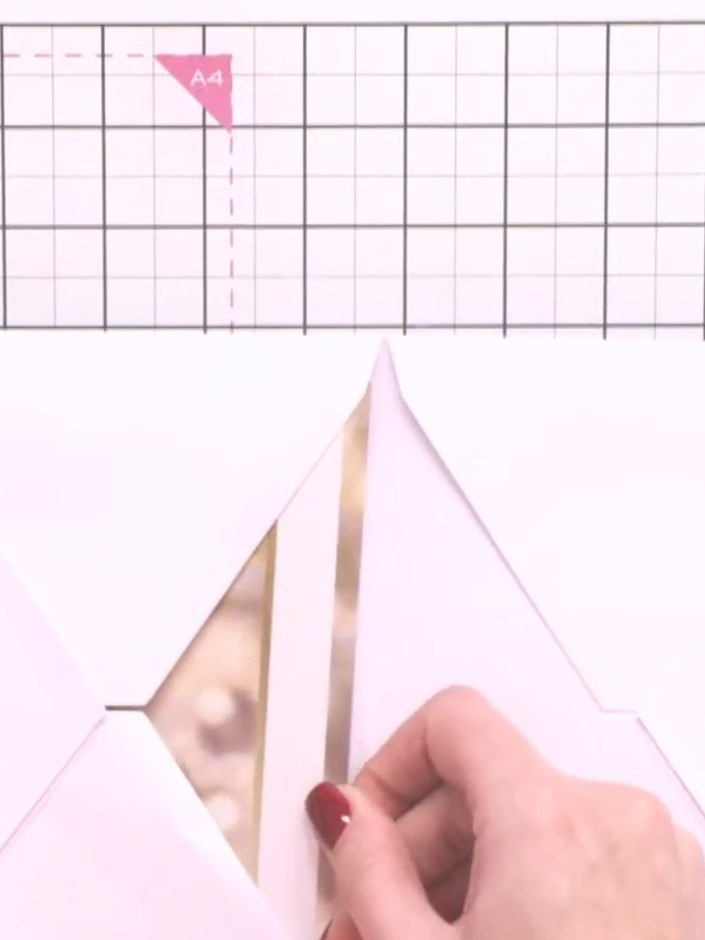
Select a topper from the card kit and punch a circle in the centre using a circle punch.
▶ watch this step (9:15)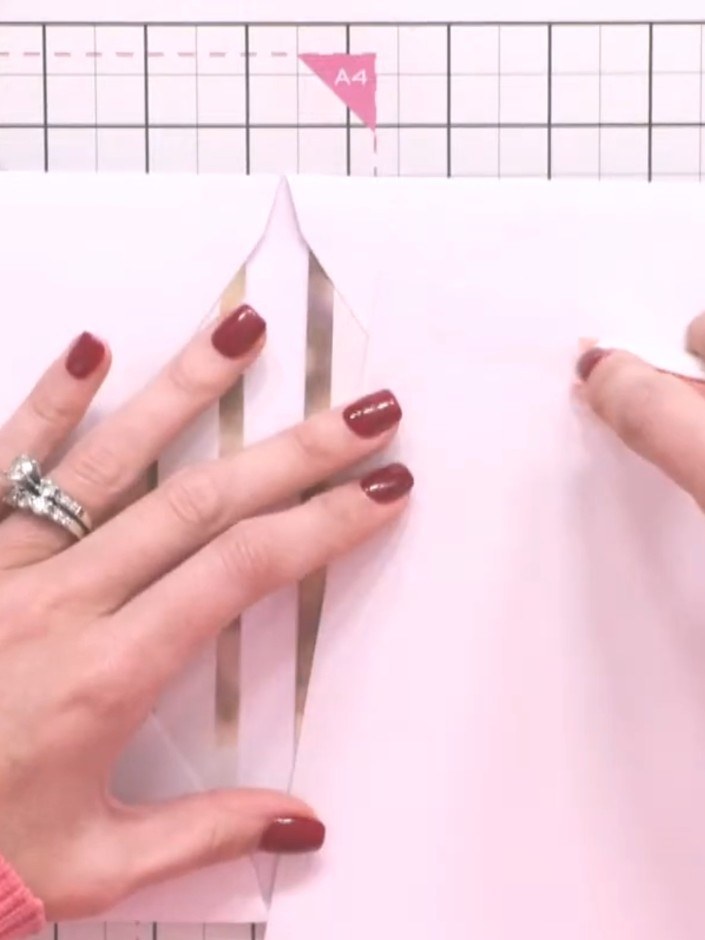
Apply tape only to the top edge of the pink mat and layer. Do not tape the full perimeter, so the envelope beneath can still pull out as a pocket.
▶ watch this step (12:00)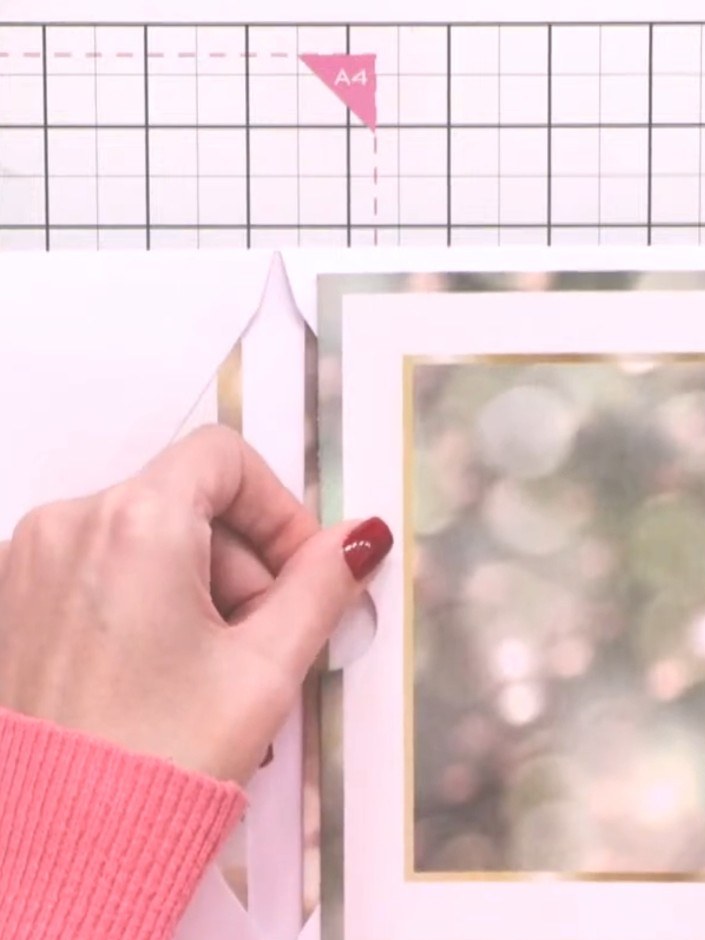
Adhere the decorated mat and layer to the front of your pocket envelope, positioning it centrally over the gold foiled aperture.
▶ watch this step (12:30)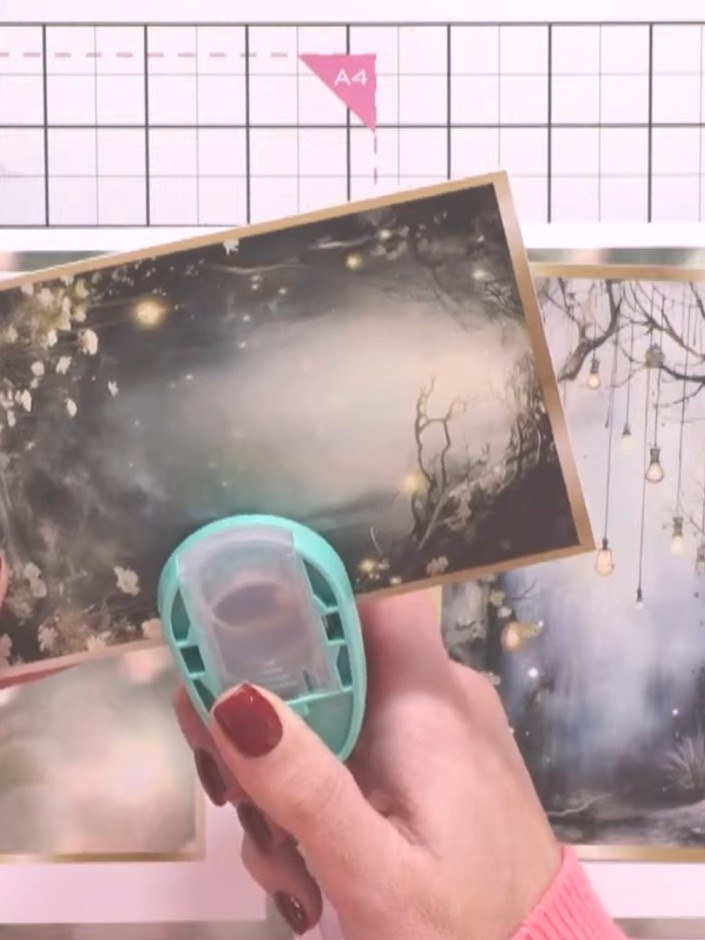
Continue adding pockets to additional pages by taping new envelopes on three sides only, leaving the top open. This creates multiple pull-out pockets throughout your album for storing cards.
▶ watch this step (15:00)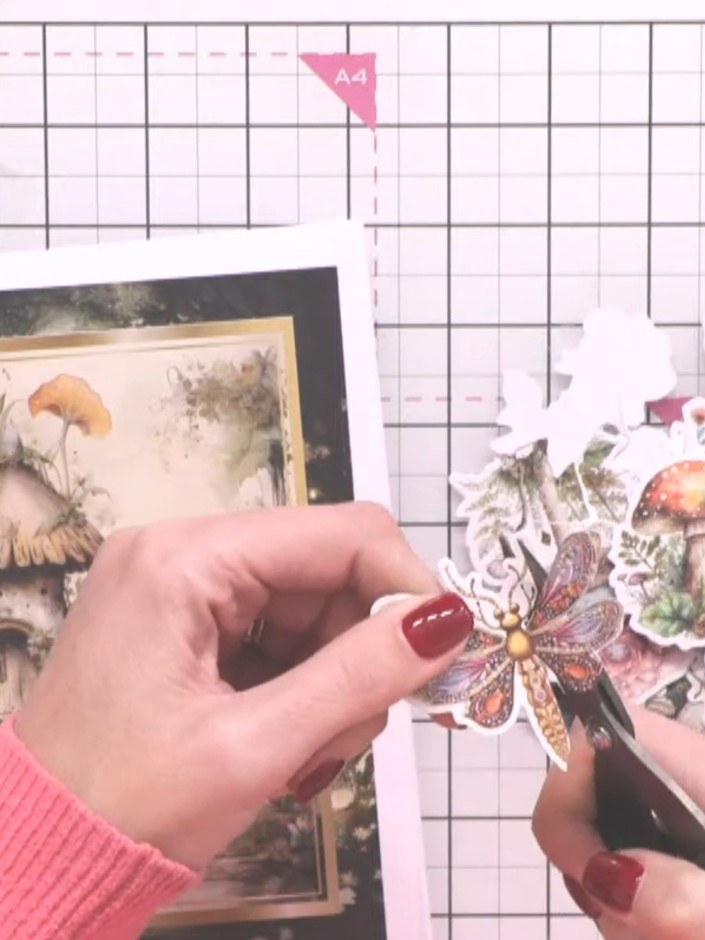
Adhere the cut-out embellishments to the front cover of your album using foam pads for dimension. Position the decorative butterfly and floral elements as desired to create an attractive arrangement.
▶ watch this step (24:00)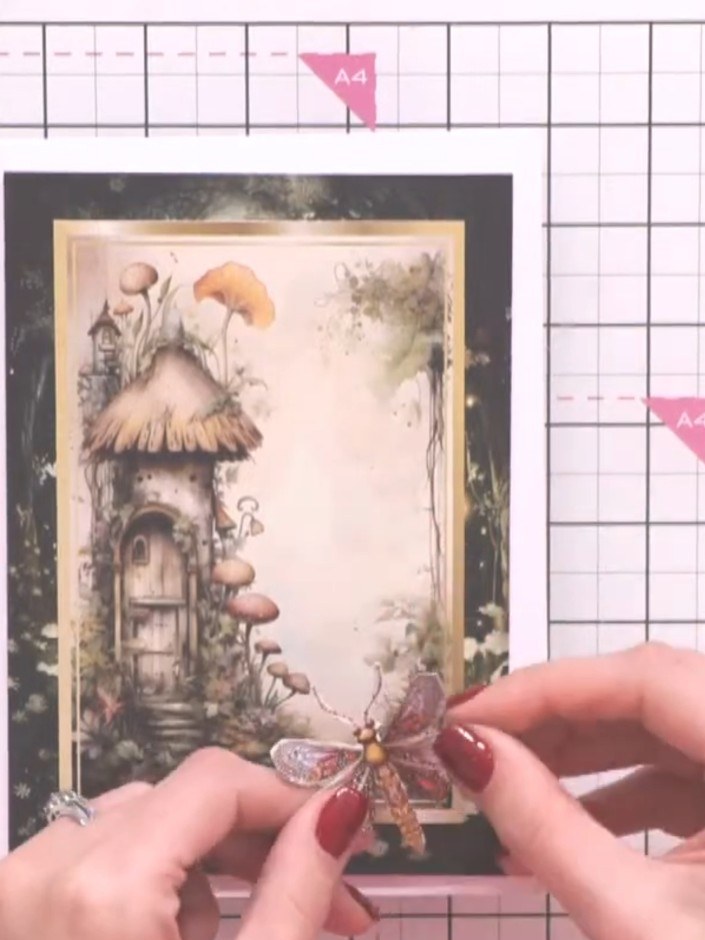
Distress the edges of your embellishments with ink to blend them with the card design. This helps create a cohesive, vintage look across all elements of your project.
▶ watch this step (25:30)Written up from the show itself. See every guide from our shows · free how-to guides · watch live on My Telly
