Give your friends $10 off their first order!
Refer a FRIEND








A project from our live show MY PODCAST - Catch my latest updates broadcast October 21st October 2024 · 10/21/2024 · watch it from 33:45
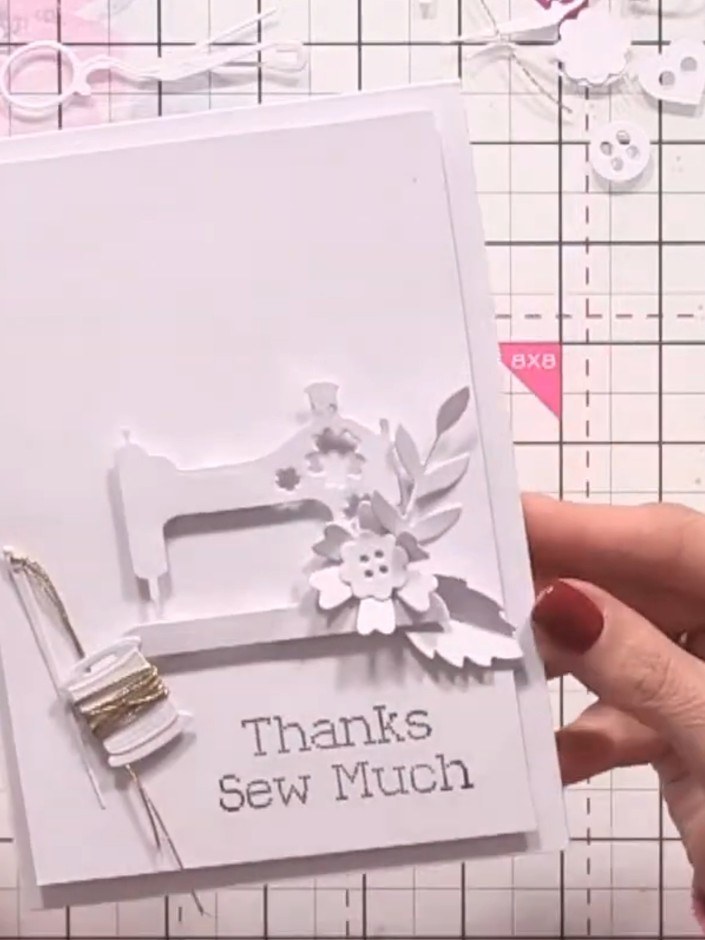
Create an elegant white-on-white card featuring a vintage sewing machine design. This sophisticated project uses die-cut elements from the Delicate Stitch collection to build up layers of texture, including a sewing machine, thread spools, buttons, needles and delicate floral sprays. The tone-on-tone approach creates subtle depth through embossing and layering, resulting in a beautifully refined card perfect for crafters and sewing enthusiasts.
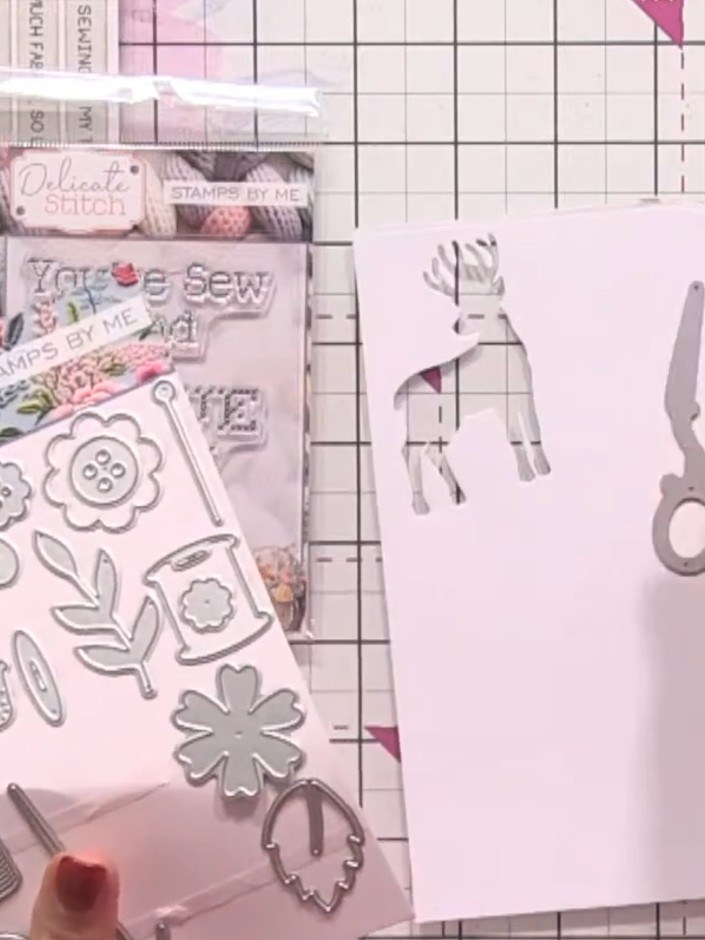
Die-cut the scissors, thread spool, needle, pins, buttons and leaf elements from white cardstock using the A5 die-cutting machine.
▶ watch this step (36:15)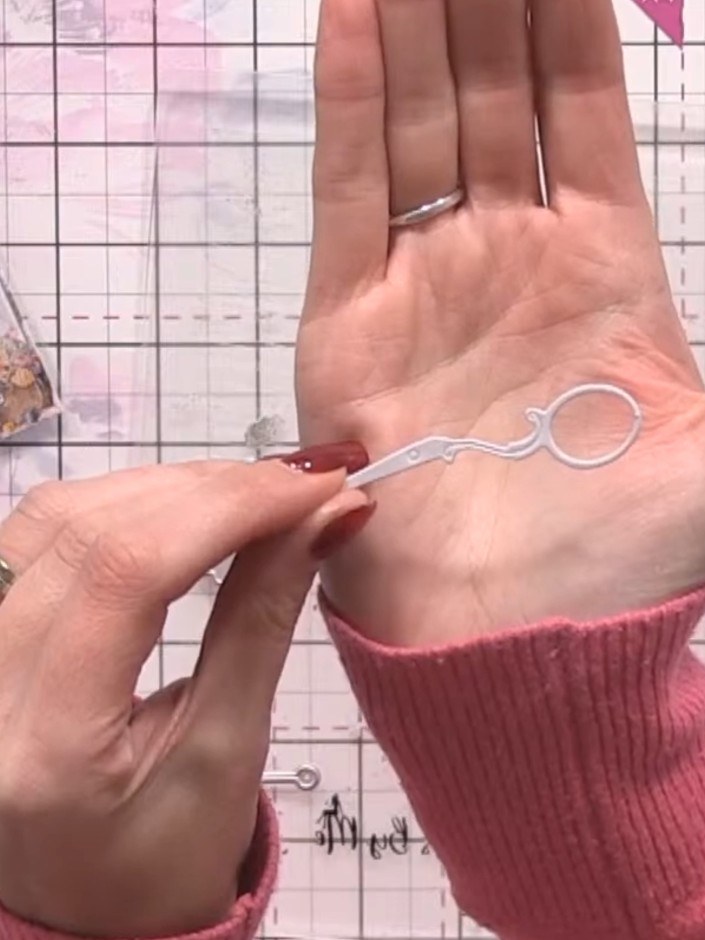
Thread gold thread through the die-cut needle piece to add a single colour accent to your white-on-white design.
▶ watch this step (39:00)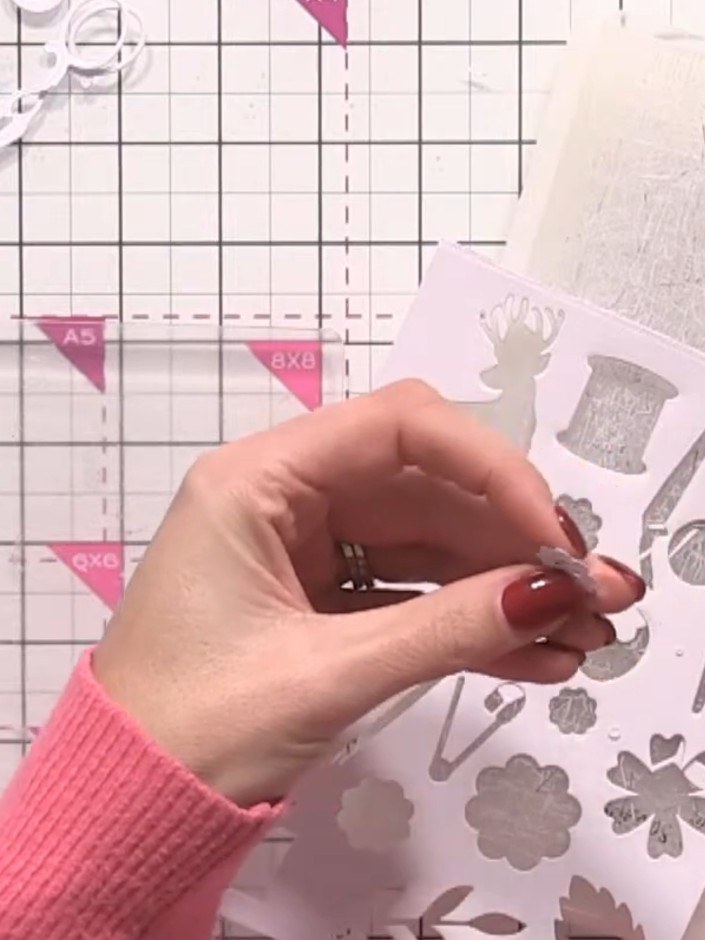
Take the cotton spool die-cut and wrap gold thread around it to secure it and add dimension. This creates a realistic spool effect for your card.
▶ watch this step (40:30)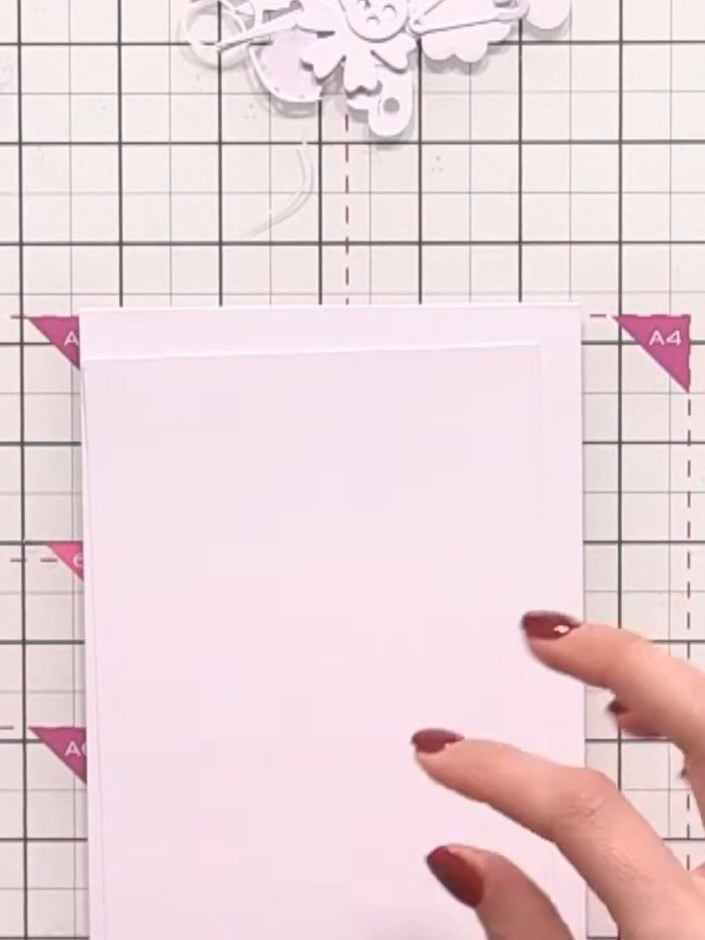
Take your white card base and layer it with a white matted panel to create a clean, layered foundation for your card.
▶ watch this step (50:15)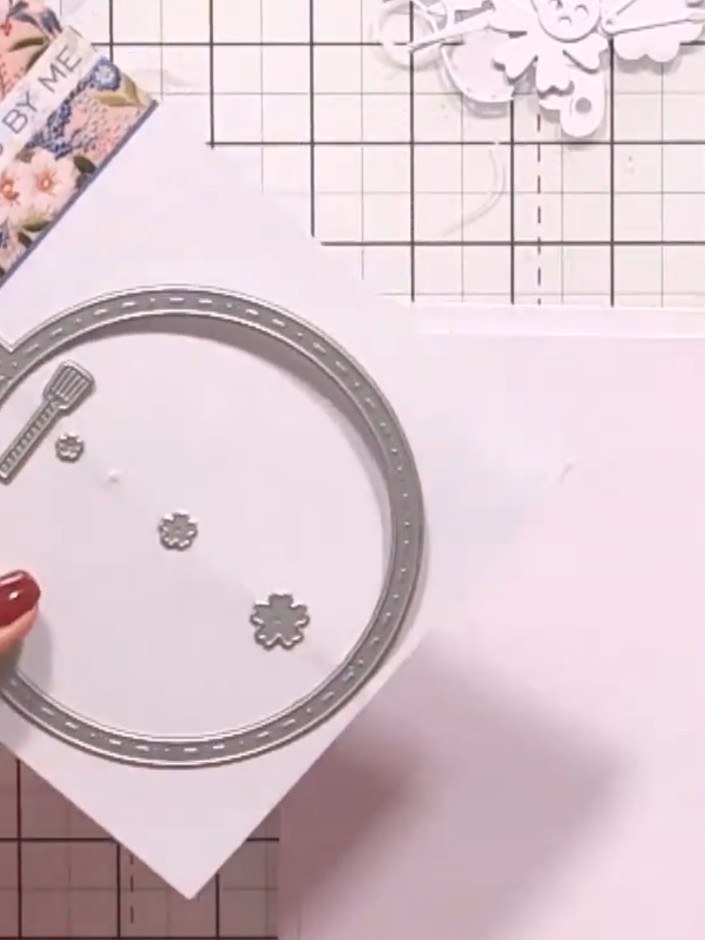
Die-cut the sewing machine from white cardstock. Arrange small floral die-cuts around the machine to create a vintage composition.
▶ watch this step (51:00)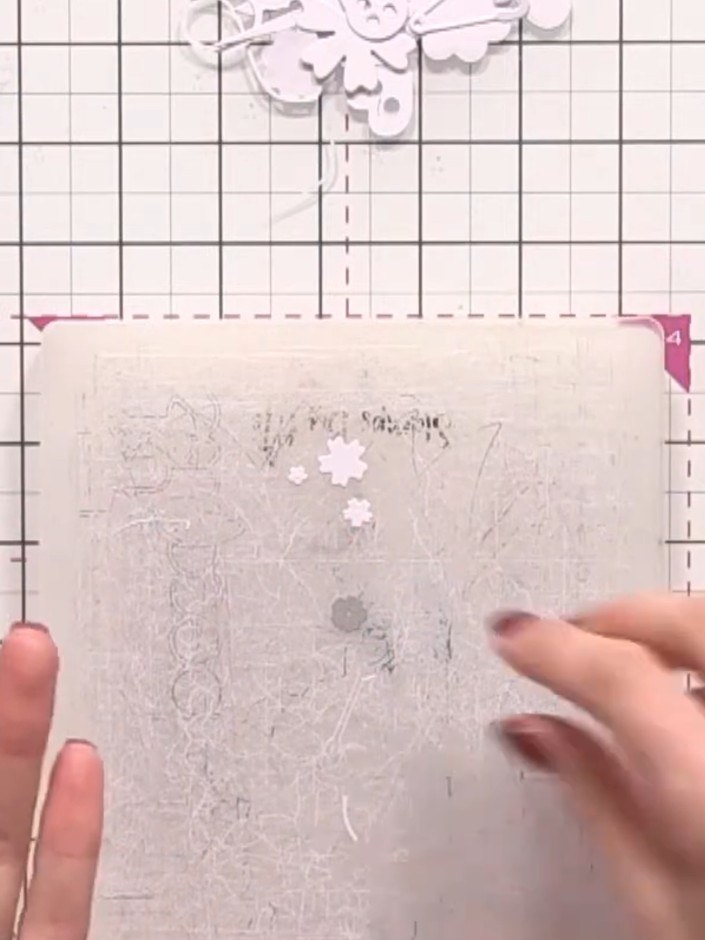
Adhere the sewing machine die-cut to the card front using foam pads to create dimension and raise it from the surface.
▶ watch this step (54:00)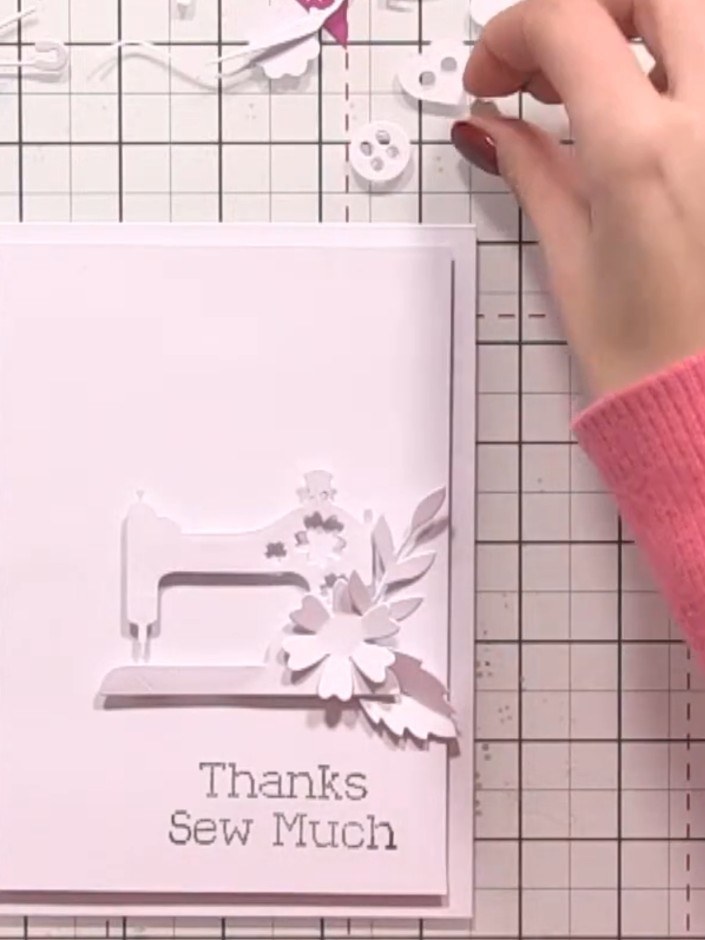
Layer and adhere the needle, thread spool, bobby pin and leaf elements around the sewing machine using foam pads and tape to create dimension.
▶ watch this step (1:02:00)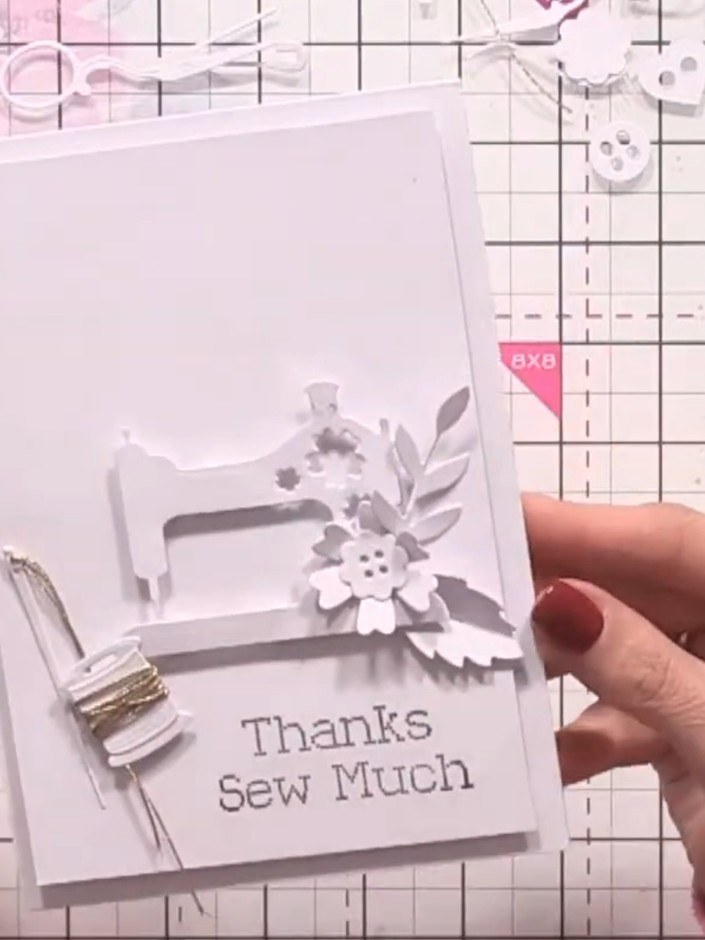
Position the 'Thanks Sew Much' sentiment on the card front. Tuck the thread end under the bobby pin to secure it and complete the card.
▶ watch this step (1:04:30)Written up from the show itself. See every guide from our shows · free how-to guides · watch live on My Telly