Give your friends $10 off their first order!
Refer a FRIEND








A project from our live show MIGHTY MONDAY - Join Toni for her detailed papercrafting sessions - Broadcast 25th November 24 · 11/25/2024 · watch it from 40:00
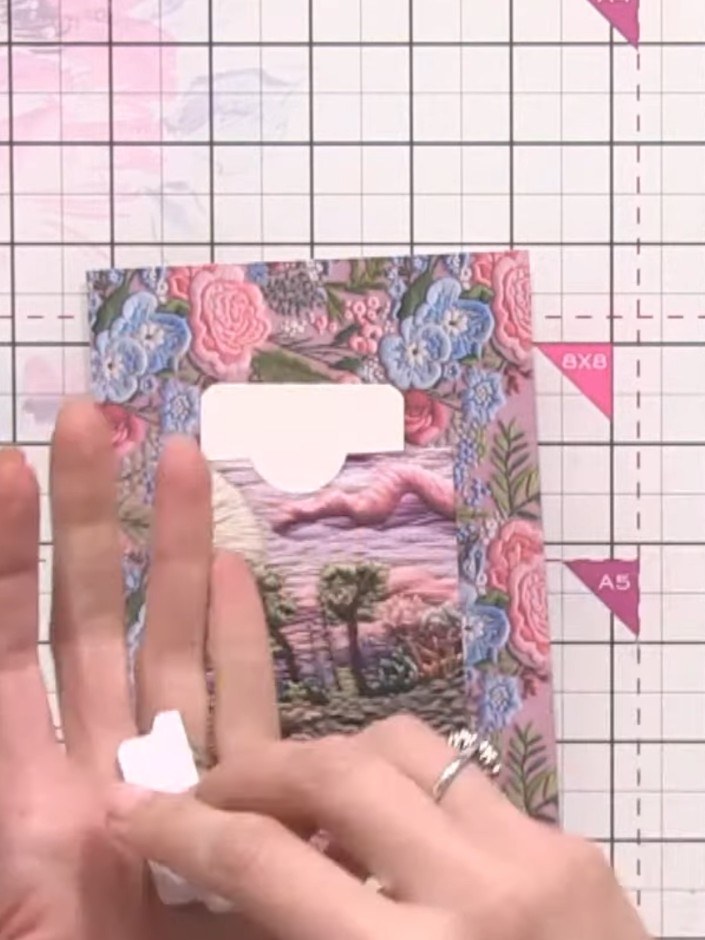
Create a charming small decorative pocket from offcut paper, featuring a pink floral pattern with blue and pink flowers framing a scenic landscape image. This pocket includes quarter-inch score lines for neat folding and a punched circle opening at the top. Perfect for adding extra storage to album pages or embellishing craft projects with a vintage-inspired touch.
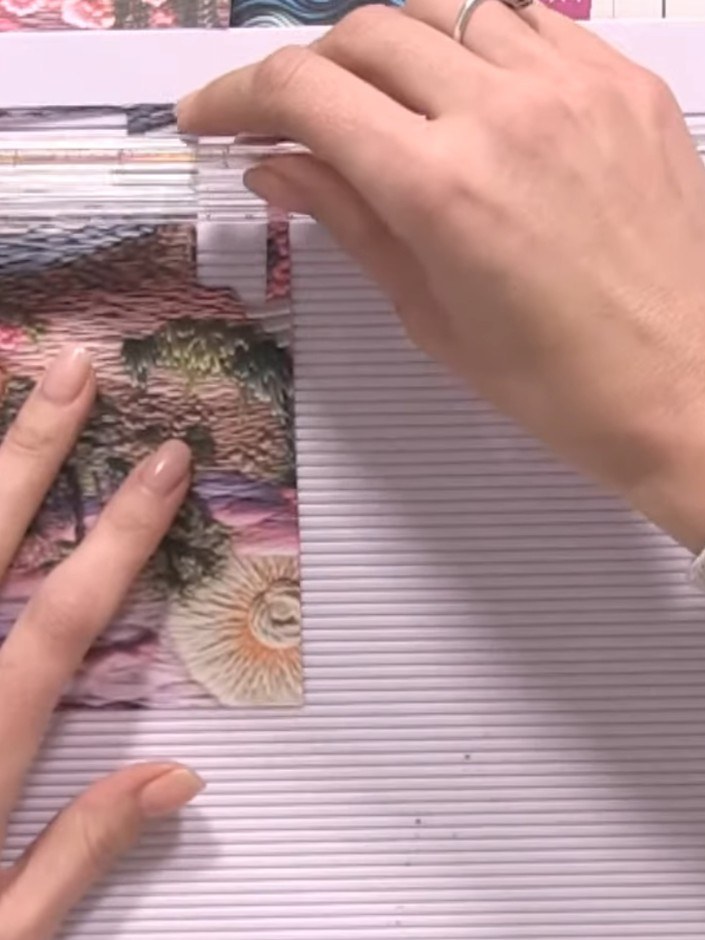
Take a small piece of offcut paper and use your scoring board to score quarter-inch lines on all four edges.
▶ watch this step (40:00)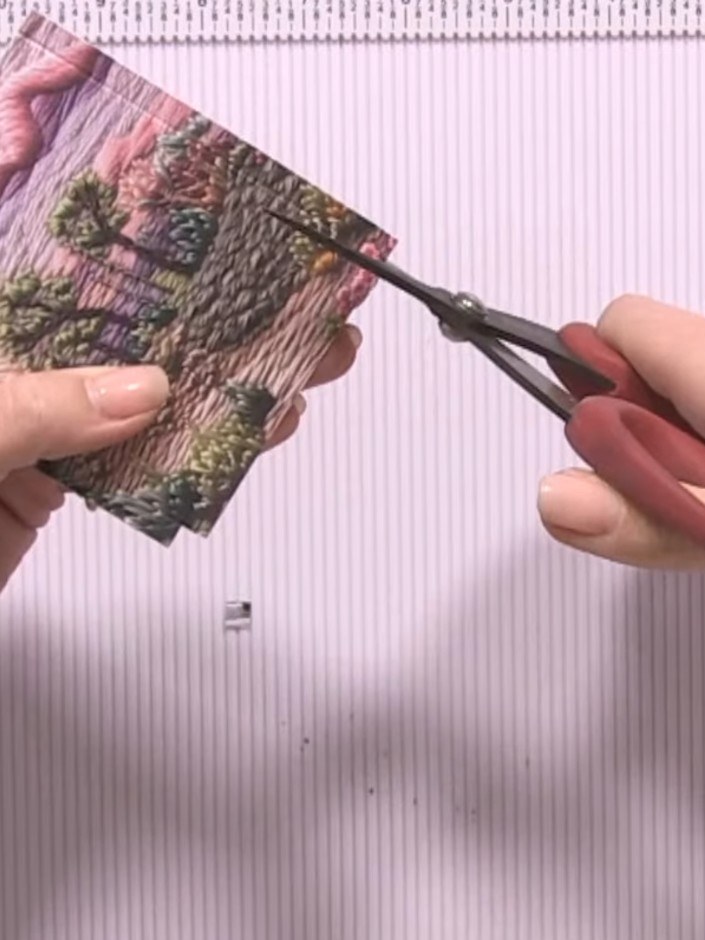
Cut away the small squares at each corner of your card to remove bulk and create neat corners.
▶ watch this step (40:15)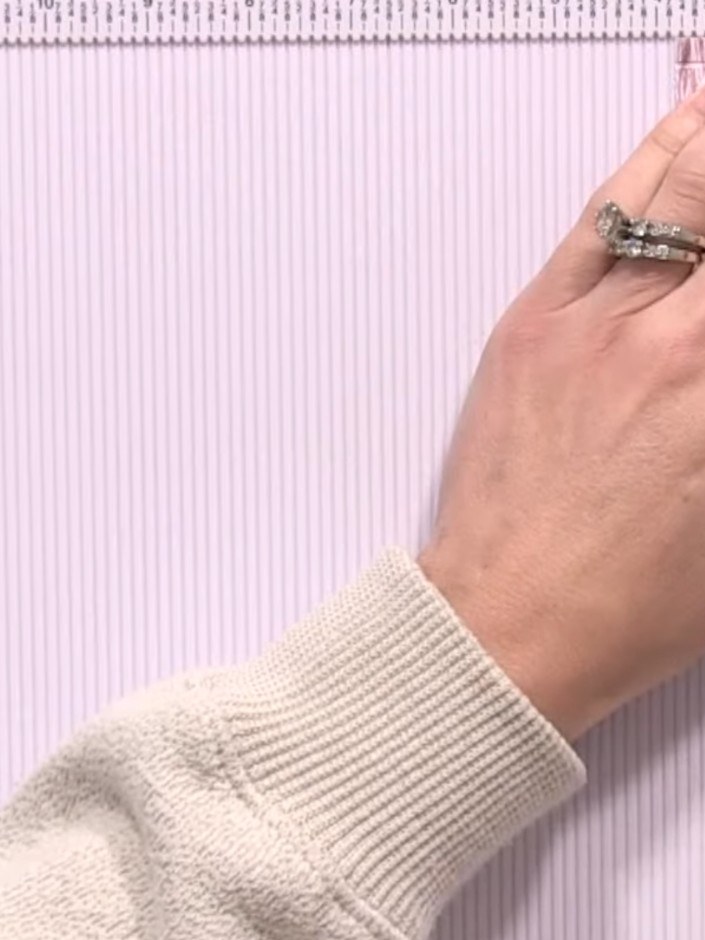
Using your bone folder or scoring tool, score all the fold lines on your card firmly to create crisp creases.
▶ watch this step (40:30)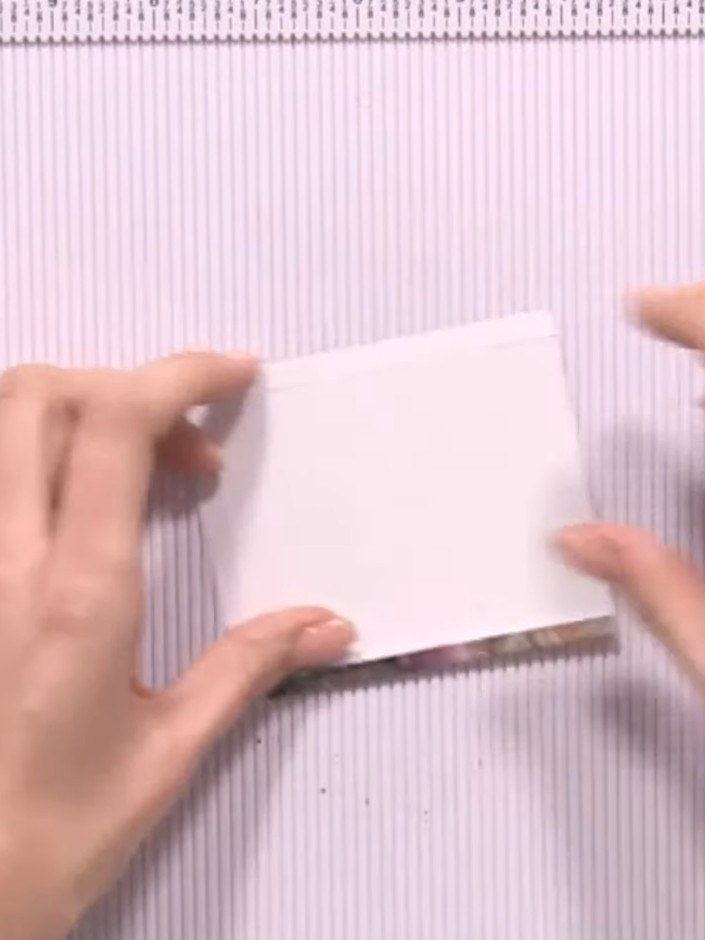
Fold all four edges of the white card inward to create your pocket shape, creasing each fold firmly with your bone folder.
▶ watch this step (40:45)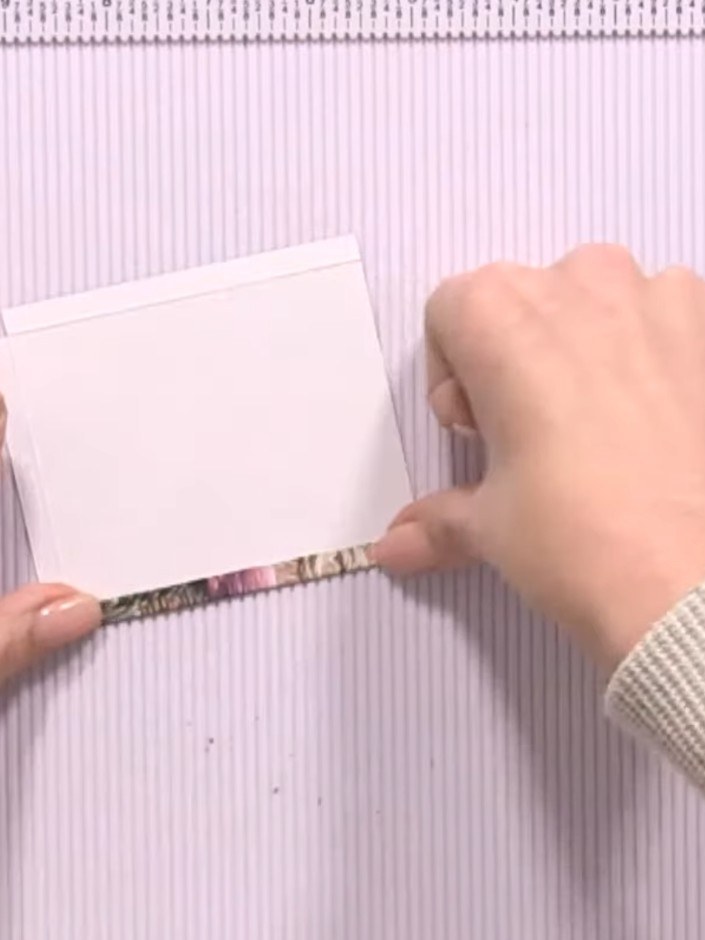
Trim away any excess bulk from the folded corners using angled cuts to reduce thickness and create neat corners.
▶ watch this step (41:00)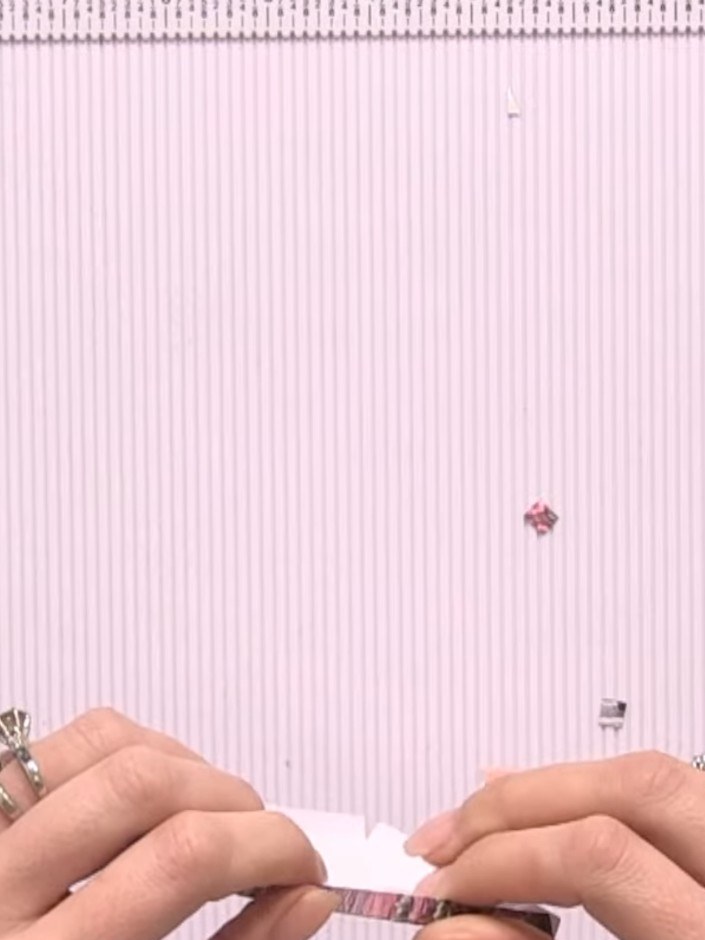
Use the 1-inch circle punch to punch a hole at the top centre of your white pocket piece to create the opening.
▶ watch this step (41:15)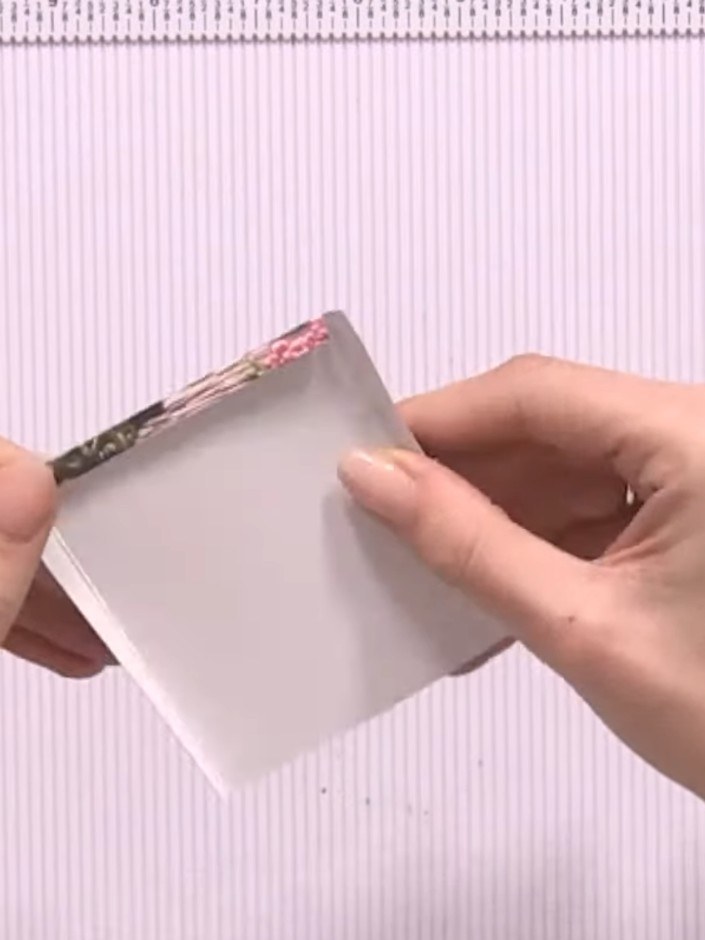
Apply double-sided tape or glue along the side edges of your pocket to seal them together. Press firmly to secure the layers.
▶ watch this step (41:30)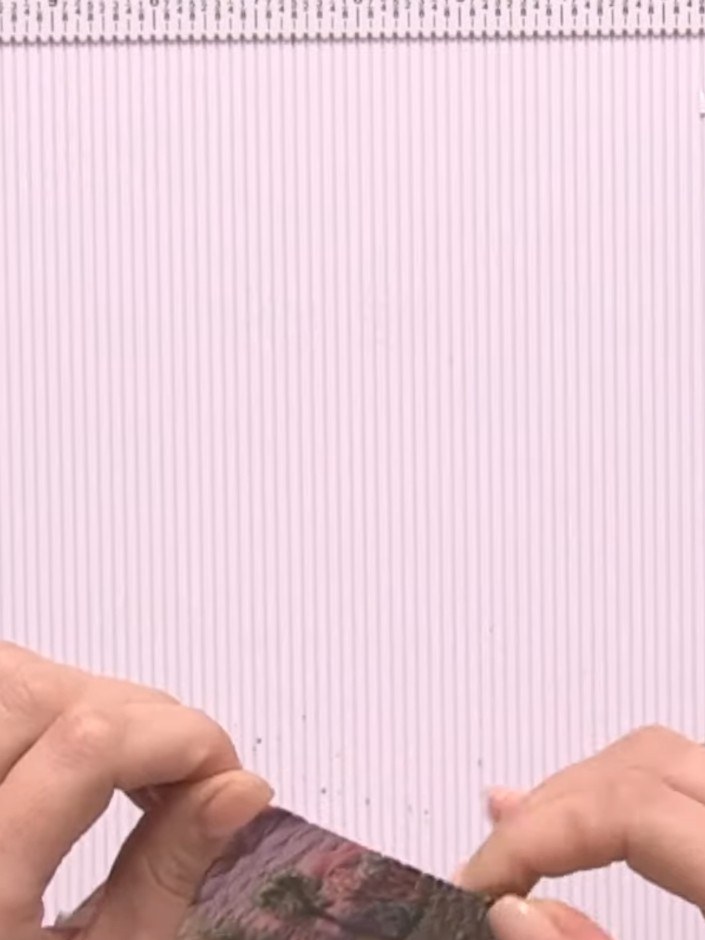
Adhere your finished pocket to the back of an album page or another pocket using adhesive.
▶ watch this step (41:45)Written up from the show itself. See every guide from our shows · free how-to guides · watch live on My Telly

