Give your friends $10 off their first order!
Refer a FRIEND








Prices change straight away. Every language is our own translation, not Google.
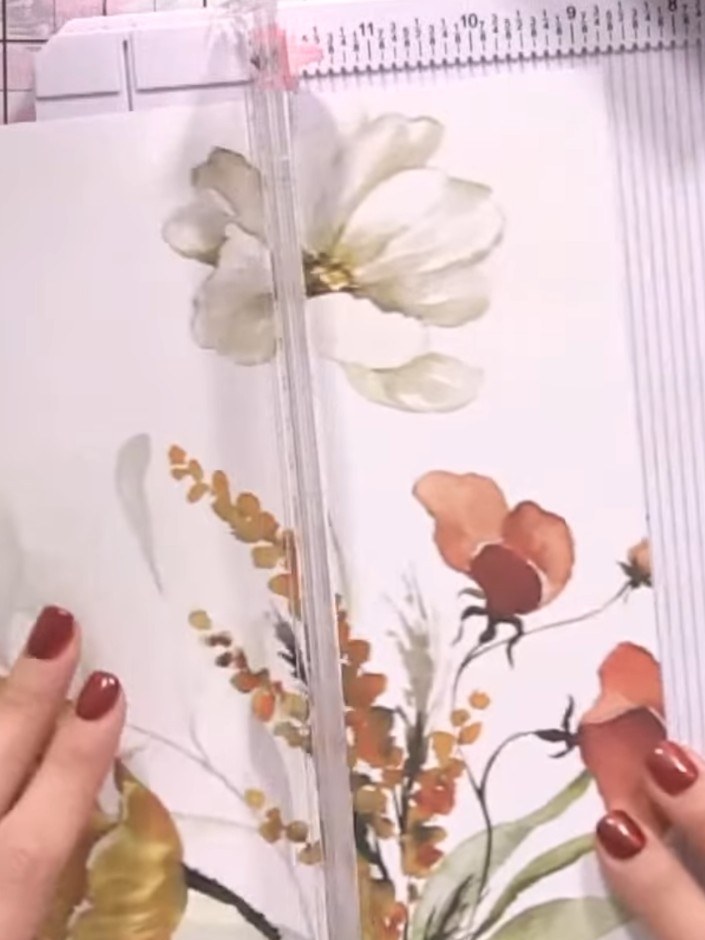
A project from our live show MIGHTY MONDAY - Join Toni for her detailed papercrafting sessions - Broadcast 9th December 24 · 12/09/2024
Create a delightful mini album from a single 12x12 sheet of decorative paper, featuring interactive pockets and a flip-down page. This charming project showcases woodland animals including a sweet bear with daisies, embellished with coordinating toppers in soft natural tones. Perfect for holding photos, gift cards, bookmarks or seeds, this album combines simple folding techniques with layered embellishments for a beautiful handmade gift.
 1
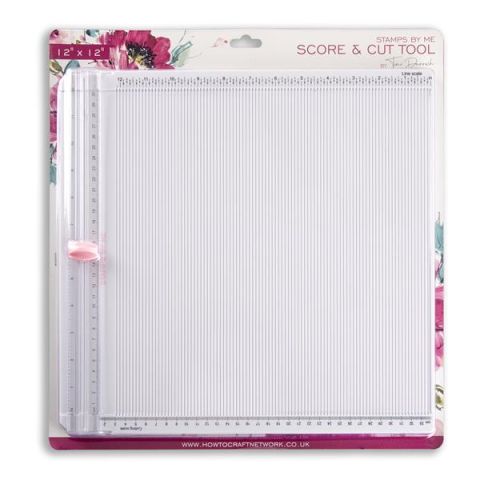
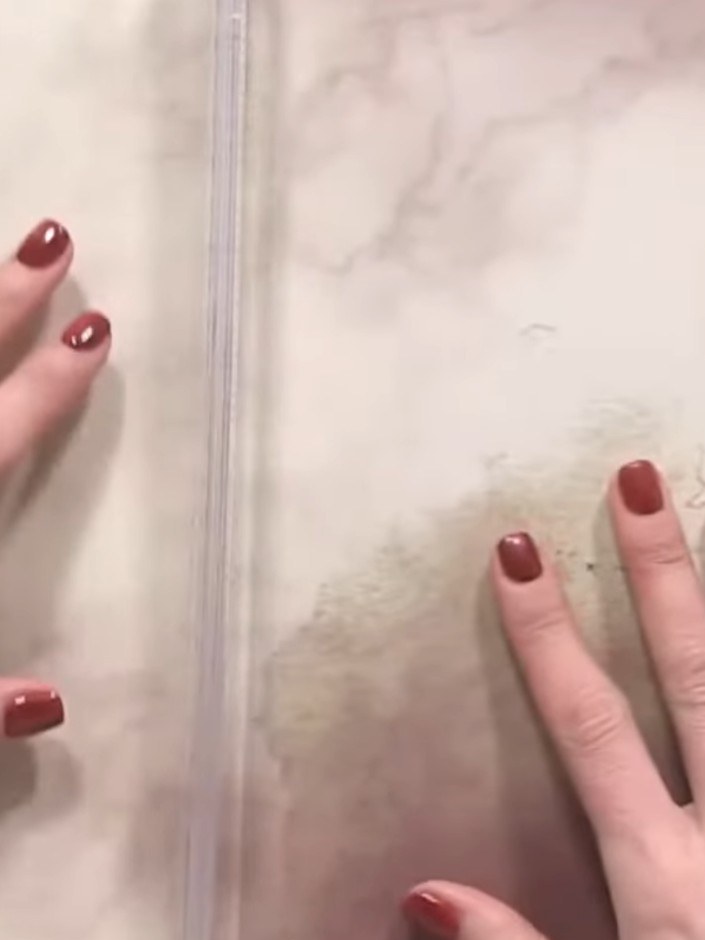
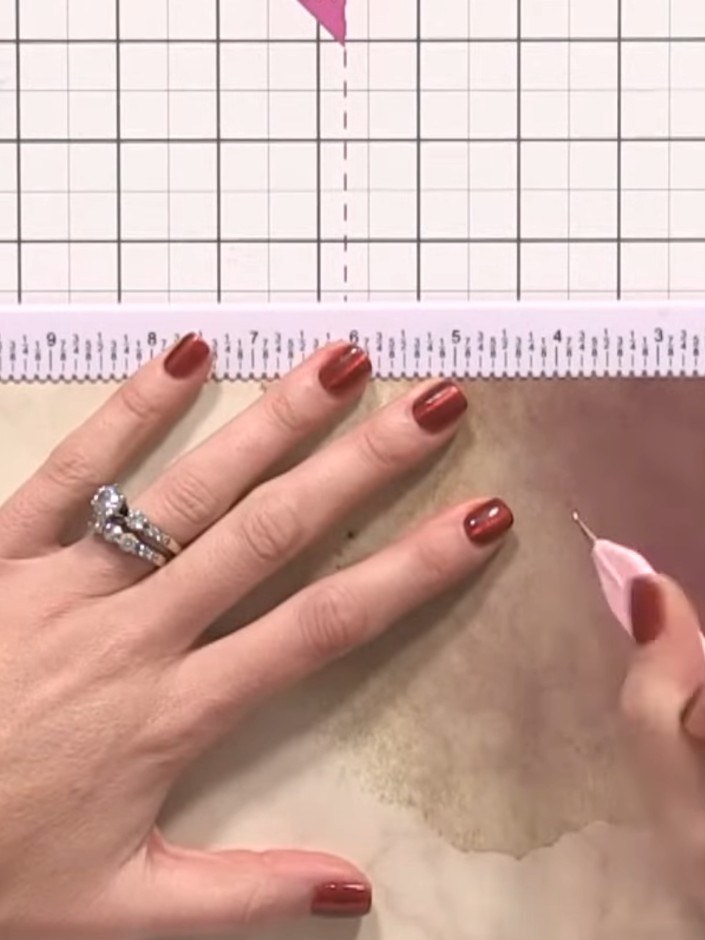
Place your 12x12 inch sheet of paper on the scoreboard and score down the centre at the 6-inch mark to create two equal halves.
 2
Cut the paper in half along the score line down the middle to create two pieces measuring 6x12 inches each.
 3
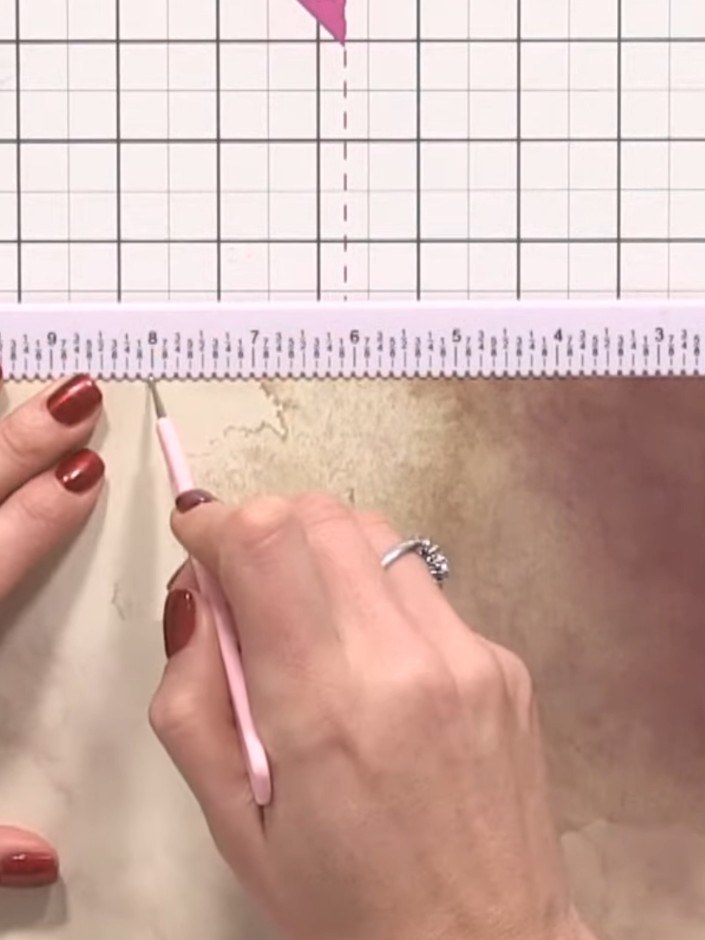
Take the first 12x12 inch piece of paper and score at 4 inches and 8 inches to divide it into three equal sections.
 4
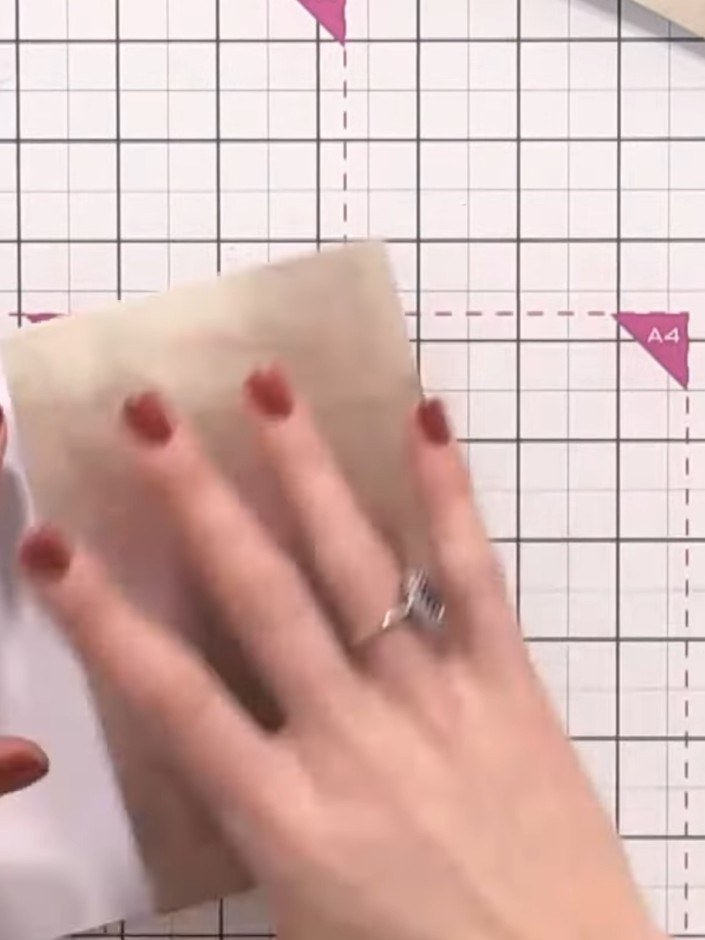
On the second piece of paper, score at half inch, 4.5 inches and 8.5 inches.
 5
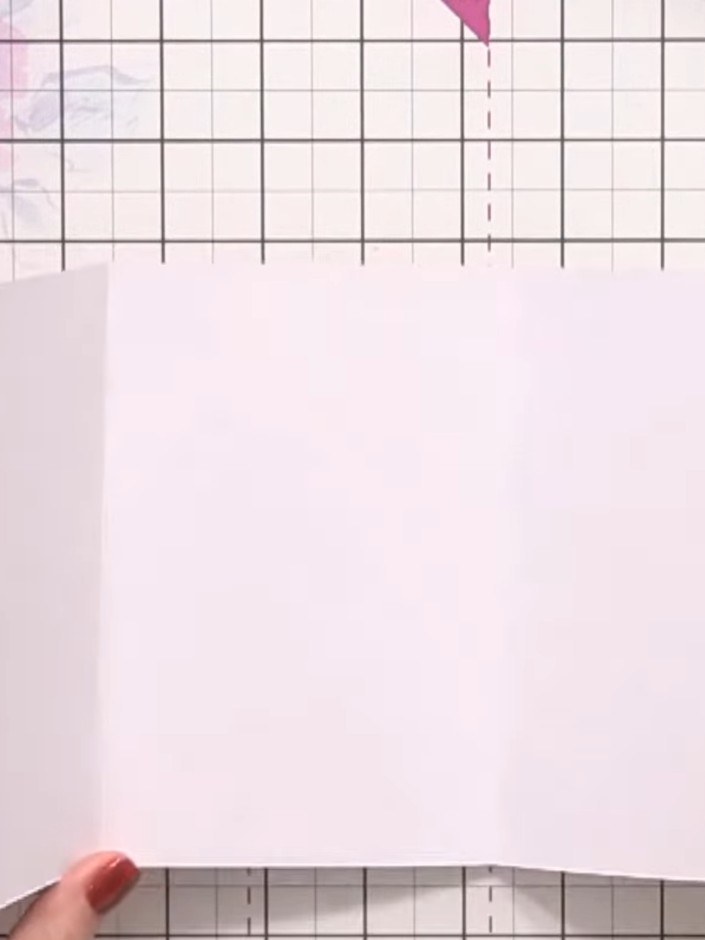
Fold the first piece of cardstock into three equal sections along the score lines to create a tri-fold panel.
 6
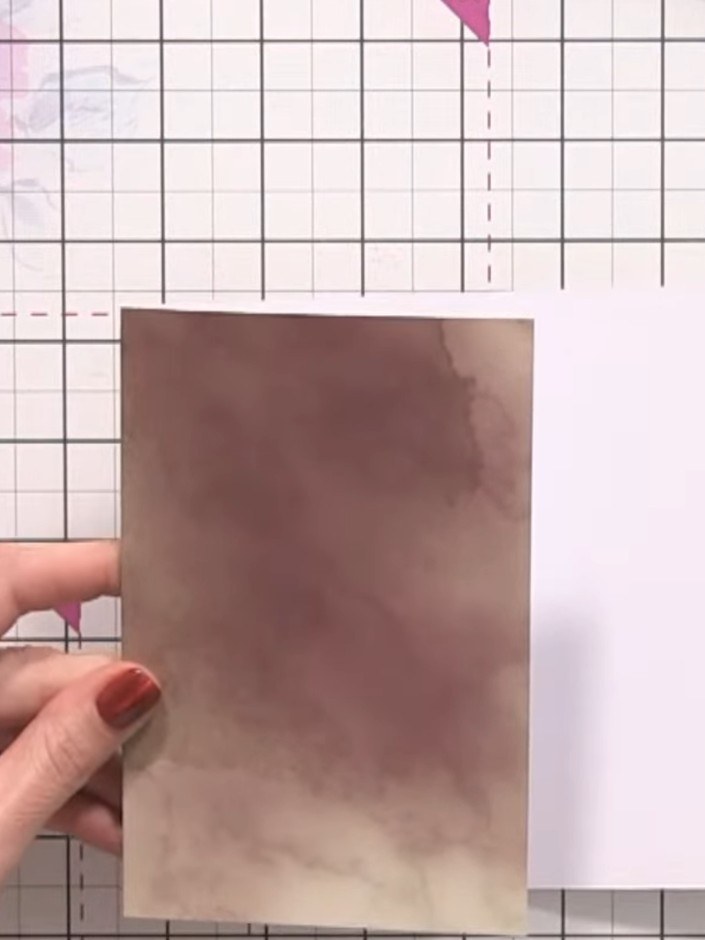
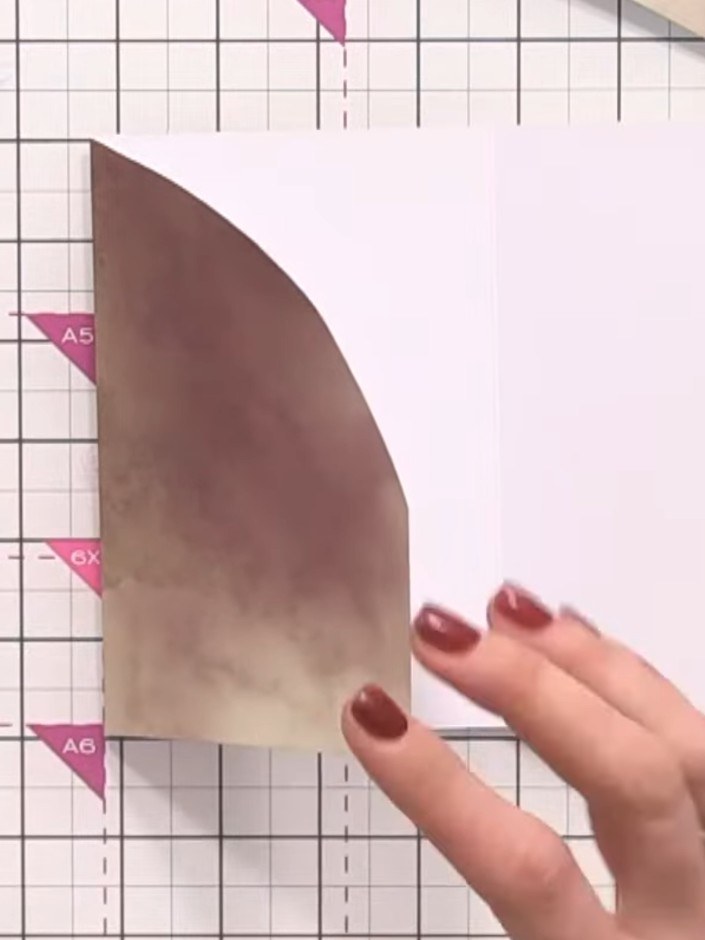
Cut a curved arch from the bottom edge of the brown ombré section freehand with scissors to create a pocket opening.
 7
Apply glue along the side and base edges of the arched pink section. Press the edges down to create a pocket, leaving the curved top edge open.
 8
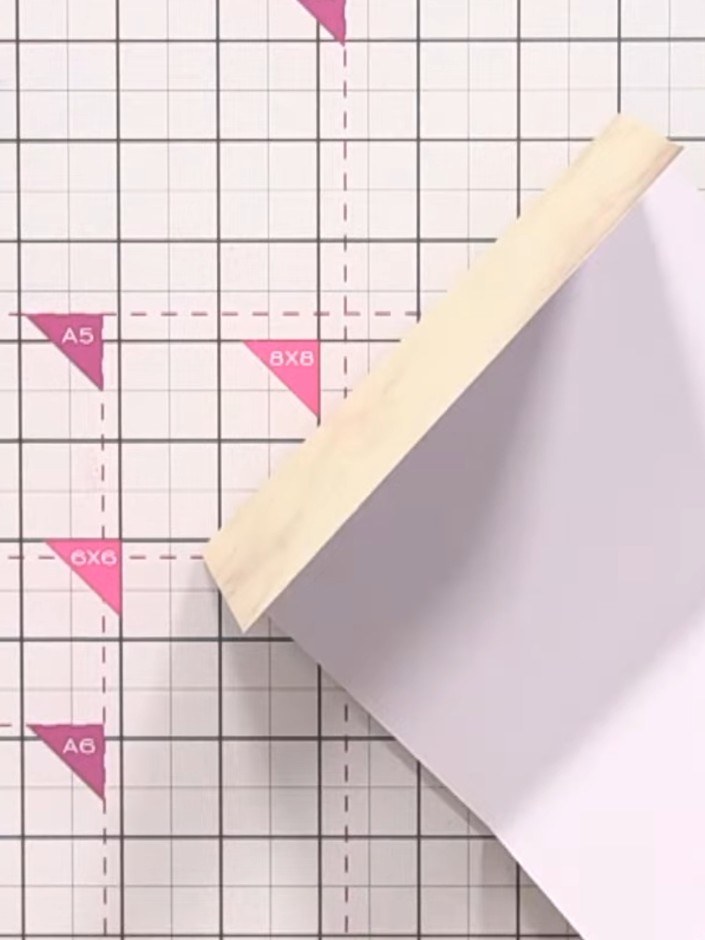
Fold the second 12 x 12 inch sheet in half. Apply glue to one of the hinge strips and attach it to connect this folded piece as an additional page to your album base.
 9
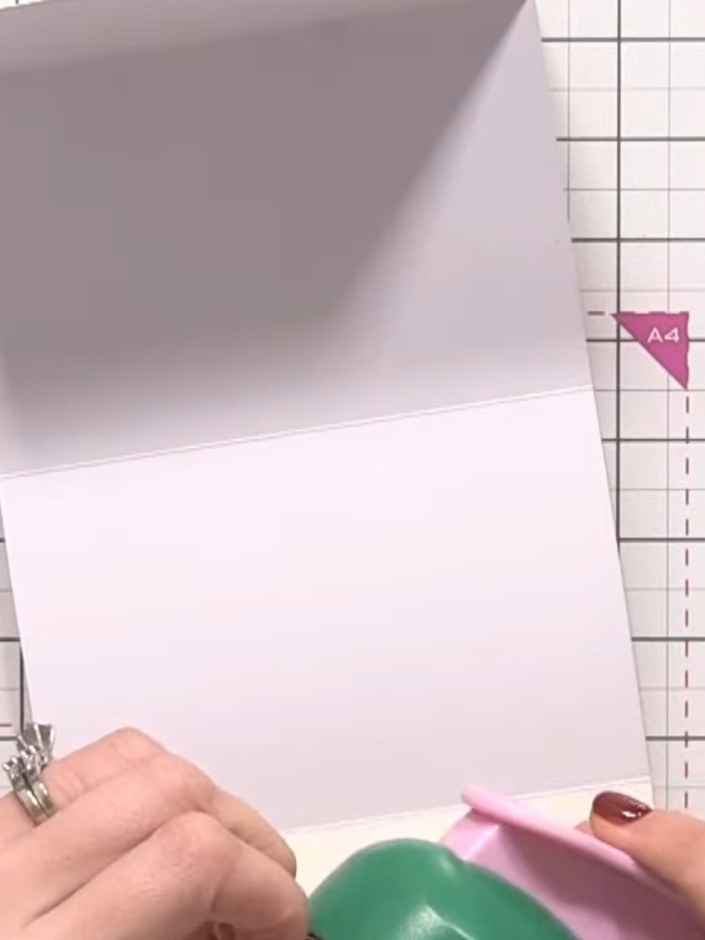
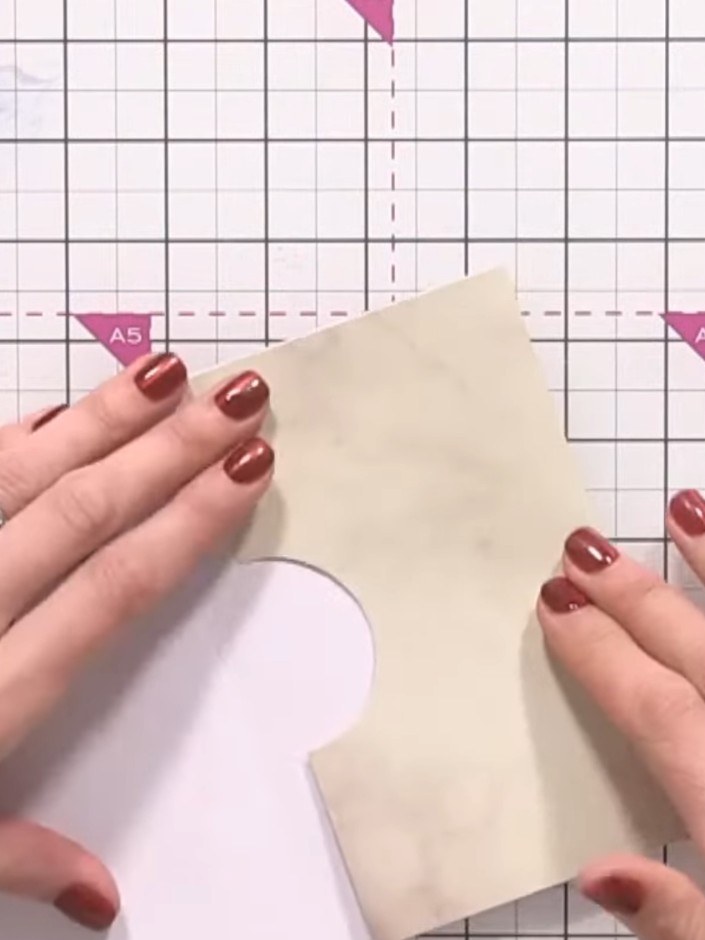
Use the 2-inch circle punch to punch half circles along the folded edge of another white card section, creating a decorative scalloped edge for a pocket.
 10
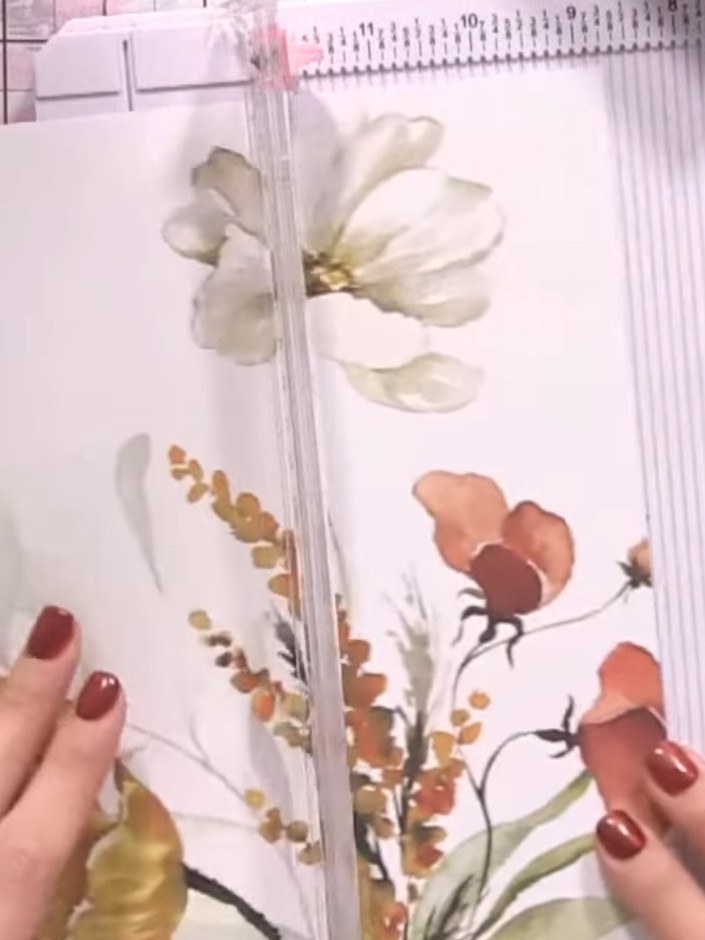
Apply glue along the bottom edge of the punched scalloped section. Press down firmly to secure it to the base layer, creating a second pocket with a decorative scalloped top opening.
 11
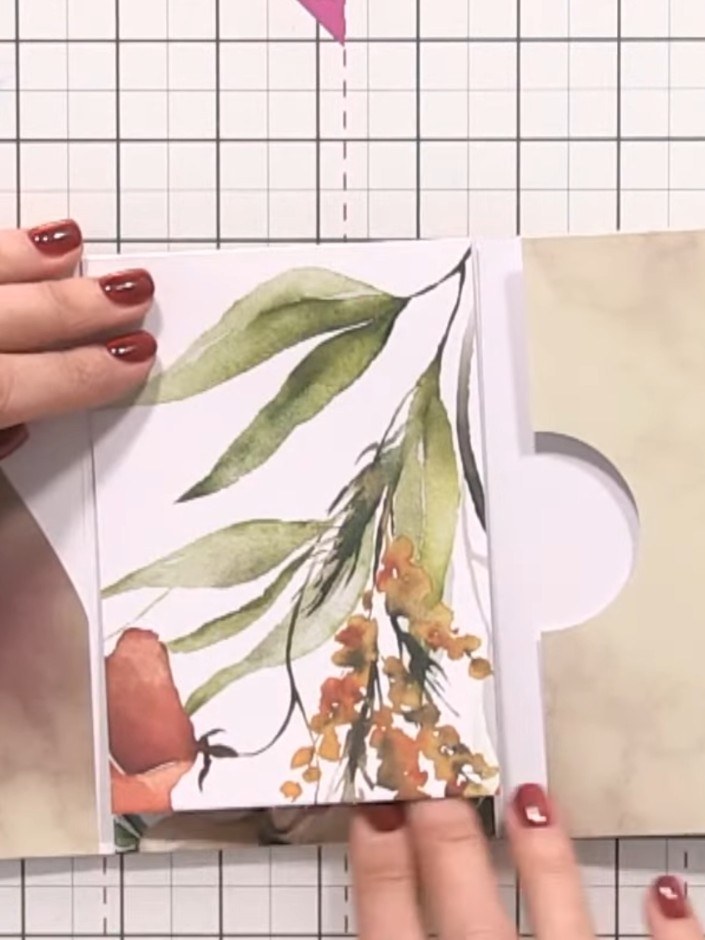
Cut a panel from coordinating floral paper to fit the inside front cover. Apply glue to the back of the panel and adhere it to the inside front cover to create a decorative background layer.
 12
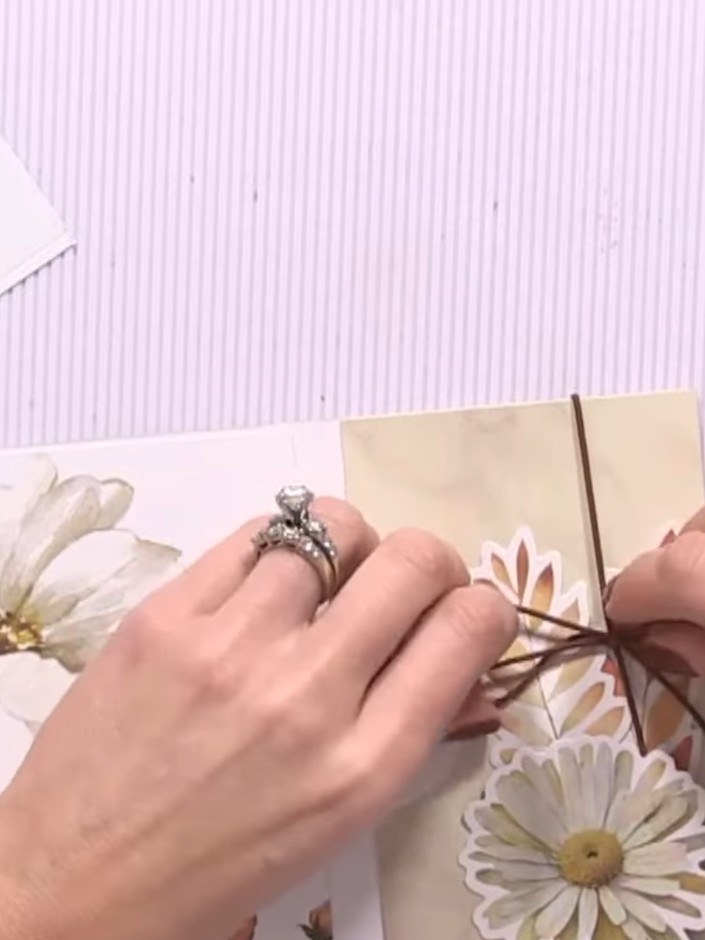
Embellish the album pages with decorative toppers and coordinating paper scraps. Layer the floral and animal motifs from the Autumn Days collection onto the pages, positioning them attractively across the pockets and panels.
 13
Wrap elastic around the album spine and tie it in a bow on the front cover to create a closure and add decorative detail.
 14
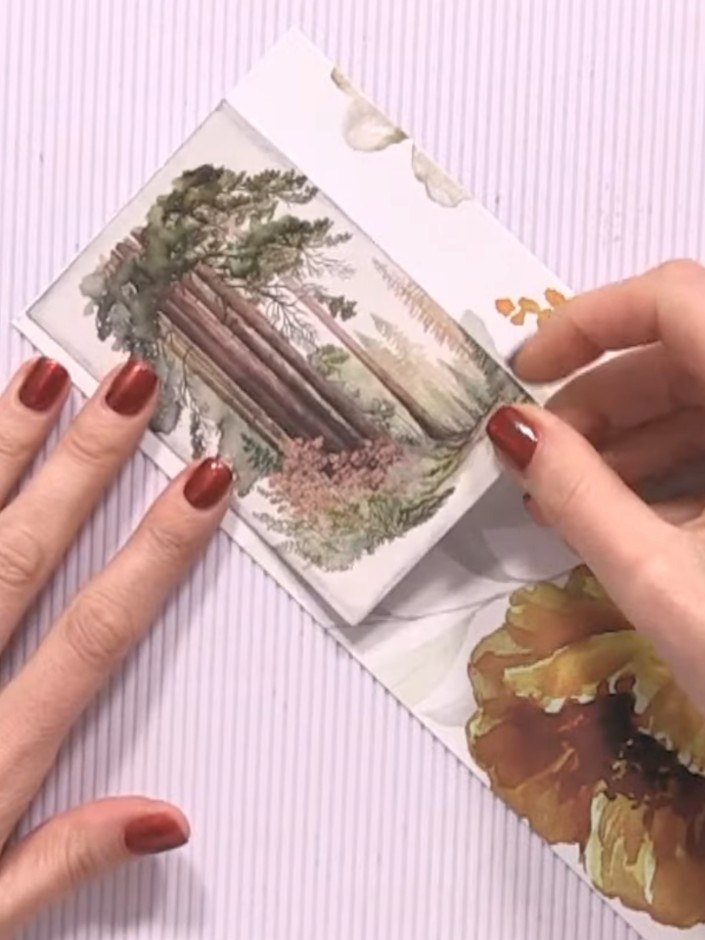
Add the final decorative scene panel to the front cover of your album. Position the panel with the forest scene image and place a cute animal topper (such as the squirrel) in the upper corner to complete the design.
Share your make with the Stamps By Me community - and keep this guide for next time.
Written up from the show itself. See every guide from our shows · free how-to guides · watch live on My Telly · the previous layout