Give your friends $10 off their first order!
Refer a FRIEND








Prices change straight away. Every language is our own translation, not Google.
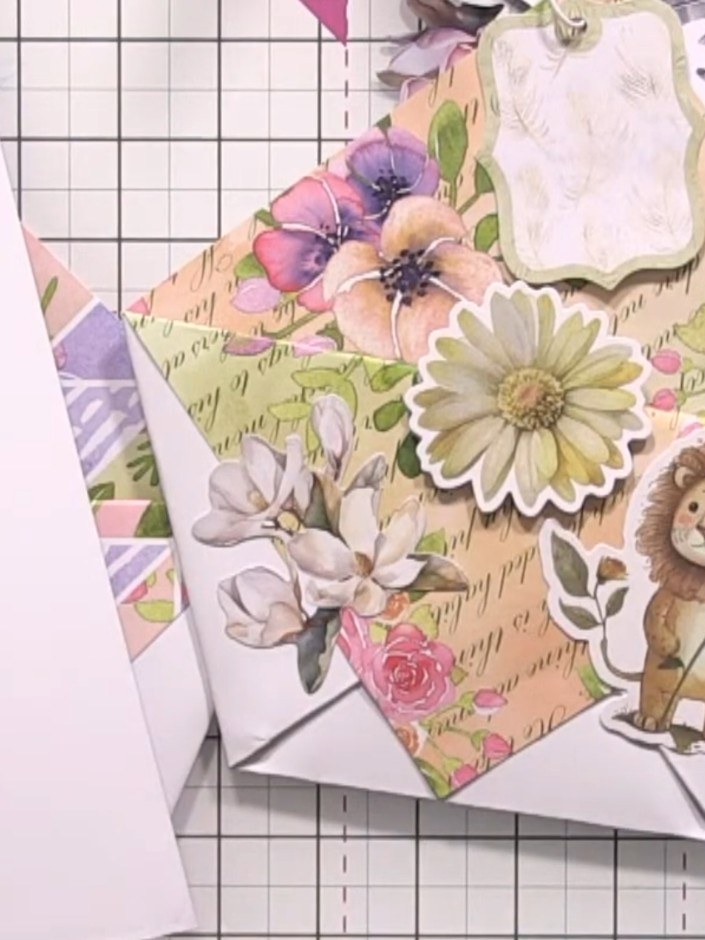
A project from our live show MIGHTY MONDAY - Join Toni for her detailed papercrafting sessions - Broadcast 16th December 24 · 12/16/2024
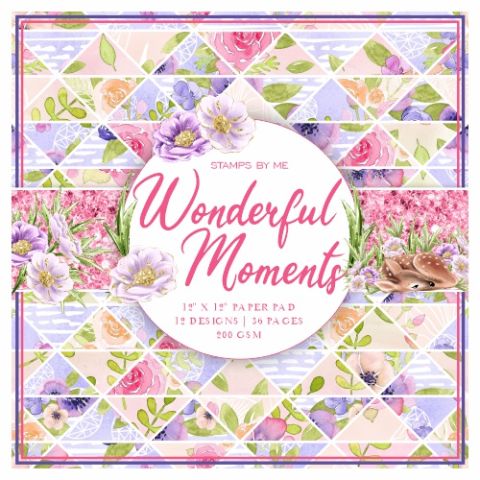
Create an elegant decorated gift wallet featuring beautiful floral embellishments and coordinating decorative elements in soft pinks, purples, and neutrals. This charming project combines paper folding techniques with dimensional layering, creating a complete gift package with a card insert that can hold a heartfelt message or small keepsakes. The finished piece showcases delicate die-cut flowers, decorative tags, and patterned papers for a sophisticated handmade gift.
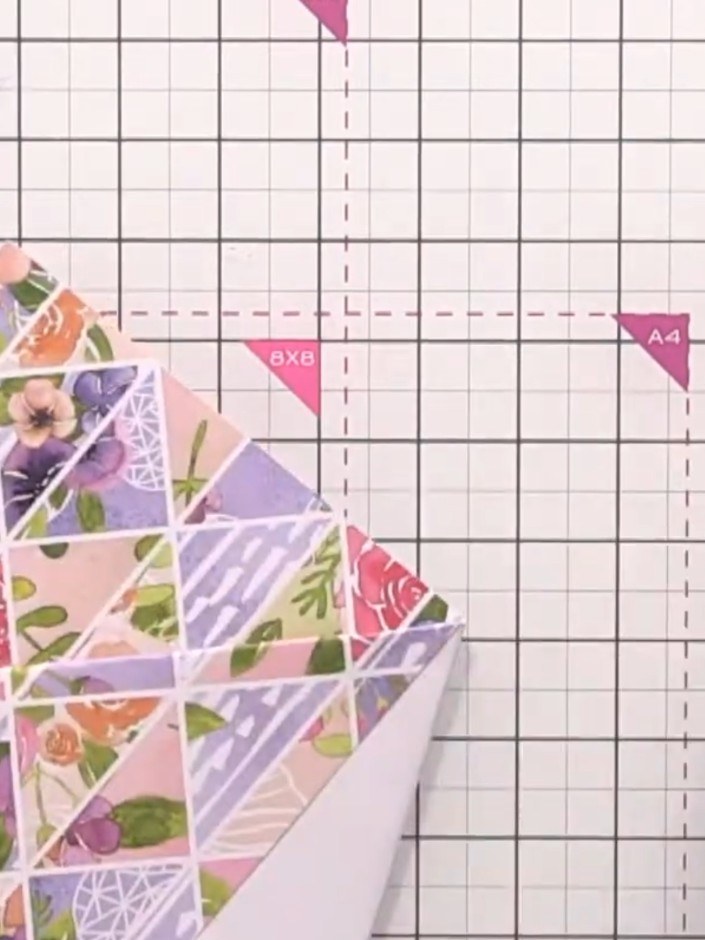 1
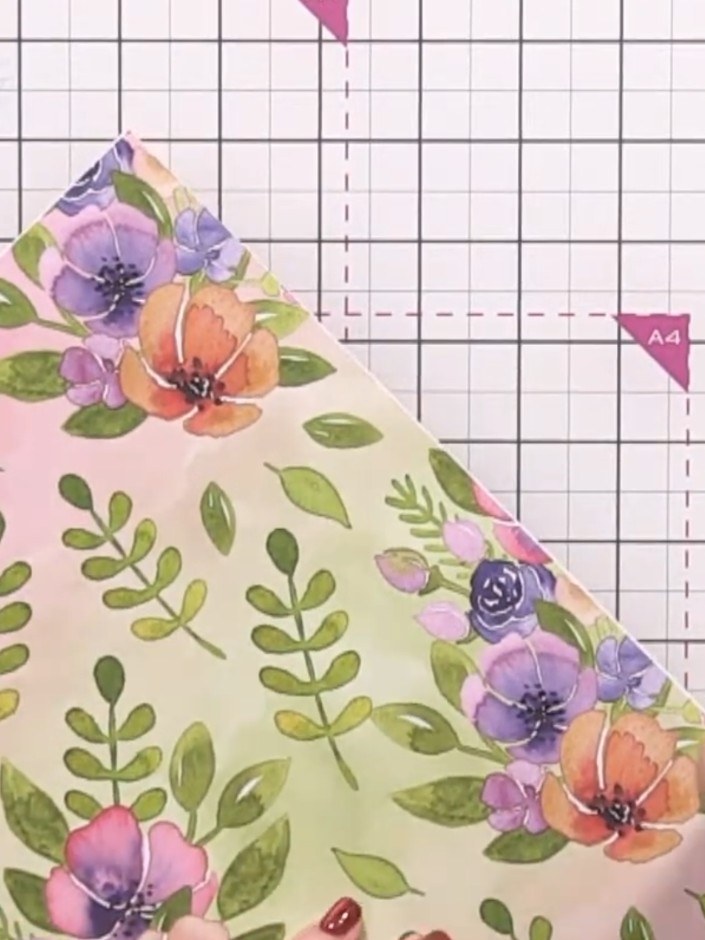
Take your chosen square cardstock and fold it following the basic wallet folding technique to create the gift wallet structure. Ensure all folds are crisp and well-defined.
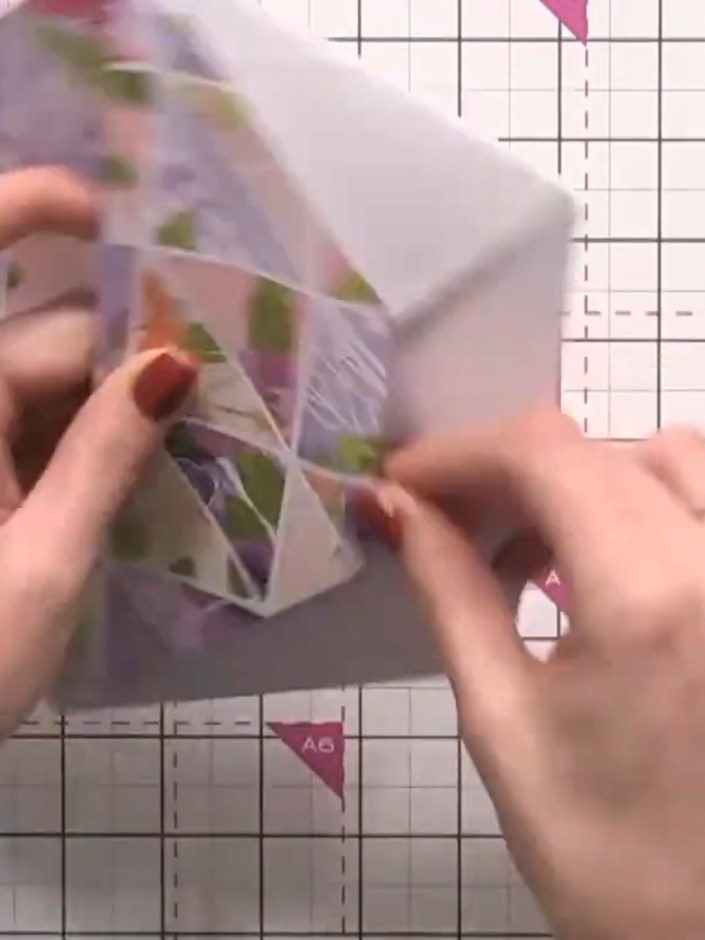 2
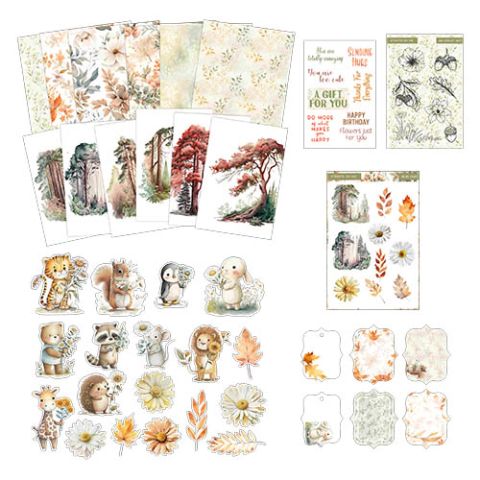
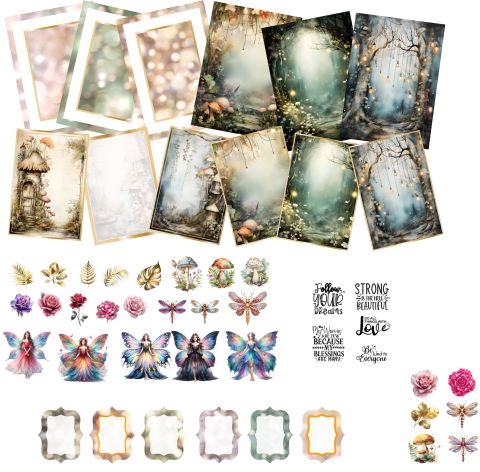
Select embellishments from your Create a Card kit or leftover embellishment packs. Arrange them on your decorated panel to create your desired design. You can shape and position the pieces however you wish - it's totally up to you.
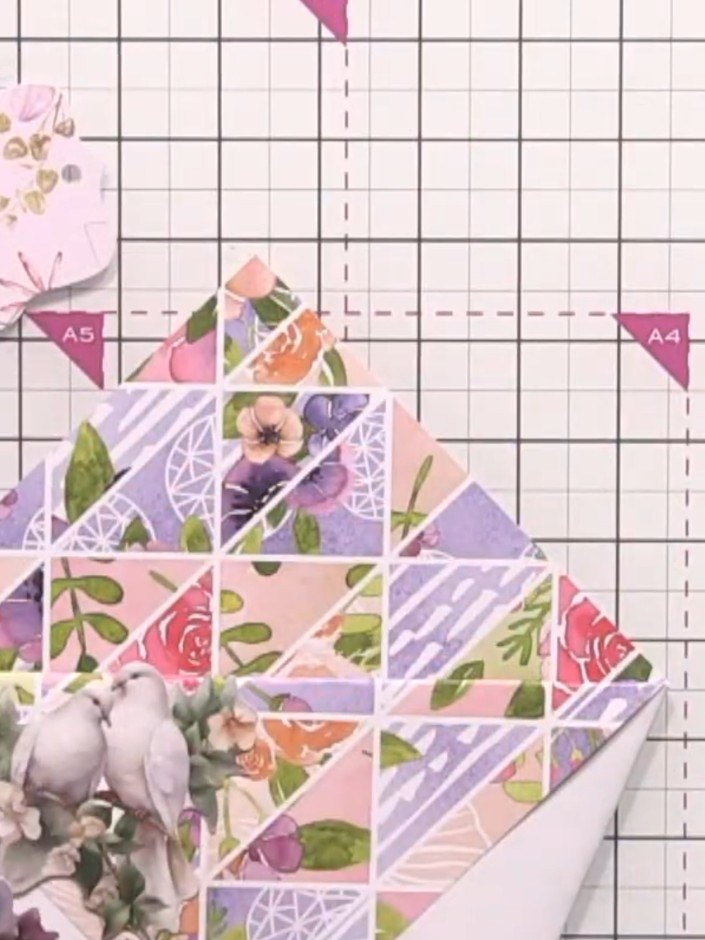 3
Arrange floral elements including the decorative bird and flower embellishments on the front of your hexagonal wallet to create an attractive design. Position the pieces to complement the patterned paper squares beneath.
 4
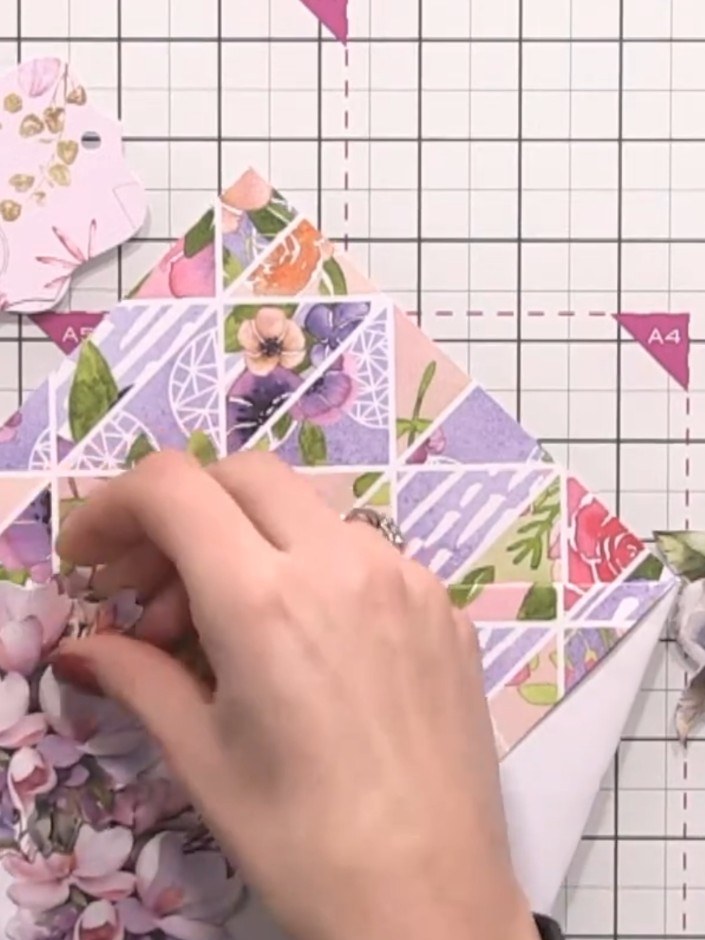
Adhere floral embellishments to the left side of the patchwork panel using glue or 3D foam pads for dimension. Layer the flowers to create depth and visual interest.
 5
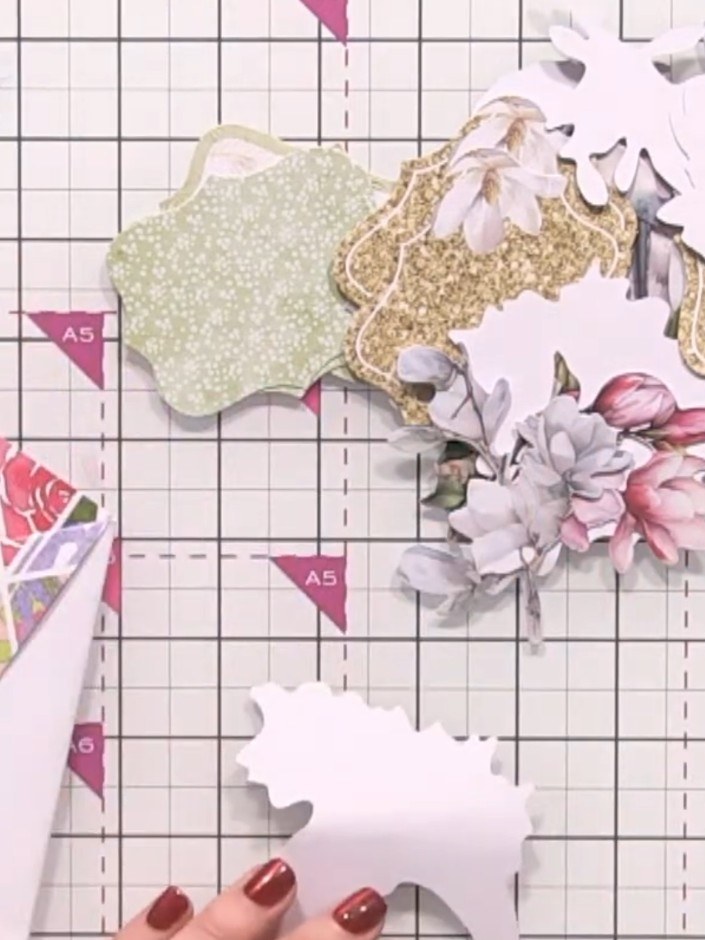
Cut a piece of white cardstock to fit inside the wallet as a card insert. This should be slightly smaller than the wallet opening to fit comfortably inside.
 6
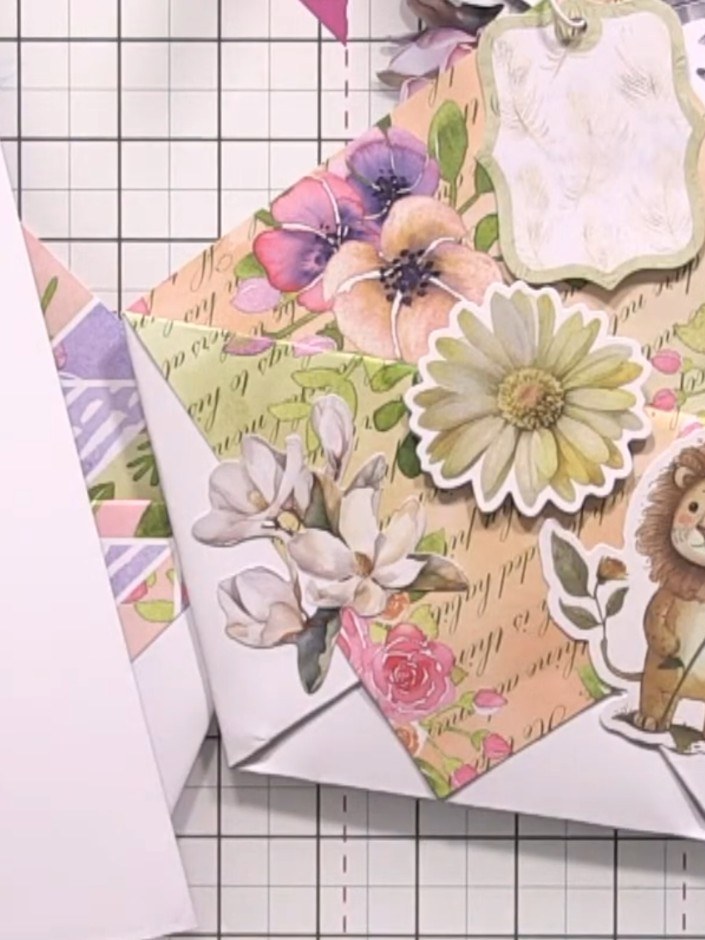
Trim your insert card to the appropriate size using a guillotine cutter or scissors to fit within your wallet.
 7
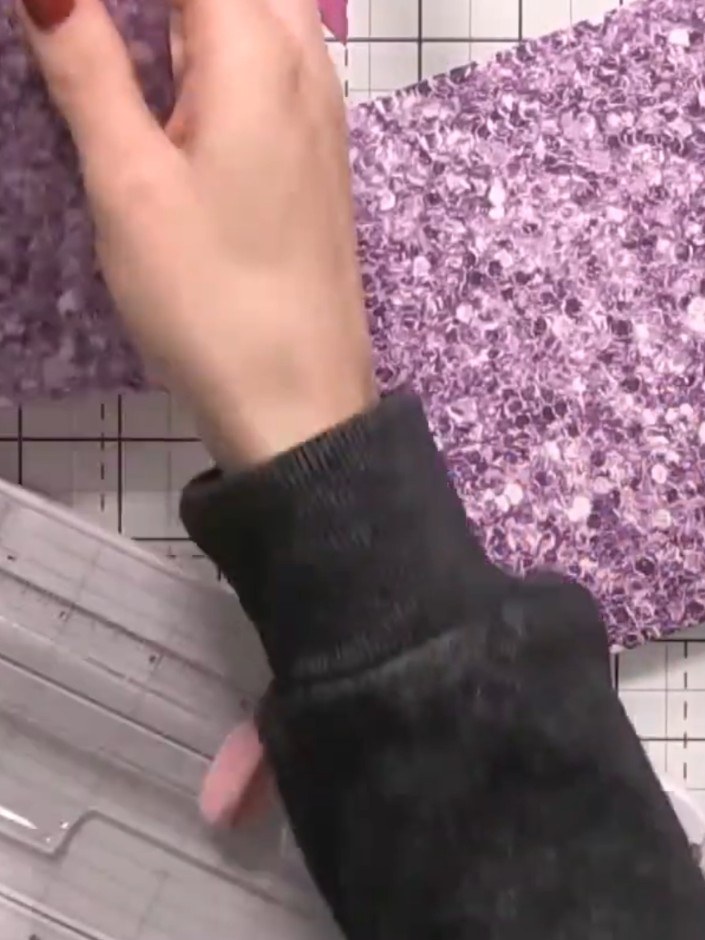
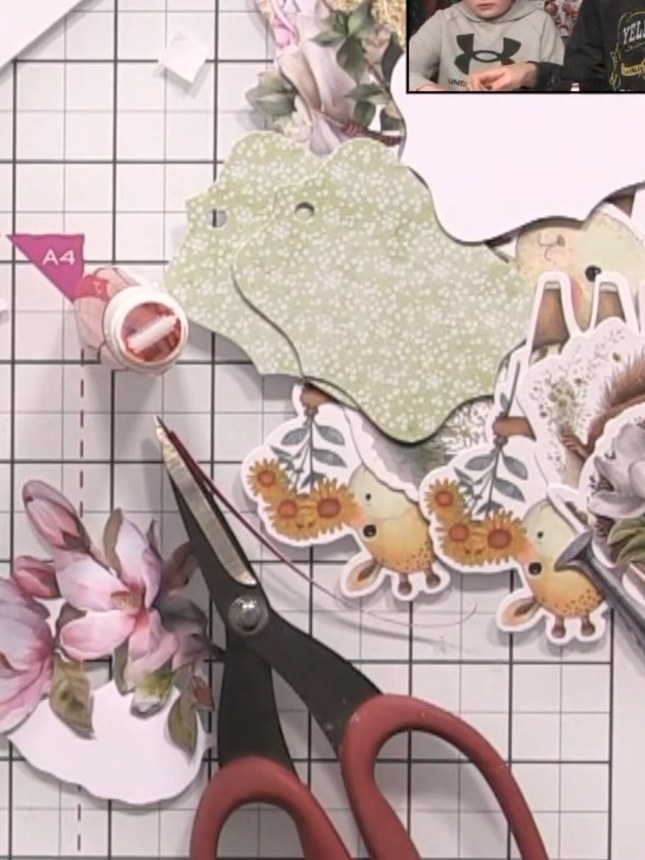
Add a panel of purple glitter paper to the front of your insert card. Layer additional embellishments such as hedgehog die-cuts and floral elements to complete the decoration.
 8
Thread elastic or string through the hole at the top of the wallet and attach a decorative swing tag or label to complete the embellishment.
 9
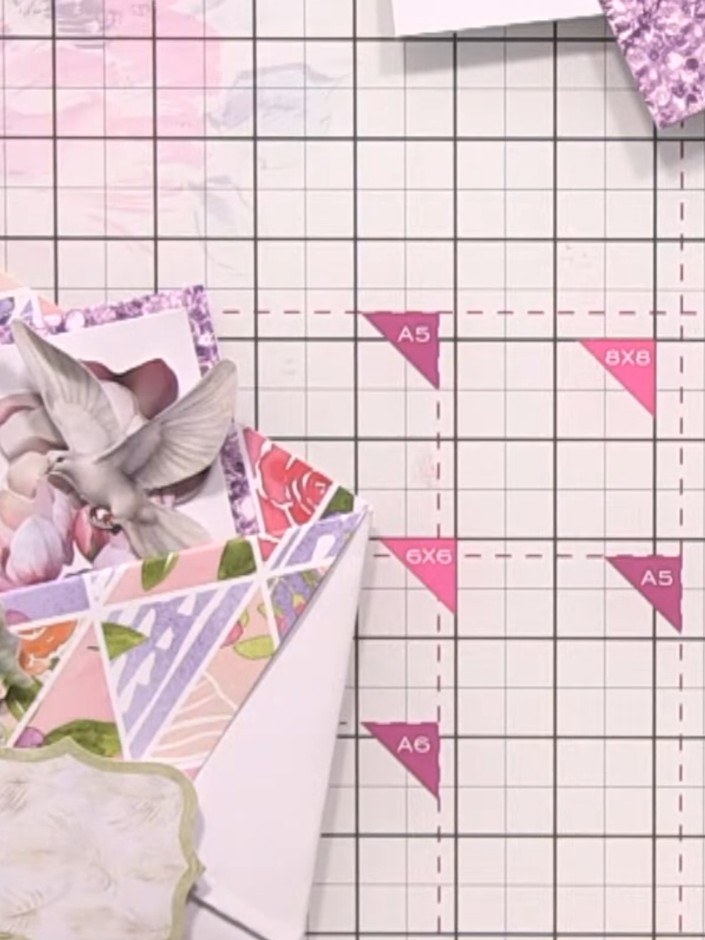
Place the decorated insert card inside the wallet pocket to complete your gift wallet.
Share your make with the Stamps By Me community - and keep this guide for next time.
Written up from the show itself. See every guide from our shows · free how-to guides · watch live on My Telly · the previous layout