Give your friends $10 off their first order!
Refer a FRIEND








A project from our live show ONE DAY SPECIAL - Join Toni for her brand new launch - Broadcast 10th Jan 2025 · 01/10/2025 · watch it from 29:15
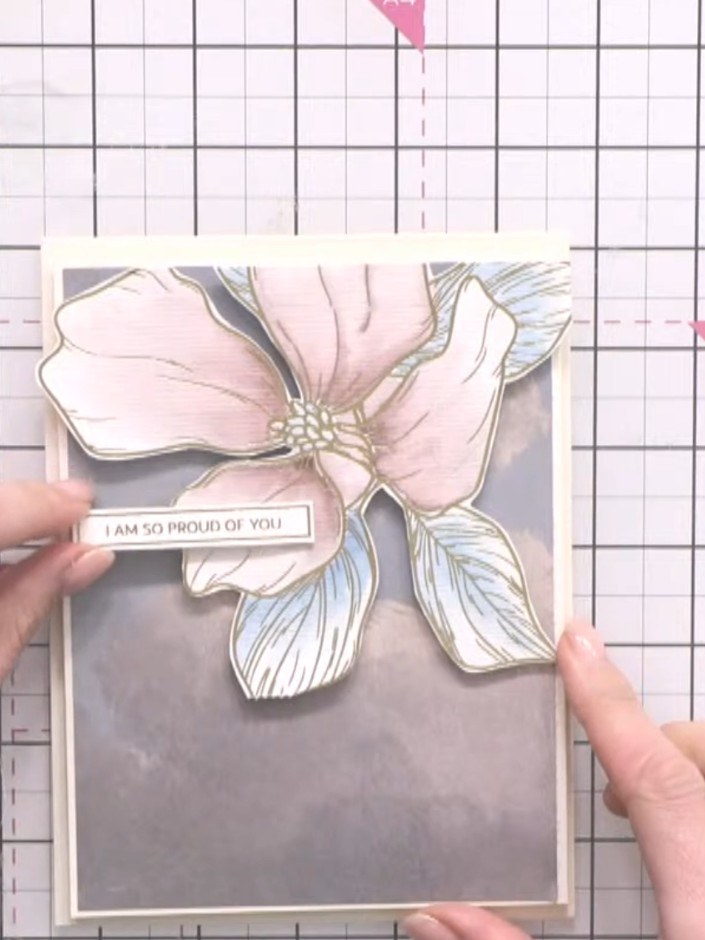
Create an elegant card featuring a beautiful hot foiled flower with delicate petals and leaves, hand-painted in soft pink and cream watercolours on a grey background. The gold foil outlines act as a resist whilst you paint, creating a stunning vintage-style floral design with the sentiment 'I am so proud of you'. This project combines hot foiling and watercolouring techniques to achieve a sophisticated, layered finish.
 Stamps By Me - All Surfaces - Daydream & Shades of Blue Bundle - 080125ASEE IT
 Stamps By Me - Hot Foiled Coloring Book - Florals - 160223ASEE IT
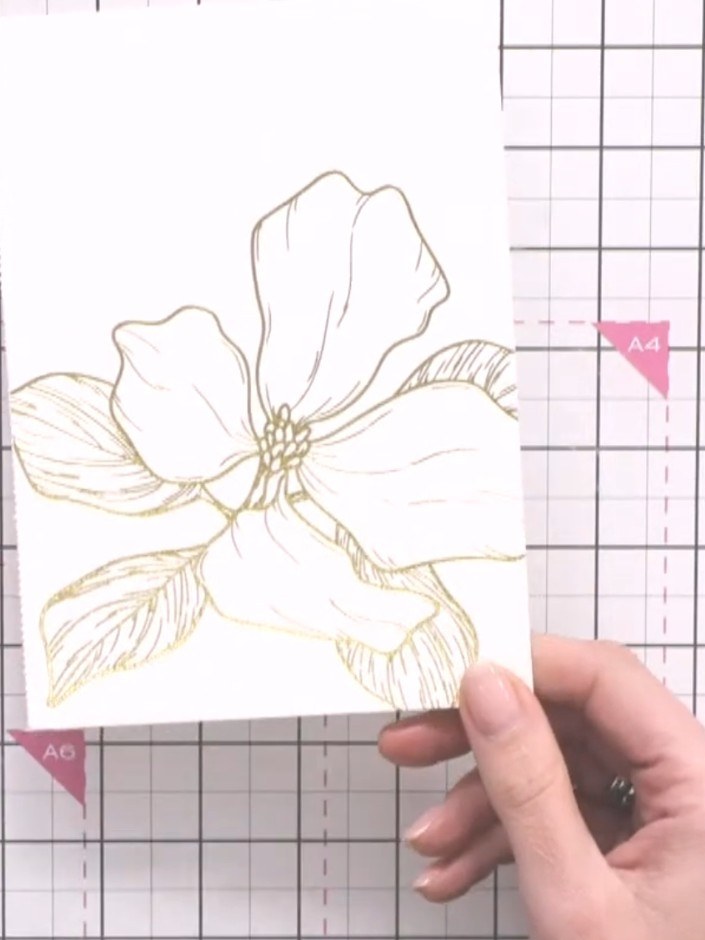
Cut out a large flower design from the hot foiled colouring book, leaving a small border around the edge of the gold foiled outline.
▶ watch this step (29:15)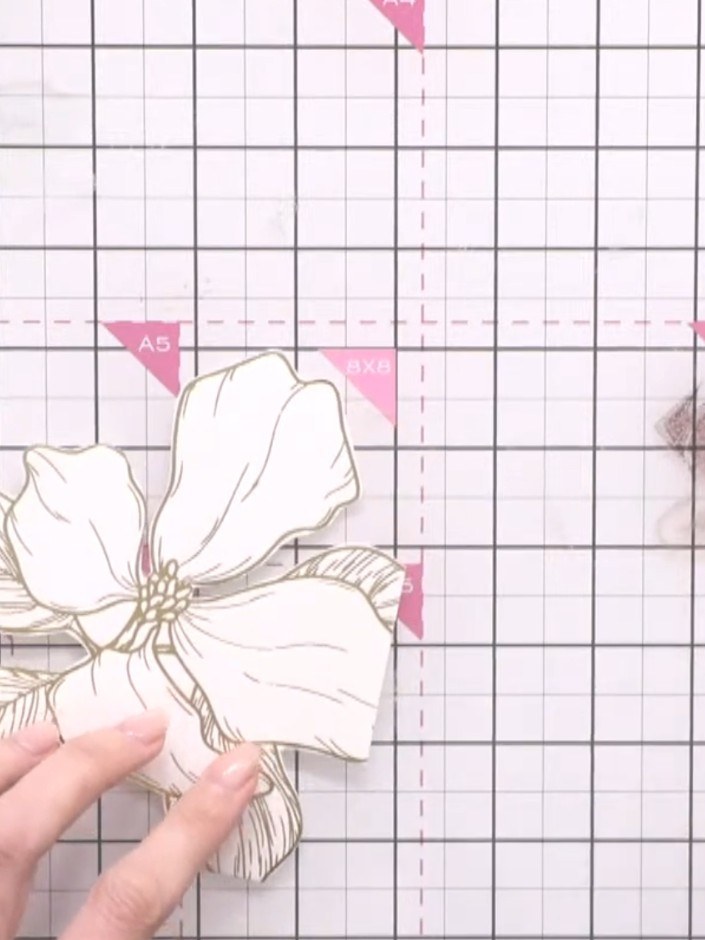
Prepare your watercolour palette with a light colour such as Heather. Dampen your brush with clean water ready for painting.
▶ watch this step (32:00)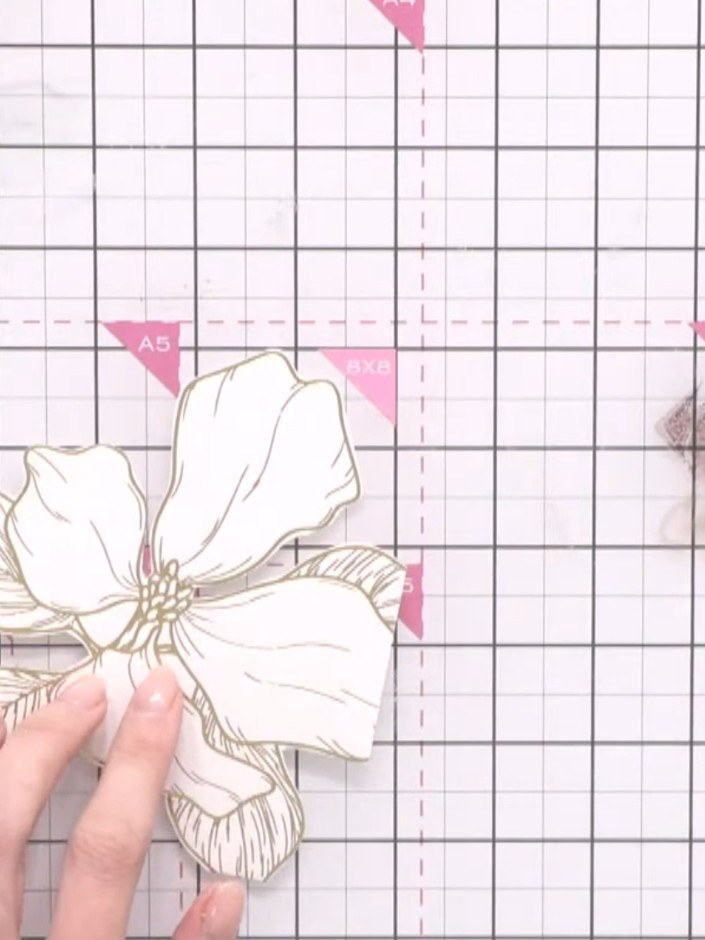
Apply a very light wash of colour to one petal using your paintbrush. Start at the centre of the petal and work outward with gentle strokes.
▶ watch this step (32:30)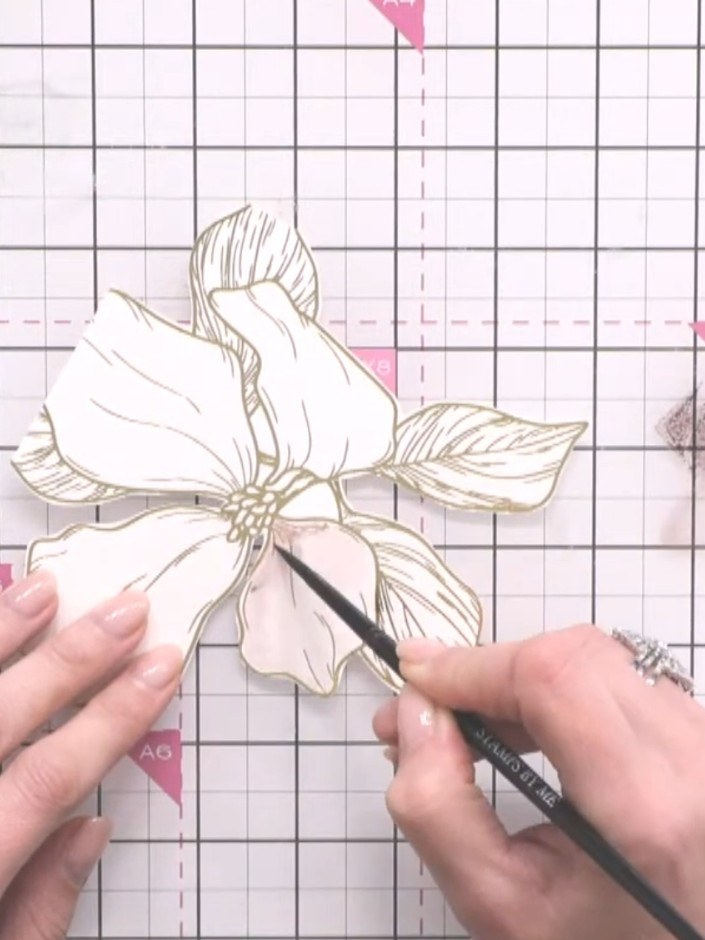
Use a clean, damp brush to drag the colour outward from the centre of each petal, creating a soft gradient effect. Work from the darker centre towards the lighter edges, cleaning your brush between strokes.
▶ watch this step (33:00)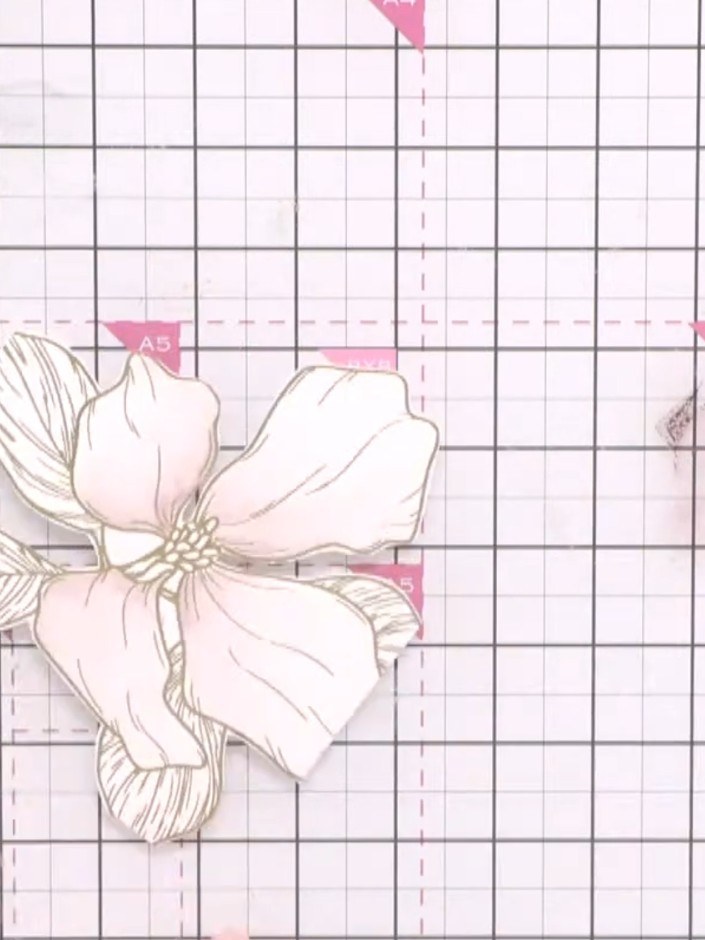
Apply a second layer of the same pink watercolour to the petals, using slightly darker tones to build depth and dimension. Focus on adding the darker colour to create shading and form in the flower.
▶ watch this step (36:00)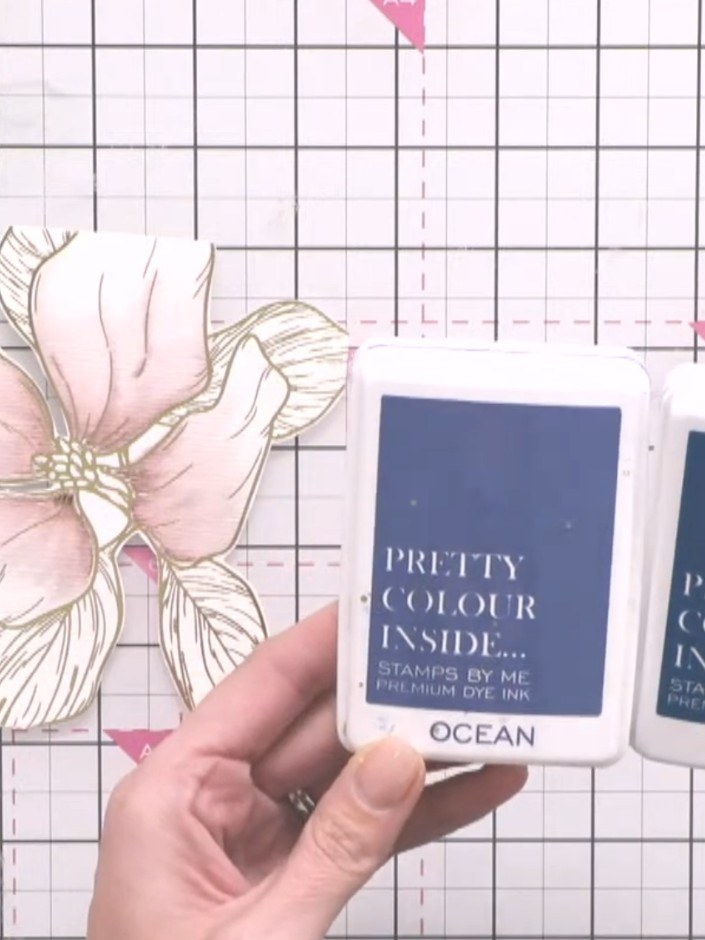
Mix two complementary ink colours together, such as Ocean and Tiffany, to create a custom shade that coordinates with your background paper. Use a brush or blending tool to combine the colours on your craft mat.
▶ watch this step (41:30)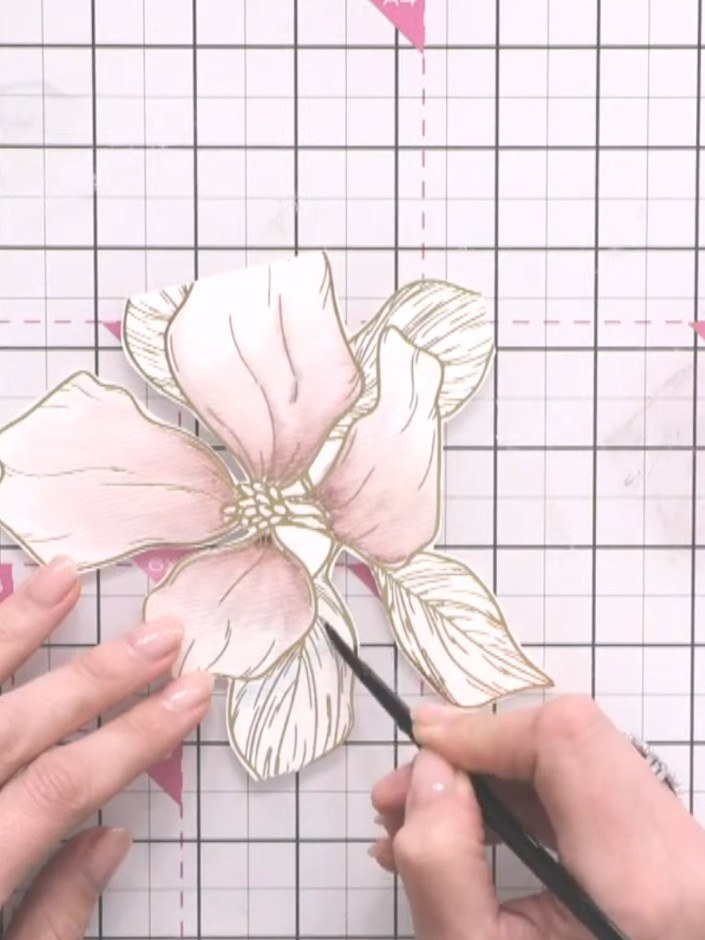
Paint the leaves with the mixed light colour, keeping the edges cream to avoid clashing with the pink background.
▶ watch this step (42:00)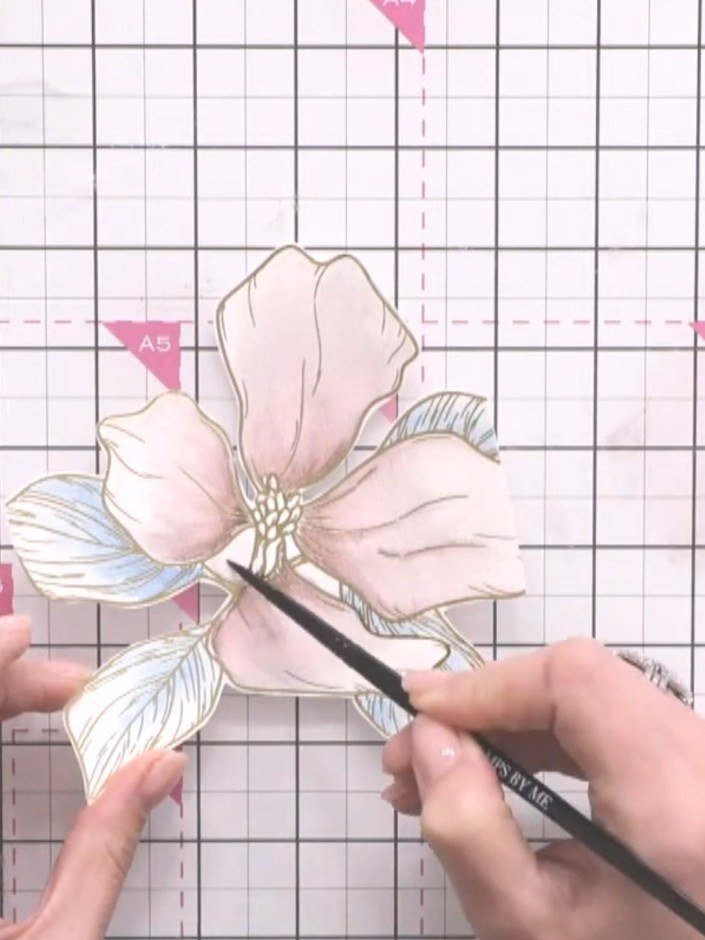
Apply a very light wash of colour to the centre of the flower petals using a brush and water to soften any harsh white areas and create a gentle gradient.
▶ watch this step (45:30)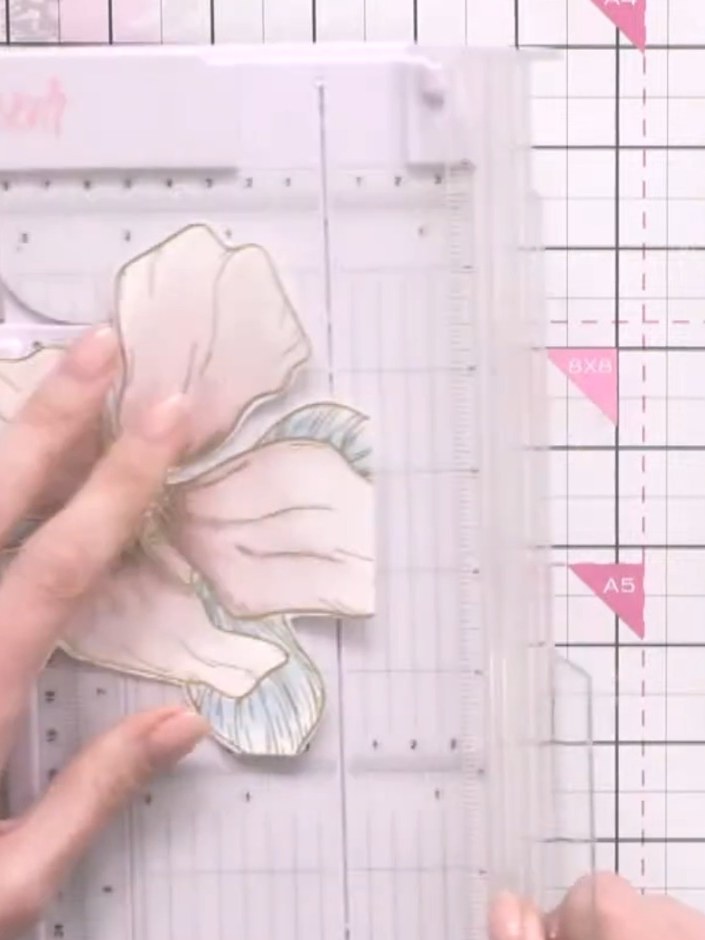
Trim the painted flower piece to remove any harsh white lines created by cutting. Use scissors or a craft knife to carefully trim around the edges of the foiled flower design.
▶ watch this step (51:15)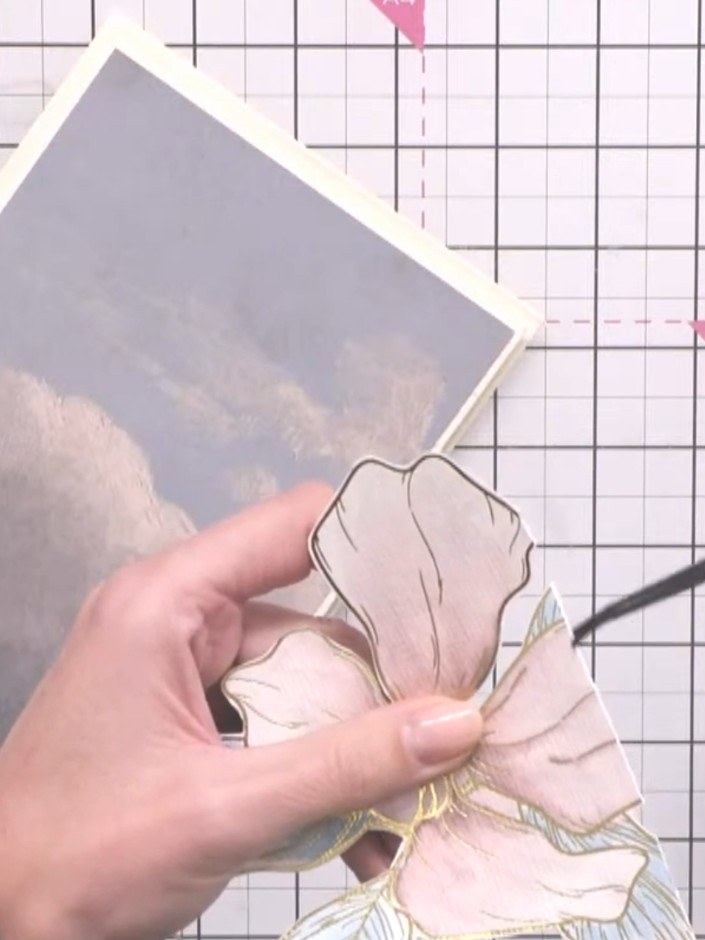
Mount the coloured flower onto a cream matted layer using adhesive. Layer this onto your coordinating background paper to complete the card front.
▶ watch this step (52:00)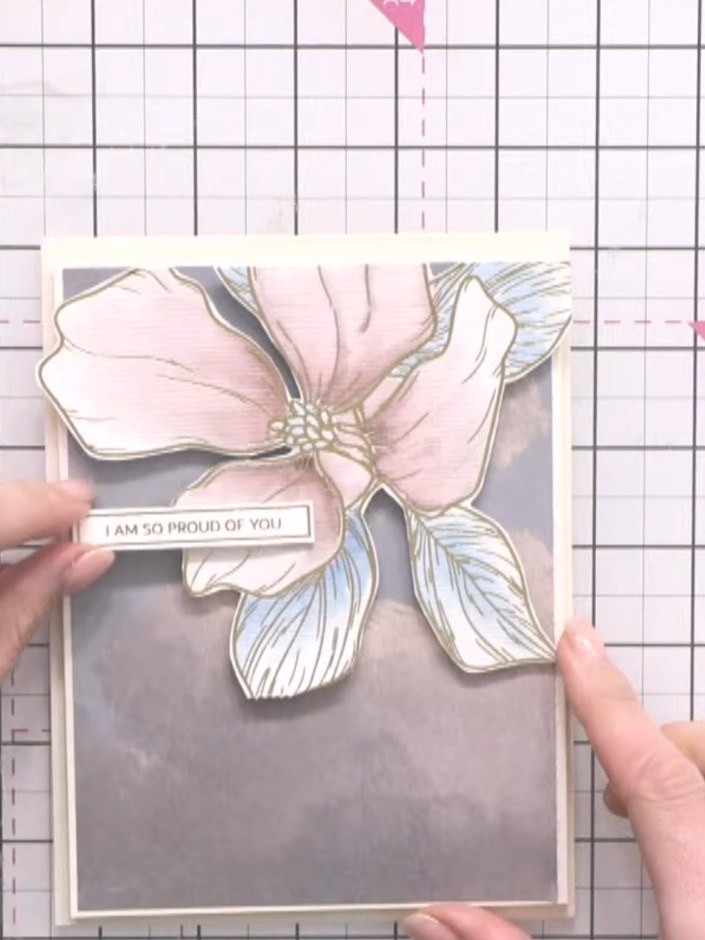
Add a sentiment from the back of the colouring book, such as 'I am so proud of you', using double-sided tape or foam pads to secure it to the card front.
▶ watch this step (55:30)Written up from the show itself. See every guide from our shows · free how-to guides · watch live on My Telly