Give your friends $10 off their first order!
Refer a FRIEND








A project from our live show MY PODCAST - Catch my latest updates broadcast 13th January 2025 · 01/13/2025 · watch it from 44:00
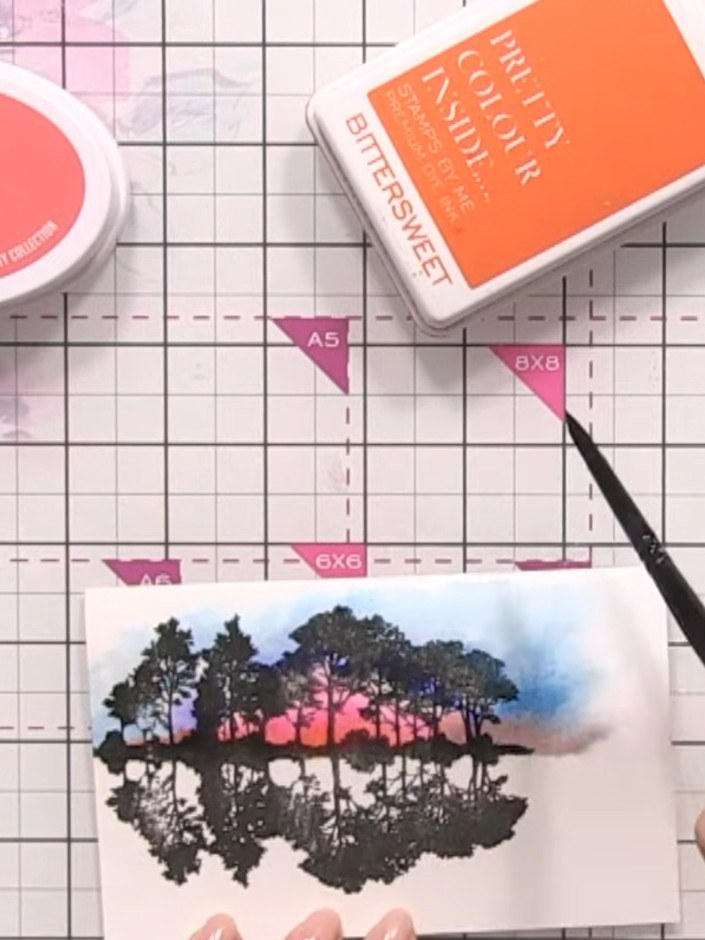
Create a stunning landscape card featuring silhouette trees reflected in water beneath a vibrant sunset sky. Using reflection stamps and watercolour techniques, you'll build up layers of coral, orange and blue tones to create an atmospheric scene. The combination of stamped imagery and freehand painting produces a beautiful artistic composition perfect for any occasion.
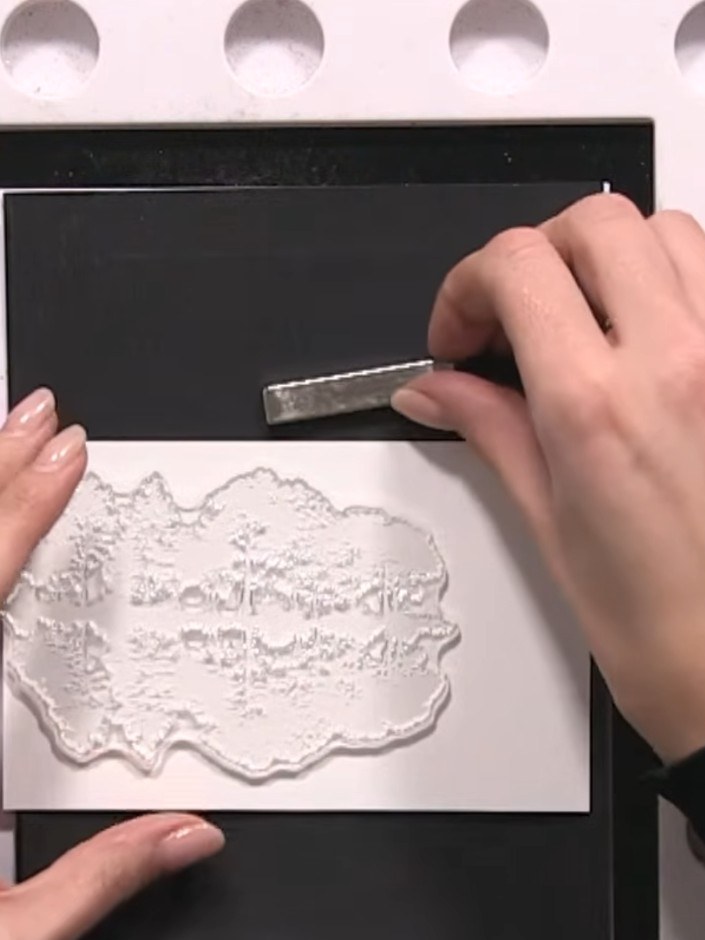
Cut a small piece of white watercolour card and position it landscape orientation on your black card base. Use a metal ruler to ensure straight edges and proper alignment.
▶ watch this step (44:15)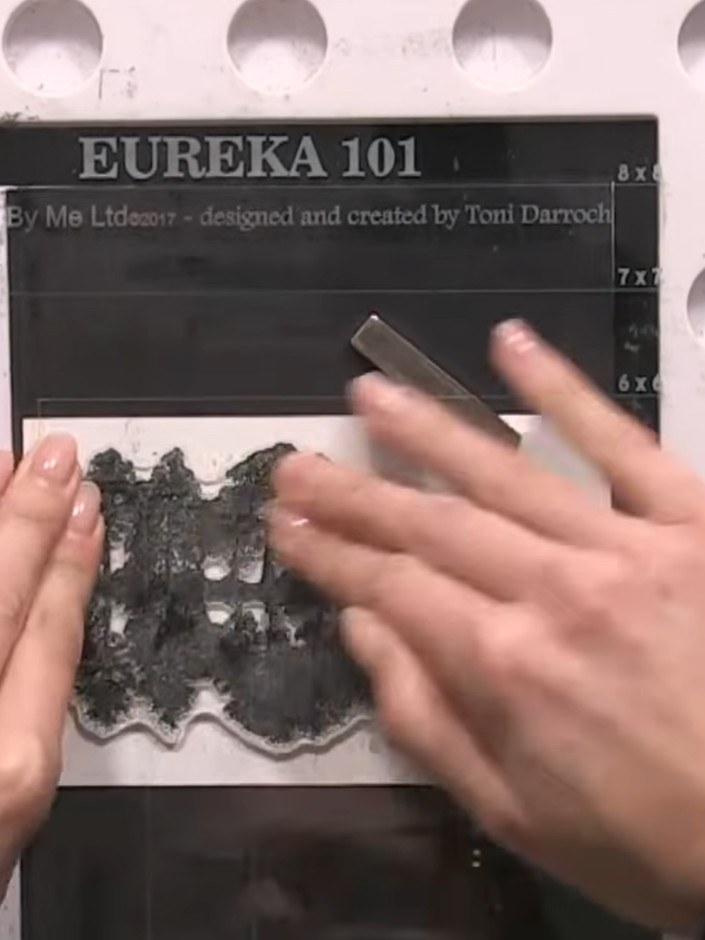
Ink up the reflection stamp with black ink using the Eureka 101 stamping platform.
▶ watch this step (44:45)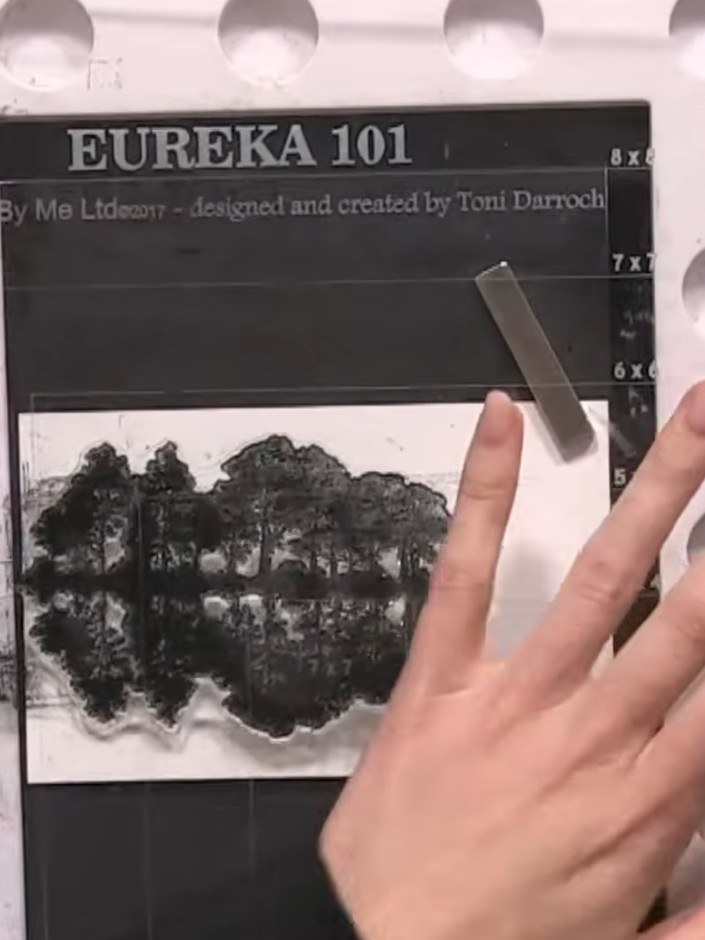
Stamp the tree silhouette image onto the white card panel, positioning it off to one side to create a landscape horizon line. Use the Eureka 101 stamping platform to ensure accurate placement.
▶ watch this step (45:15)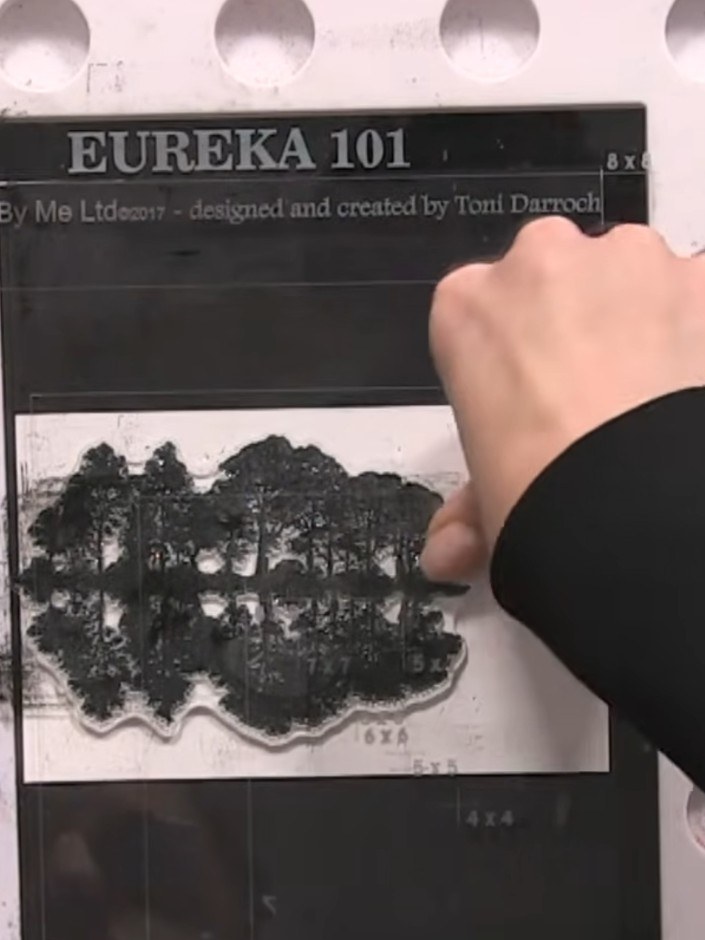
Carefully lift the stamp away from the card to reveal the tree image with its reflection printed below, creating a mirrored effect.
▶ watch this step (45:30)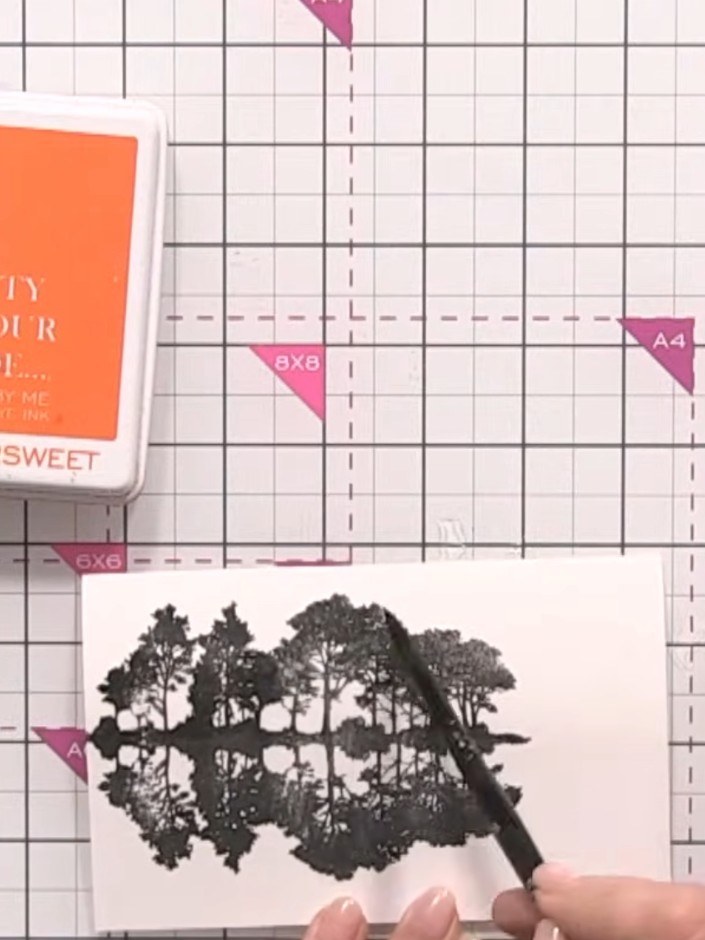
Using a flat brush and clean water, wet the top portion of the card above the stamped trees. This will prepare the area for the ink application.
▶ watch this step (49:00)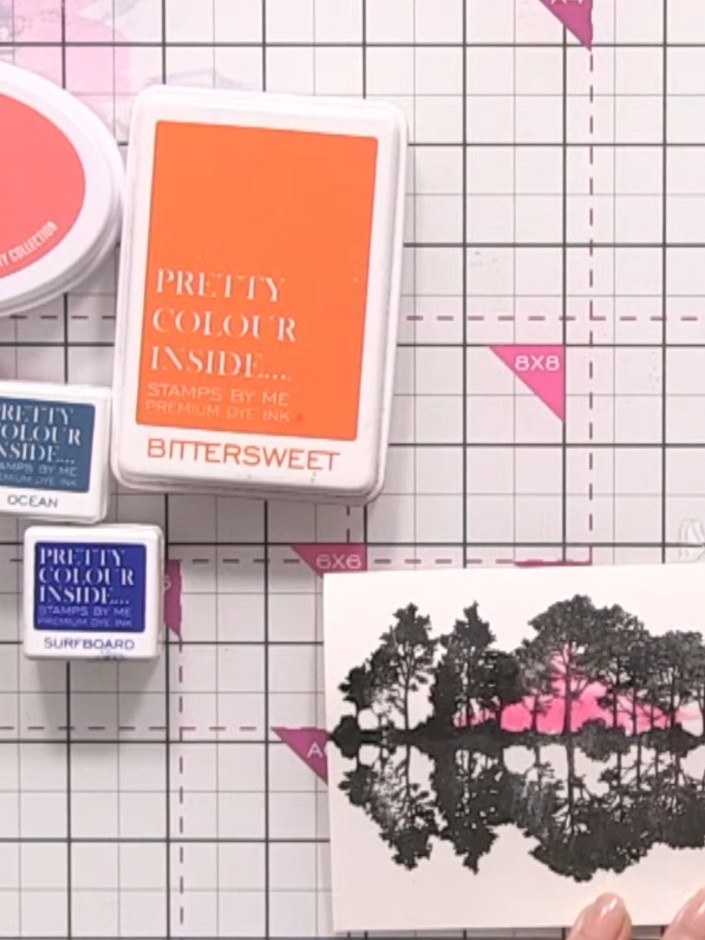
Drop pink ink from the Bittersweet ink pad onto the wet area in the centre of the trees where the reflection appears.
▶ watch this step (49:30)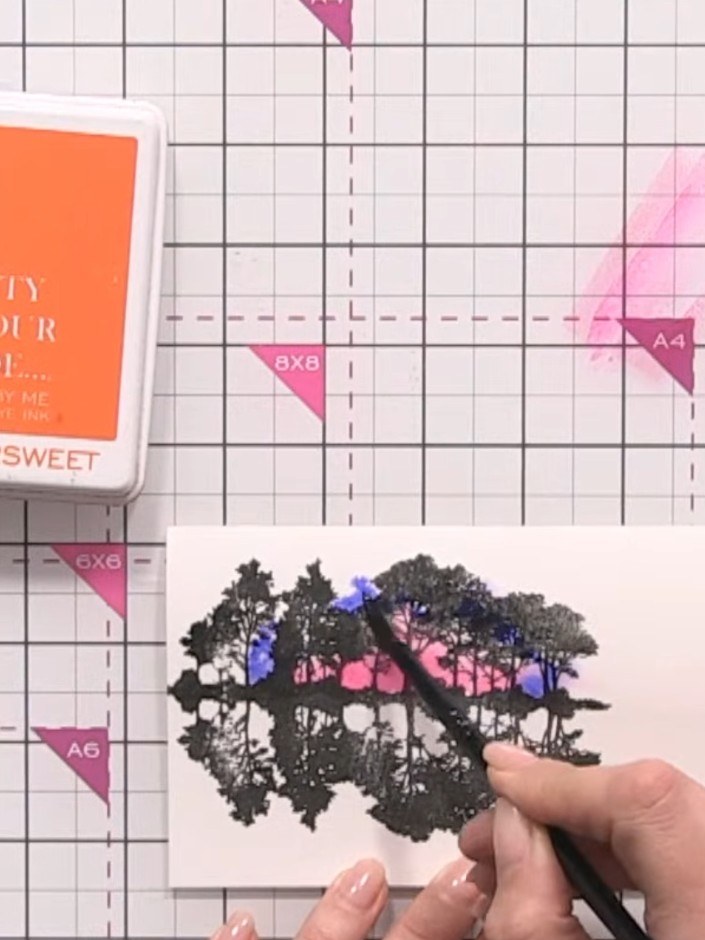
Using a brush, blend blue and teal ink around the pink areas of the sky, creating a smooth transition between the colours.
▶ watch this step (50:00)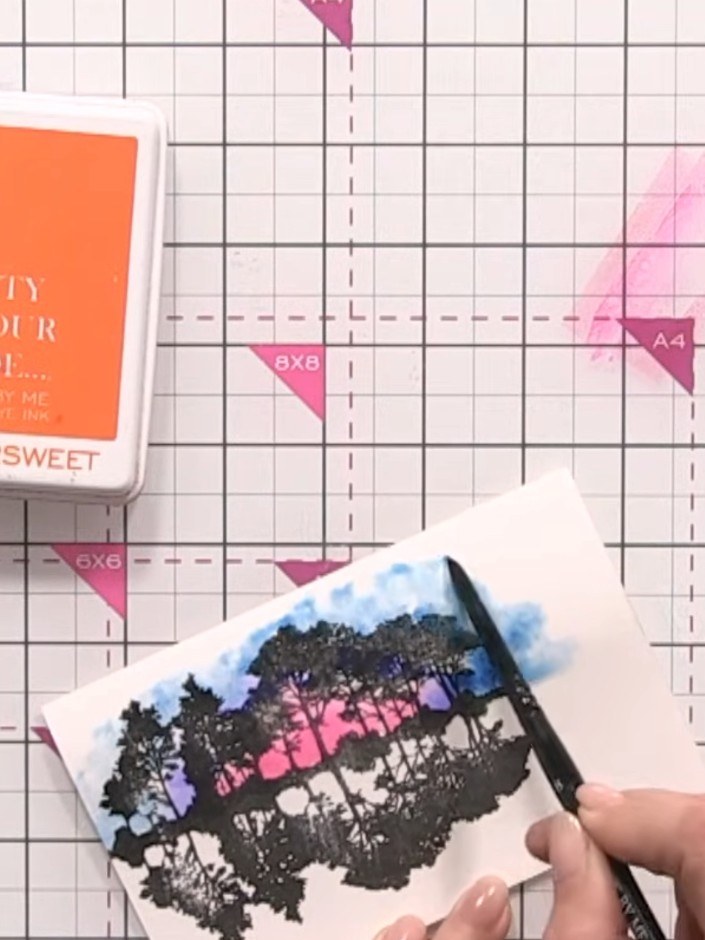
Add a touch of orange ink from the Bittersweet stamp pad around the sunset area to create an African sunset effect, blending it into the existing pink and blue colours.
▶ watch this step (50:45)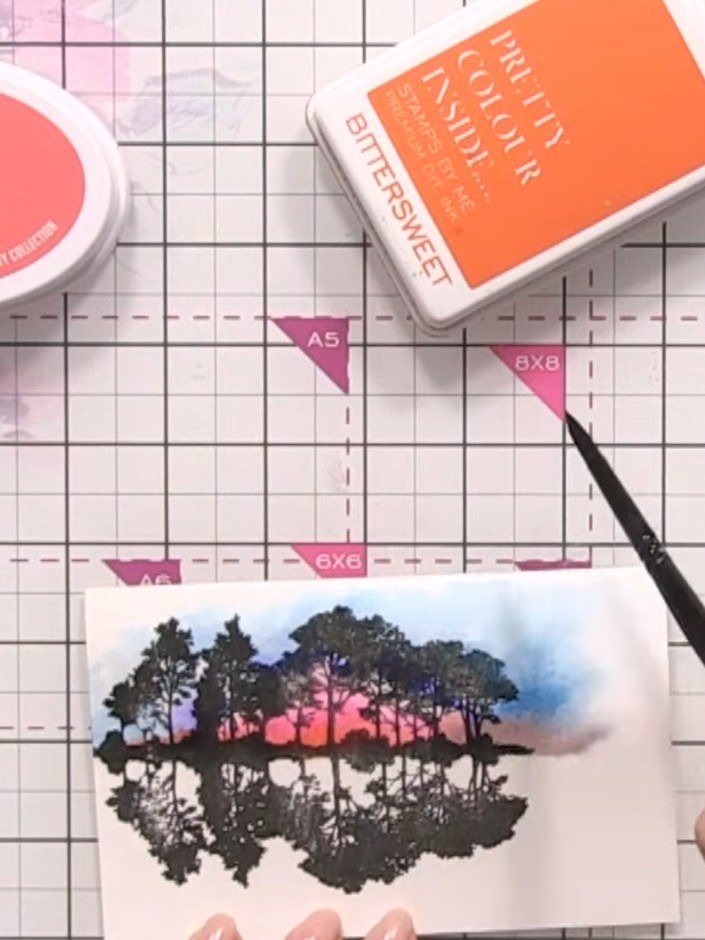
Using a clean, damp brush, blend the coloured areas outward to soften the edges and create a smooth gradient effect in the sky.
▶ watch this step (51:30)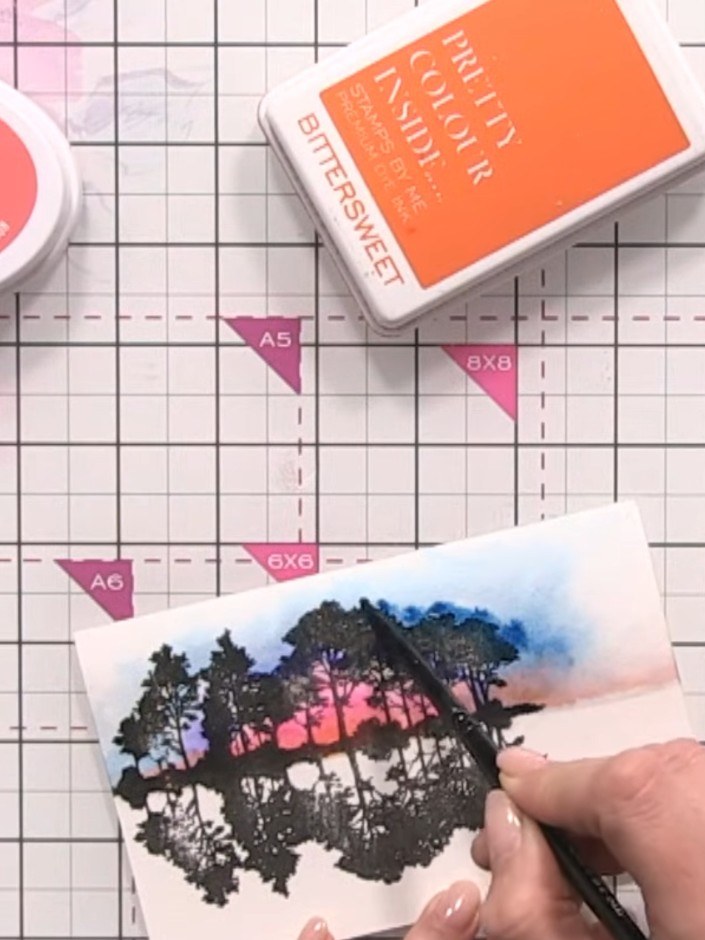
Using a water brush or wet paintbrush, dampen the bottom portion of the card below the stamped trees to create the water reflection area. Work carefully around the tree line to prepare the surface for the reflection effect.
▶ watch this step (52:30)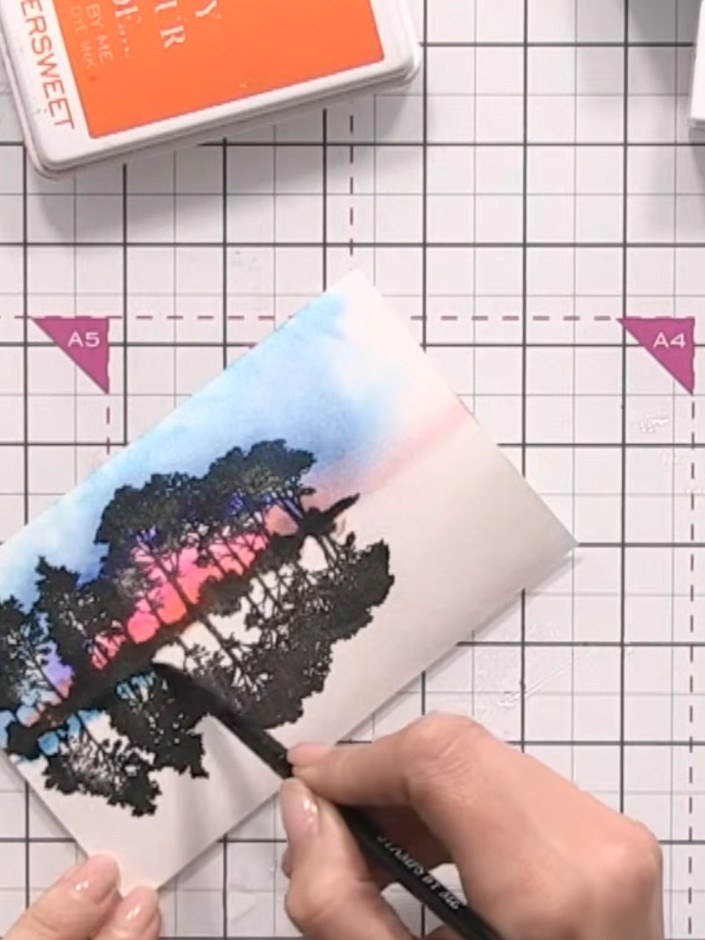
Apply blue ink to the wet bottom section of the card, dragging from top to bottom in lines to suggest water ripples and create a lake effect.
▶ watch this step (59:45)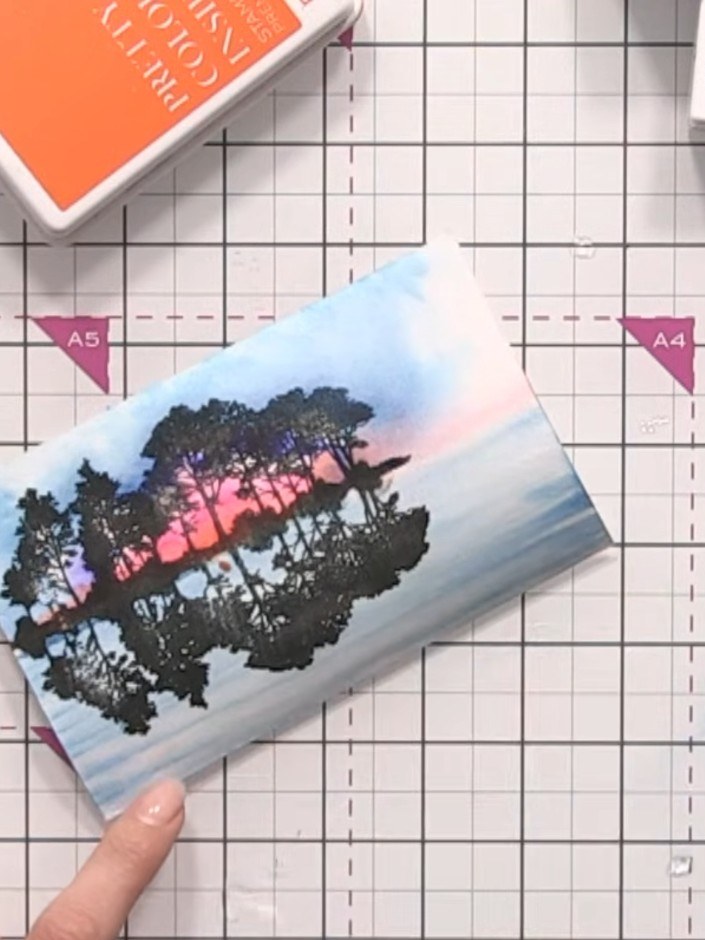
Add a subtle touch of orange and pink ink to the water area at the bottom of the card to reflect the sky colours above.
▶ watch this step (1:01:00)Written up from the show itself. See every guide from our shows · free how-to guides · watch live on My Telly
