Give your friends $10 off their first order!
Refer a FRIEND








A project from our live show MY PODCAST - Catch my latest updates broadcast 3rd February 2025 · 02/03/2025 · watch it from 33:00
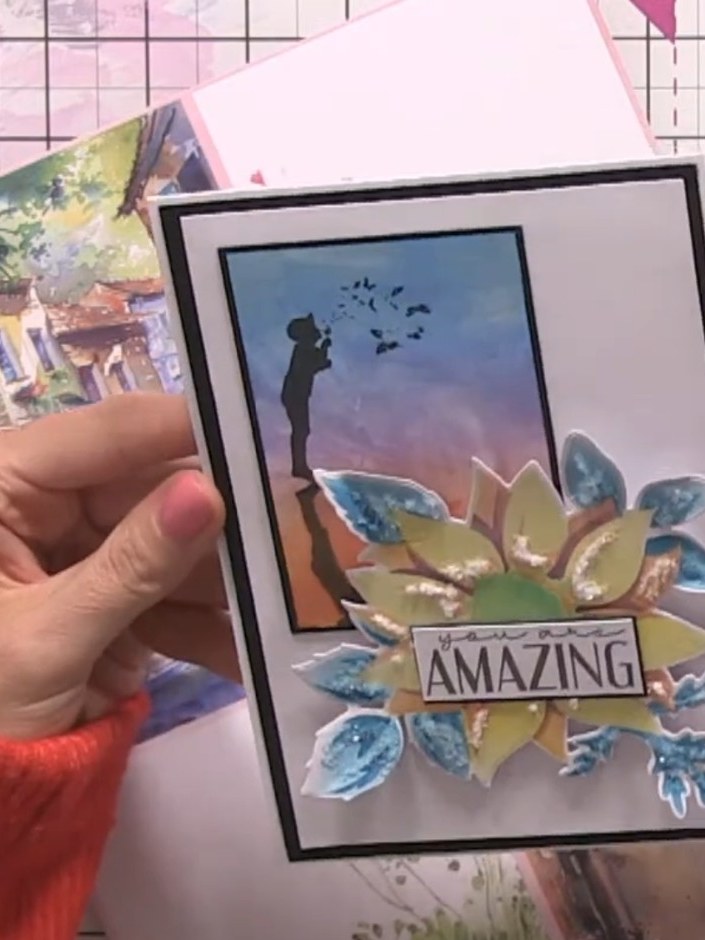
Create a stunning layered sunflower card featuring a vibrant floral design in blues, yellows and greens against a scenic silhouette background. Using numbered stencils with heart registration marks, you'll build up the sunflower layers with perfect alignment and add sparkle detail for a dimensional finish. The 'AMAZING' sentiment completes this eye-catching handmade card perfect for any occasion.
 Stamps By Me - Embossing Folder - White Rose - 310822BSEE IT
 Stamps By Me - Premium Hybrid Ink - Midnight - 121022NSEE IT
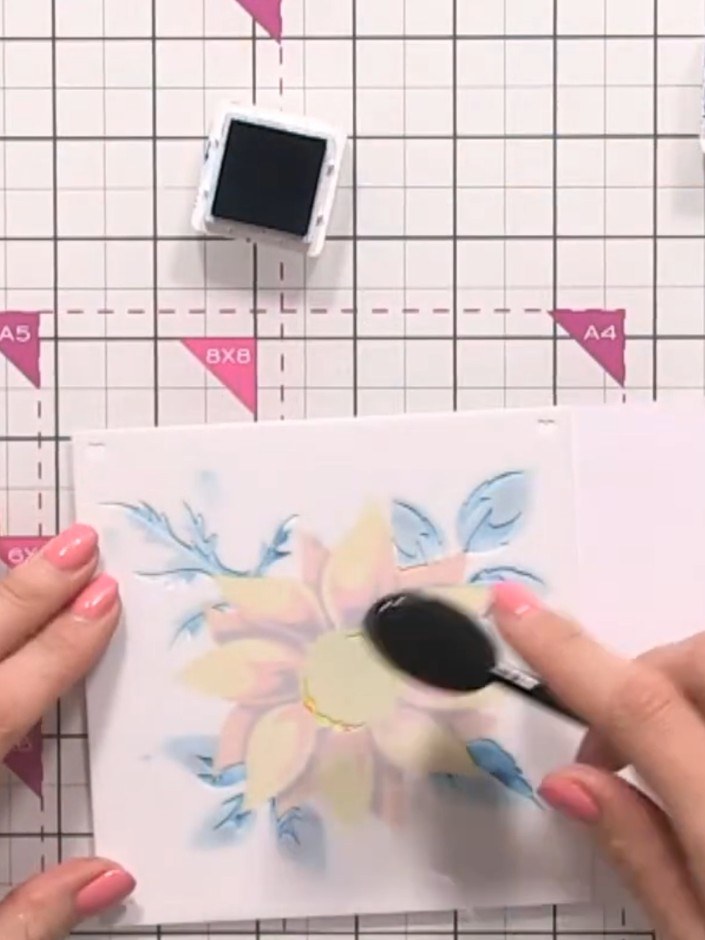
Apply black ink through the stencil using an ink blending brush, tapping off excess ink before applying to the vellum. Work the ink over the flower petals and leaves to build up the design.
▶ watch this step (37:45)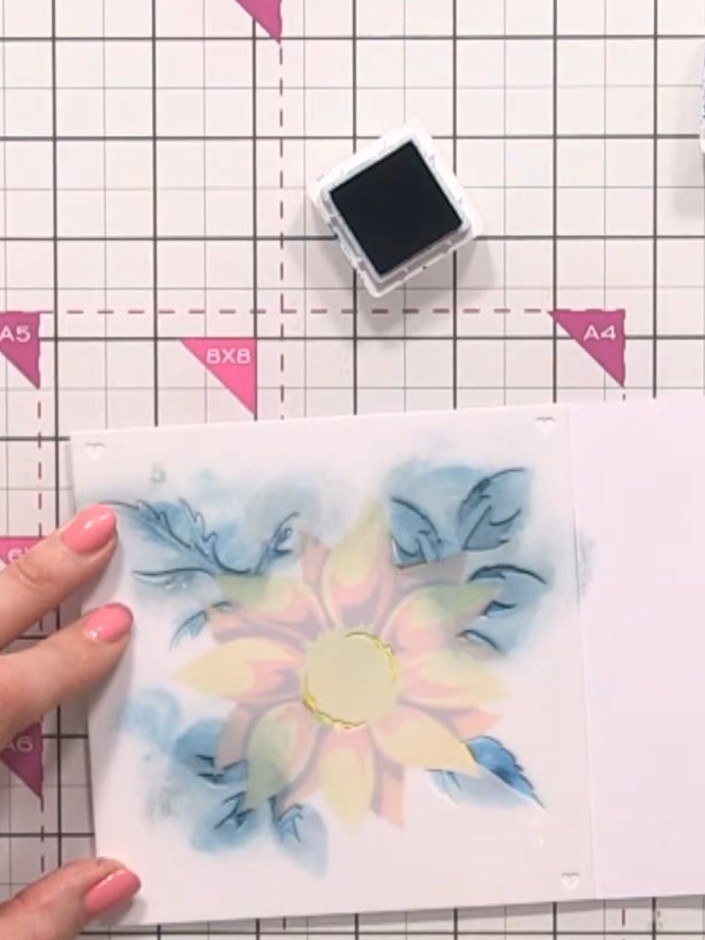
Carefully remove the stencil from the vellum and set it aside. Allow the ink to dry completely before proceeding to the next step.
▶ watch this step (38:00)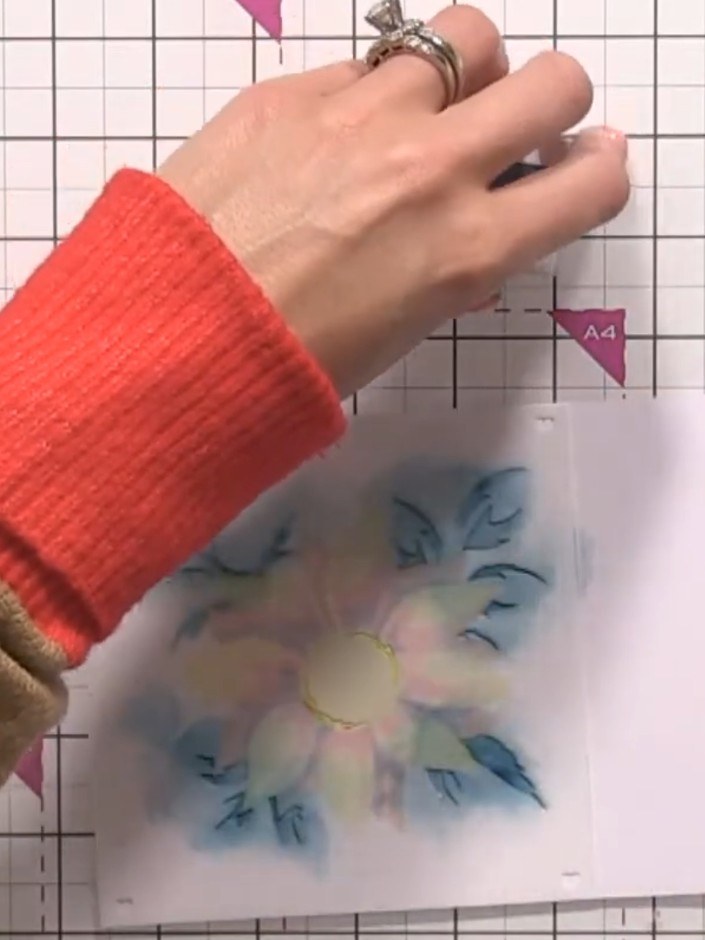
Position stencil number two over your work, carefully lining up the registration marks. Apply ink through the stencil using your blending tool to add the second layer of the design.
▶ watch this step (38:15)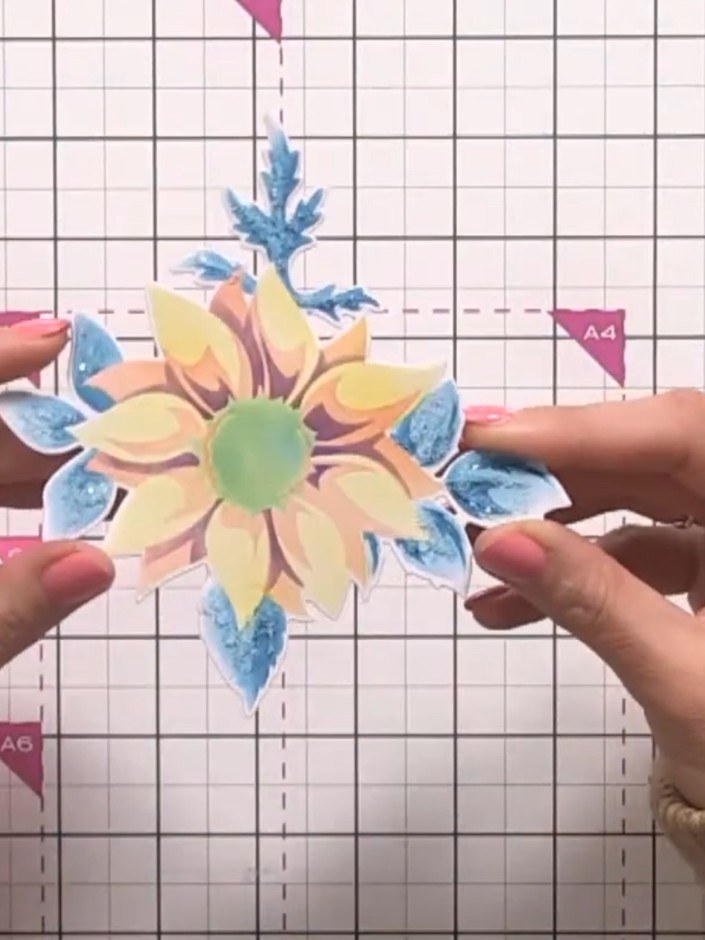
Continue building up the sunflower design by layering stencils three, four and five. Apply ink in different colours - yellow for the petals, purple for shading, green for the centre, and blue for the leaves - to create depth and dimension.
▶ watch this step (39:00)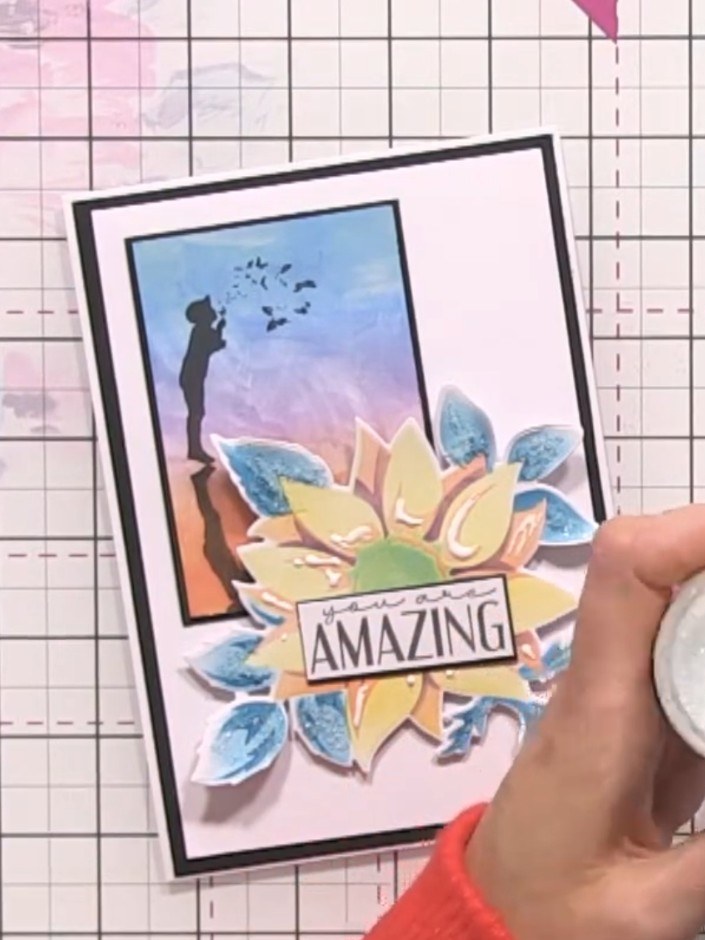
Sprinkle colourless media glitter over the glued areas of the card. Tap off the excess glitter back into the pot.
▶ watch this step (47:00)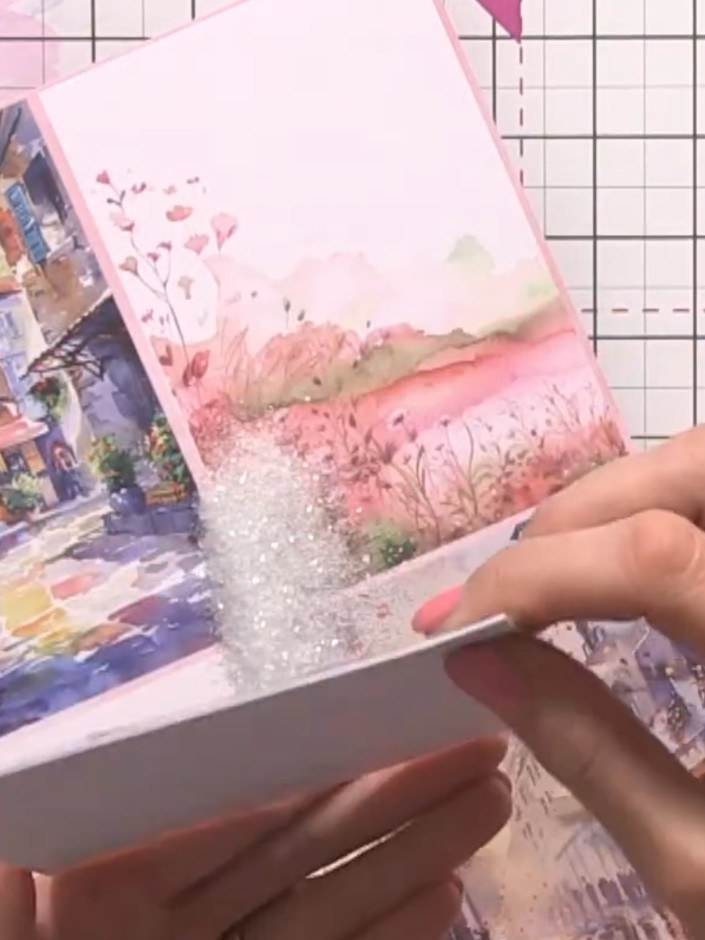
Allow the glue to dry clear, which will leave a glass-like sparkle finish on the design.
▶ watch this step (47:30)Written up from the show itself. See every guide from our shows · free how-to guides · watch live on My Telly