Give your friends $10 off their first order!
Refer a FRIEND








Prices change straight away. Every language is our own translation, not Google.
A project from our live show MY PODCAST - Catch my latest updates broadcast 24th February 2025 · 02/24/2025 · watch it from 26:00
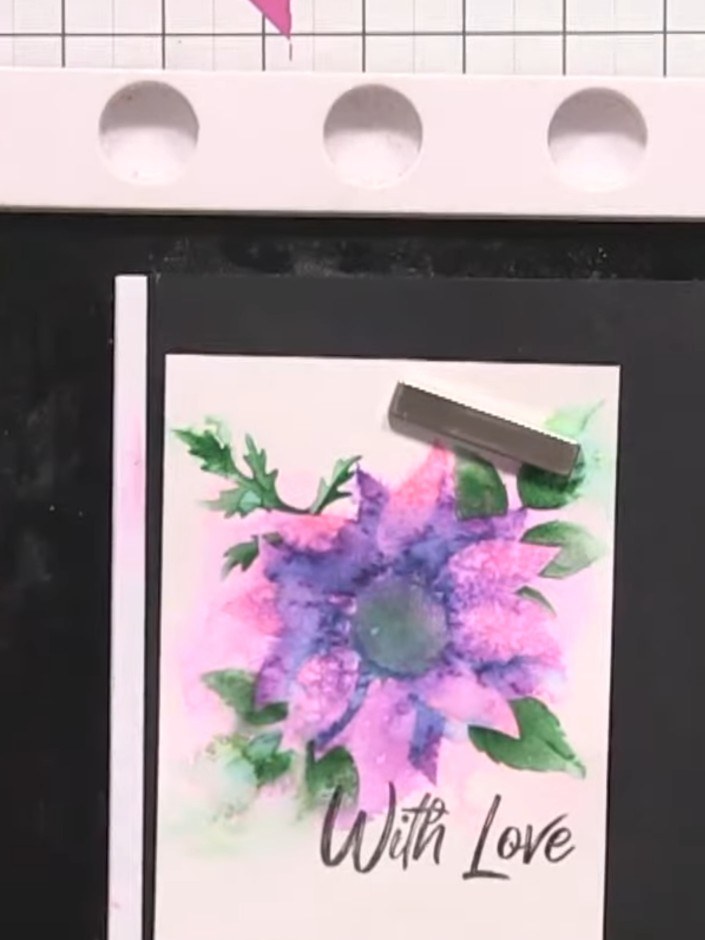
Create an elegant greeting card with a soft watercolour floral design in pink and purple tones, finished with a 'With Love' sentiment. This project uses a multi-layered stencilling technique with blended inks and water spraying to achieve an artistic, painterly effect. The completed design is mounted on a black card base for a sophisticated, gallery-style finish.
 A5 Stencil & Die - Set Me Free - 250423DSEE IT
 Stamps By Me - Marbled Elegance Paper Pad - 310724ASEE IT
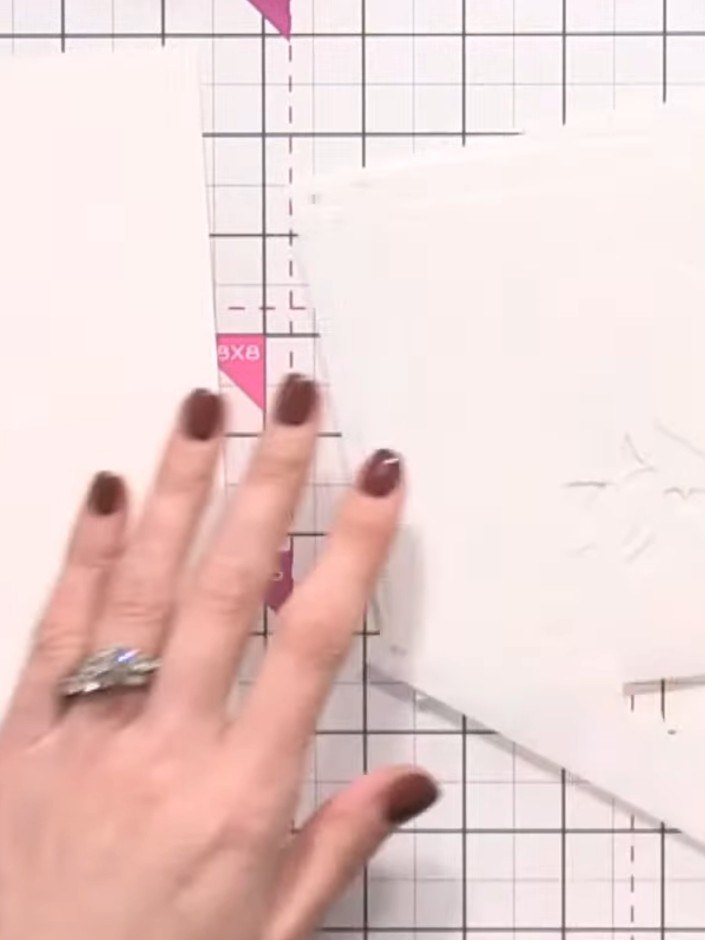
Gather your watercolour card stock and locate your numbered stencil set (numbered 1 through 5). The stencils are part of the Set Me Free stencil and die set.
▶ watch this step (27:15)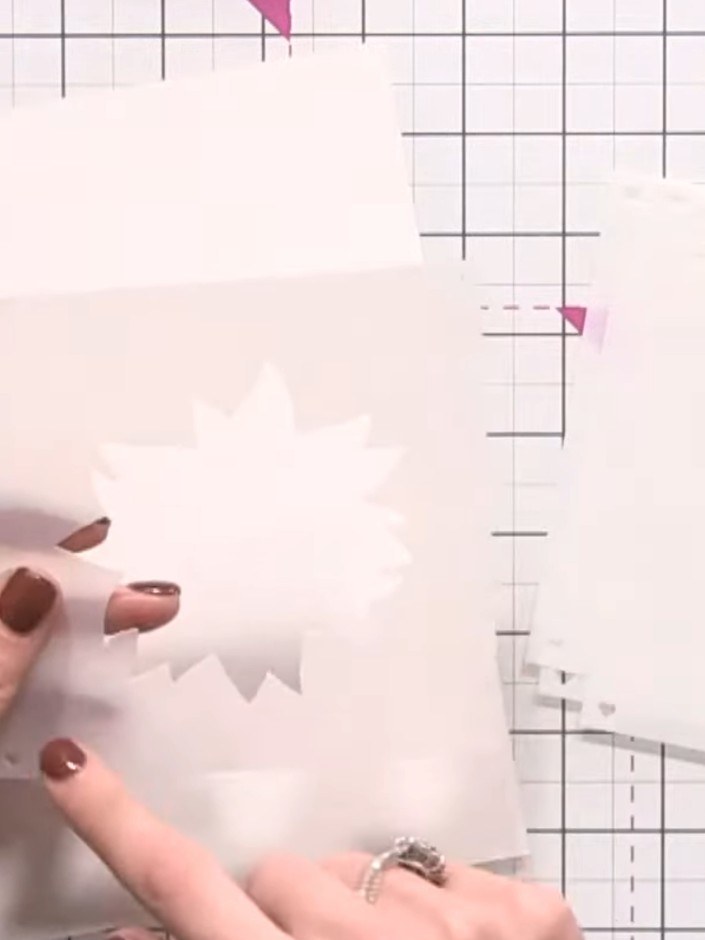
Position stencil number 1 at the edge of your watercolour card, ensuring it is lined up straight and aligned with the edge of the card.
▶ watch this step (29:00)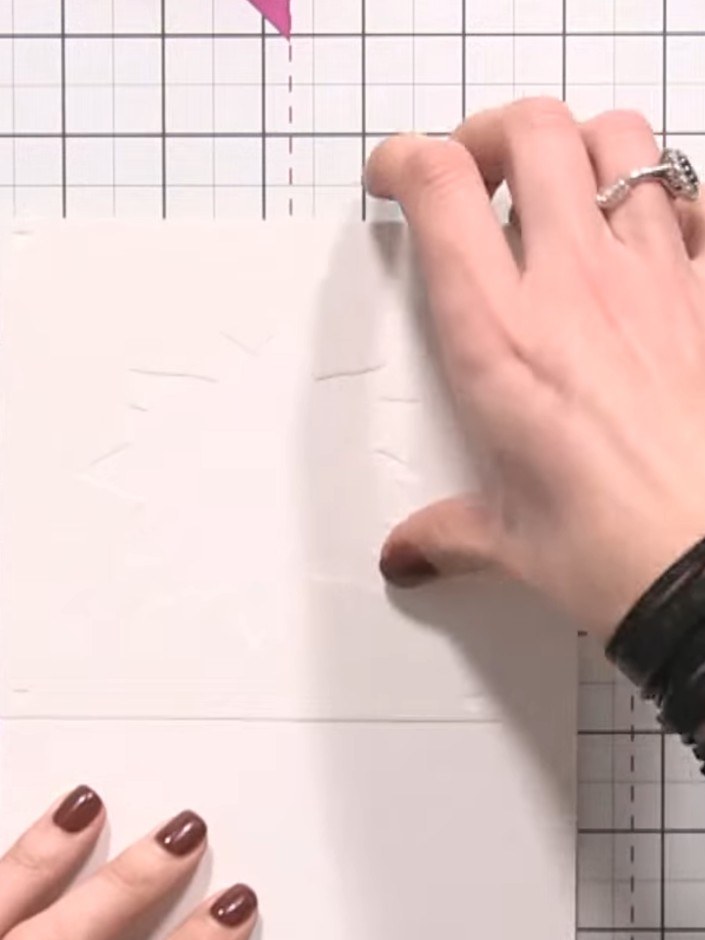
Select a pale pink ink pad and use a blending brush to apply colour through the stencil onto your card. Work the ink through the stencil design, adding darker tones to the edges for definition.
▶ watch this step (30:15)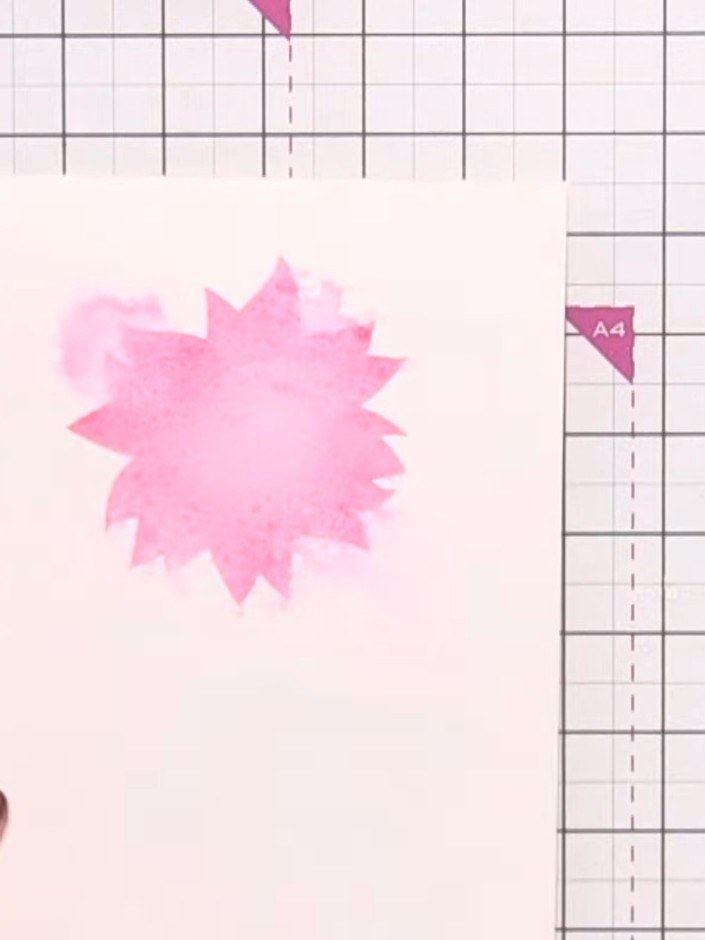
Lightly spritz the inked stencil with water from a spray bottle. Use a light mist rather than too much water, as you don't want the chalk-based ink to become too saturated. Allow the water to cause the pink ink to bleed and disperse naturally across the stencilled design.
▶ watch this step (34:00)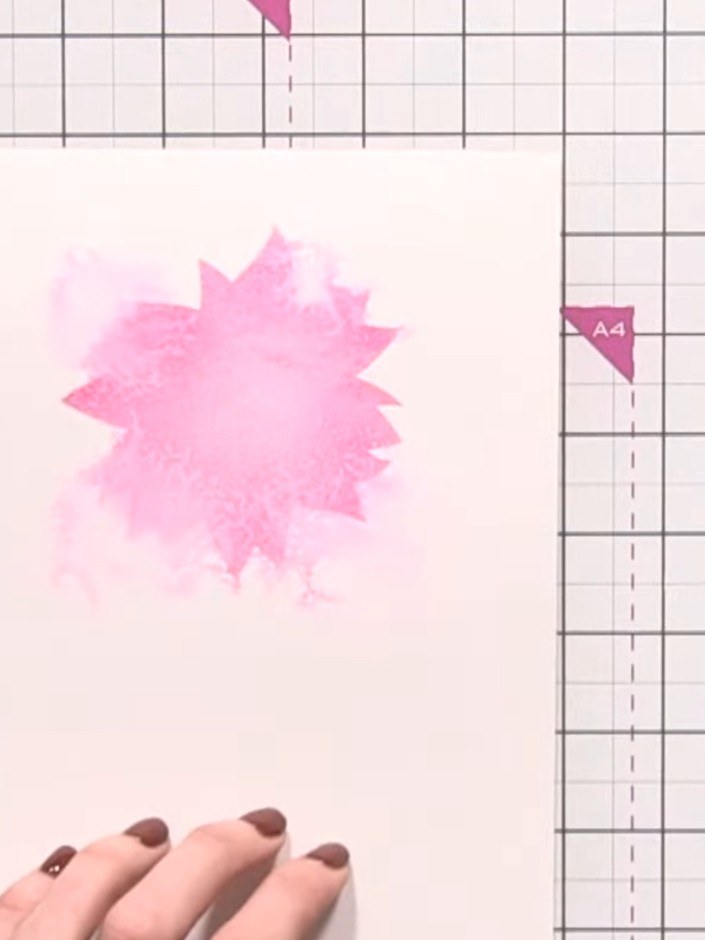
Blot away any excess water from the stencilled area using a tissue to prevent flooding. Dry the layer thoroughly with a heat gun before proceeding to the next step.
▶ watch this step (34:45)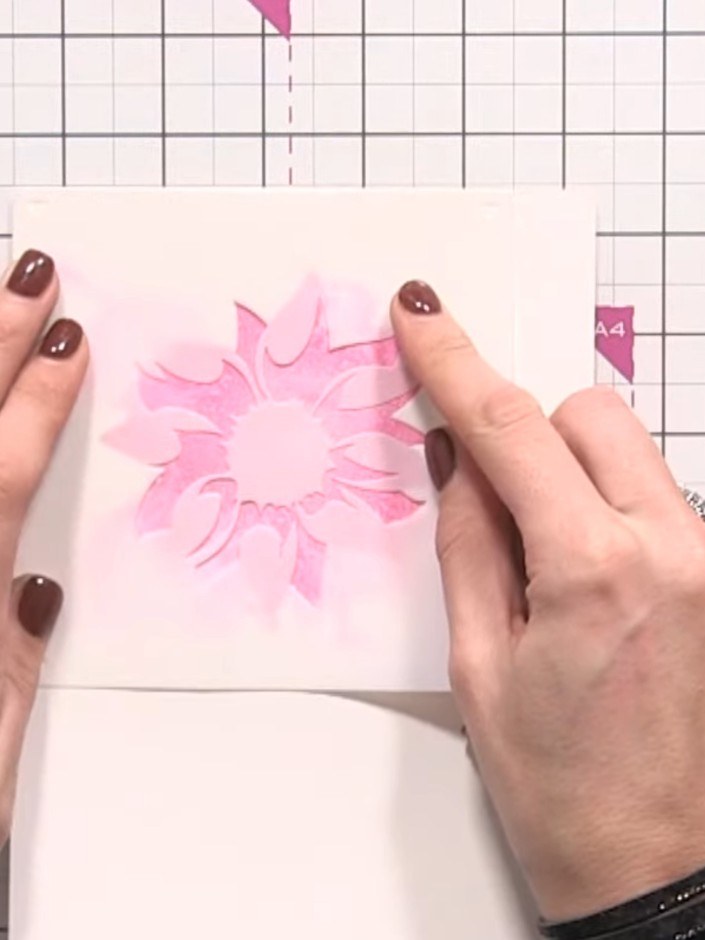
Align stencil number 2 at the edge of your card. Using a fresh blending brush, apply purple ink through the stencil, building up the colour depth gradually.
▶ watch this step (36:00)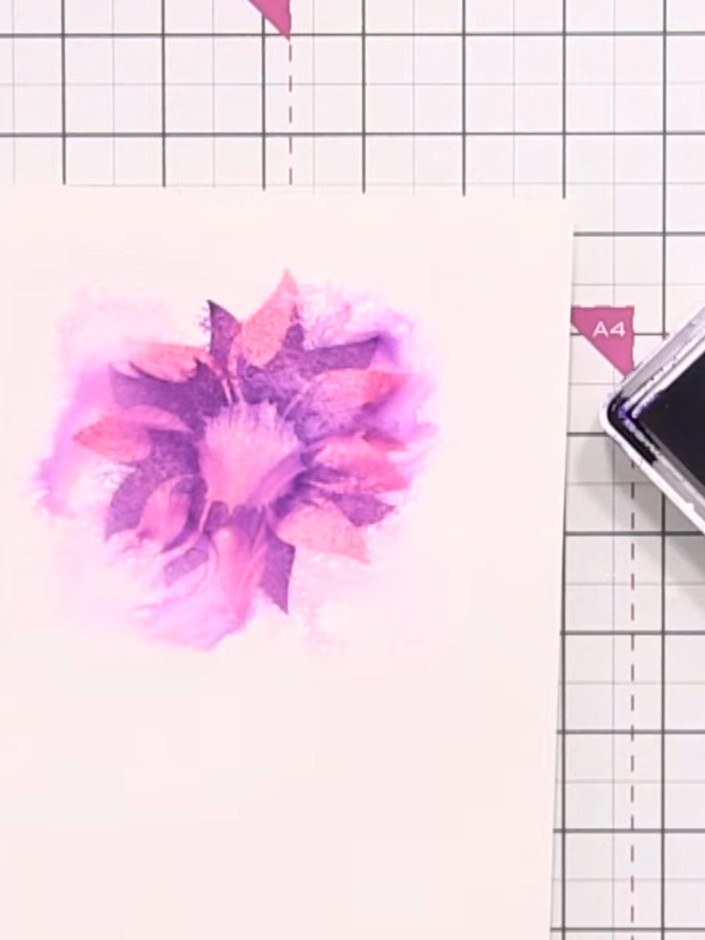
Lightly spray the stencilled flower with water to allow the purple and pink inks to disperse and blend. Dry thoroughly with a heat gun.
▶ watch this step (37:00)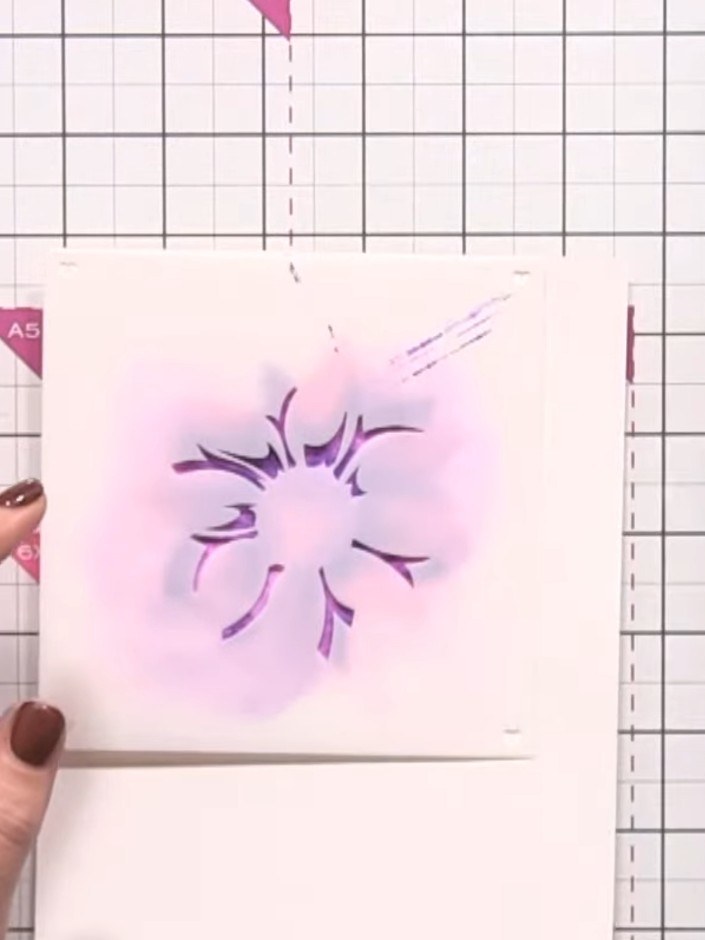
Position stencil number 3 over your design and apply teal ink using a blending brush to add further dimension to the floral motif.
▶ watch this step (39:00)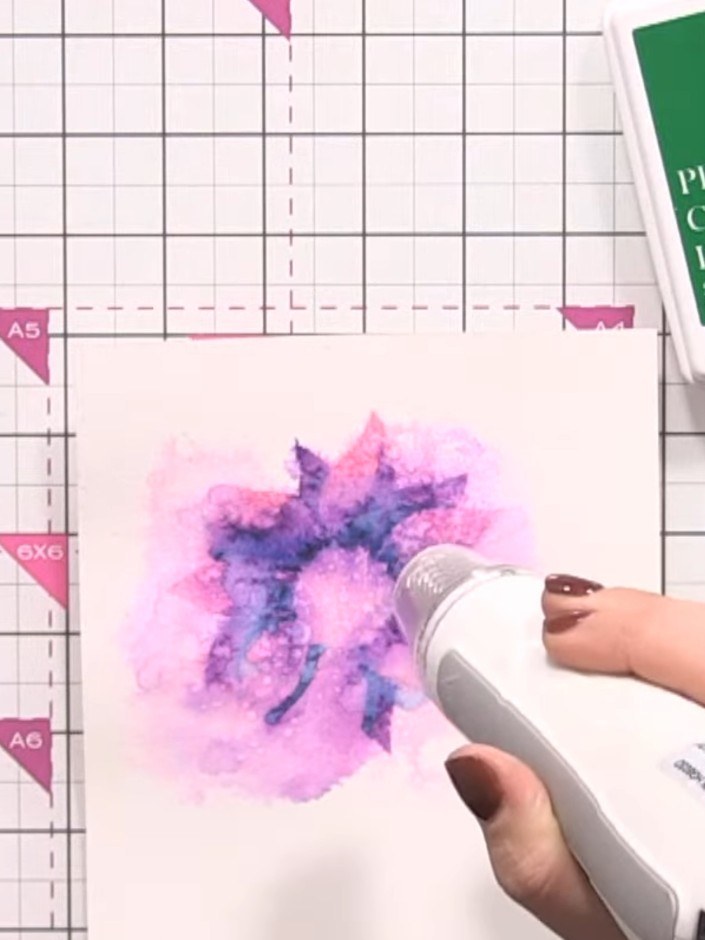
Spray the stencilled layer with water using a spray bottle. Dry the layer completely with a heat tool before moving to the next stencil.
▶ watch this step (40:00)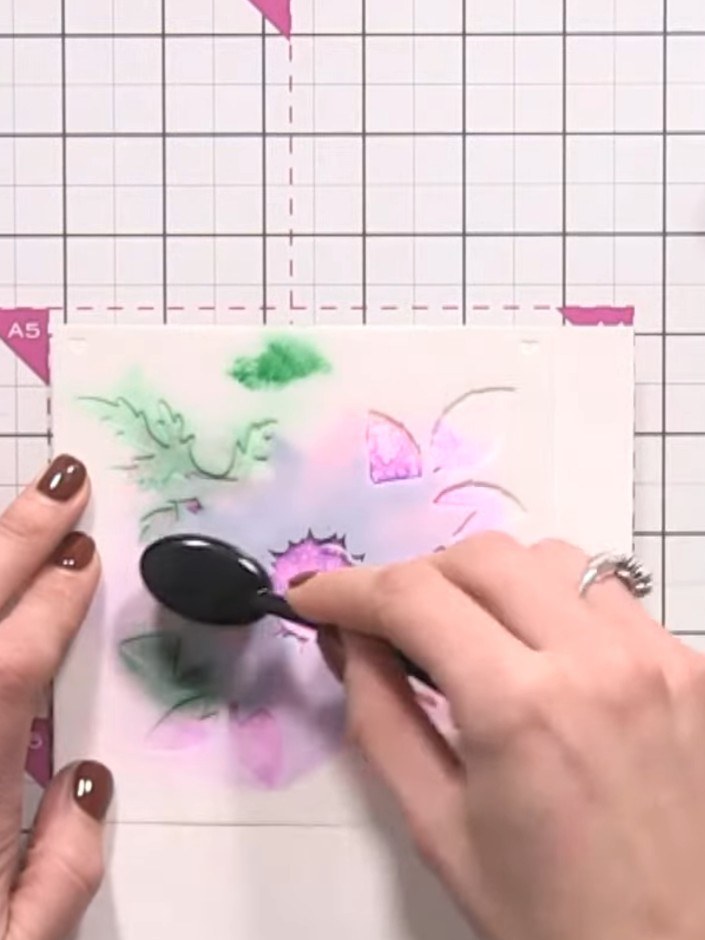
Position stencil number 4 over your design and apply green ink using a blending tool to add leaf detail in the centre. Tap off excess ink to ensure clean lines.
▶ watch this step (41:45)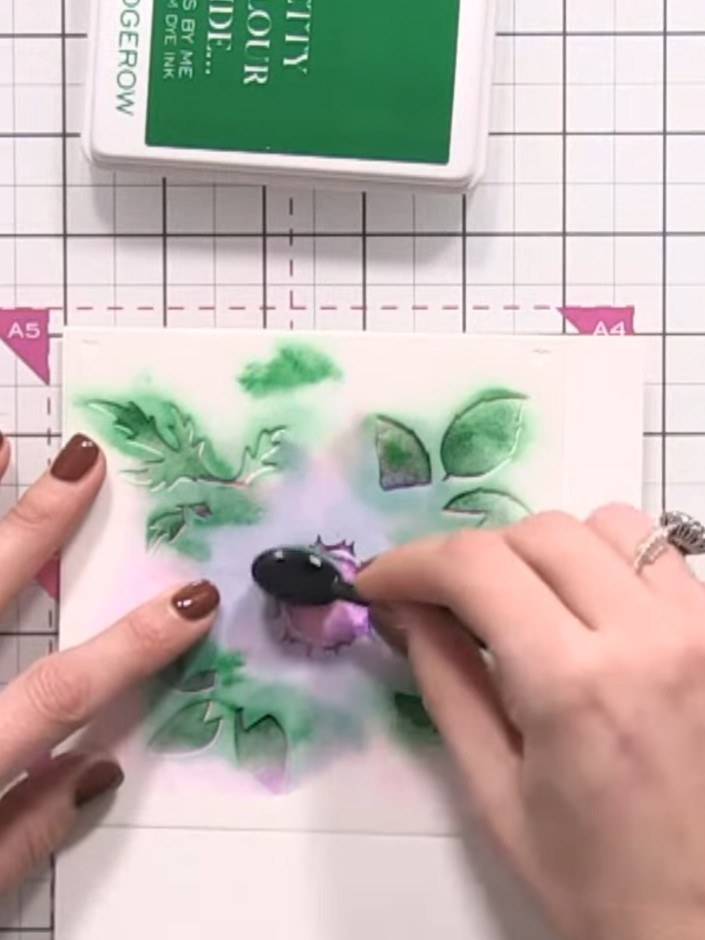
Position stencil number 5 in the centre of the card. Apply teal ink through the stencil to add final detail and bring focus to the middle of the design.
▶ watch this step (42:45)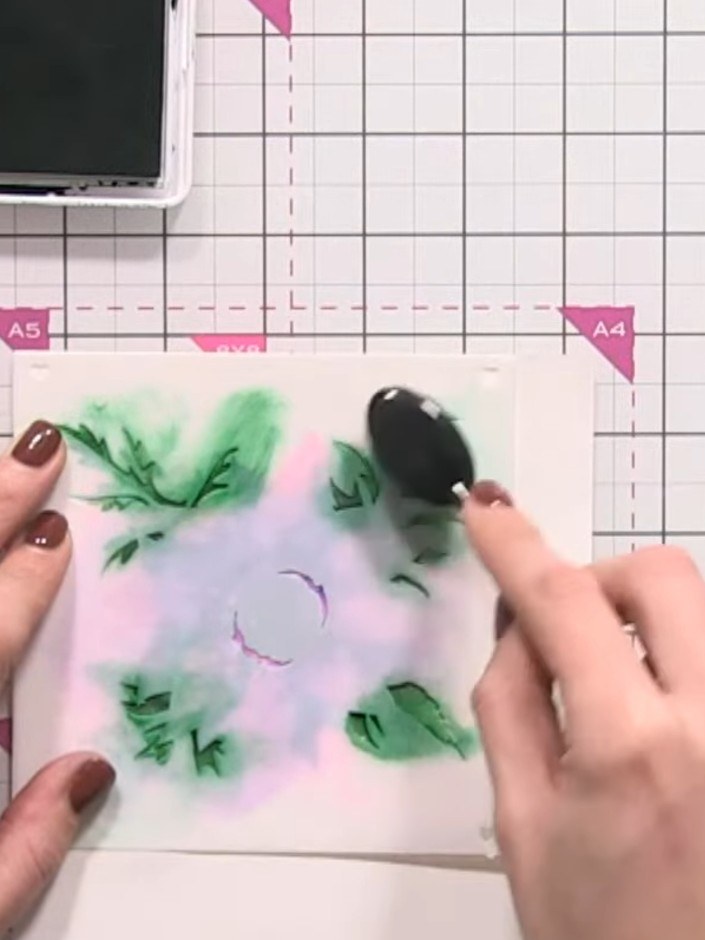
Flick water onto the final stencil layer using your fingertips rather than spraying to create a more controlled, less saturated bleed effect on the design.
▶ watch this step (45:30)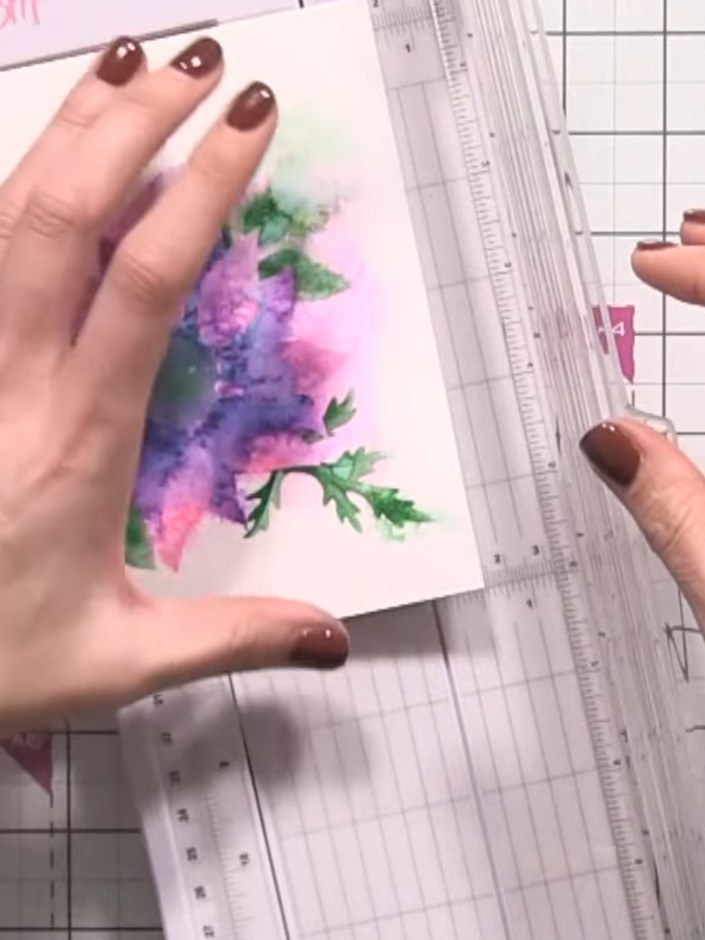
Trim your finished stencilled watercolour piece to your desired card size using a paper trimmer. Mount the trimmed panel onto a contrasting card base to complete your card.
▶ watch this step (46:30)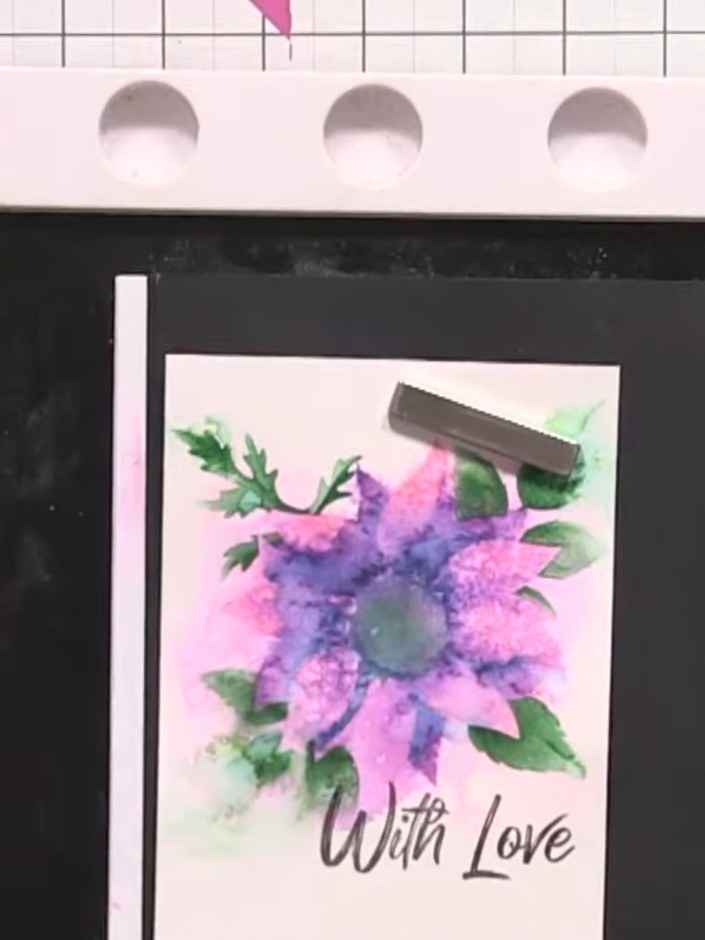
Stamp a sentiment such as 'With Love' onto the lower portion of your card using black ink to complete your design.
▶ watch this step (47:30)Written up from the show itself. See every guide from our shows · free how-to guides · watch live on My Telly


