Give your friends $10 off their first order!
Refer a FRIEND








Prices change straight away. Every language is our own translation, not Google.
A project from our live show MY PODCAST - Catch my latest updates broadcast 24th February 2025 · 02/24/2025
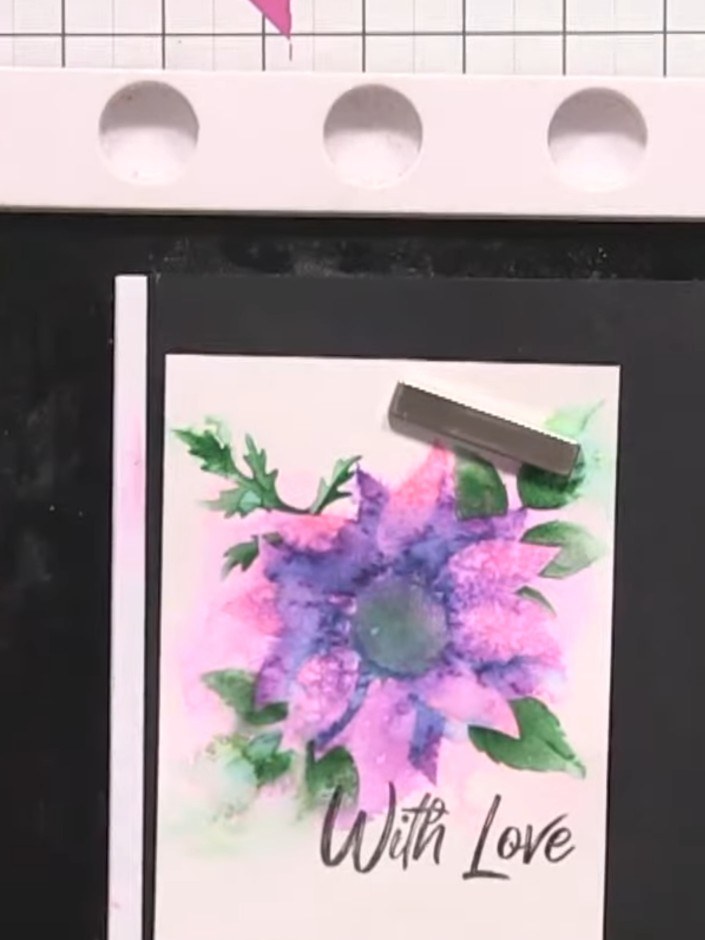
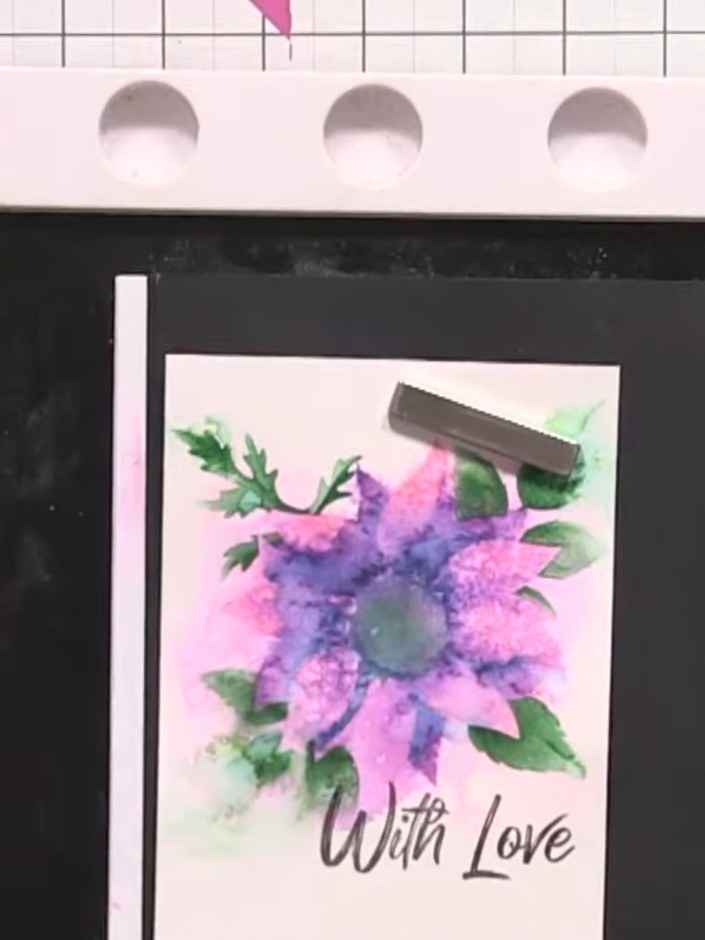
Create an elegant greeting card with a soft watercolour floral design in pink and purple tones, finished with a 'With Love' sentiment. This project uses a multi-layered stencilling technique with blended inks and water spraying to achieve an artistic, painterly effect. The completed design is mounted on a black card base for a sophisticated, gallery-style finish.
 1
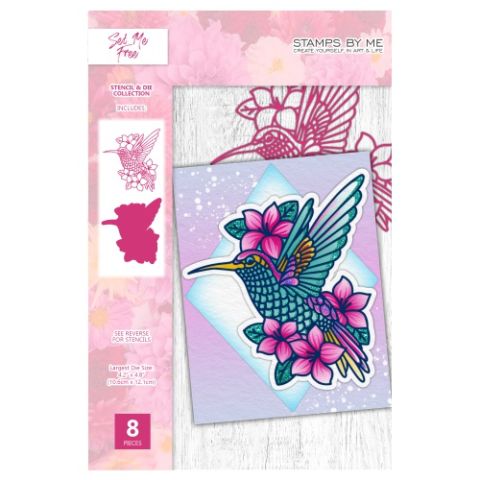
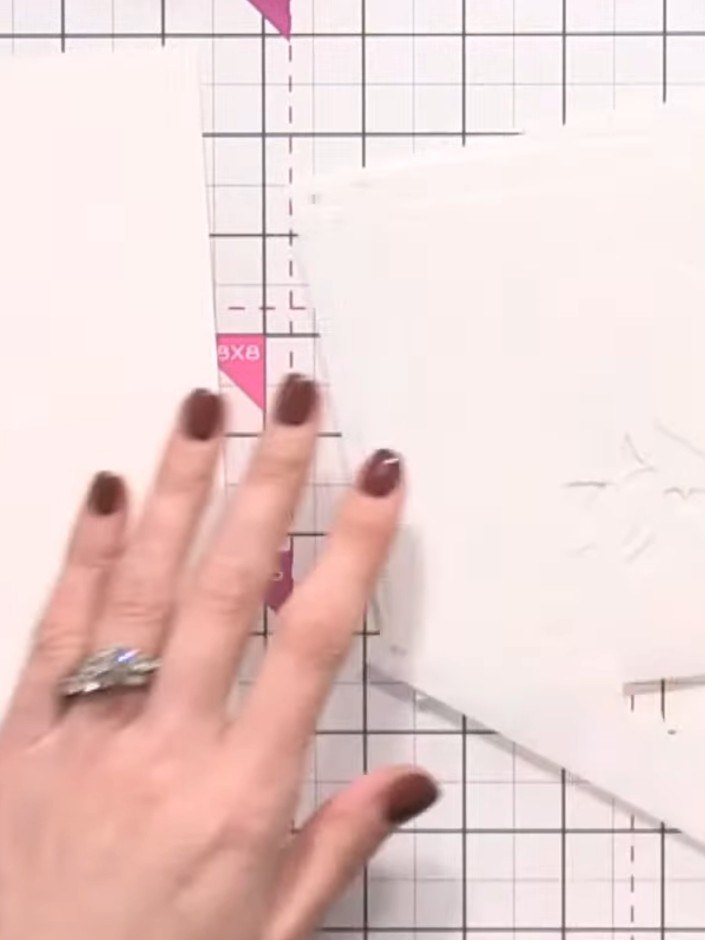
Gather your watercolour card stock and locate your numbered stencil set (numbered 1 through 5). The stencils are part of the Set Me Free stencil and die set.
 2
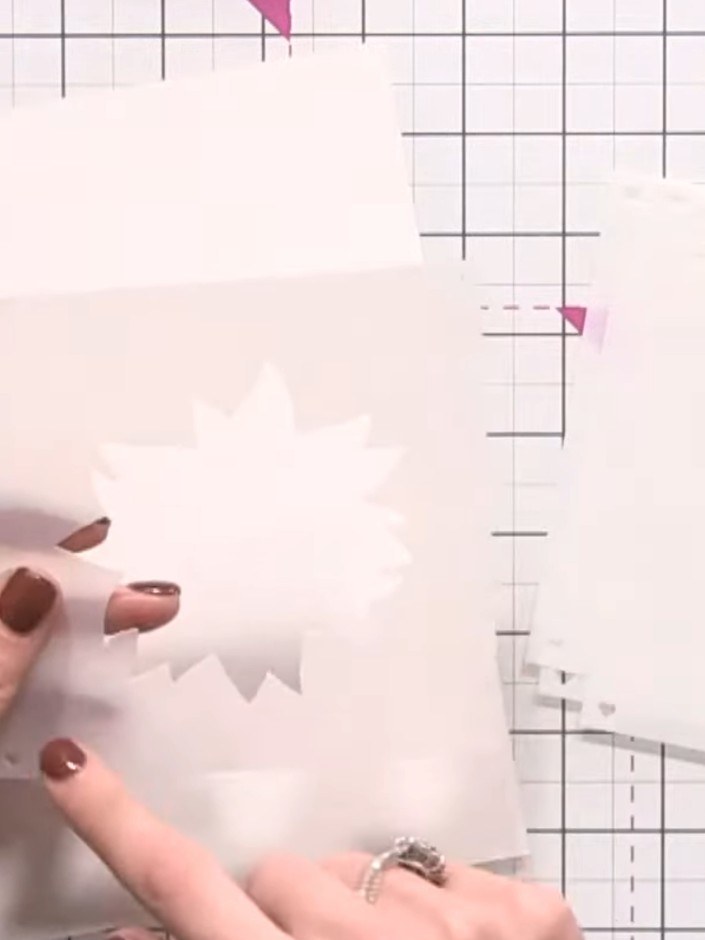
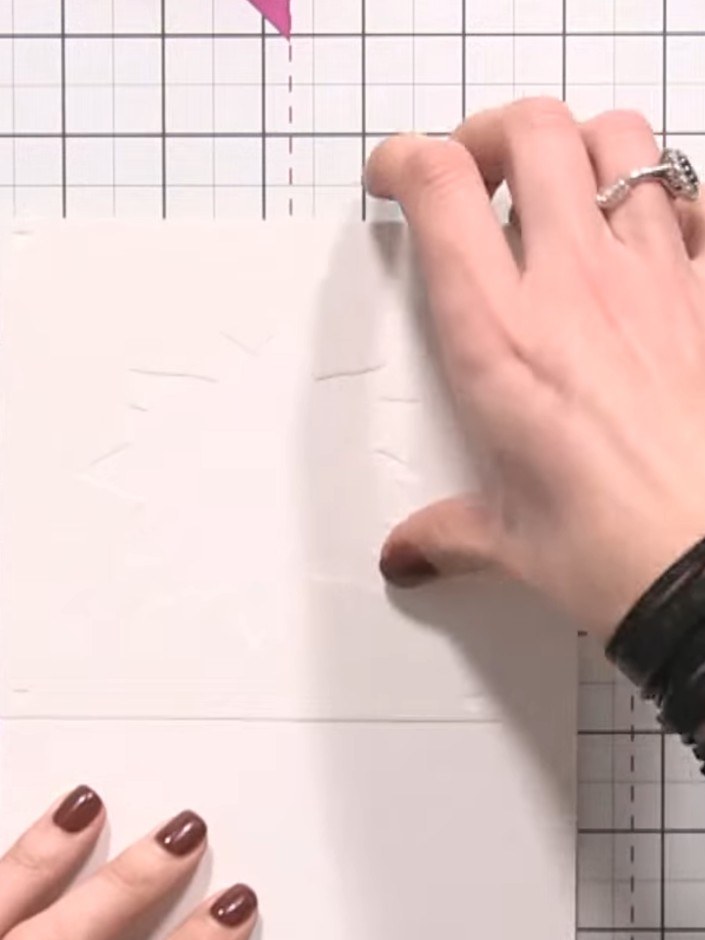
Position stencil number 1 at the edge of your watercolour card, ensuring it is lined up straight and aligned with the edge of the card.
 3
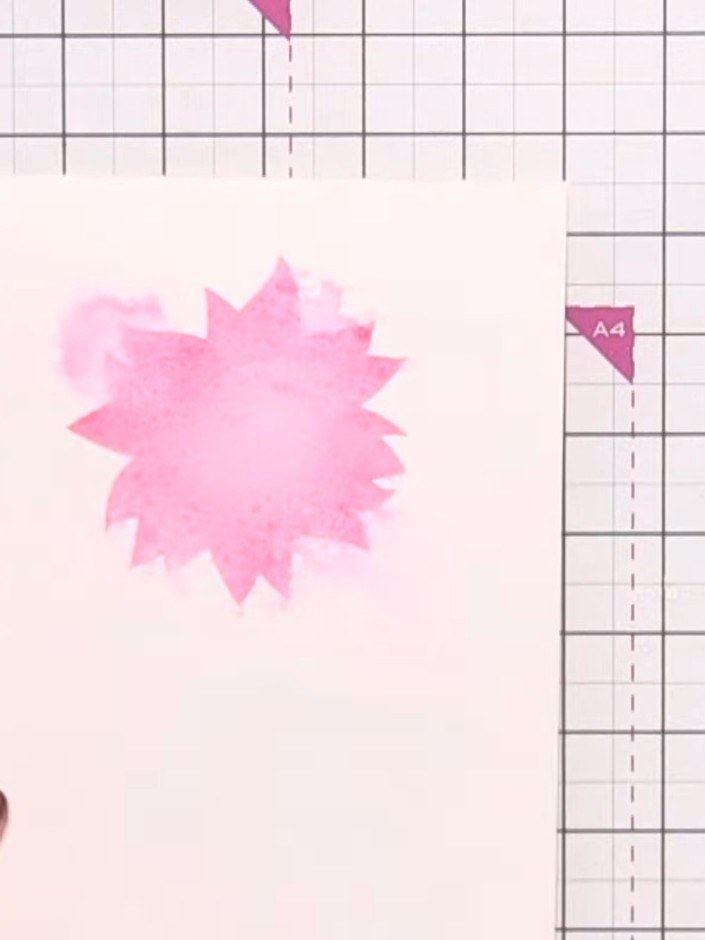
Select a pale pink ink pad and use a blending brush to apply colour through the stencil onto your card. Work the ink through the stencil design, adding darker tones to the edges for definition.
 4
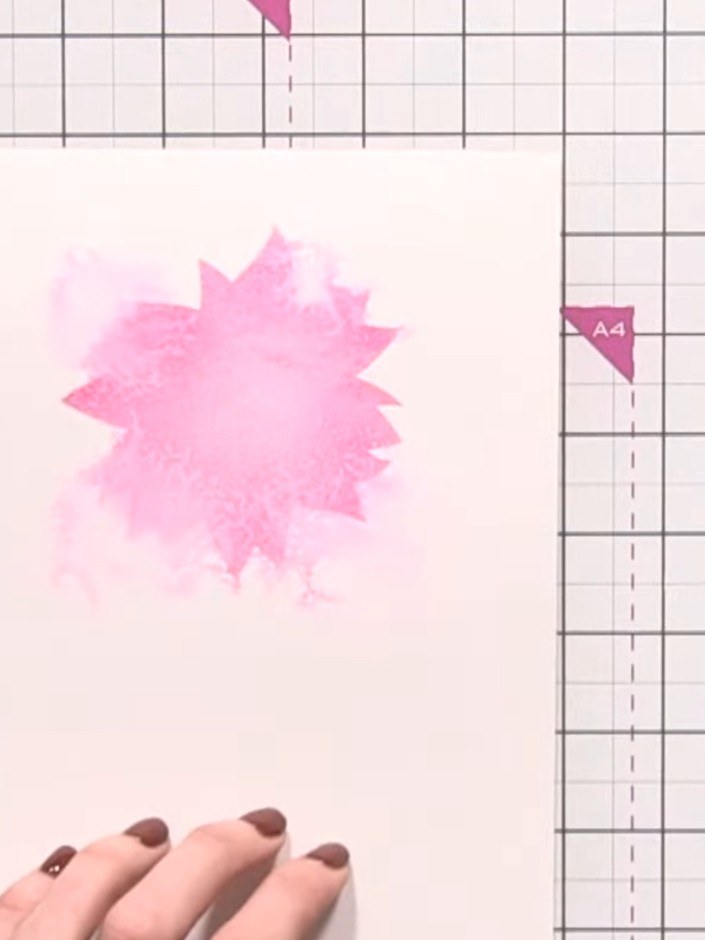
Lightly spritz the inked stencil with water from a spray bottle. Use a light mist rather than too much water, as you don't want the chalk-based ink to become too saturated. Allow the water to cause the pink ink to bleed and disperse naturally across the stencilled design.
 5
Blot away any excess water from the stencilled area using a tissue to prevent flooding. Dry the layer thoroughly with a heat gun before proceeding to the next step.
 6
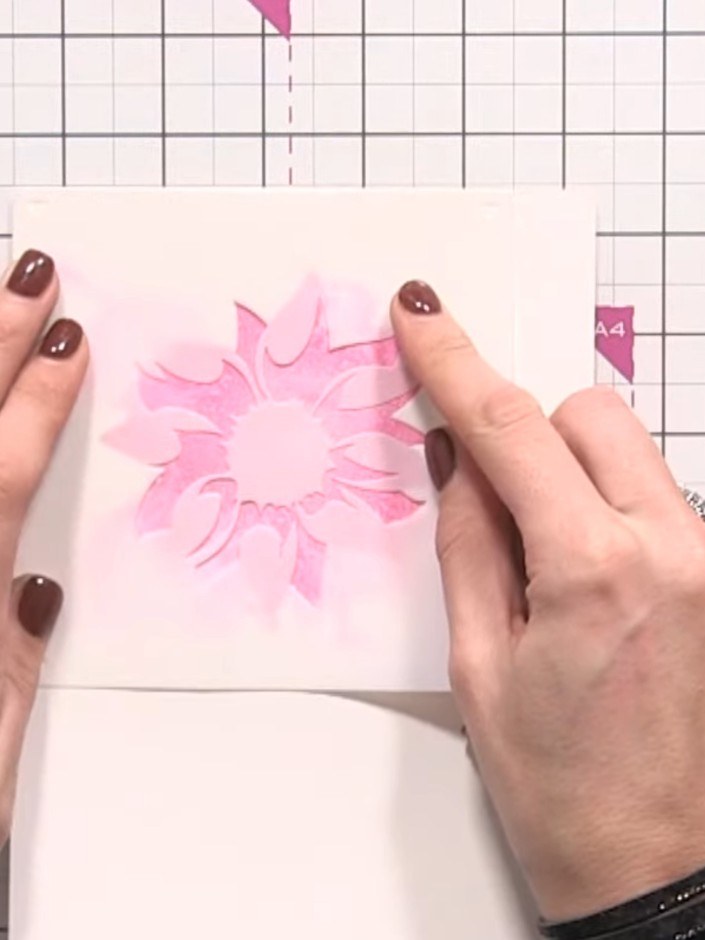
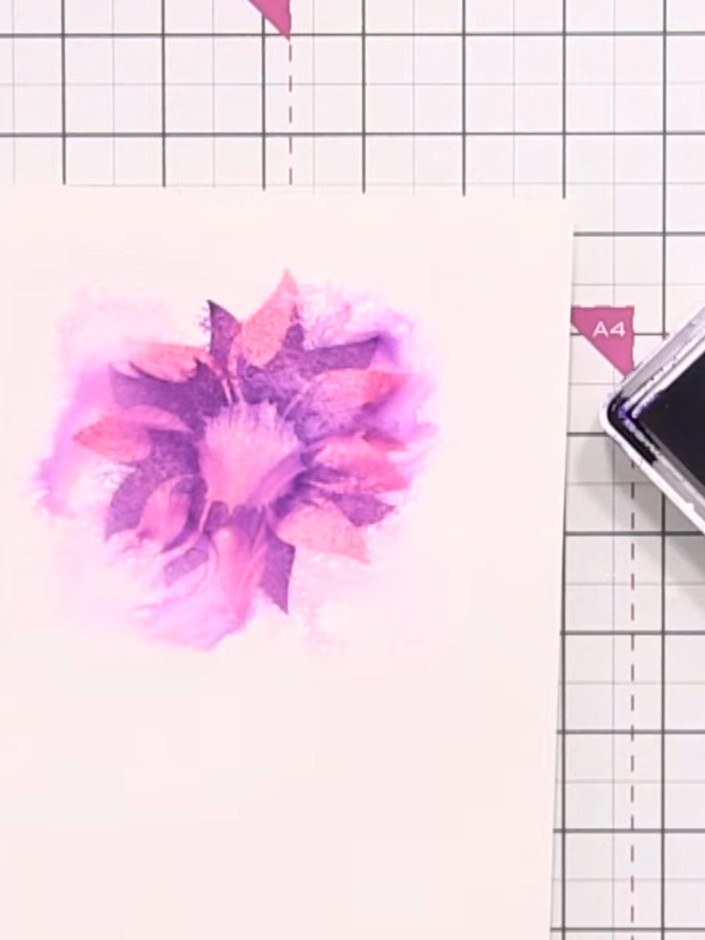
Align stencil number 2 at the edge of your card. Using a fresh blending brush, apply purple ink through the stencil, building up the colour depth gradually.
 7
Lightly spray the stencilled flower with water to allow the purple and pink inks to disperse and blend. Dry thoroughly with a heat gun.
 8
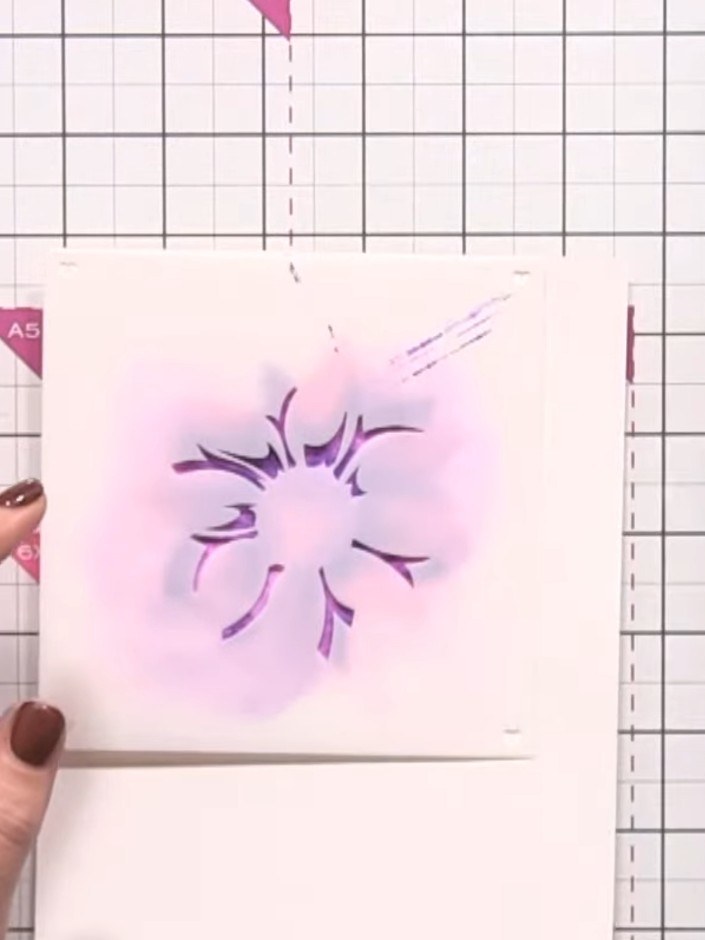
Position stencil number 3 over your design and apply teal ink using a blending brush to add further dimension to the floral motif.
 9
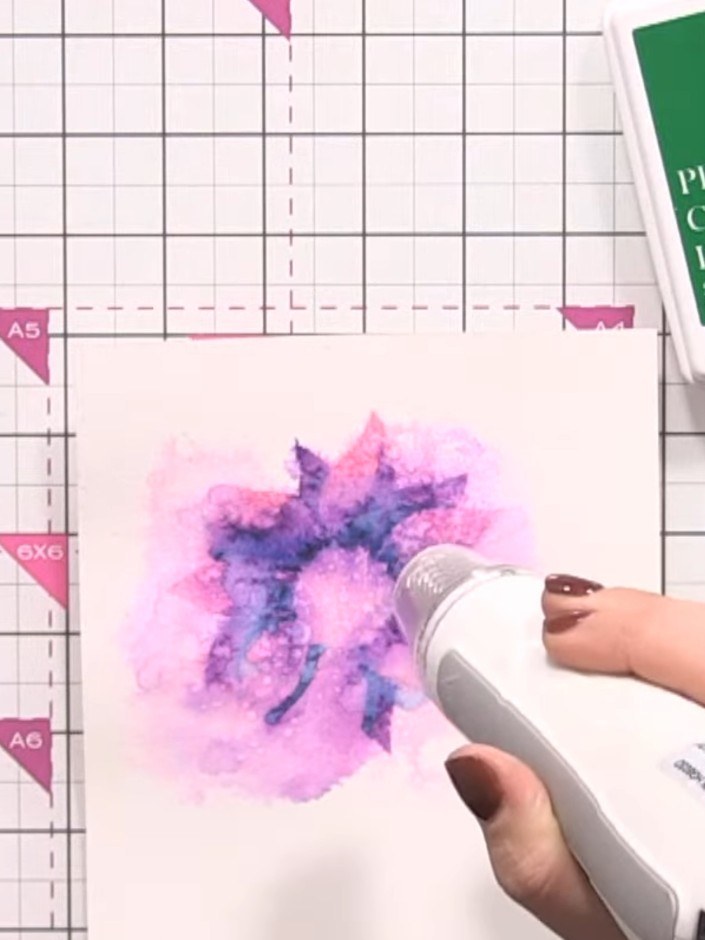
Spray the stencilled layer with water using a spray bottle. Dry the layer completely with a heat tool before moving to the next stencil.
 10
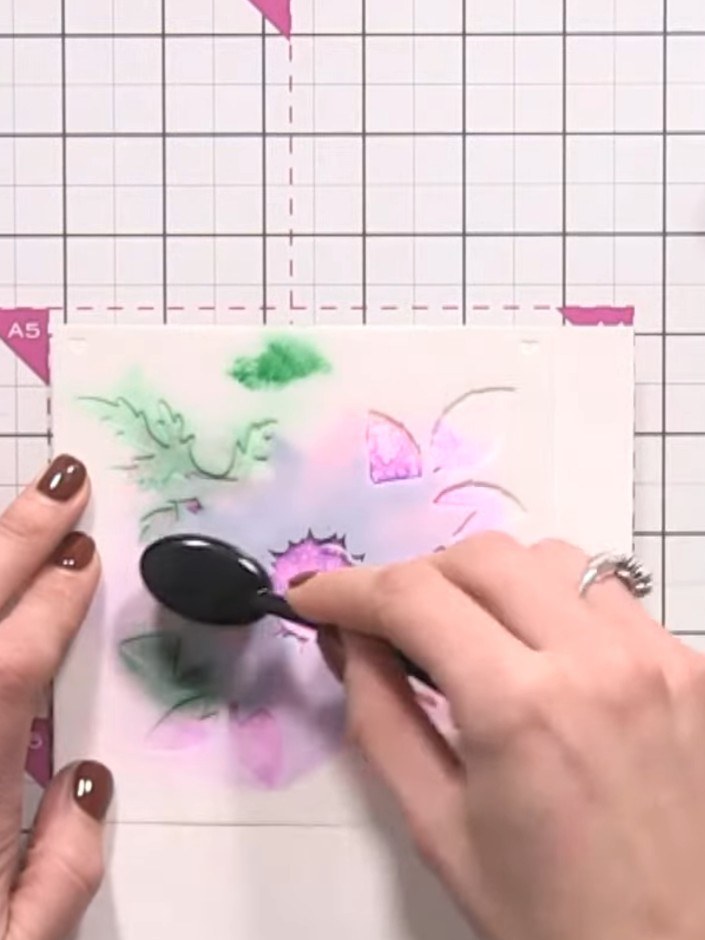
Position stencil number 4 over your design and apply green ink using a blending tool to add leaf detail in the centre. Tap off excess ink to ensure clean lines.
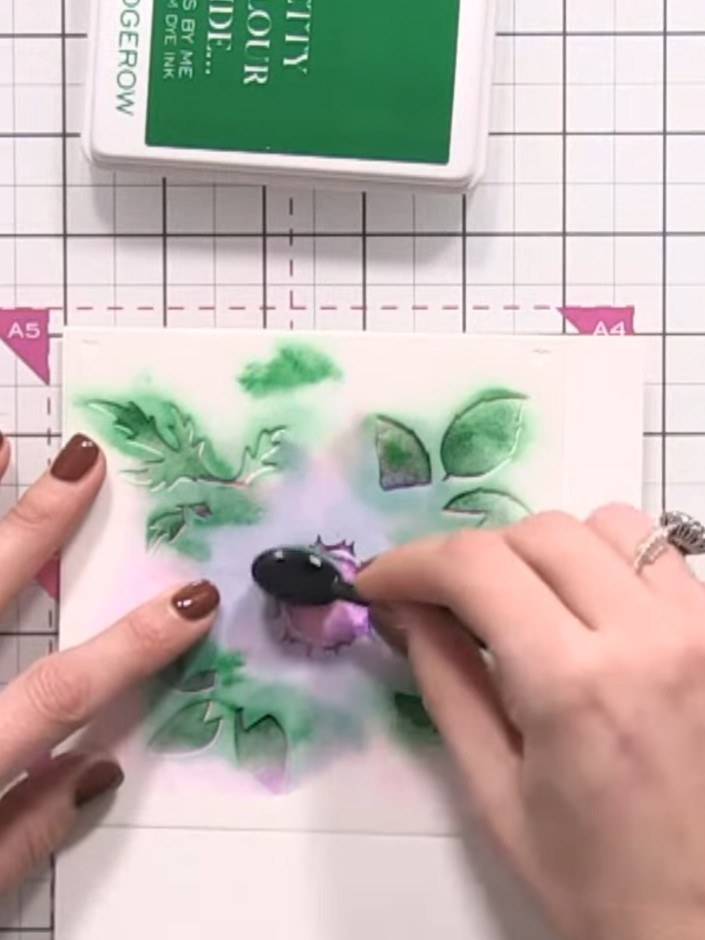 11
Position stencil number 5 in the centre of the card. Apply teal ink through the stencil to add final detail and bring focus to the middle of the design.
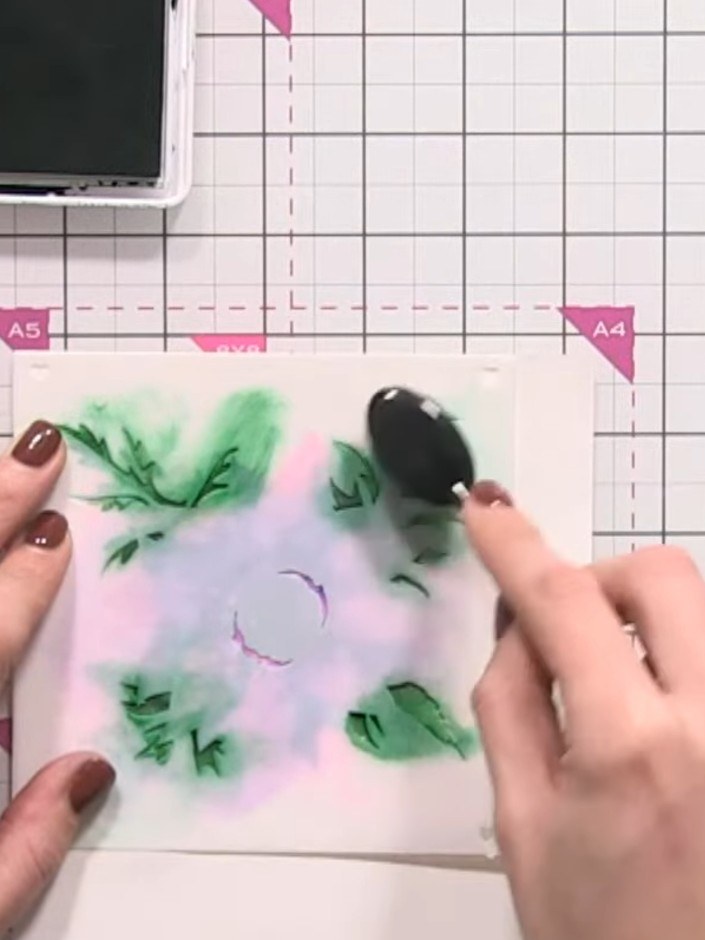 12
Flick water onto the final stencil layer using your fingertips rather than spraying to create a more controlled, less saturated bleed effect on the design.
 13
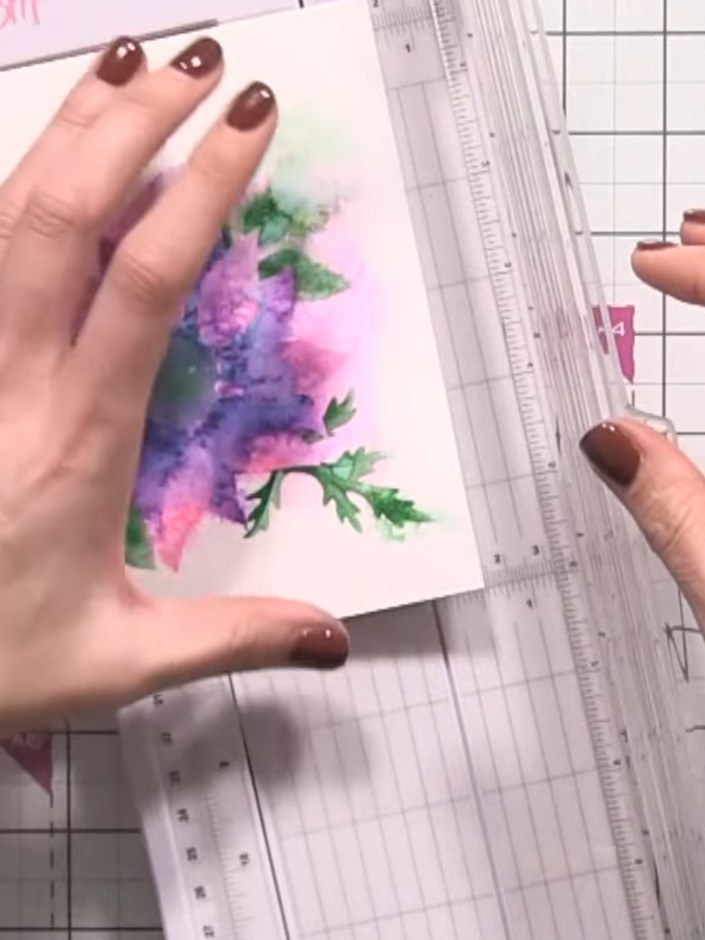
Trim your finished stencilled watercolour piece to your desired card size using a paper trimmer. Mount the trimmed panel onto a contrasting card base to complete your card.
 14
Stamp a sentiment such as 'With Love' onto the lower portion of your card using black ink to complete your design.
Share your make with the Stamps By Me community - and keep this guide for next time.
Written up from the show itself. See every guide from our shows · free how-to guides · watch live on My Telly · the previous layout