Give your friends $10 off their first order!
Refer a FRIEND








Prices change straight away. Every language is our own translation, not Google.
A project from our live show ONE DAY SPECIAL - Join Toni for her brand new launch - Broadcast 7th March 2025 · 03/07/2025
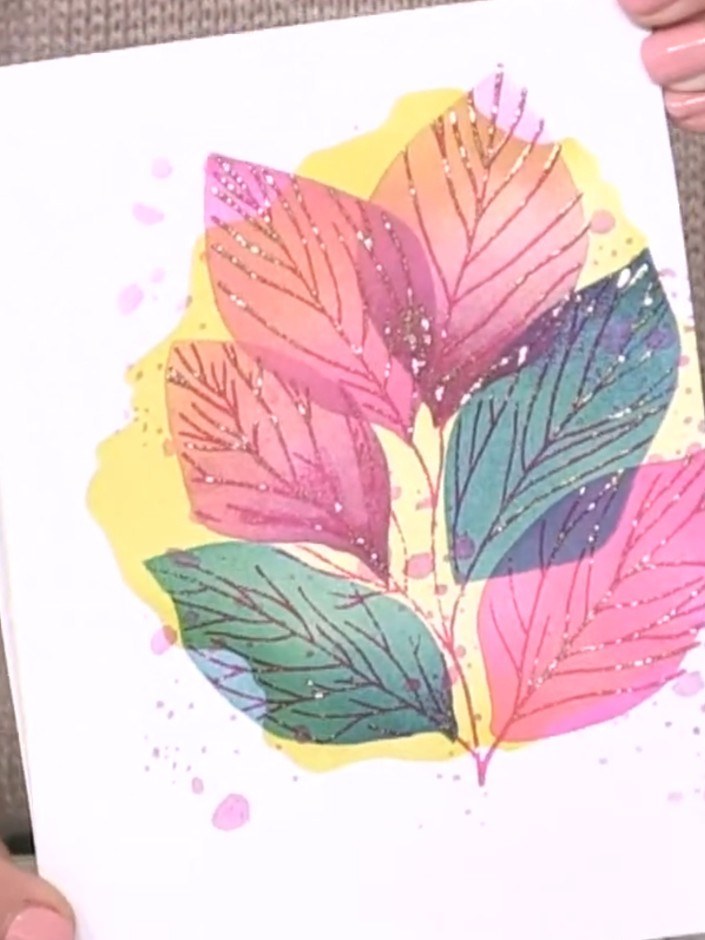
Create a stunning layered watercolour card featuring delicate leaves in soft grey tones with artistic splat accents. Using stencilling and stamping techniques, you'll build up transparent layers to achieve an ethereal, professional look. The design is completed with an embossed sentiment for an elegant finishing touch.
 1
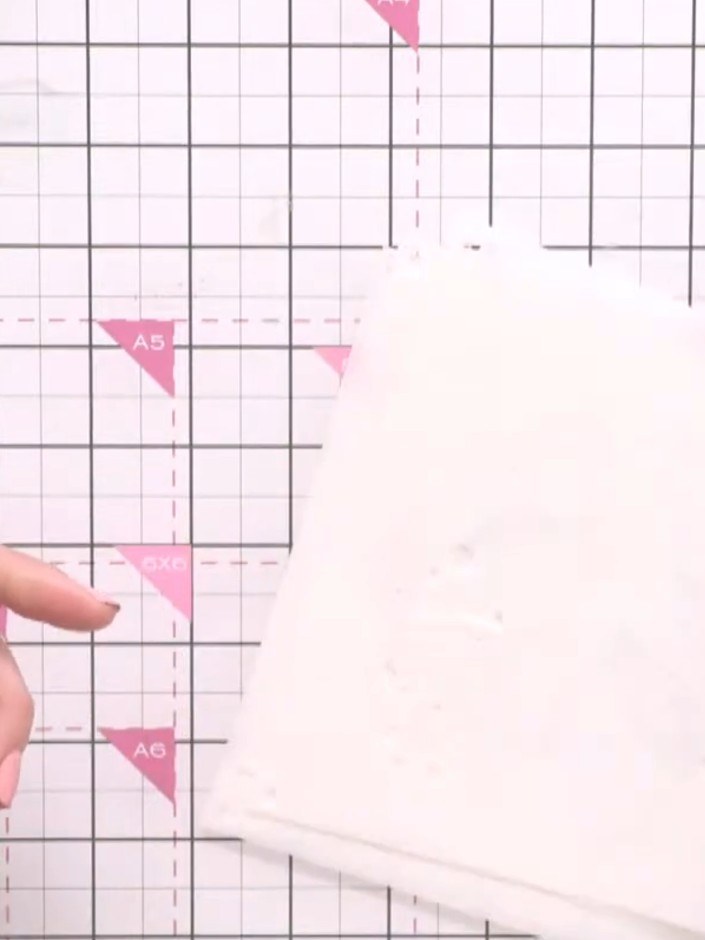
Position the first layering stencil (marked as number 1) on your white card stock, aligning it carefully with the edge to ensure all subsequent stencils will line up correctly.
 2
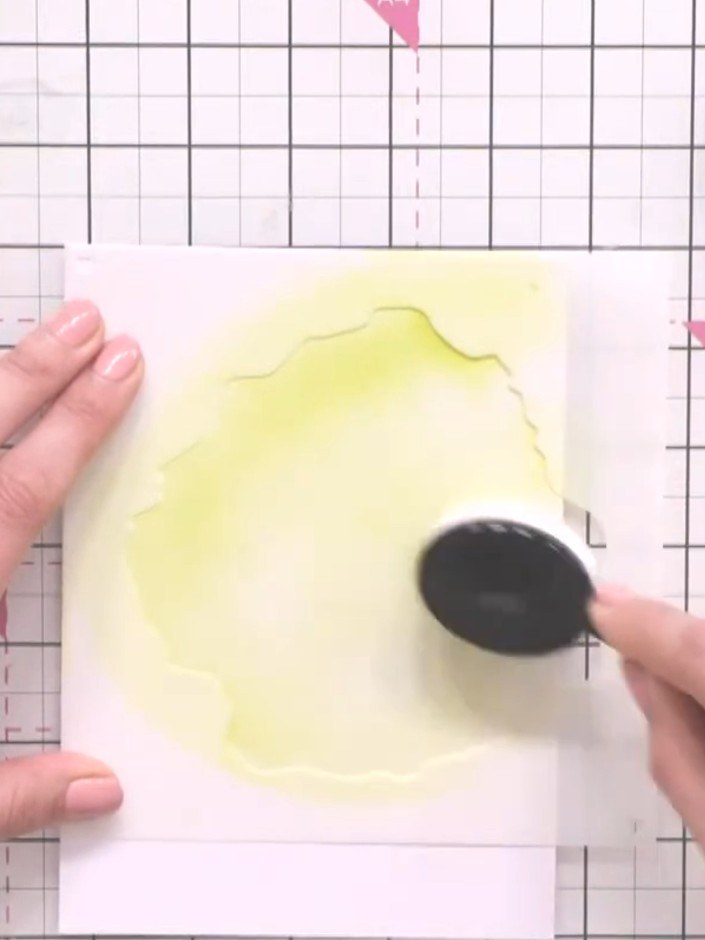
Apply yellow ink through the first stencil using a sponge dauber, creating a base colour wash over the white card. Work the colour gently across the stencil design to build up the watercolour effect.
 3
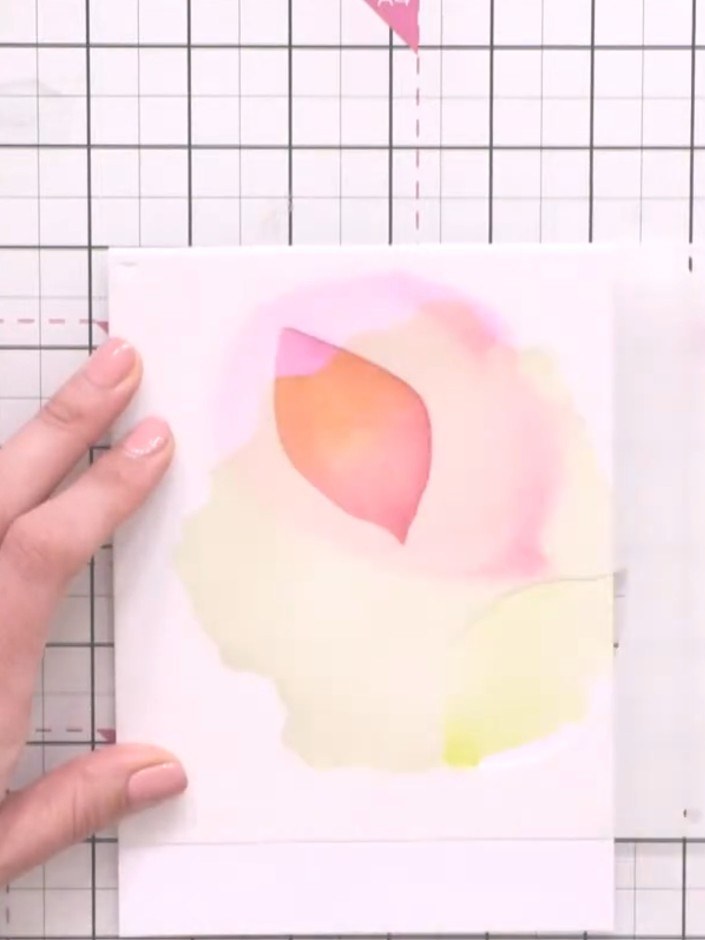
Position the second numbered stencil in the same alignment over your card. Apply pink ink using a blending brush, layering it over the yellow areas to create depth and dimension.
 4
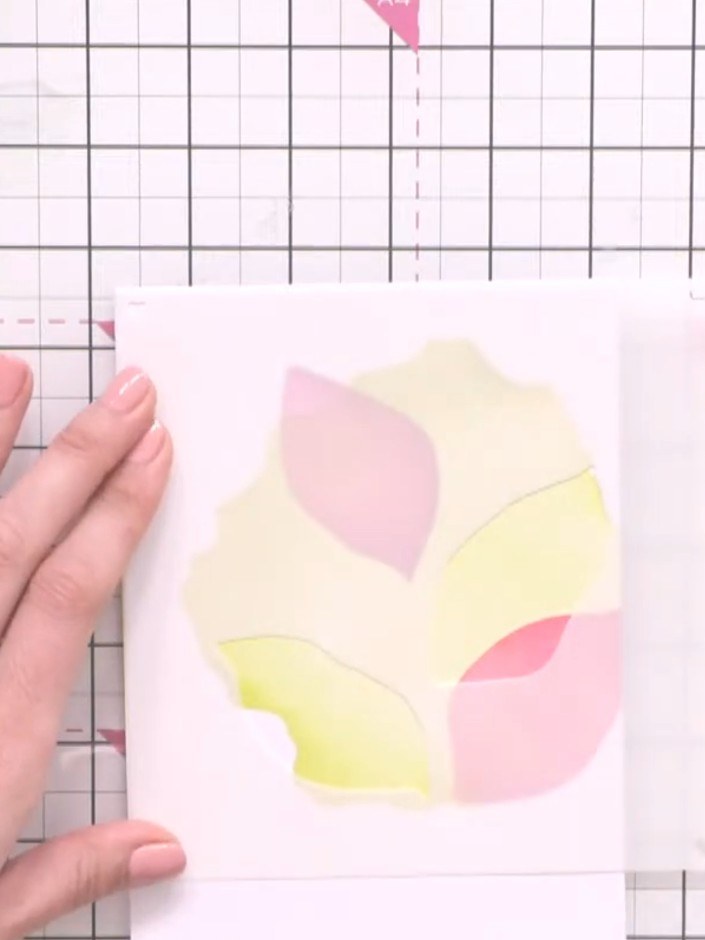
Apply the third stencil layer using a different colour ink paste with the blending tool. Build up the transparent watercolour effect by carefully overlaying the stencil to create depth and dimension with the leaf design.
 5
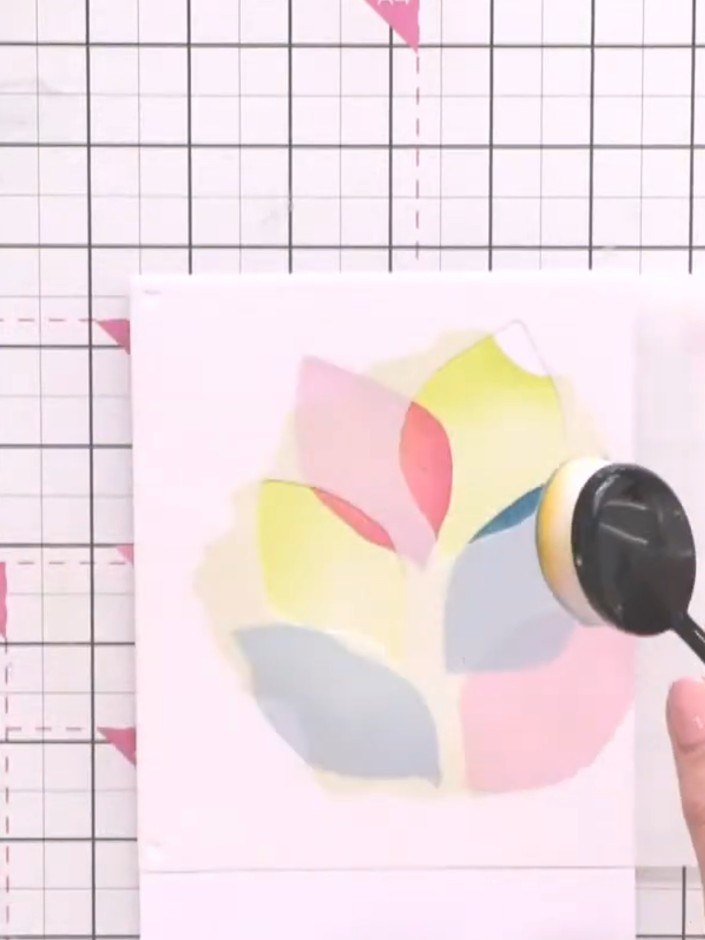
Create an ombré effect by applying darker ink at one end of the leaf shape using a blending tool. Gradually blend to a lighter colour towards the top of the leaf. Experiment with your colours to achieve the desired effect.
 6
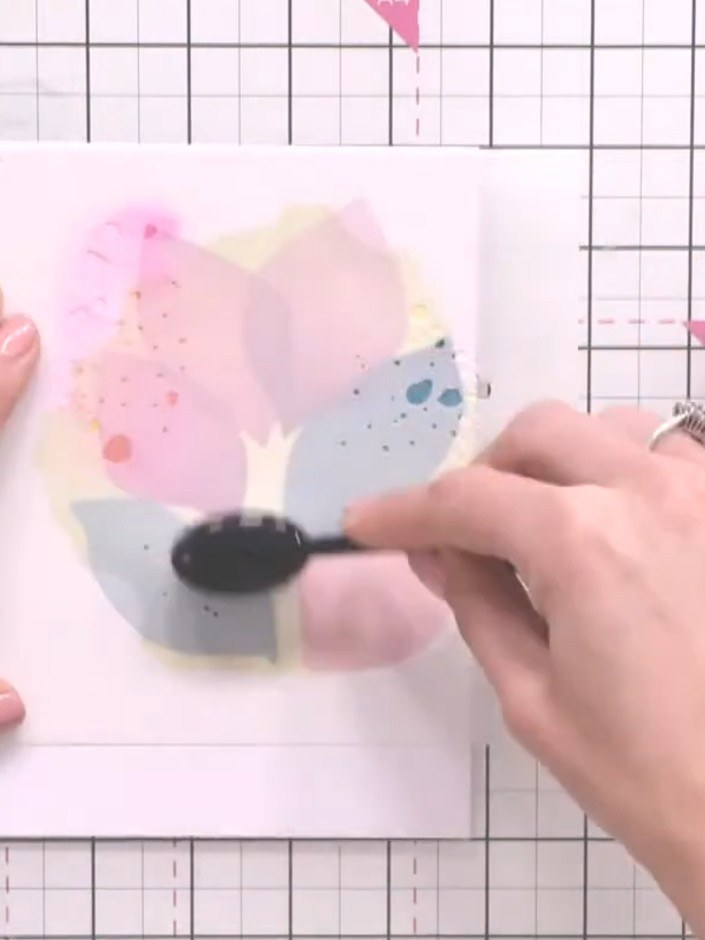
Use the splat stencil to add artistic splatter details across the watercolour design. Position the stencil in different areas and apply ink through it to create visual interest and texture.
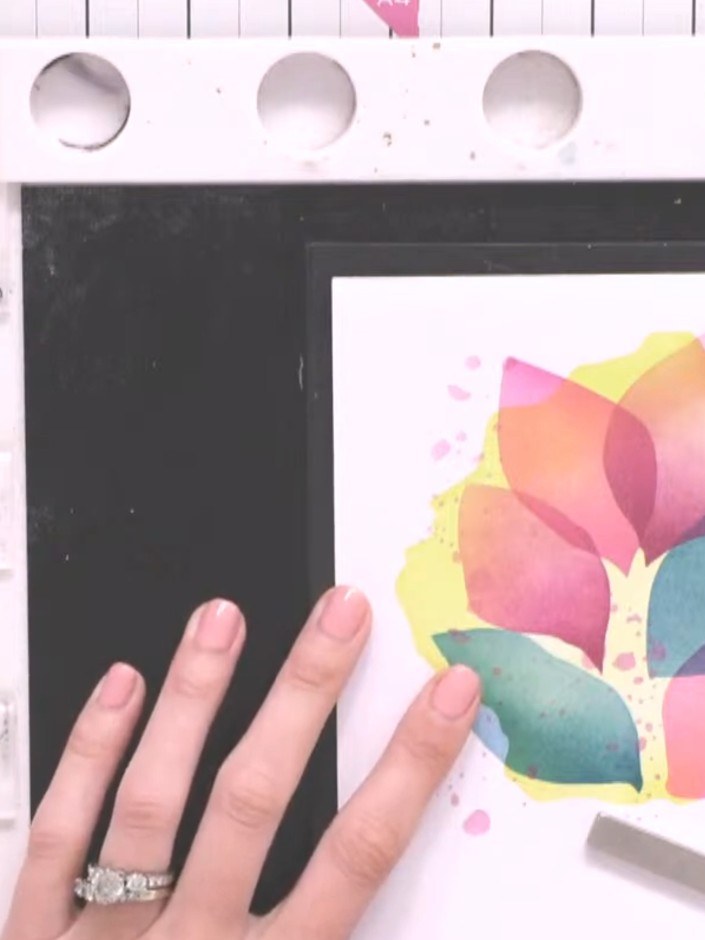 7
Stamp the leaf image onto the white card using black ink, positioning it centrally to complement your stencilled watercolour background.
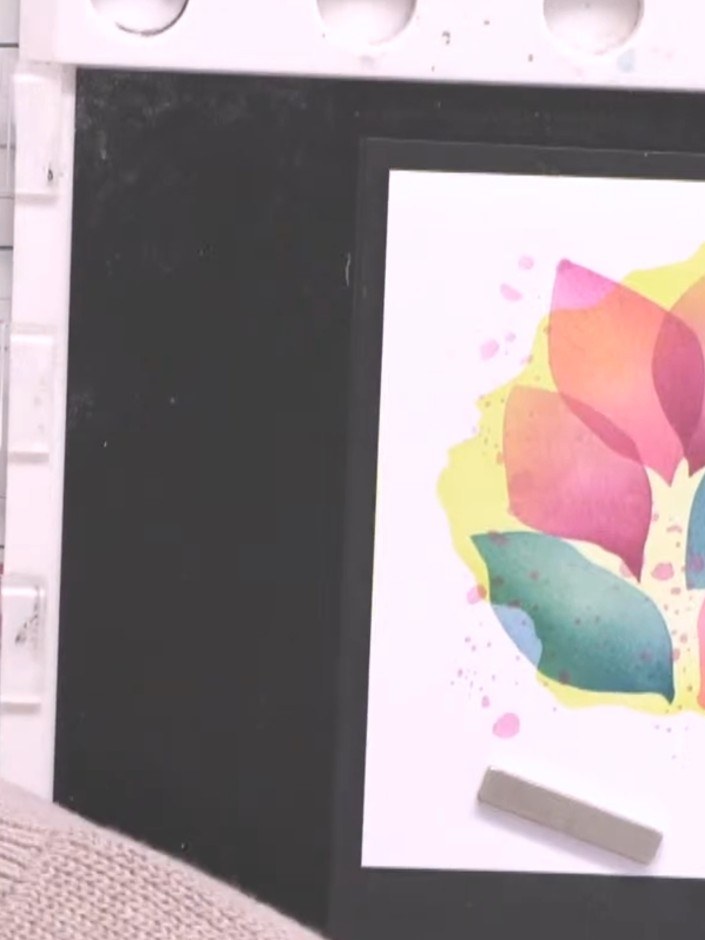 8
Apply sticky embossing ink from your pad to the sentiment stamp and press it onto the card front. Position it carefully to align with your layered leaf design.
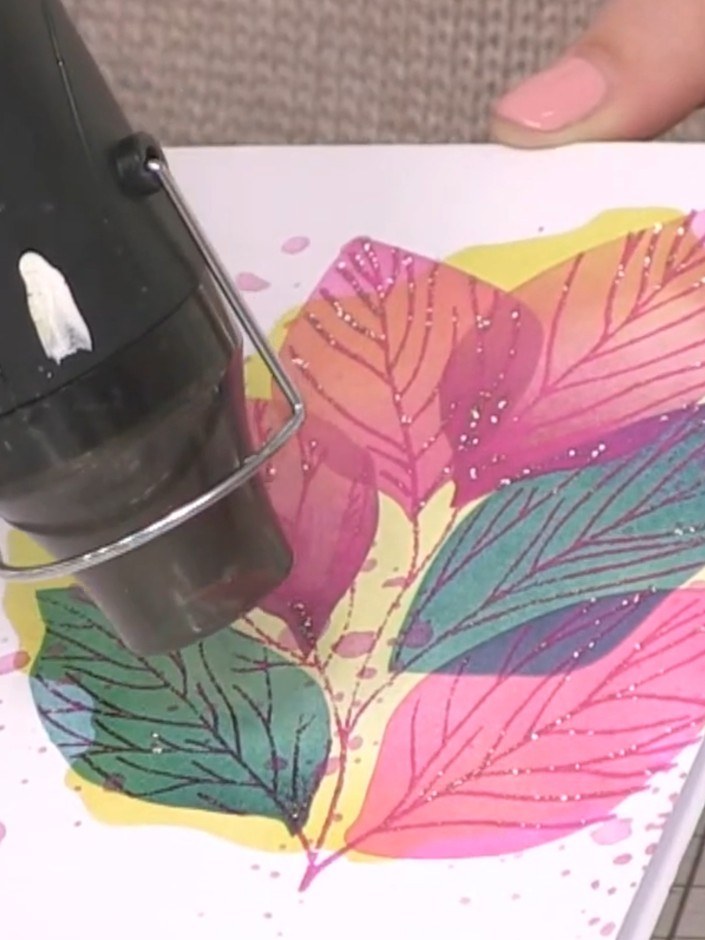 9
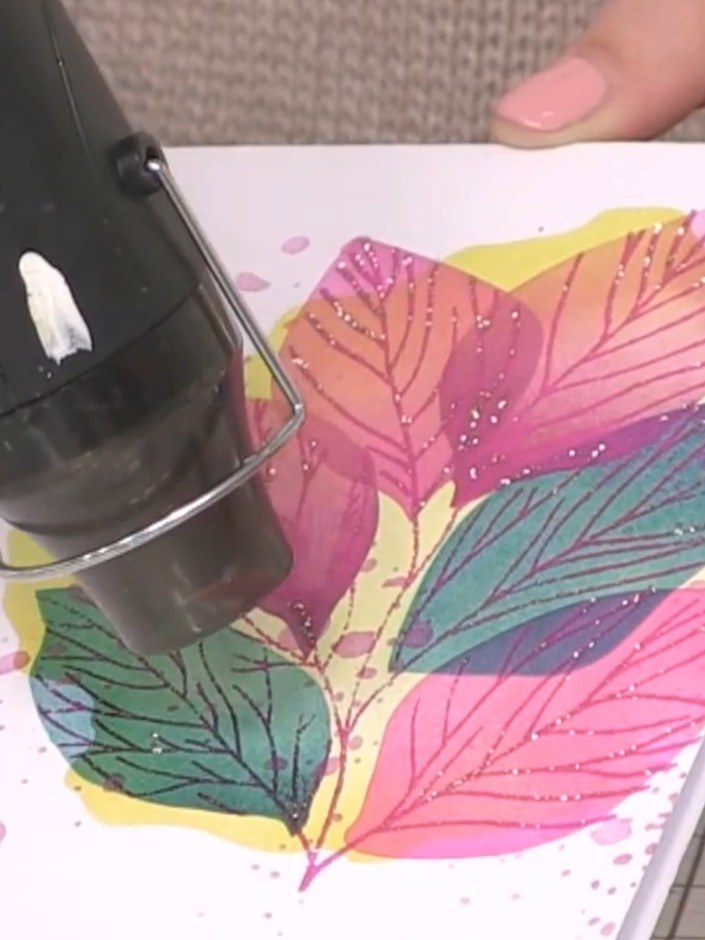
Sprinkle popping pink embossing powder over the wet embossing ink on the card. Ensure the powder covers all the inked areas evenly.
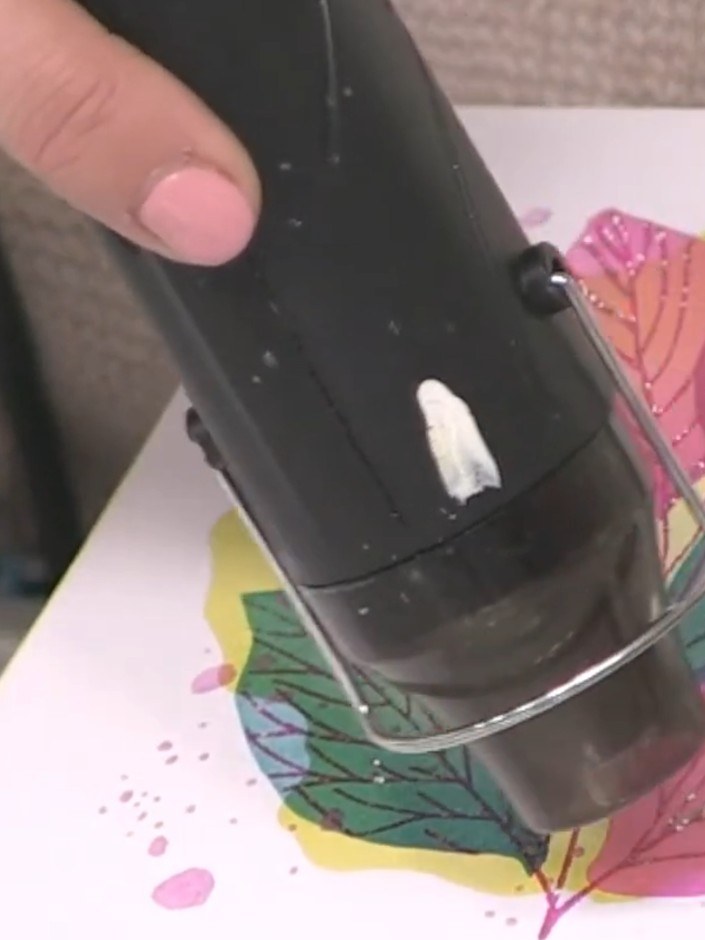 10
Heat set the embossing powder with a heat gun, moving it over the design until the powder becomes shiny and fully melted onto the card.
Share your make with the Stamps By Me community - and keep this guide for next time.
Written up from the show itself. See every guide from our shows · free how-to guides · watch live on My Telly · the previous layout