Give your friends $10 off their first order!
Refer a FRIEND








A project from our live show ONE DAY SPECIAL - Join Toni for her brand new launch - Broadcast 25th April 2025 · 04/25/2025 · watch it from 31:30
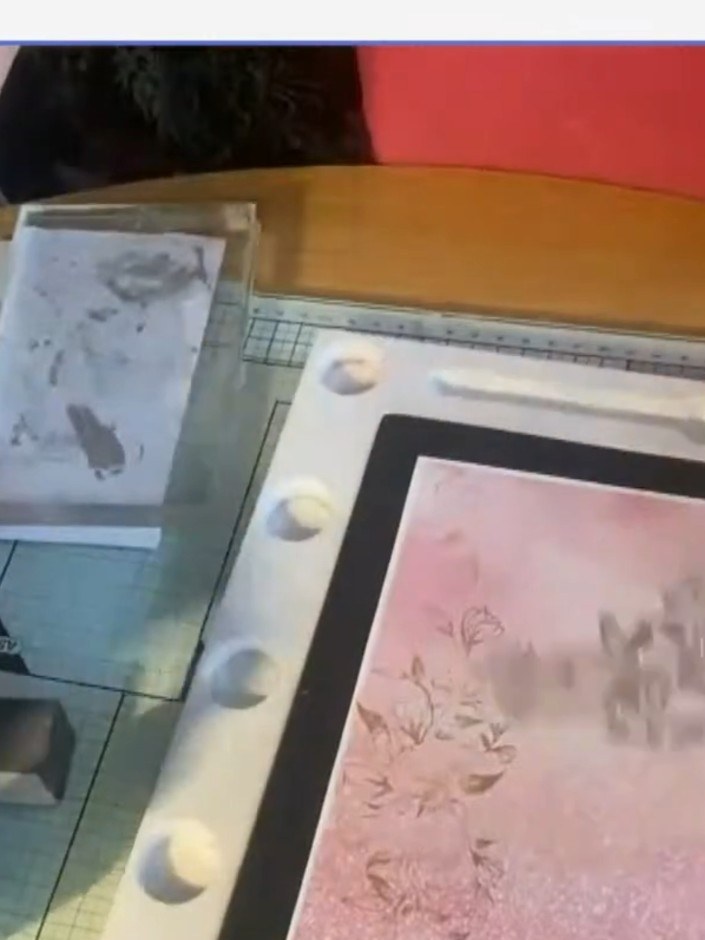
Create a beautiful layered floral card featuring vintage-style botanicals from the Classic Garden paper collection. This sophisticated design combines fussy-cut flowers and foliage arranged in a collage style with dimensional foam pads for depth. The finished card showcases soft pink and cream tones with delicate floral imagery and a 'Best Buddies' sentiment.
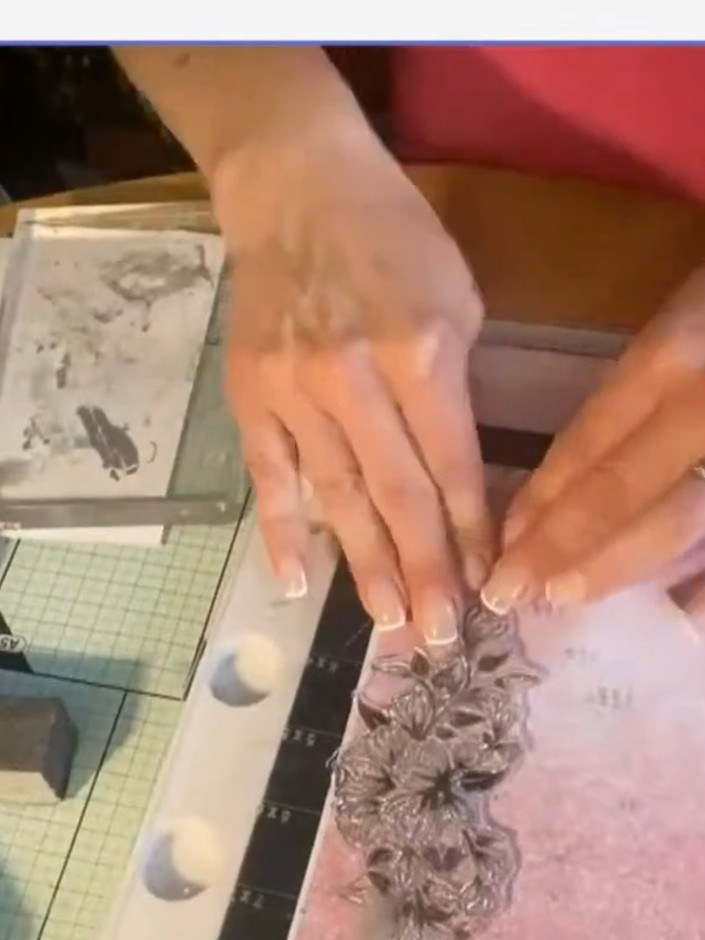
Stamp the floral word stamp onto Classic Garden pink patterned paper using distress ink to create a soft, delicate background. Position the stamps randomly across the paper for a natural look.
▶ watch this step (31:45)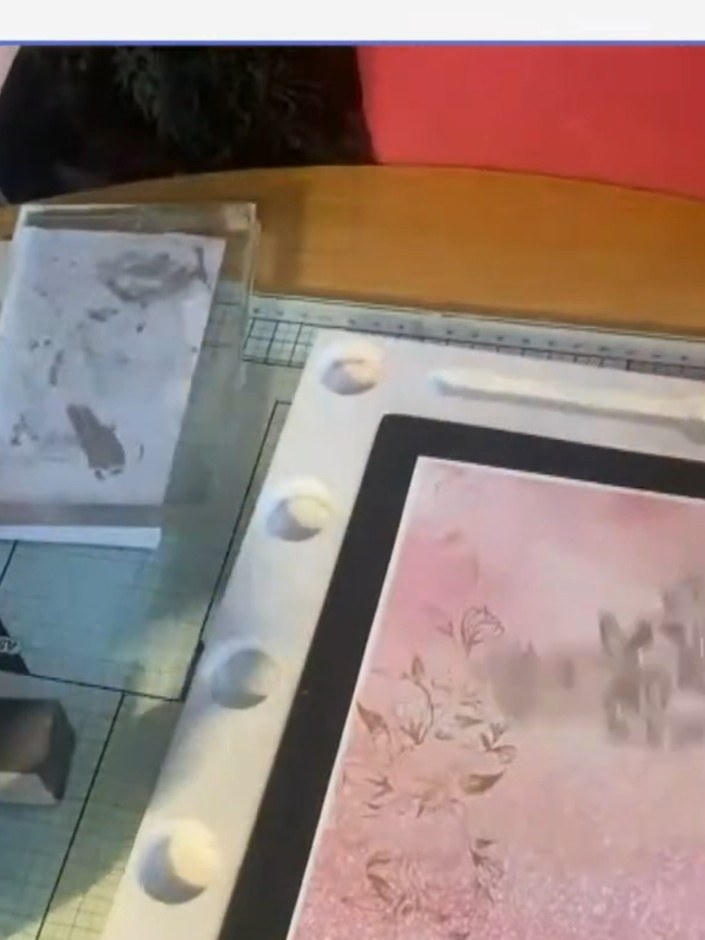
Use the stamp without applying full pressure to create a subtle, partial impression on your pink background paper. This adds delicate detail without overwhelming the design.
▶ watch this step (32:00)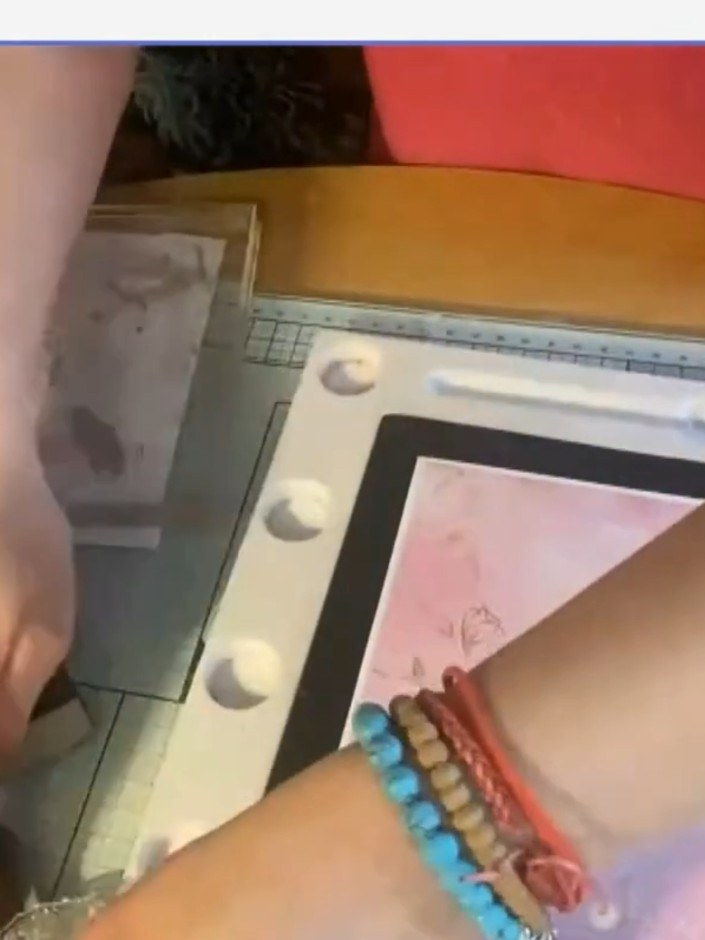
Create multiple card layers using mats and layers from the Classic Garden paper collection. Position the decorative papers with the black frame mat to build up your card front layers.
▶ watch this step (32:30)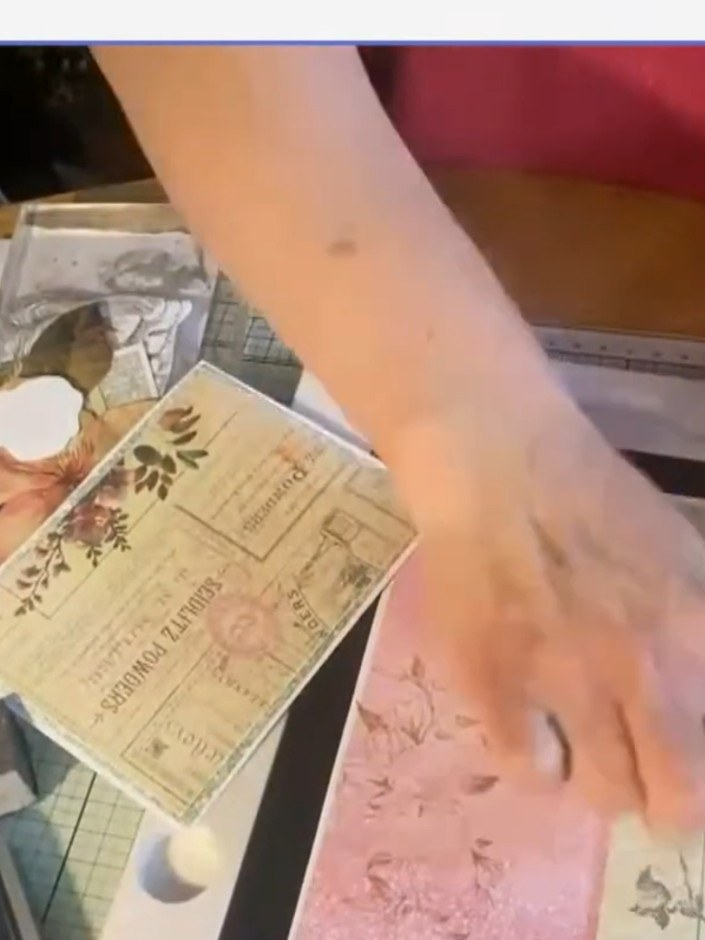
Fussy cut beautiful floral elements from the decorative paper. Carefully cut around the flowers and botanical motifs to create individual embellishments for layering.
▶ watch this step (33:00)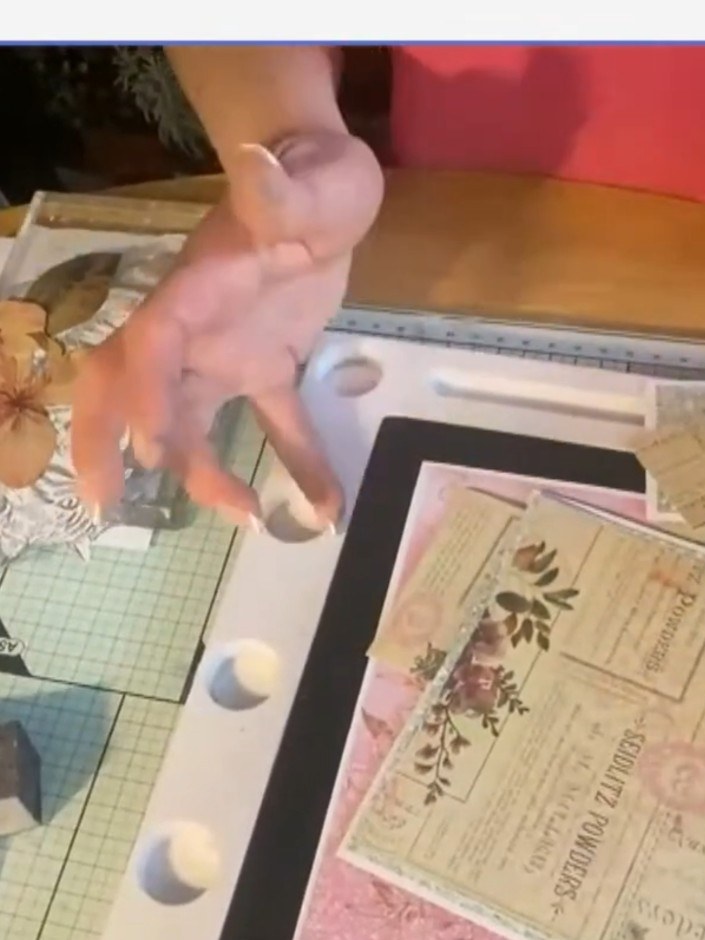
Add dimension to your fussy-cut floral elements by gently creasing them down the centre and pulling back the petals. This creates a sculptural, three-dimensional effect that will add depth to your card design.
▶ watch this step (33:30)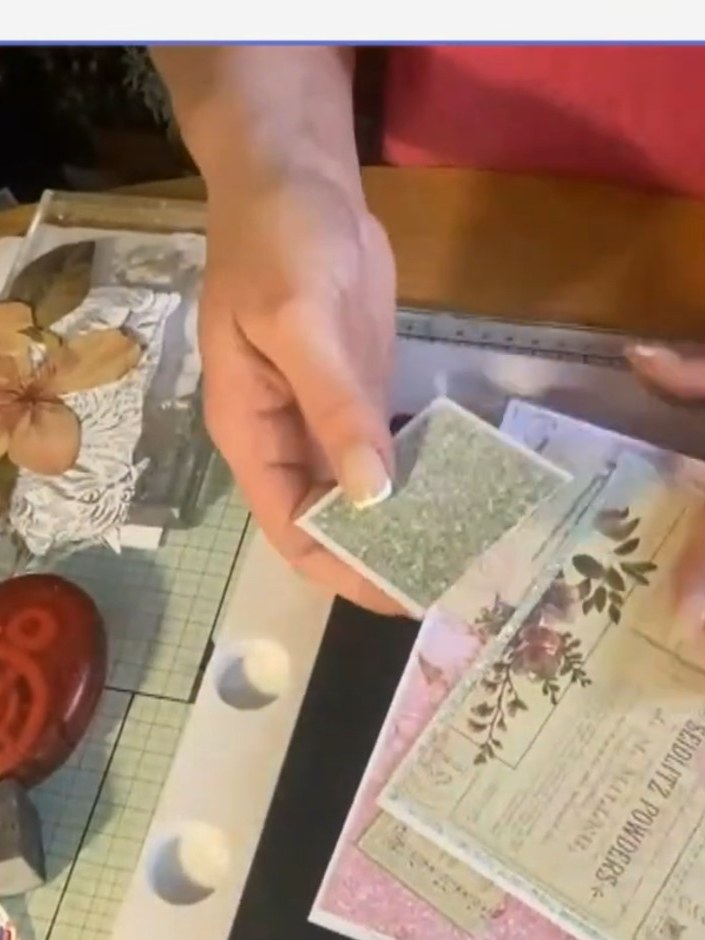
Layer the floral elements onto your card base using foam pads to create a 3D effect. Position the fussy-cut flowers and leaves over the patterned paper panels, building up dimension.
▶ watch this step (34:15)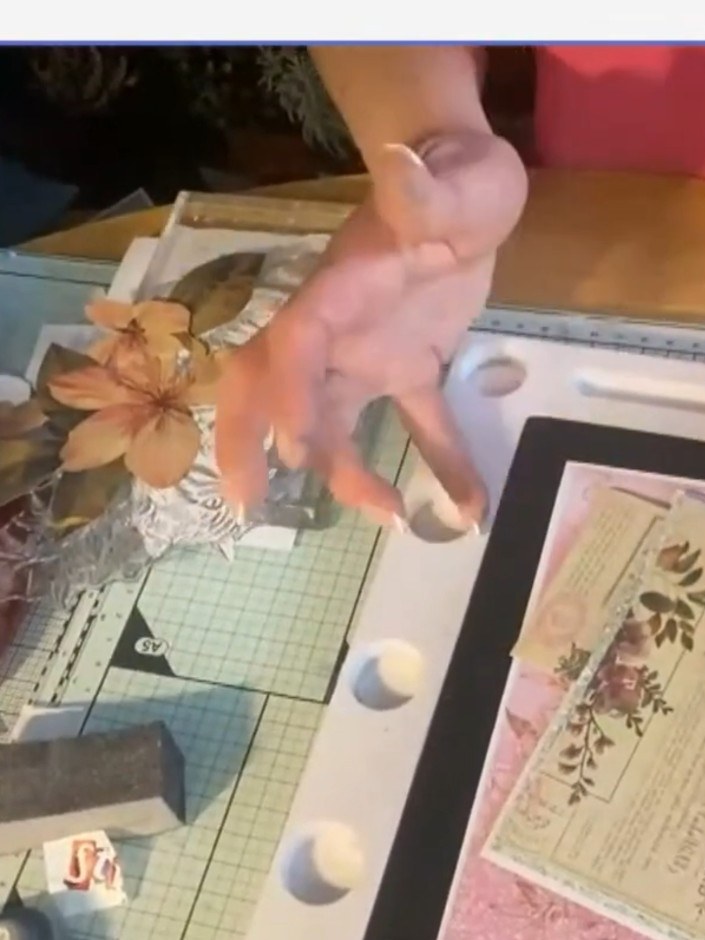
Add smaller floral elements and leaves to build up the bloom. Layer the additional pieces around the main flower to create depth and balance. Position the elements to complement the overall design.
▶ watch this step (34:45)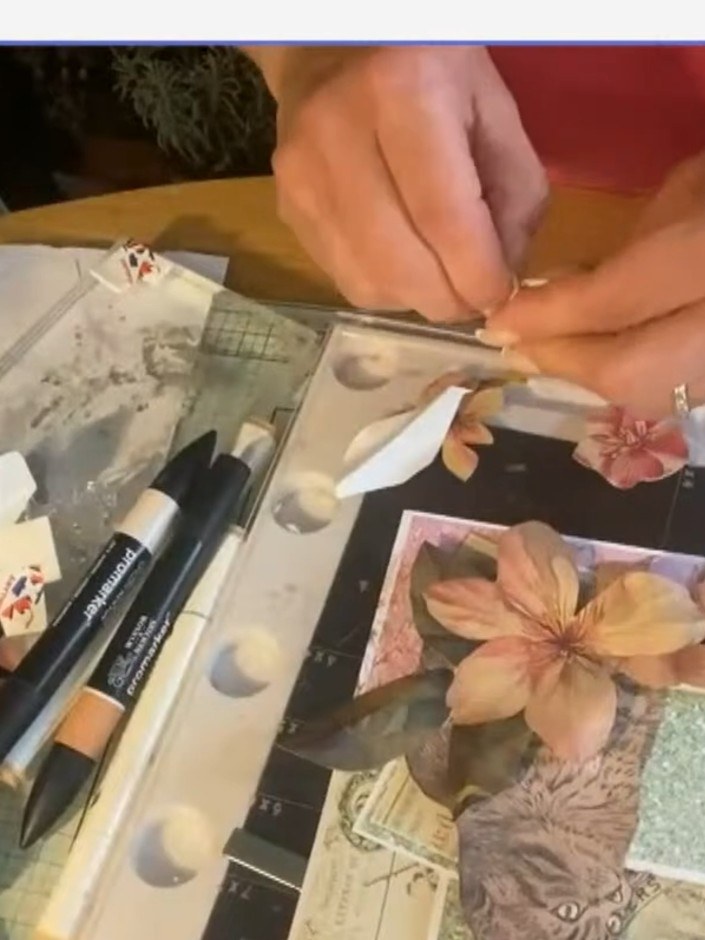
Place a circle die cut over the top of your layered project, positioning it to frame the main floral element and 'BEST BUDDIES' sentiment.
▶ watch this step (42:45)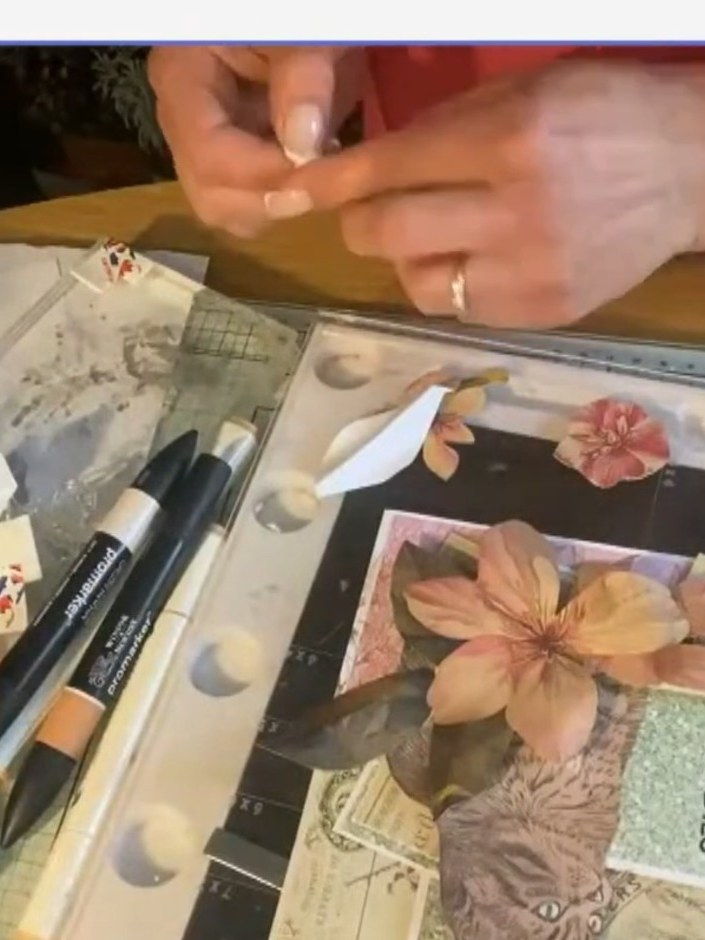
Apply confetti ink over the circle die cut using a sponge applicator to add painted detail and finish the design.
▶ watch this step (43:00)Written up from the show itself. See every guide from our shows · free how-to guides · watch live on My Telly

