Give your friends $10 off their first order!
Refer a FRIEND








A project from our live show MY PODCAST - Catch my latest updates broadcast 28th April 2025 · 04/28/2025 · watch it from 55:45
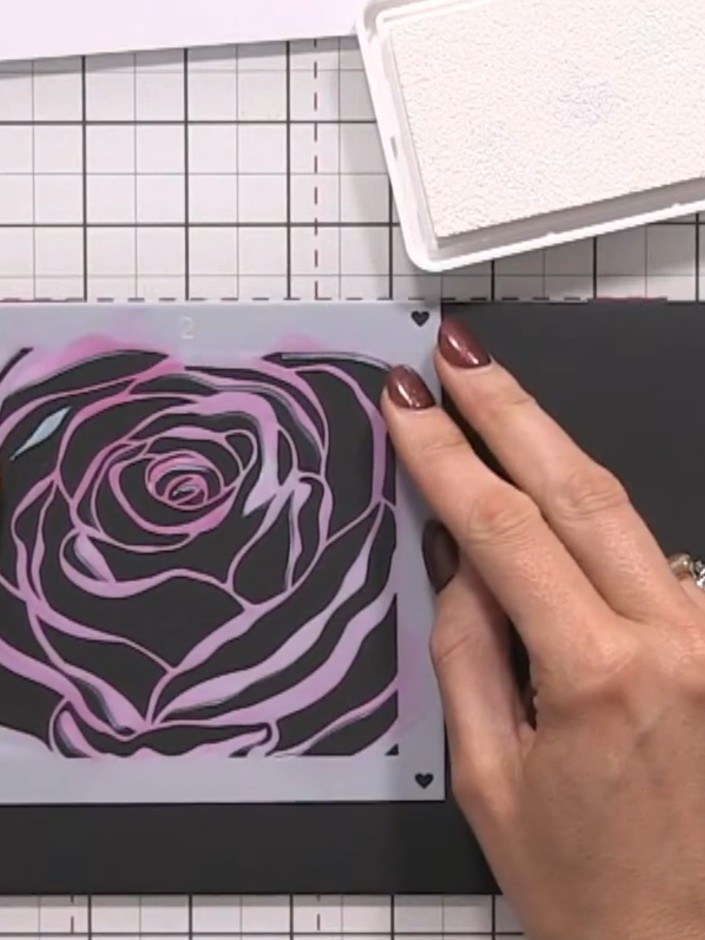
Make a beautiful purple rose design on black card using a clever white ink halo technique. The project combines stamping with coloured pencil work, building layers of purple and pink over a white base to create depth and vibrancy. This striking piece demonstrates how to achieve brilliant colours on dark backgrounds through careful layering.
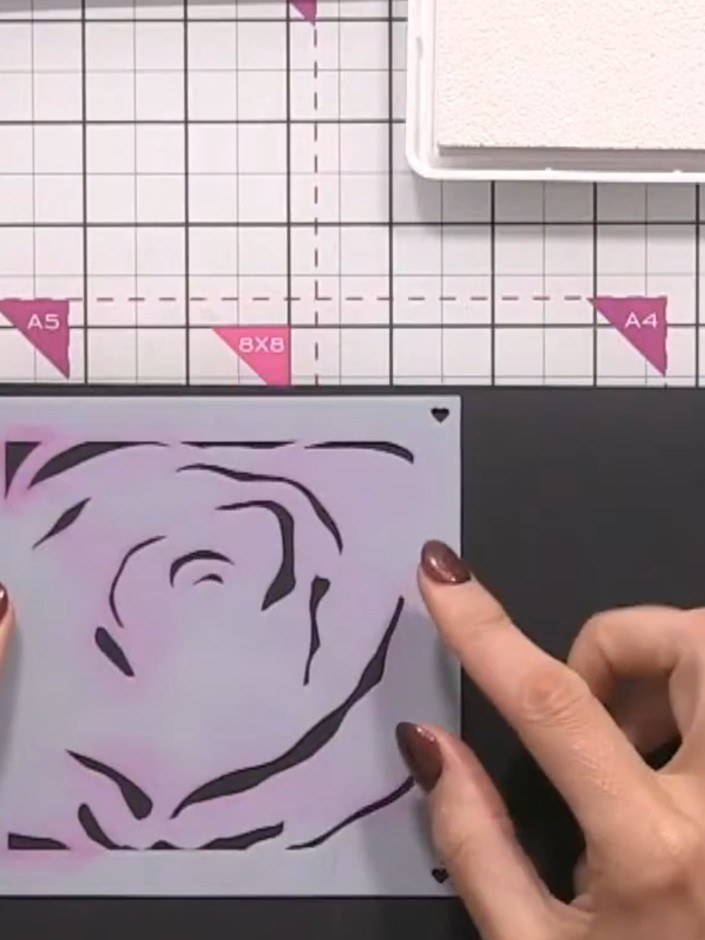
Place the rose stencil on your black card and secure it in position. Apply black ink through the stencil using a blending tool or sponge to create the first layer of the design.
▶ watch this step (56:00)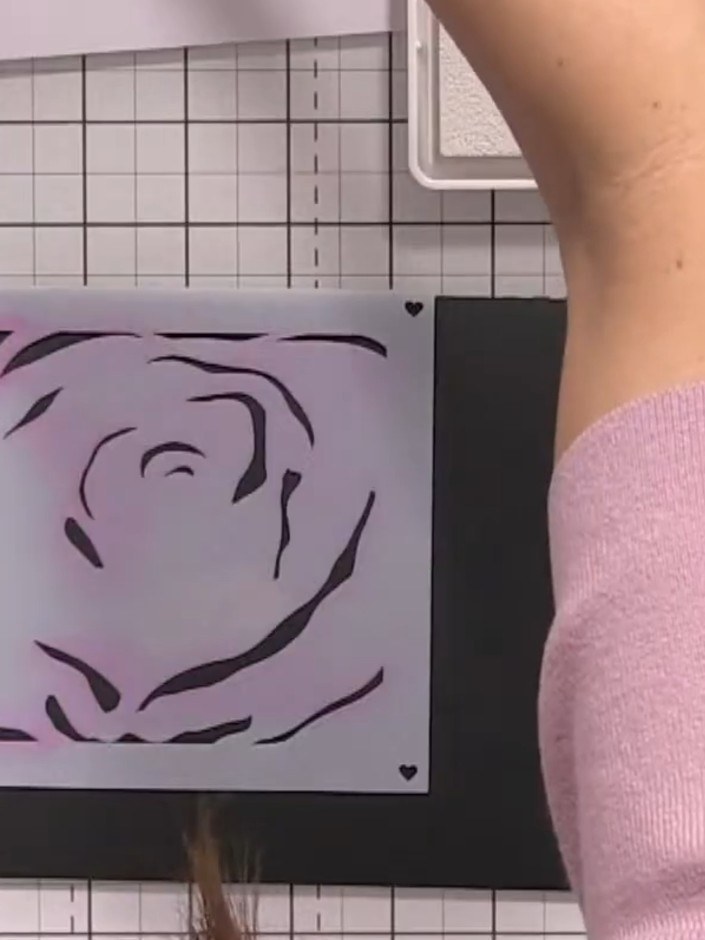
Position the rose stencil on the black card and apply pink ink lightly through the stencil to build up the rose shape gradually.
▶ watch this step (56:15)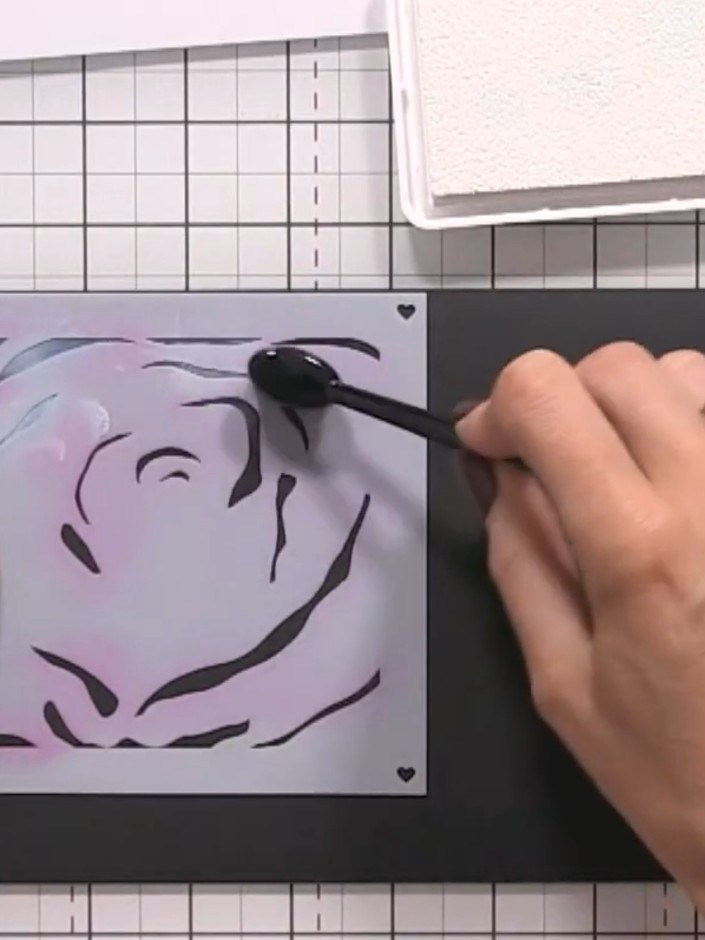
Place stencil number three over your card and apply black ink using the ink pad. Vary the pressure as you work to create depth and dimension in the rose design.
▶ watch this step (56:45)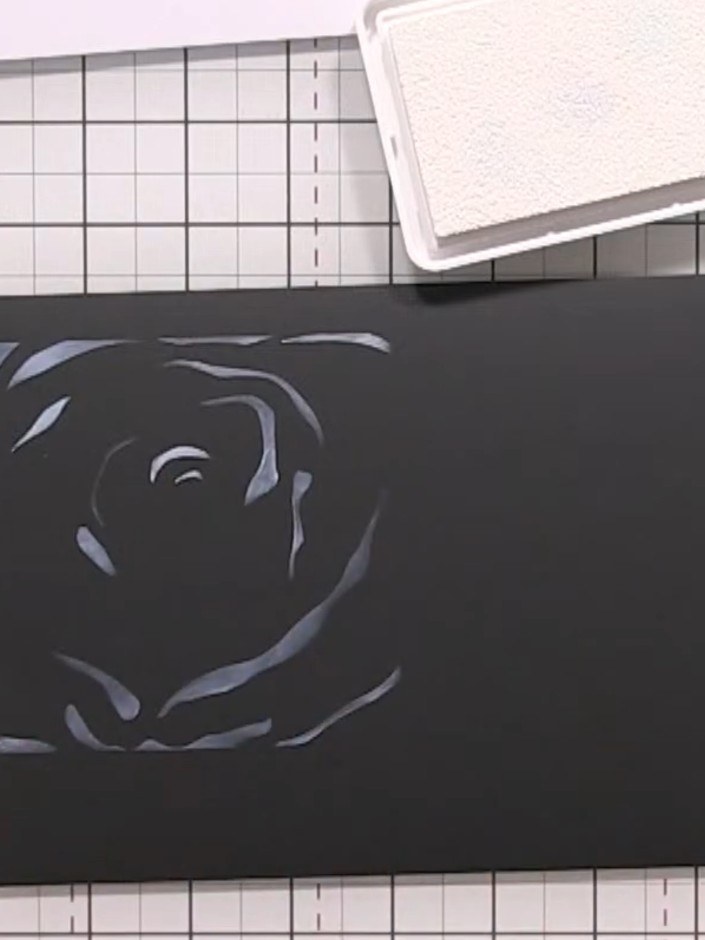
Place the fourth and final stencil layer over the black card and apply white ink or paint to complete the ghostlike rose effect with its subtle highlights and shadows.
▶ watch this step (57:15)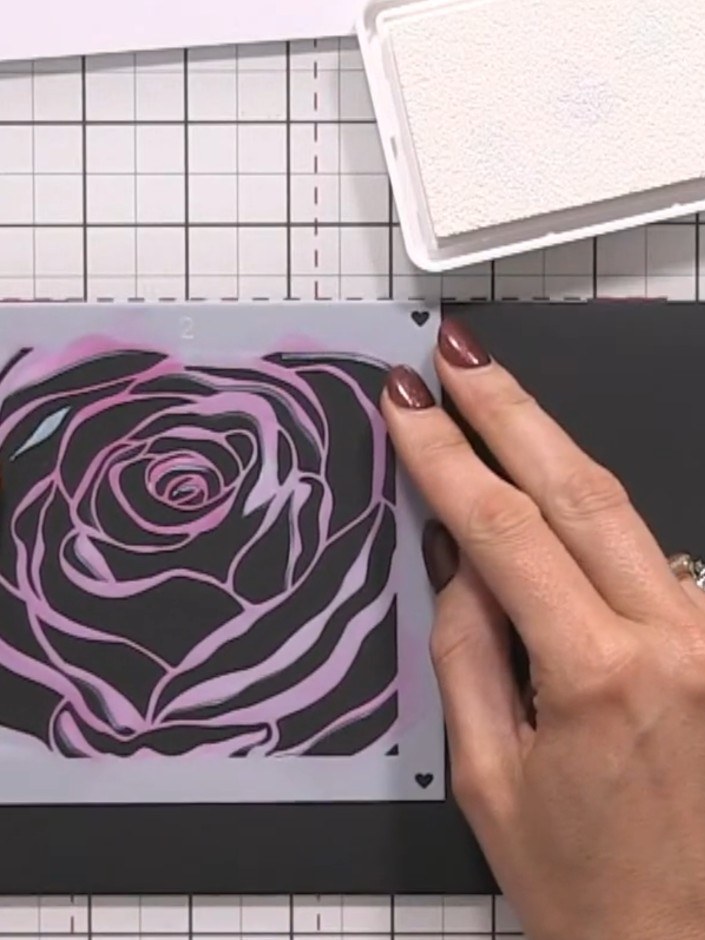
Allow the stencilled rose design to dry completely before moving on to the next step. Ensure the pink colour is fully set on the black card.
▶ watch this step (57:30)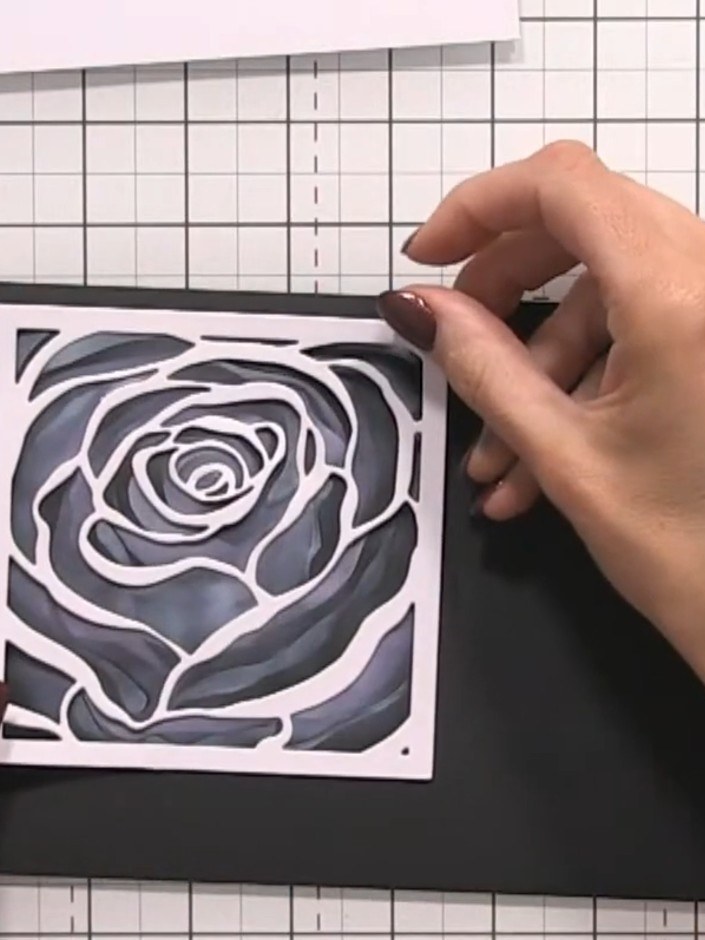
Place the rose stencil back on top of the black card. Apply white ink through the stencil to create a white halo effect around the rose design.
▶ watch this step (1:00:00)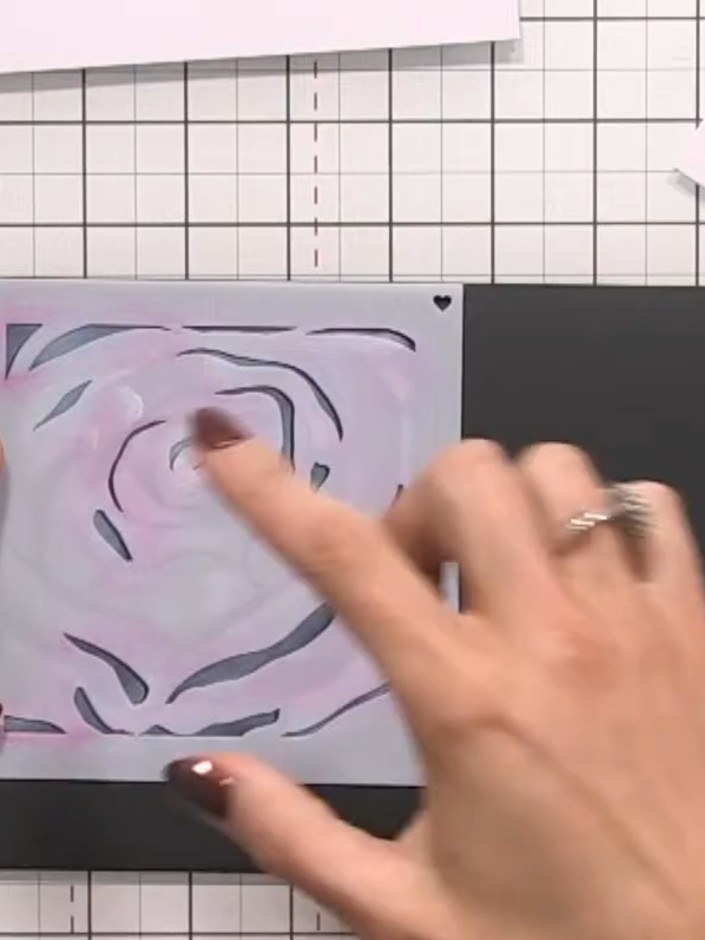
Place stencil number one over the white halo on the black card. Apply pink ink through the stencil using a blending tool to add colour over the white base.
▶ watch this step (1:00:30)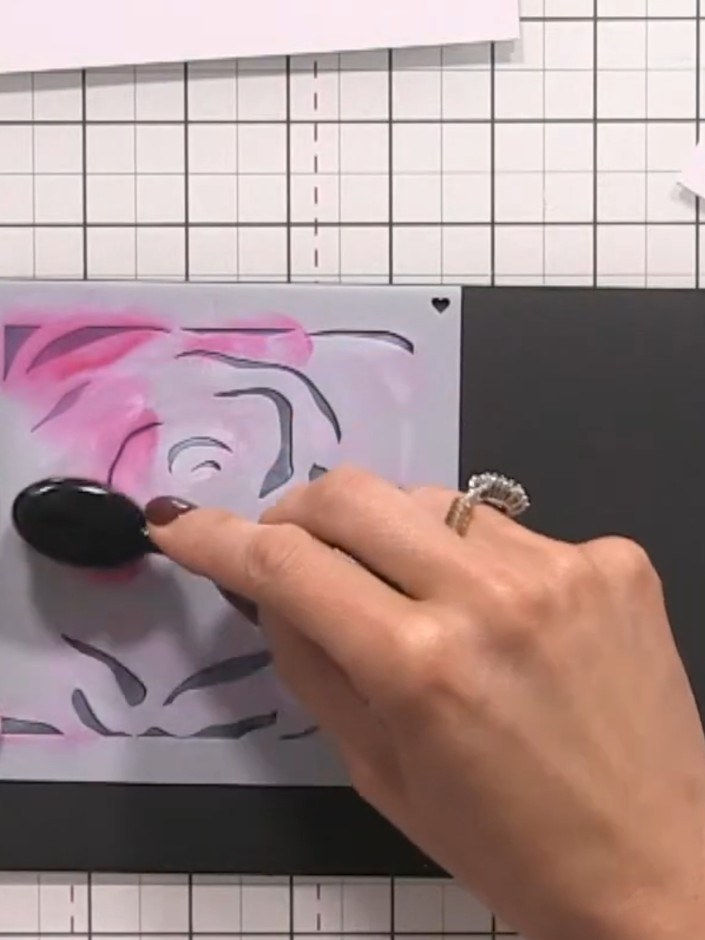
Position stencil number two over your design and apply pink ink through the stencil using a blending tool to add a second layer of colour to your rose.
▶ watch this step (1:01:00)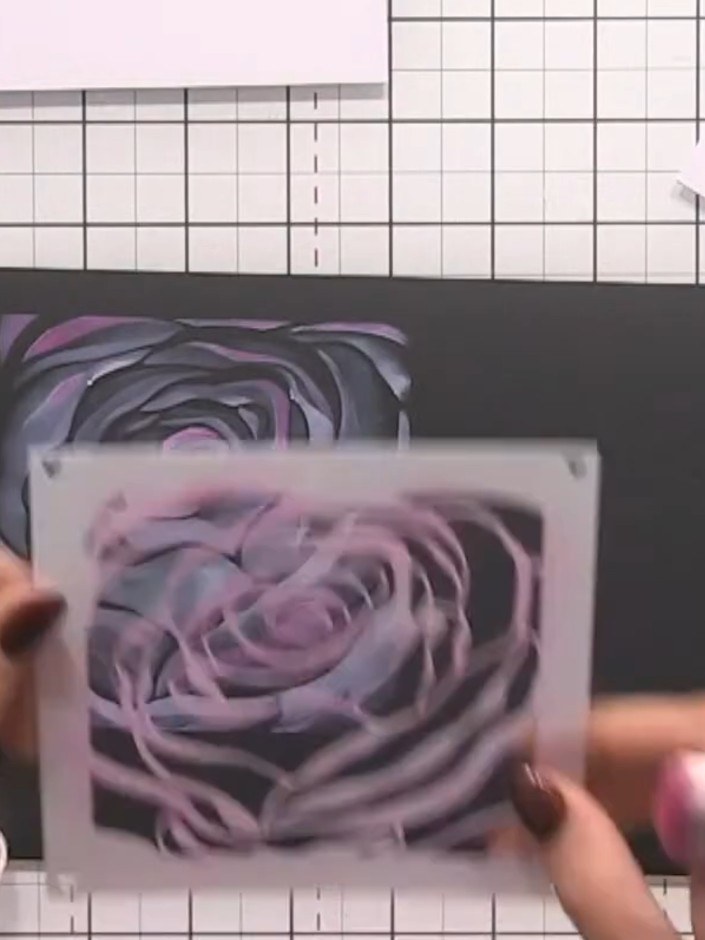
Apply white ink through the rose stencil again over the coloured areas to add highlights and create additional dimension. Use a light touch to build up the white highlights gradually.
▶ watch this step (1:02:00)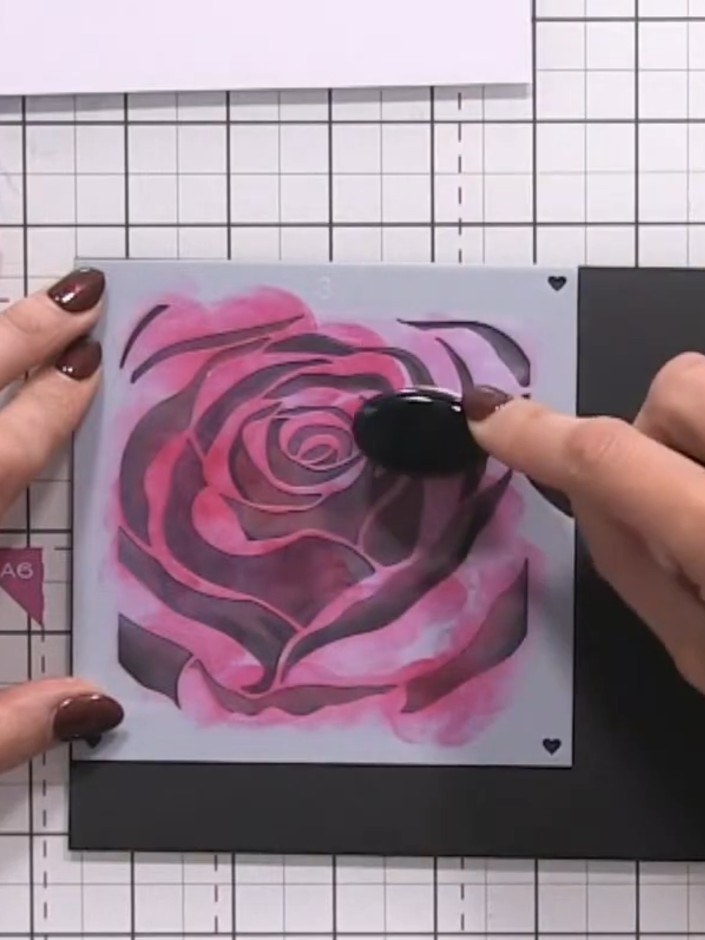
Use coloured pencils to add extra detail and shading on top of the layered inks. Work over the rose petals to enhance depth and dimension. You can leave some areas white for highlights if desired.
▶ watch this step (1:04:00)Written up from the show itself. See every guide from our shows · free how-to guides · watch live on My Telly
