Give your friends $10 off their first order!
Refer a FRIEND








A project from our live show ONE DAY SPECIAL - Join Toni for her brand new launch - Broadcast 16th May 2025 · 05/16/2025 · watch it from 26:30
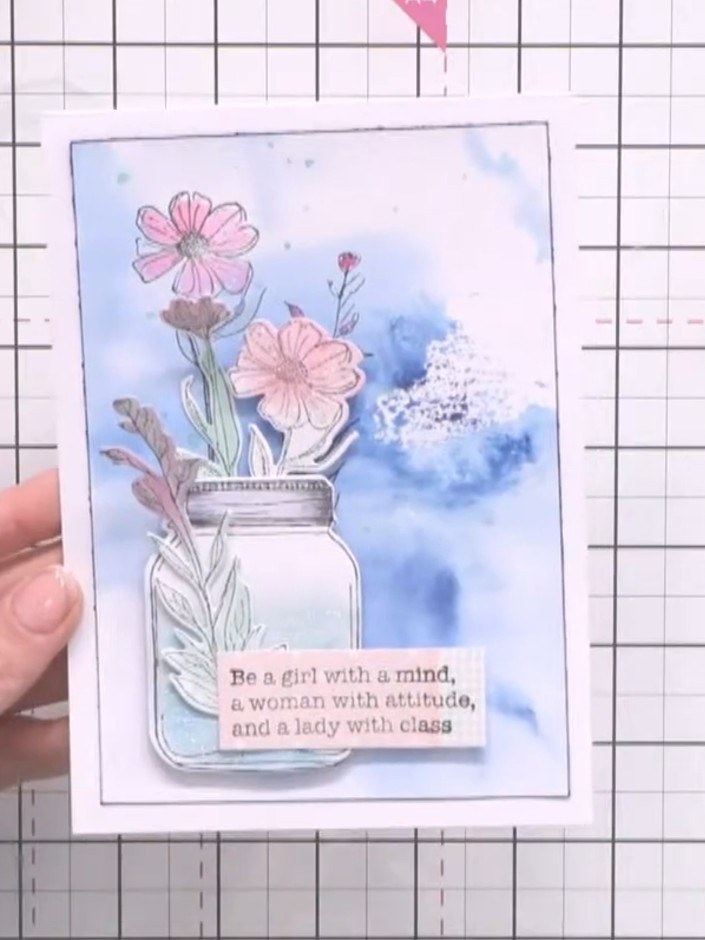
Create a beautiful card featuring a mason jar filled with stamped flowers using watercolour ink wash techniques. The design combines a soft blue and pink watercolour background with layered stamped florals and a decorative jar element, creating an artistic and dimensional card. This project uses simple stamping and watercolour techniques to achieve a stunning, professional-looking result.
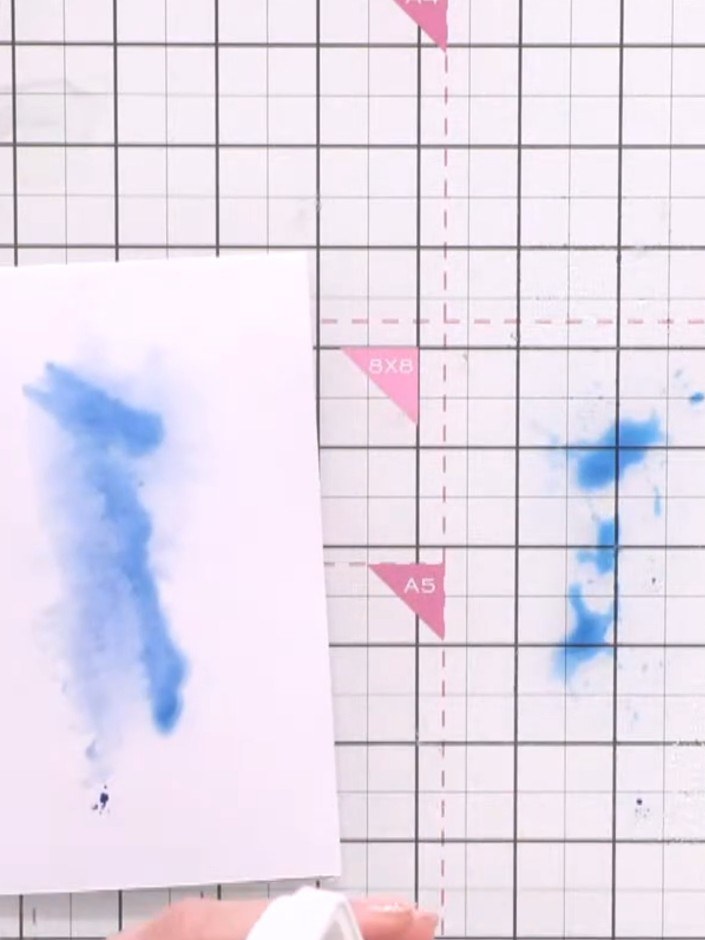
Spray blue ink onto your craft mat with water to create a watercolour wash. Place your white cardstock onto the wet ink to pick up the colour and create a watercolour effect.
▶ watch this step (31:00)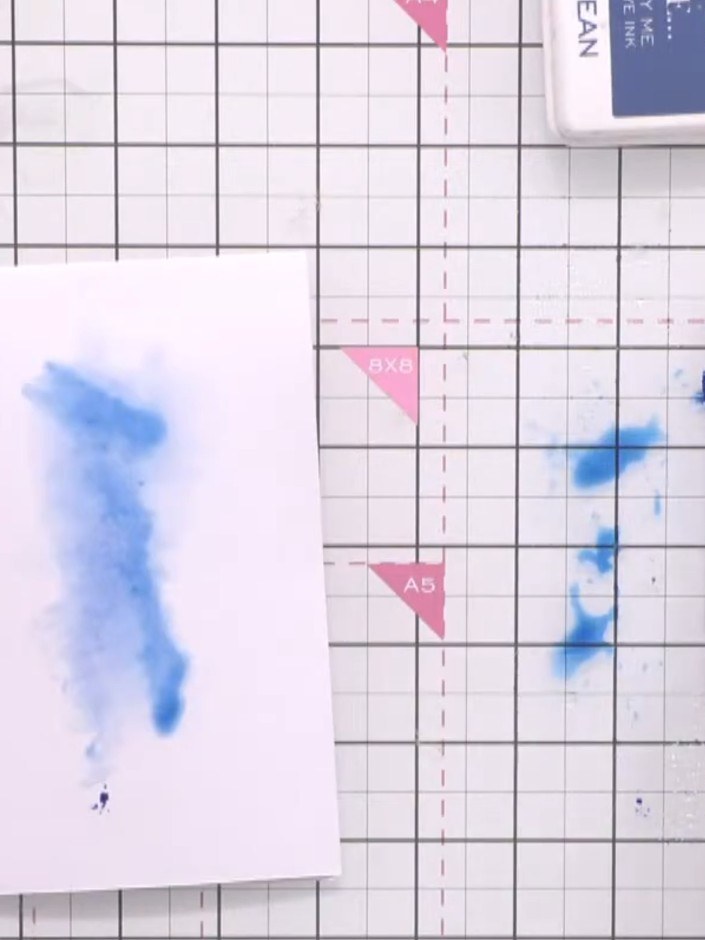
Use an ink pad lid to add additional colour lines into the wet blue ink on your card, creating texture and depth in the watercolour wash.
▶ watch this step (31:15)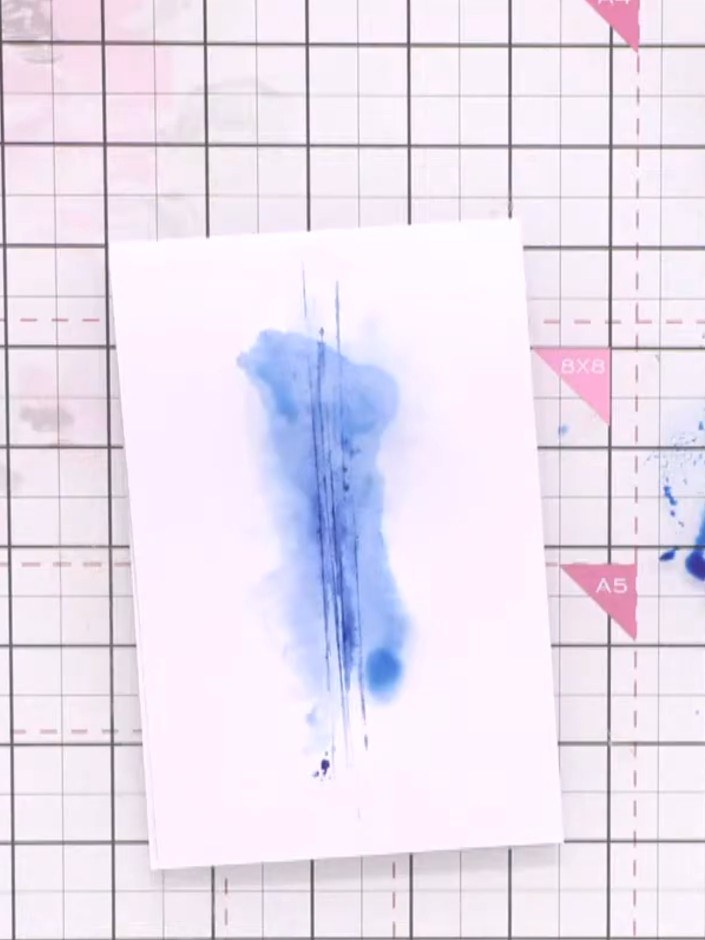
Allow the inked card to dry completely. You can use a tissue to gently blot any excess moisture if needed.
▶ watch this step (32:00)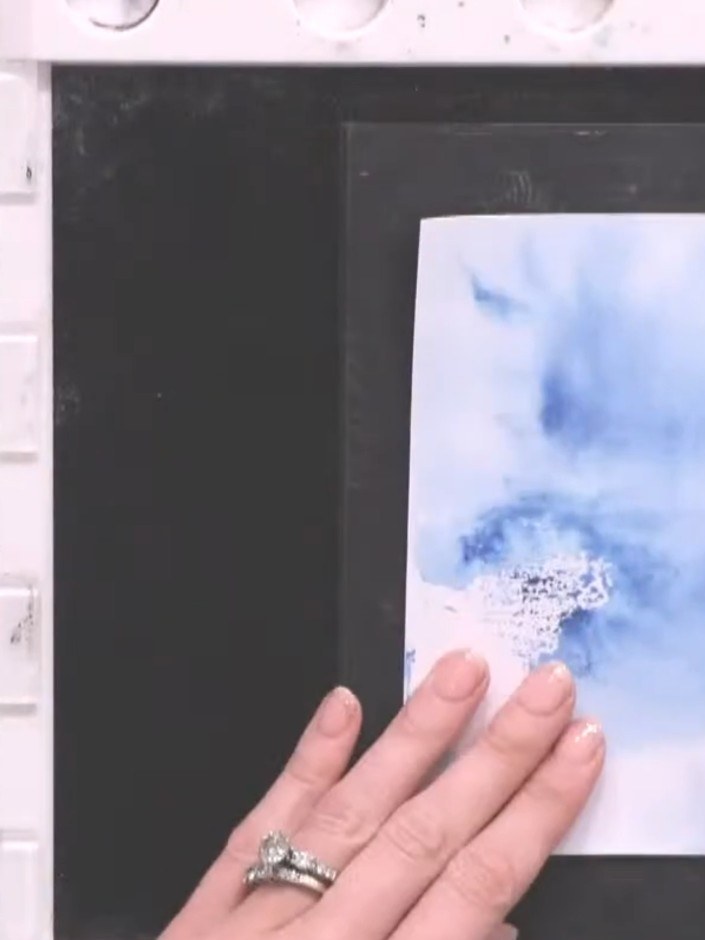
Stamp the mason jar image and flower stems onto the dried watercolour background using black ink. Position the jar centrally on the panel and add stems around it.
▶ watch this step (44:00)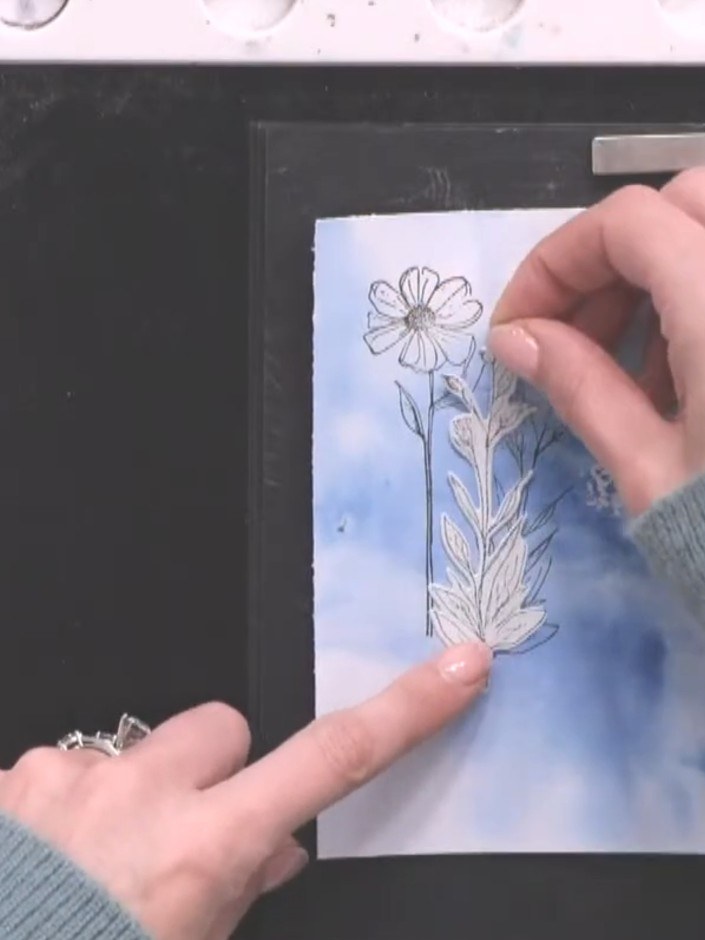
Stamp additional flower heads at different angles across the watercolour background to create perspective and depth. Vary the positioning to achieve a natural, layered look.
▶ watch this step (45:00)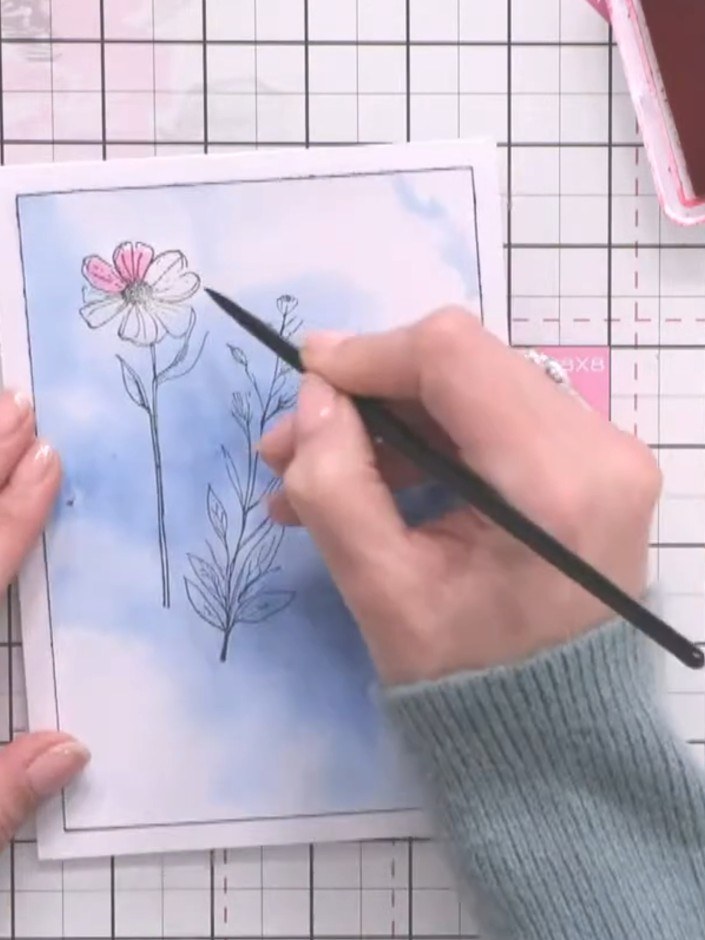
Using a paintbrush, colour the flower heads with pink watercolour, adding touches of colour to the petals. Leave white spaces for a watercolour effect.
▶ watch this step (48:00)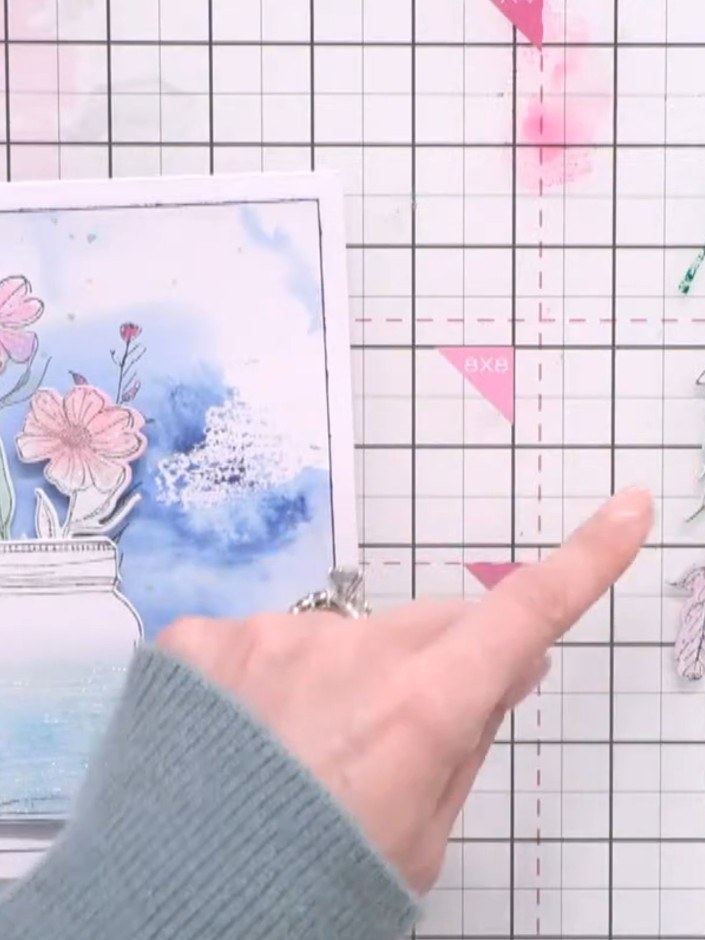
Position the pre-stamped and coloured mason jar element with the sparkle effect onto the centre of the watercolour background card panel.
▶ watch this step (52:00)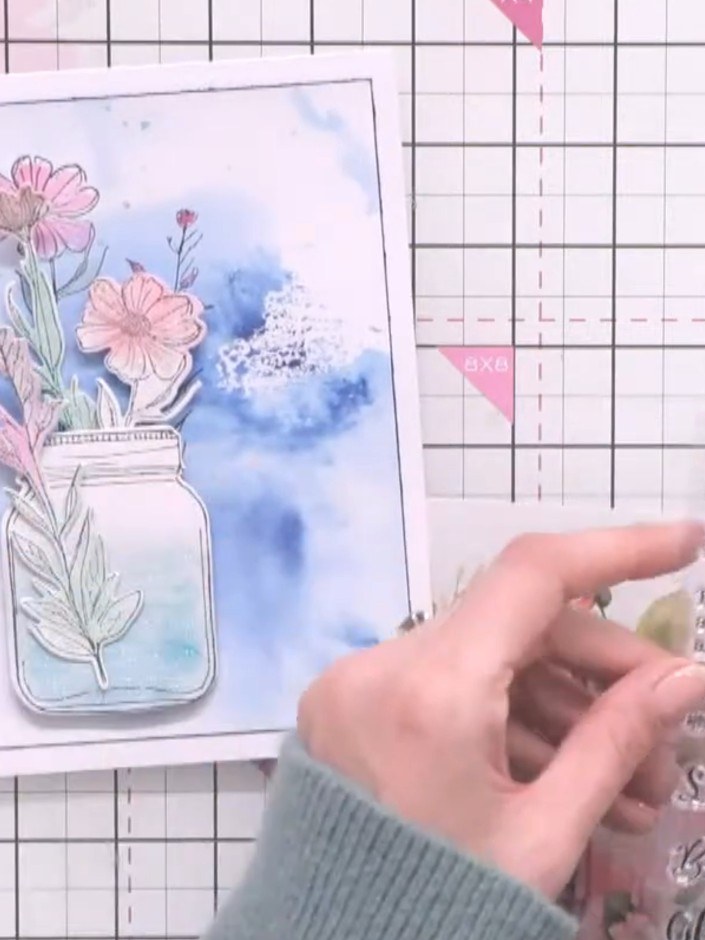
Select a sentiment phrase from your stamp set and stamp it onto coordinating paper. Position the sentiment where you want it to appear on your card design.
▶ watch this step (54:00)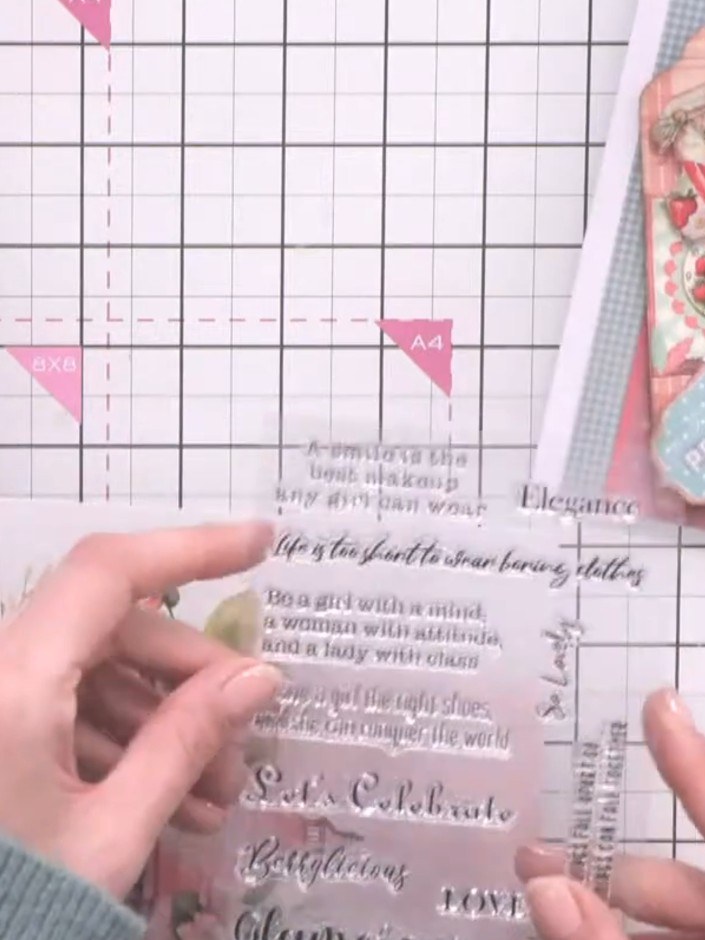
Colour the sentiment stamp with alcohol markers to add depth and dimension. Use coordinating colours to enhance the text and make it stand out against the background.
▶ watch this step (55:00)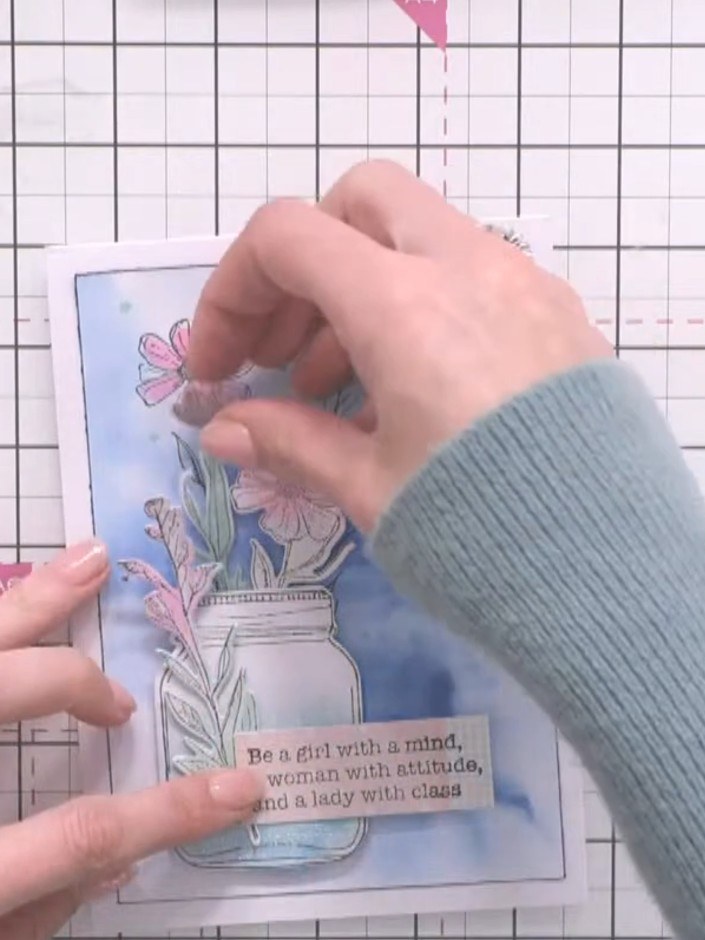
Mount the sentiment topper onto the card front using foam pads to create dimension. Position it centrally over the watercolour wash and stamped jar design.
▶ watch this step (57:00)Written up from the show itself. See every guide from our shows · free how-to guides · watch live on My Telly