Give your friends $10 off their first order!
Refer a FRIEND








A project from our live show ONE DAY SPECIAL - Join Toni for her brand new launch - Broadcast 23rd May 2025 · 05/23/2025 · watch it from 29:30
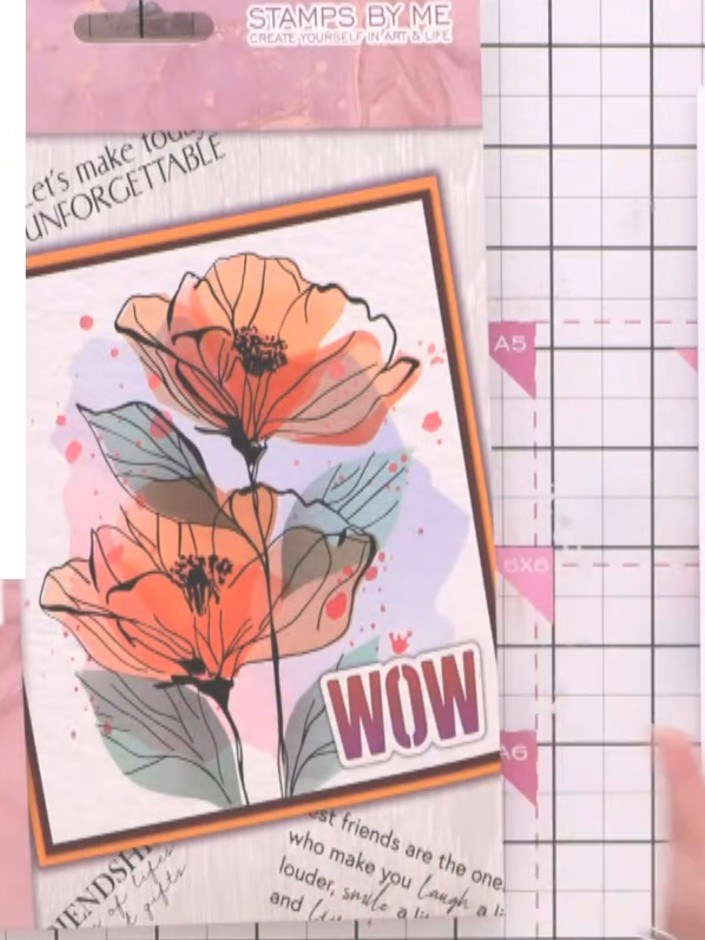
Create a vibrant friendship card featuring bold multicoloured poppies on a dramatic black background with artistic white paint splatters. Using the Radiant Poppies stamp set, you'll layer colourful inks to create stunning floral blooms with leaves, then add a sentiment panel to complete your eye-catching design. This project combines watercolour techniques with stencilling to achieve a modern, artistic look perfect for showing appreciation to friends.
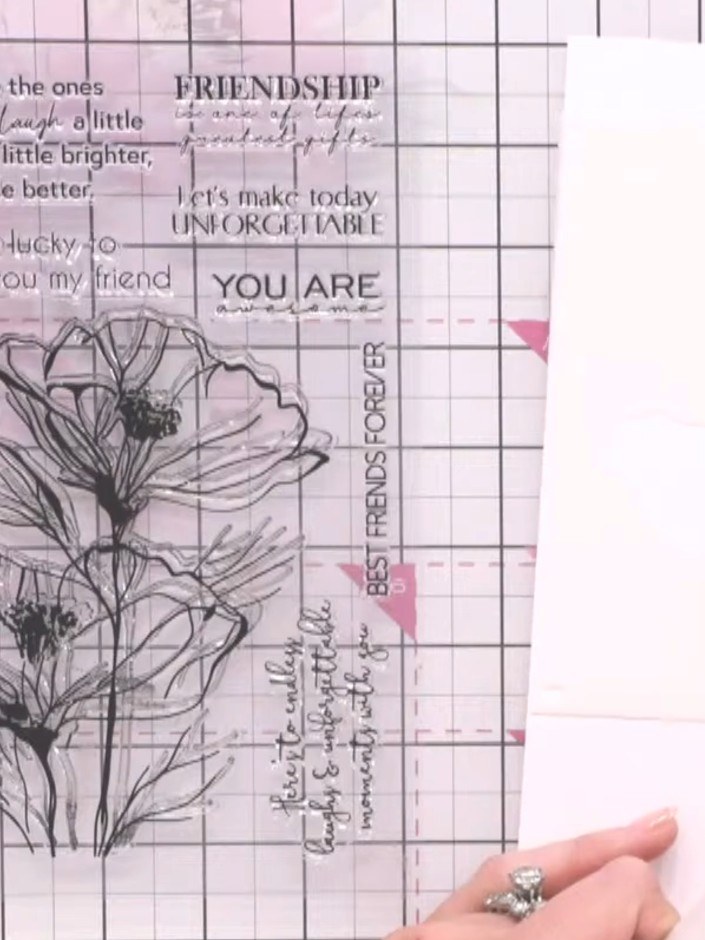
Cut a piece of white card stock to size for your card base. This will be used as the background for your stencil work.
▶ watch this step (43:15)
Select stencil number two from the Radiant Poppies set and position it on your white card panel.
▶ watch this step (43:30)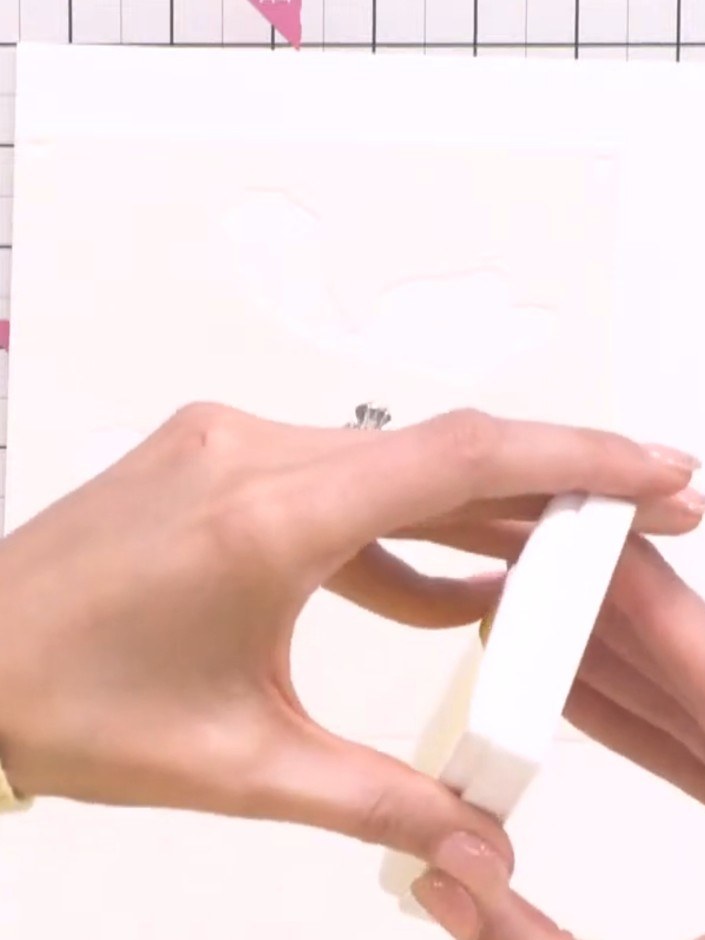
Apply yellow ink through the stencil using a brush, working across the design area to create the background.
▶ watch this step (43:45)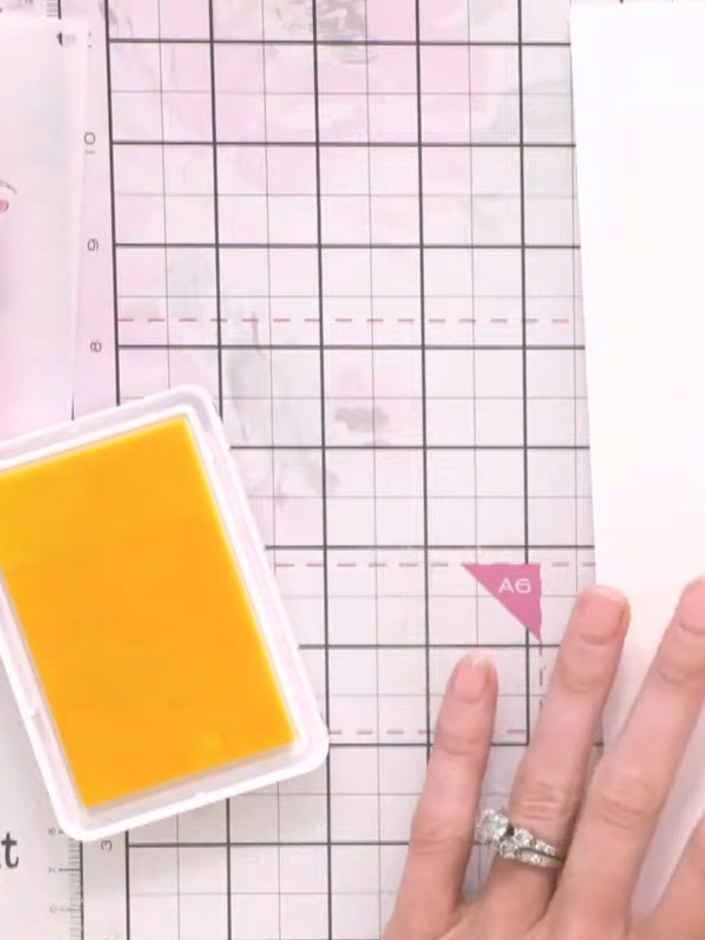
Apply orange ink to the stencilled area, blending it with the yellow to create a warm colour transition across the background.
▶ watch this step (44:15)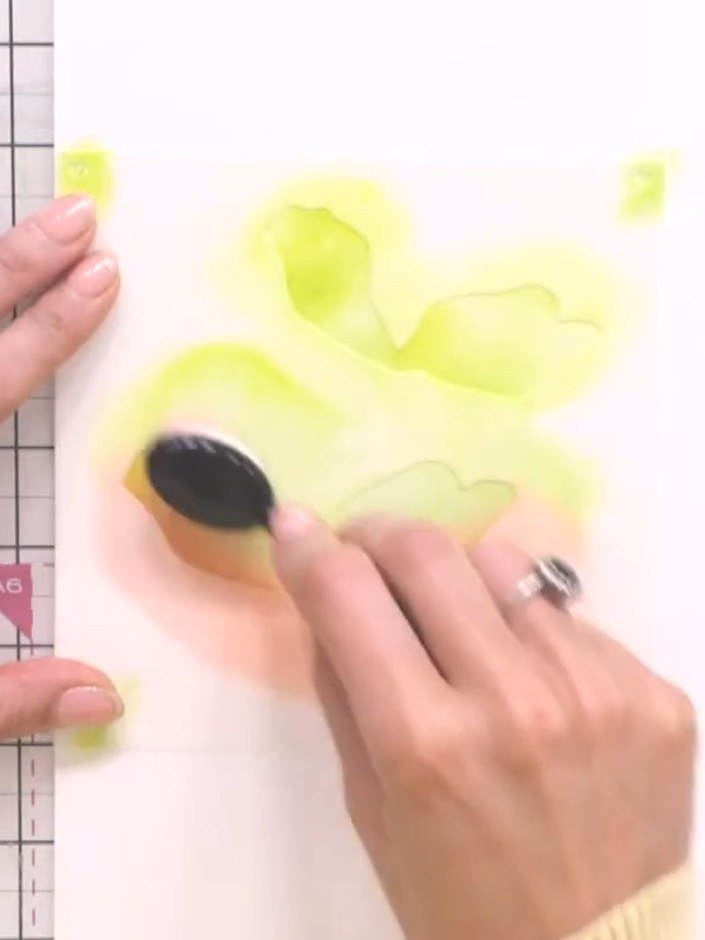
Place stencil number three over your previous watercolour work. Using a blending tool with black ink, add transparent watercolour wash effects through the stencil to build up depth and dimension.
▶ watch this step (45:00)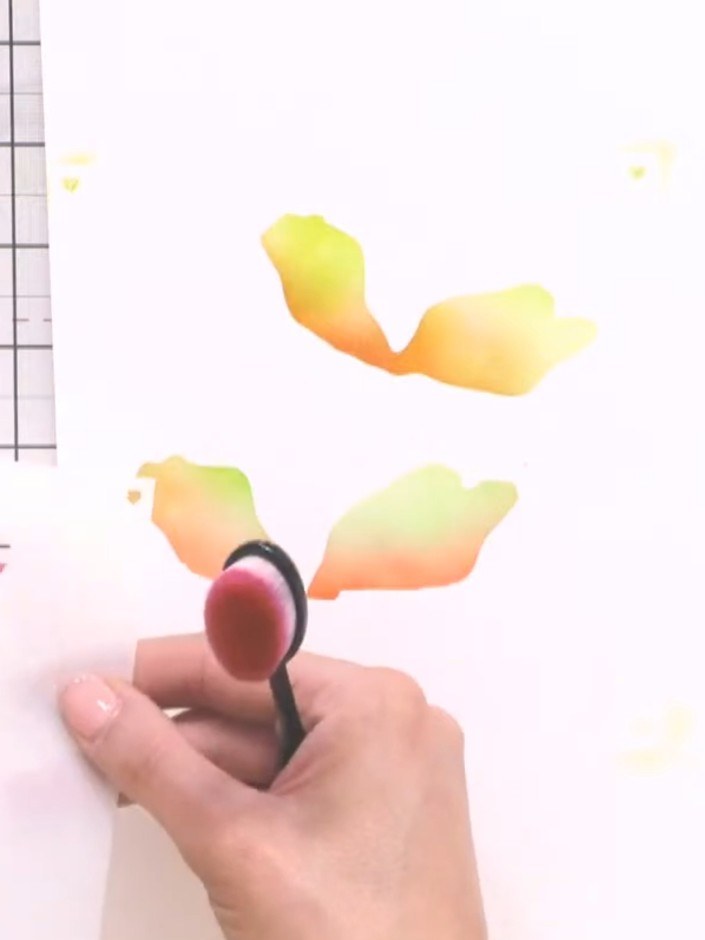
Using stencil three, apply pink and purple ink tones to the card to build depth and add colour variation to the floral design.
▶ watch this step (45:30)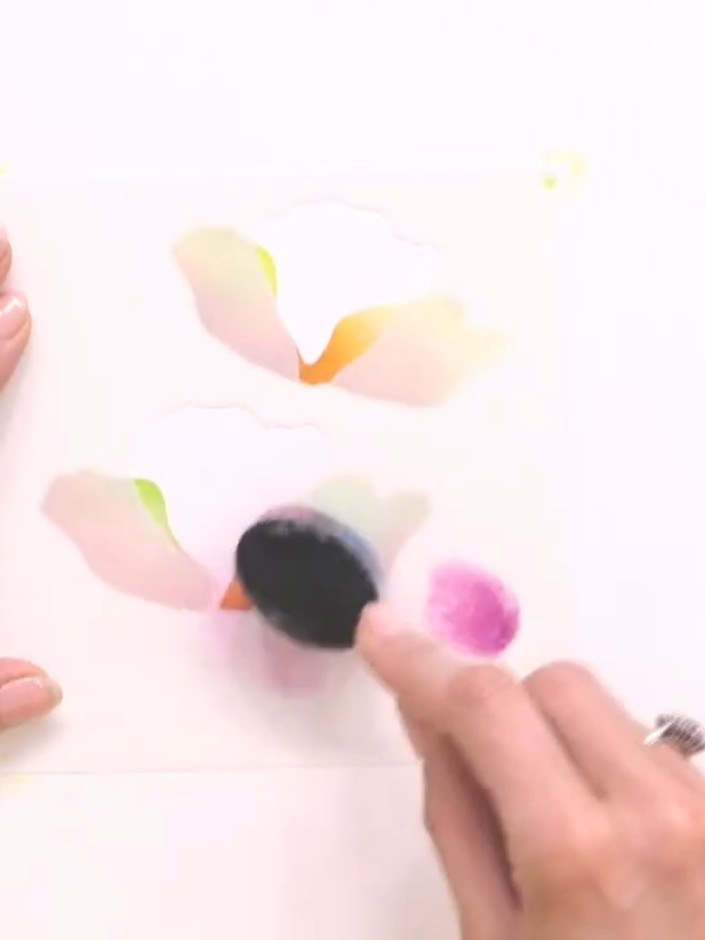
Position the leaf stencil on your background and apply teal-coloured ink using a blending tool.
▶ watch this step (46:00)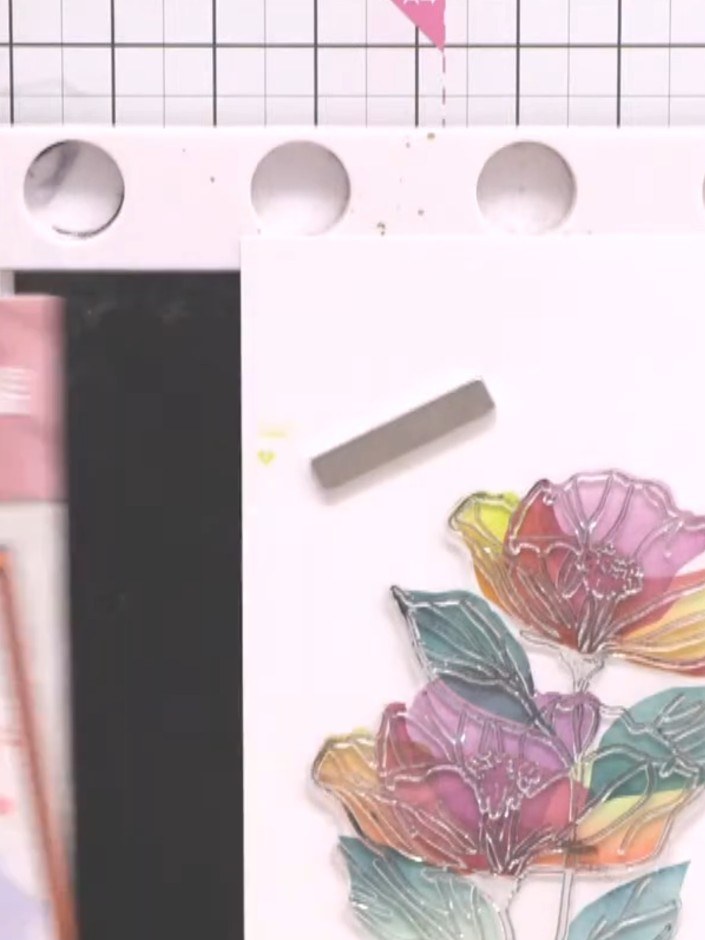
Spray the completed background lightly with water to create a watercolour effect and soften the edges.
▶ watch this step (52:45)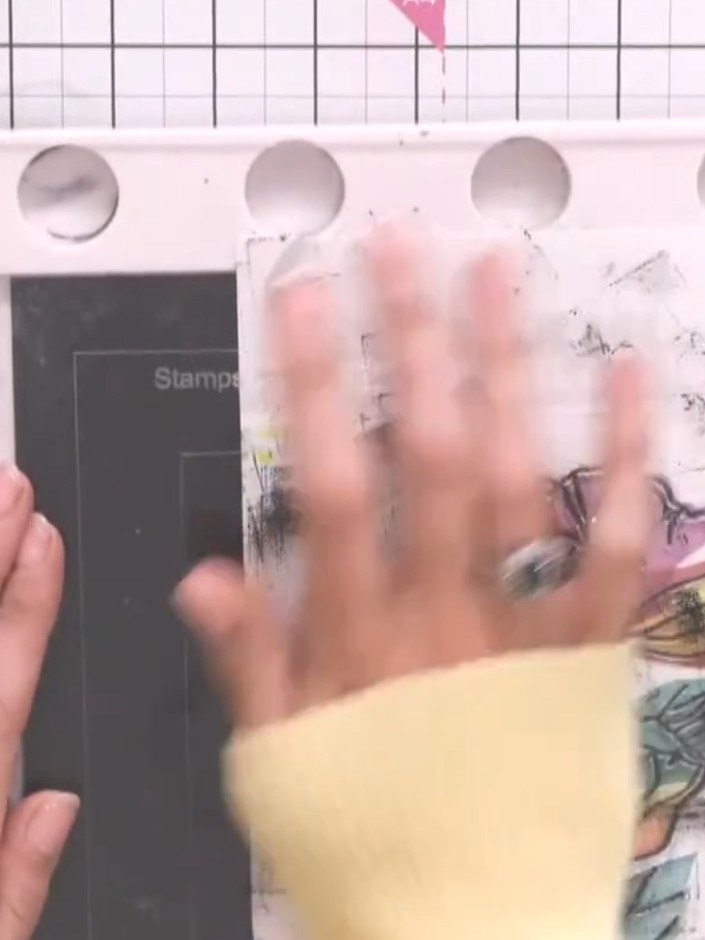
Stamp the large poppy image from the Radiant Poppies stamp set onto the prepared watercolour background using black ink. Position the stamp centrally on the card.
▶ watch this step (54:00)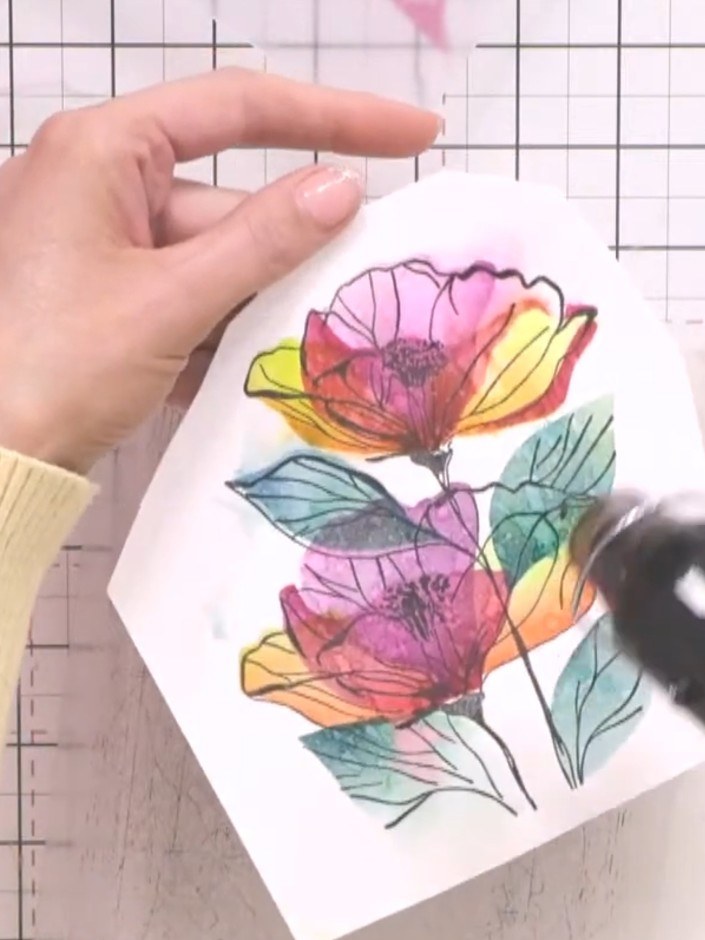
Die-cut the stamped and coloured floral panel using your die-cutting machine to create the finished topper piece.
▶ watch this step (56:00)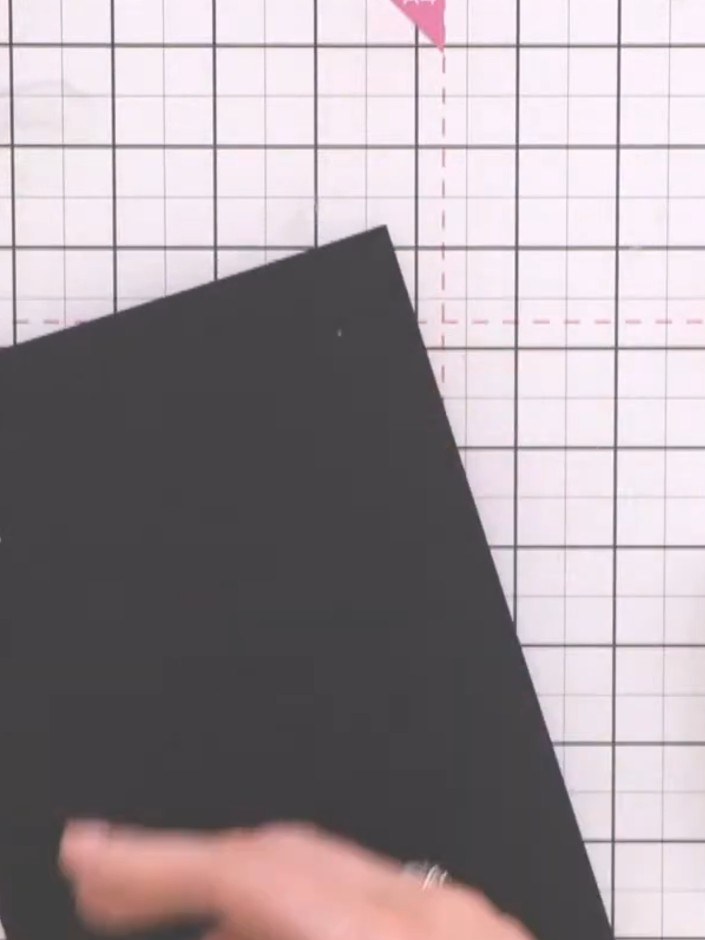
Mount the die-cut poppy panel onto black card stock. Then layer this onto white card stock to create a contrasting frame around the artwork.
▶ watch this step (1:01:00)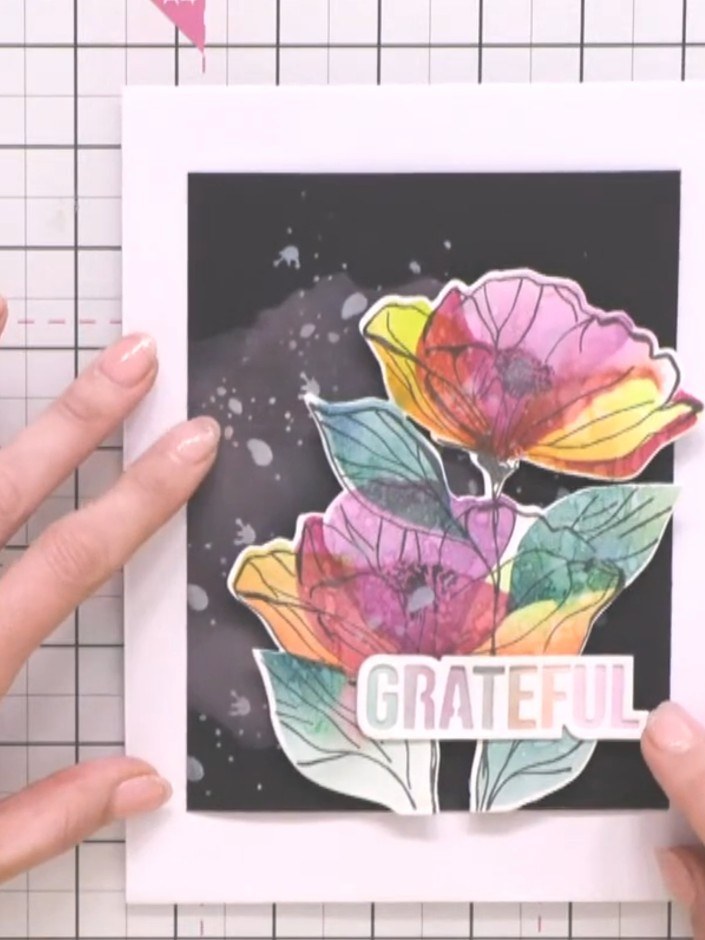
Adhere the 'Grateful' sentiment panel to the right side of the black card to complete the design.
▶ watch this step (1:06:15)Written up from the show itself. See every guide from our shows · free how-to guides · watch live on My Telly
