Give your friends $10 off their first order!
Refer a FRIEND








A project from our live show Create Together Club - 5 Days of Creativity - Broadcast Thursday 5TH June 2025 · 06/05/2025 · watch it from 14:45
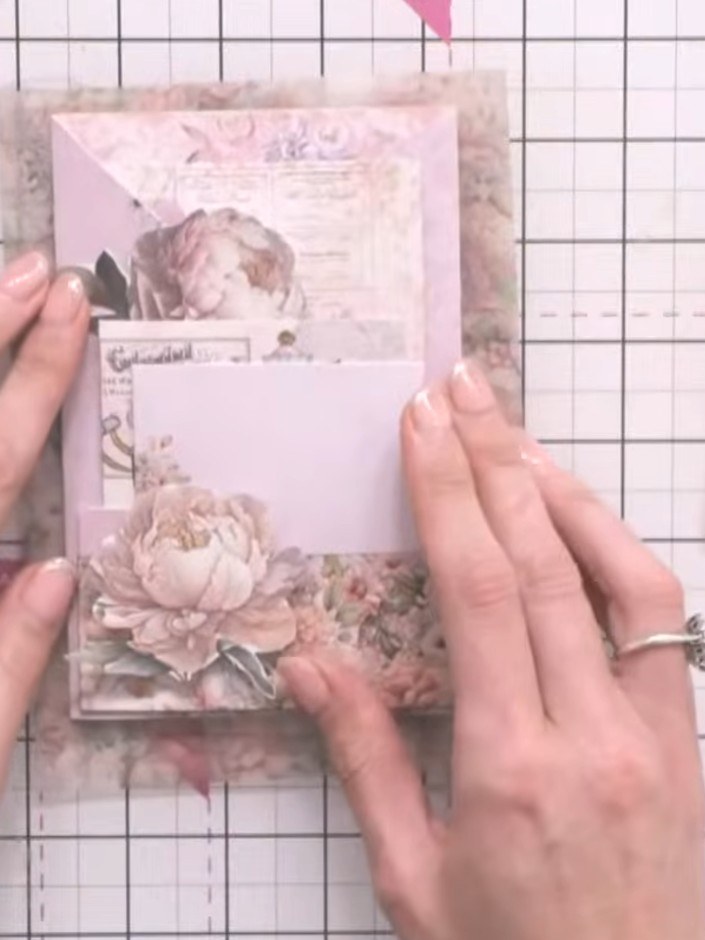
Create an elegant vellum slider pocket wallet with a beautiful layered insert. This sophisticated project features a transparent vellum envelope that showcases decorative vintage-style imagery in soft pinks and florals, creating a luxurious window effect. You'll learn techniques for working with vellum, creating slider mechanisms, and layering decorative elements to make a stunning keepsake or gift holder.
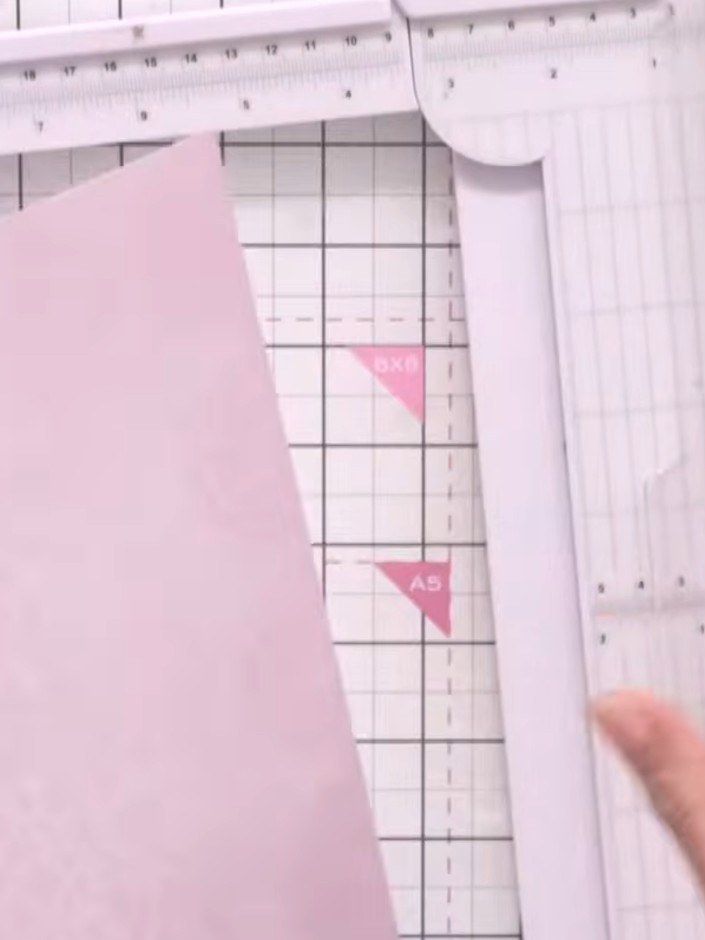
Take a 12 by 12 inch sheet of paper and score it at 4 inches and 8 inches to create three equal panels.
▶ watch this step (16:30)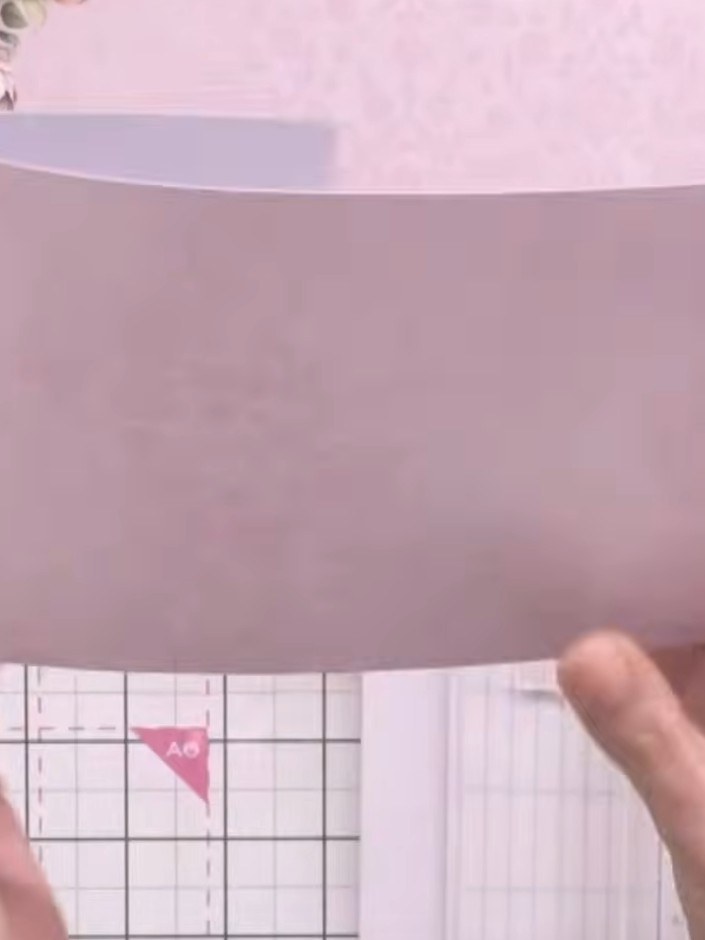
Cut the scored sheet in half horizontally along the centre score line to create two separate pieces.
▶ watch this step (17:30)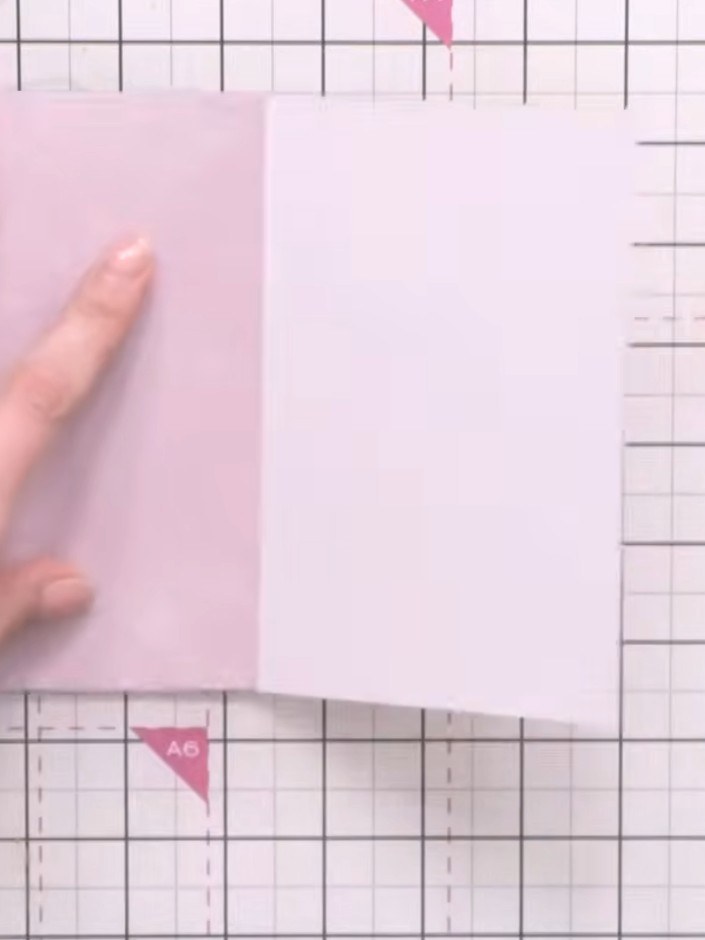
Trim small slivers from the folded edges of the vellum panels to prevent bulking when they fold over one another.
▶ watch this step (18:00)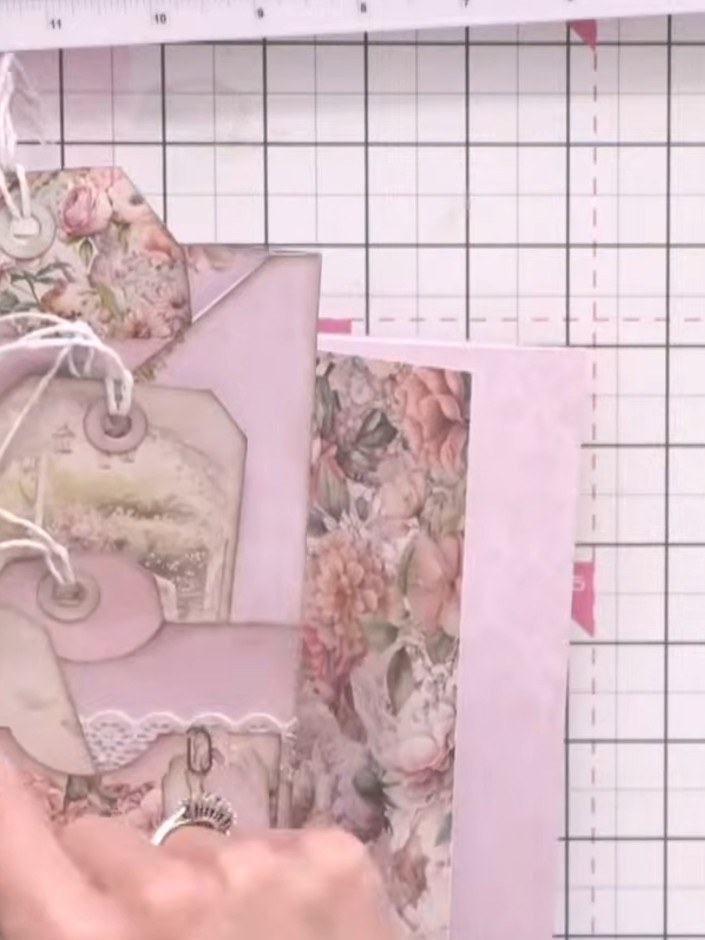
Arrange the floral patterned panels and plain pink panels in a stacked formation, creating layered pockets at different depths. Thread white ribbon through the eyelets to connect the tags and panels together.
▶ watch this step (20:00)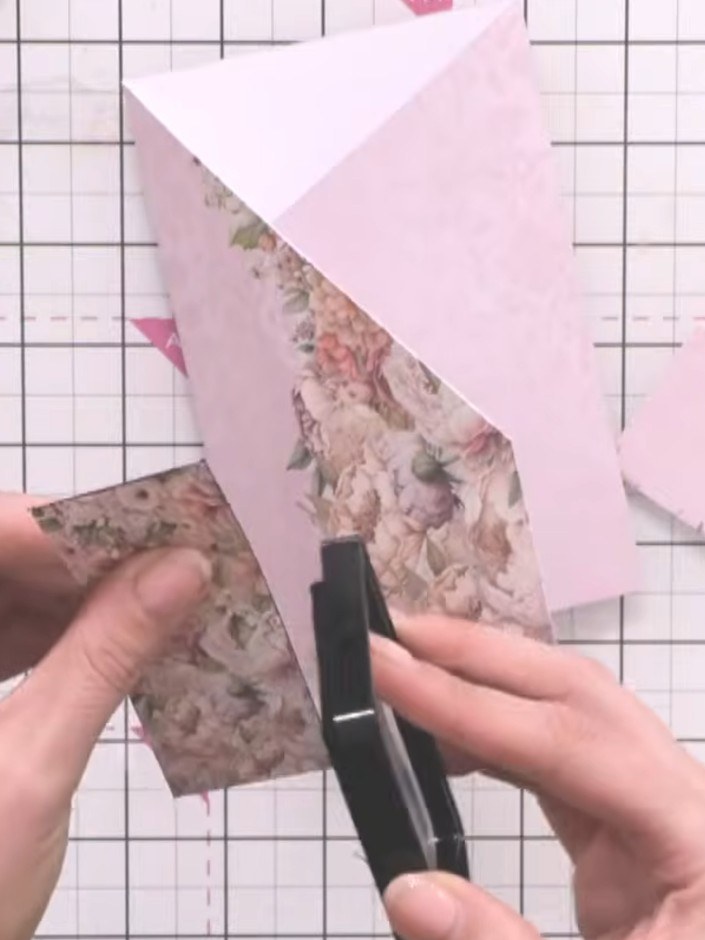
Use black ink to edge the pocket openings on the floral patterned piece. This will define the openings and prevent them from blending into the background.
▶ watch this step (24:45)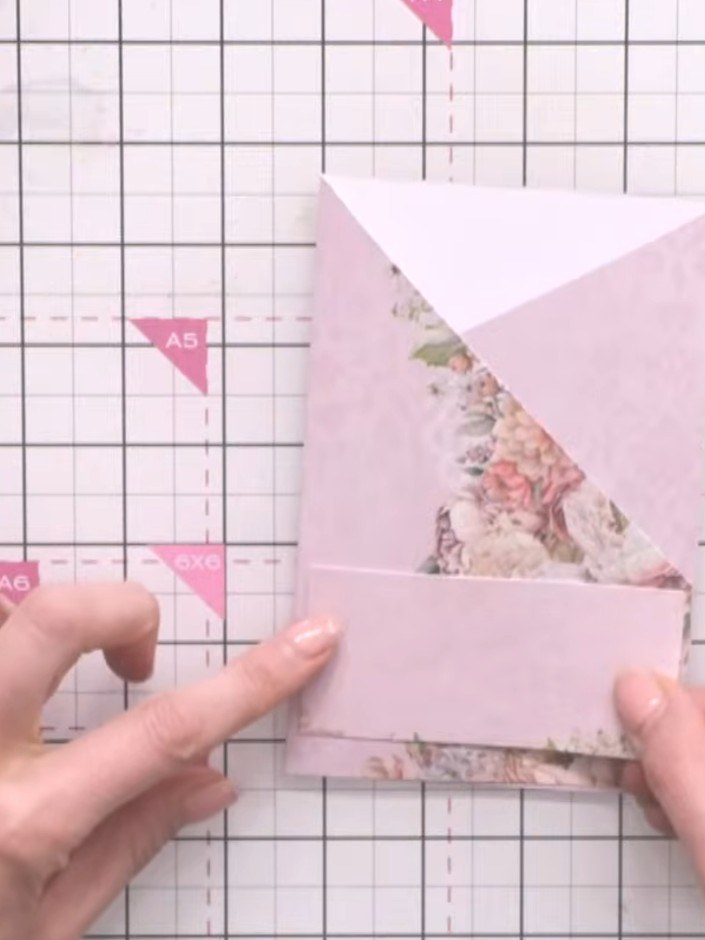
Use a tape pen to apply adhesive to the back of the decorative floral paper strips. Position and press them into the pockets as inserts, ensuring they sit neatly within each pocket opening.
▶ watch this step (26:00)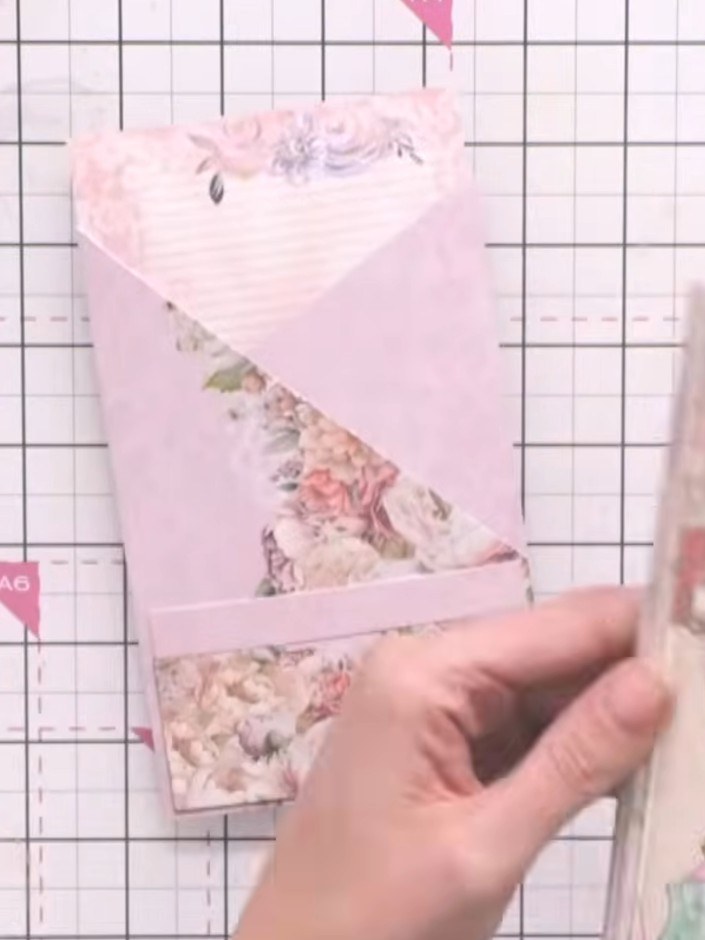
Fussy cut decorative embellishments from the patterned papers in the collection. Slot the cut-out images into the pockets as fillers to add visual interest.
▶ watch this step (27:30)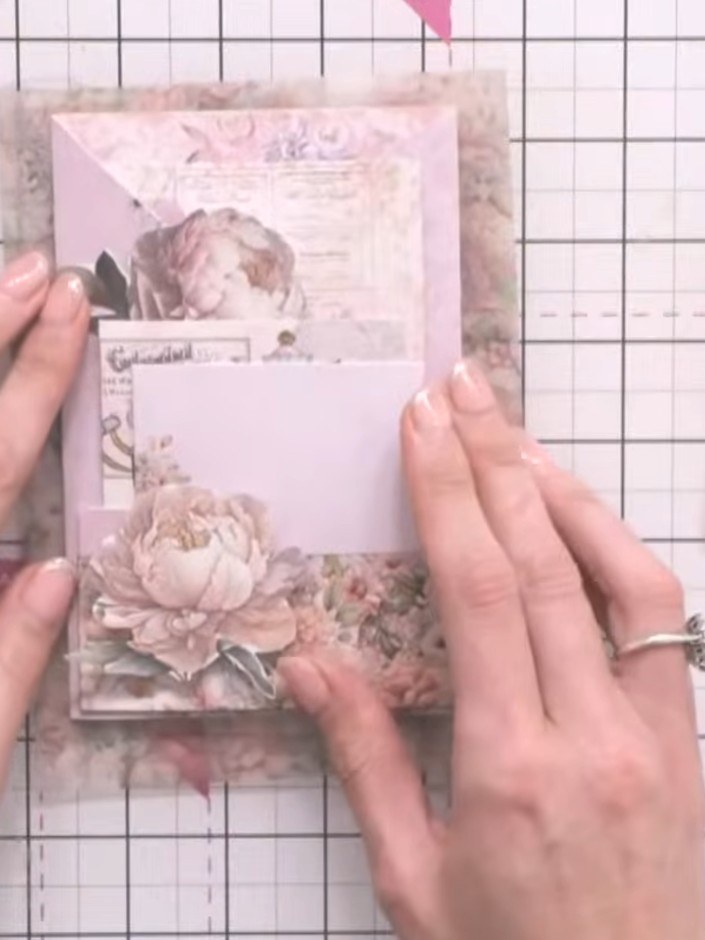
Measure and score the vellum at half-centimetre intervals down each side to create fold lines for the envelope pocket.
▶ watch this step (38:45)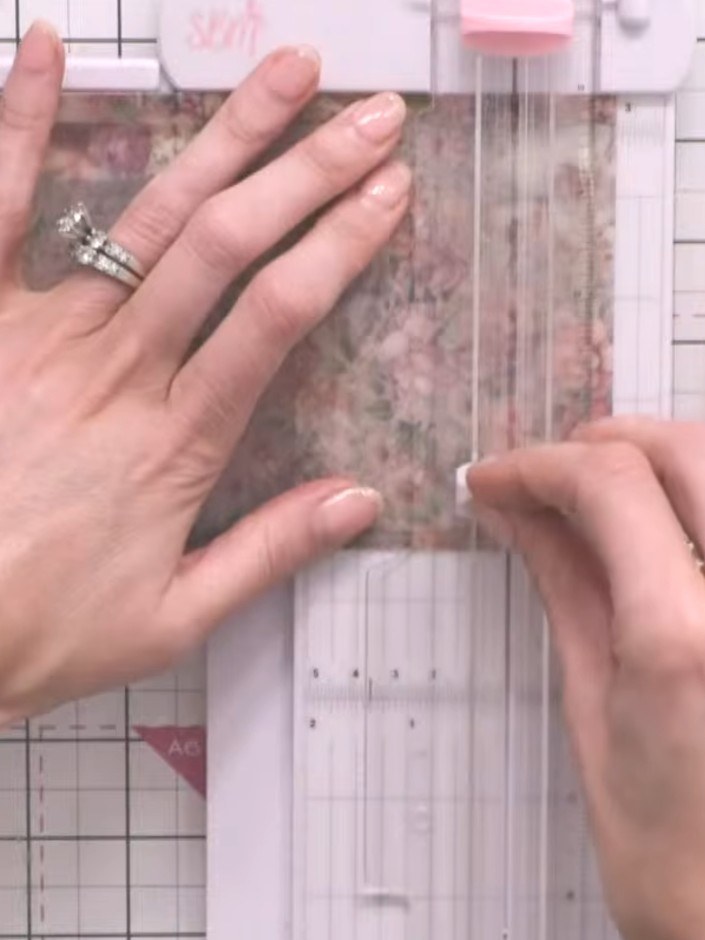
Score the vellum at the bottom edge to create a flap. Cut a backing piece from patterned paper to fit the scored section.
▶ watch this step (41:30)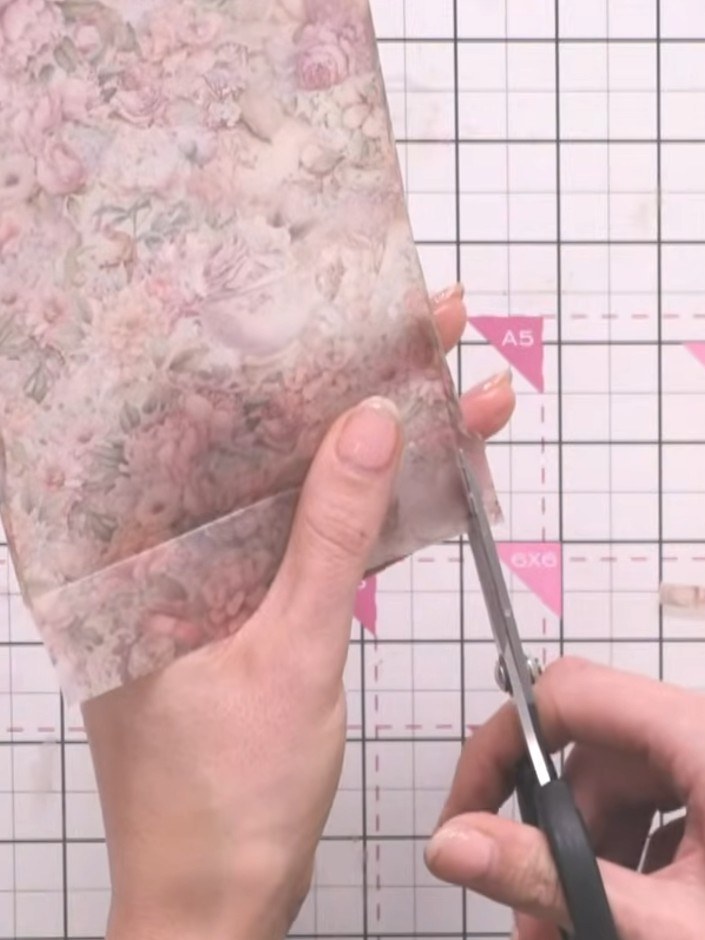
Use scissors to trim away the bulk from the bottom corners of the vellum backing. This reduces thickness at the fold for a neater finish.
▶ watch this step (44:00)
Attach the vellum backing piece to the scored vellum envelope using the tape pen. Apply the adhesive along the edges to secure the pieces together.
▶ watch this step (45:00)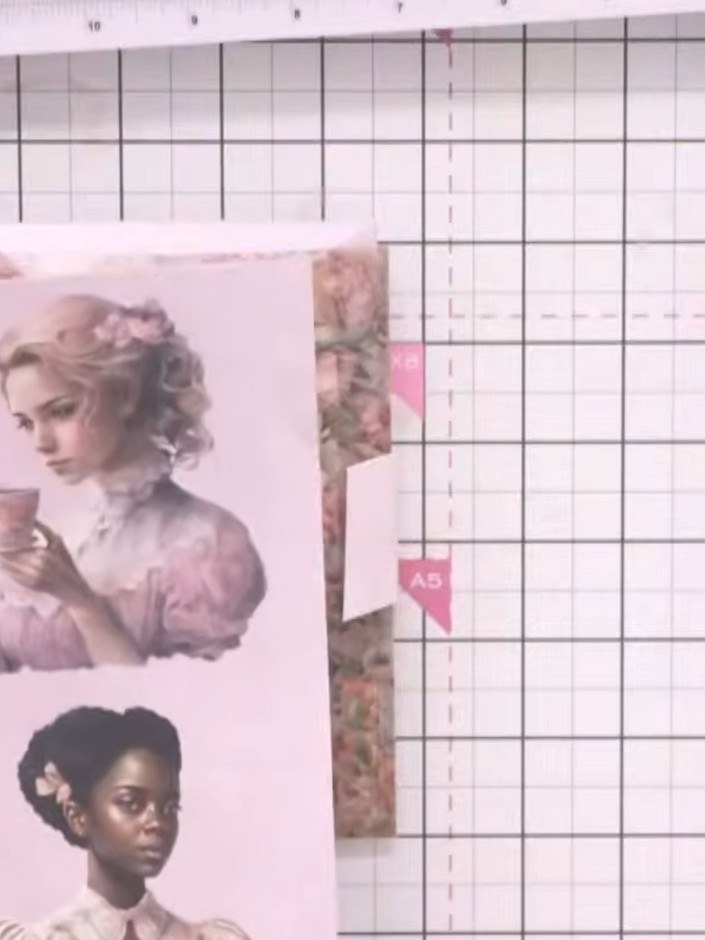
Wrap a decorative paper strip around the front of the vellum wallet as a belly band to hold it closed.
▶ watch this step (50:15)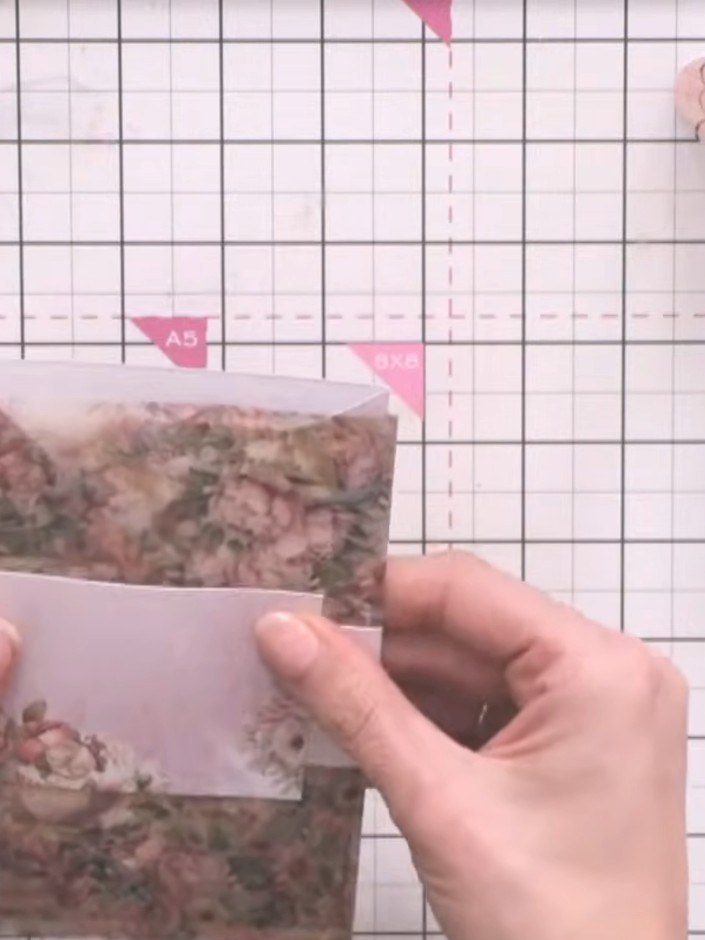
Fussy cut a decorative element from the patterned paper and layer it onto a small grey paper panel. Adhere the layered piece to the centre of the vellum belly band.
▶ watch this step (52:30)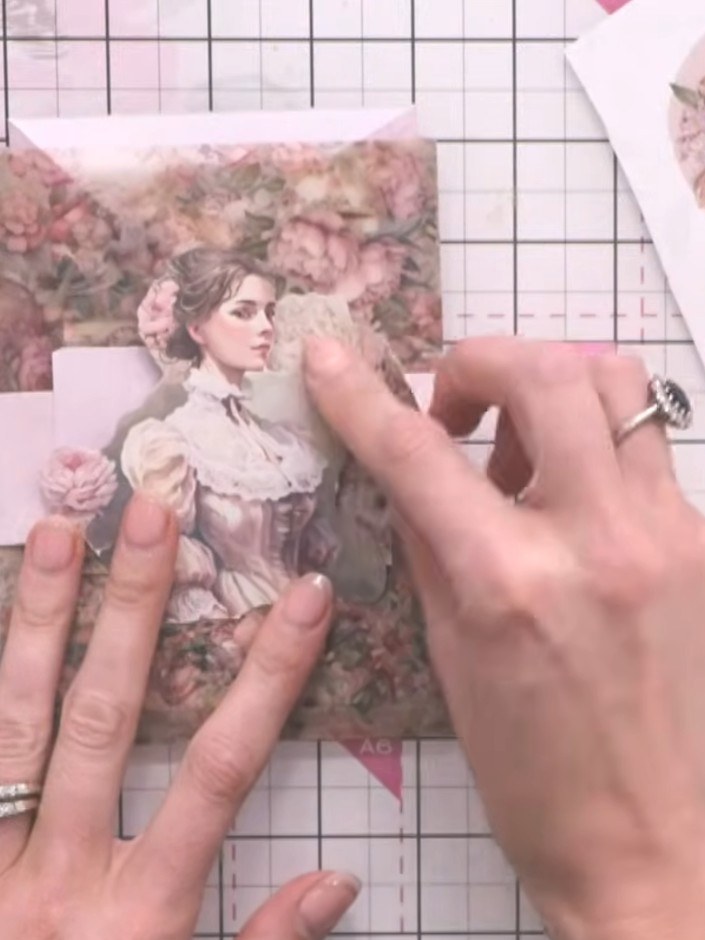
Add a washi tape sentiment to the bottom of the wallet to complete the design.
▶ watch this step (54:30)Written up from the show itself. See every guide from our shows · free how-to guides · watch live on My Telly
