Give your friends $10 off their first order!
Refer a FRIEND








Prices change straight away. Every language is our own translation, not Google.
A project from our live show Create Together Club - 5 Days of Creativity - Broadcast Monday 9TH June 2025 · 06/09/2025
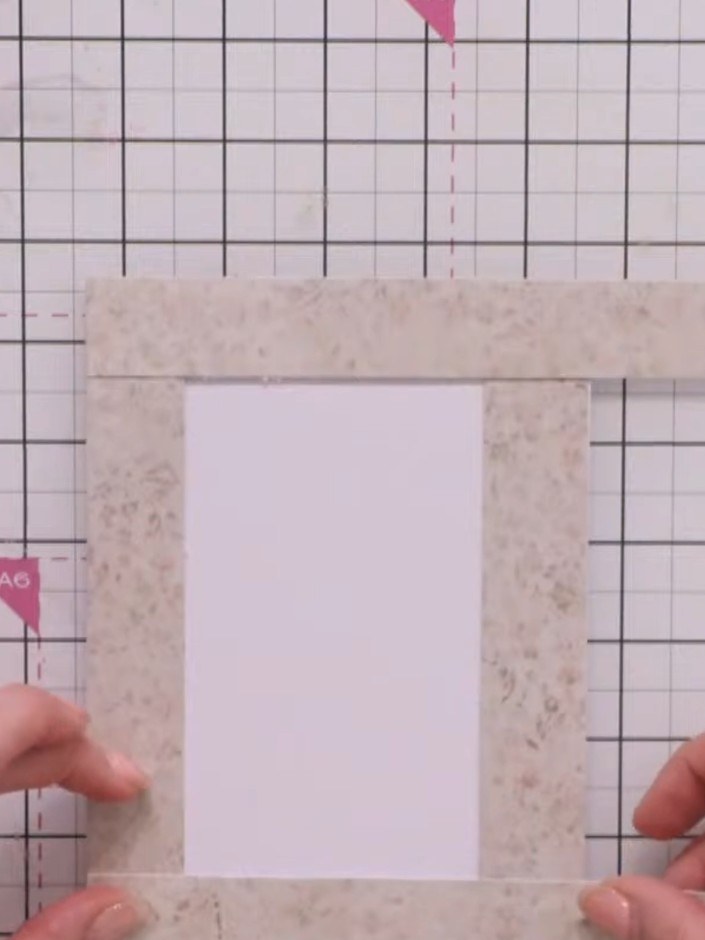
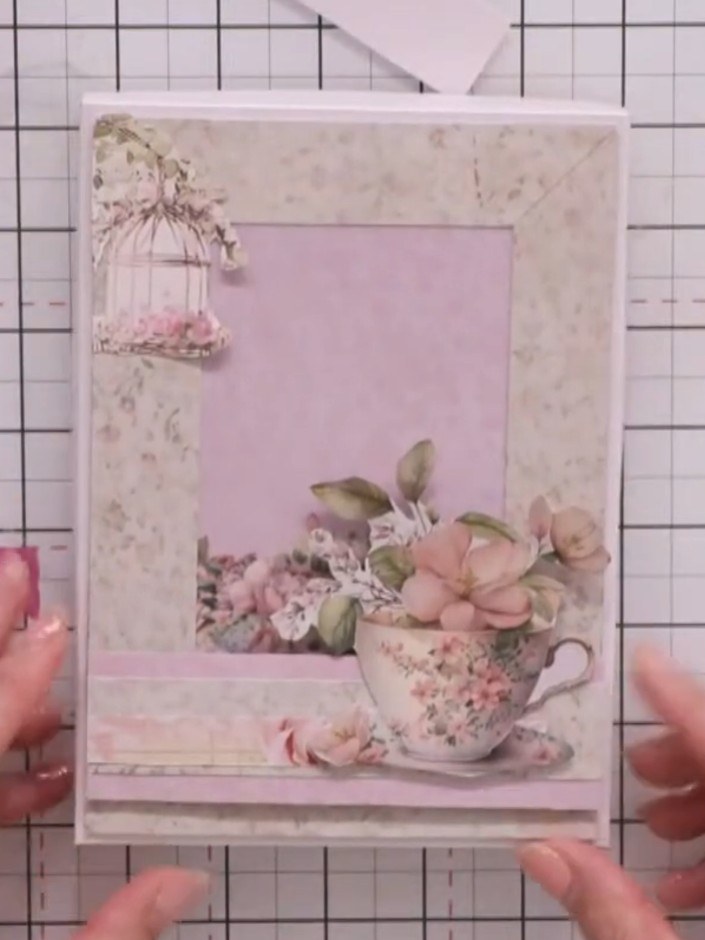
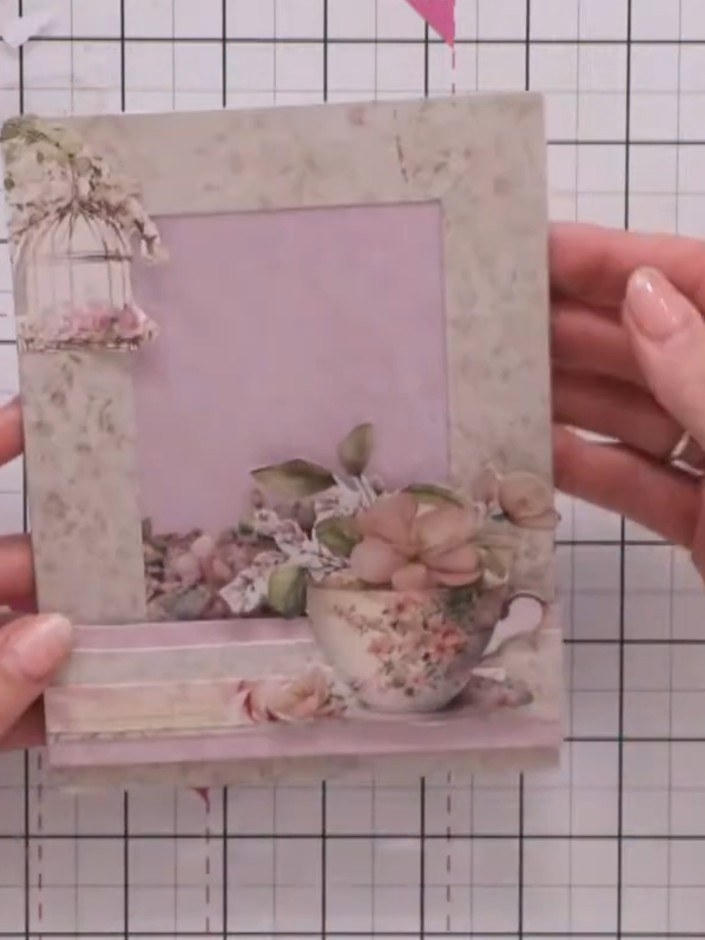
Create an elegant tiered panel card featuring a vintage teacup arrangement in soft pinks and florals. This dimensional design uses layered decorative papers of varying heights to build visual depth, topped with a delicate birdcage embellishment and floral teacup centrepiece. The main techniques include fussy cutting, dimensional layering, and careful placement to achieve a stepped, eye-catching effect.
 1
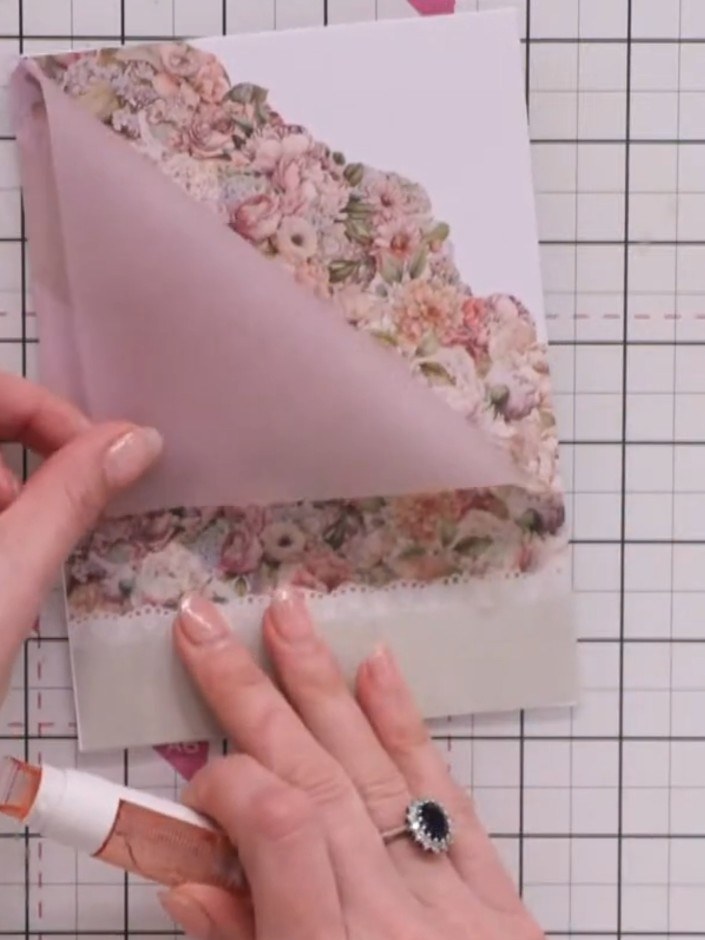
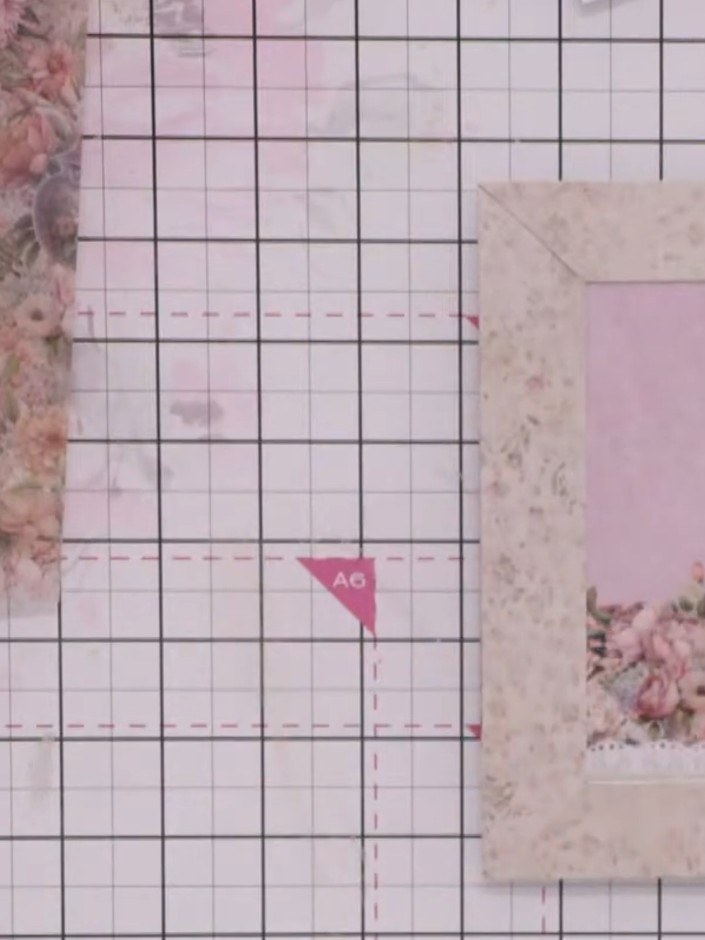
Cut a panel measuring 1.5 inches in height from coordinating patterned paper. Position the panel across the bottom of your card base.
 2
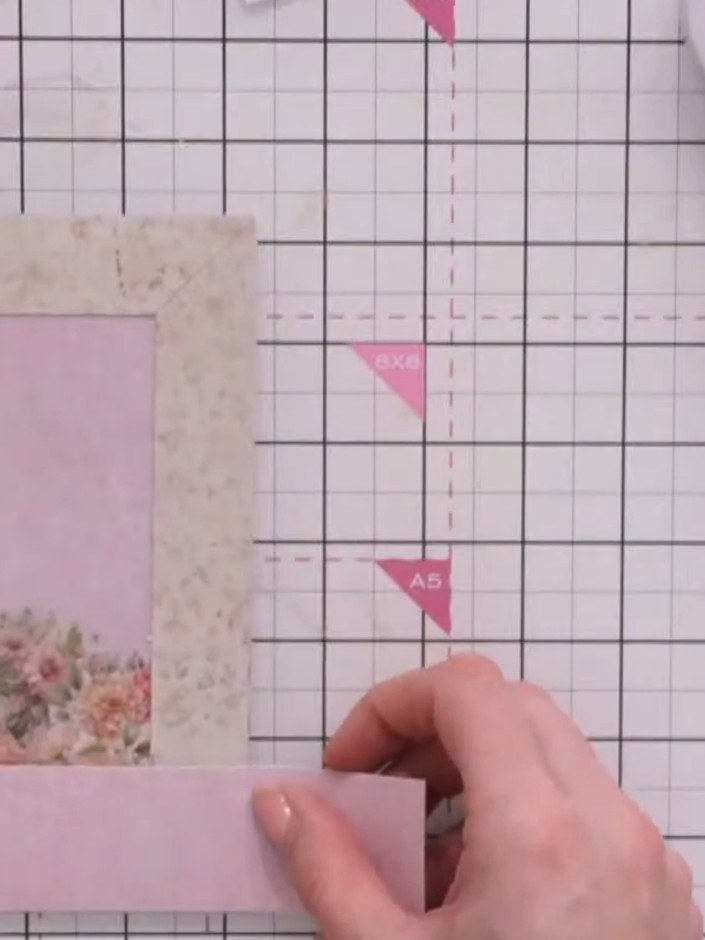
Secure the bottom pink panel to the card base using foam pads to create dimension. Position it below the decorative floral panel.
 3
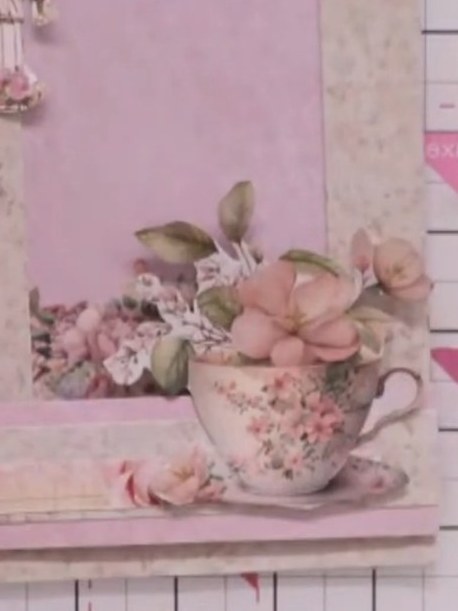
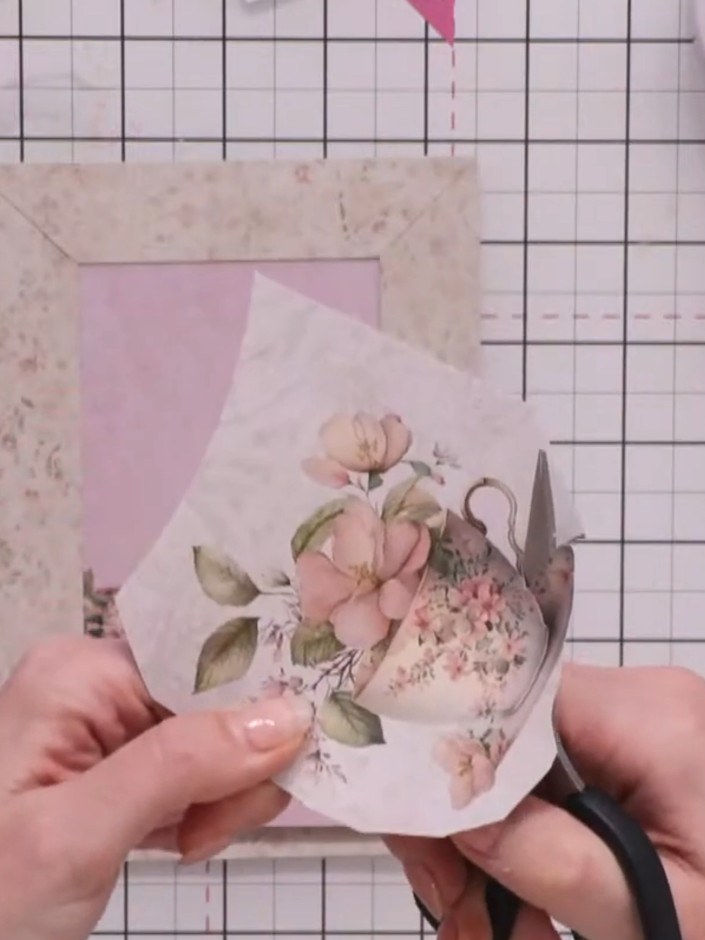
Fussy cut a teacup element from the paper collection using scissors. Carefully cut around the detailed areas of the teacup and flowers, taking care not to cut into the intricate parts of the design.
 4
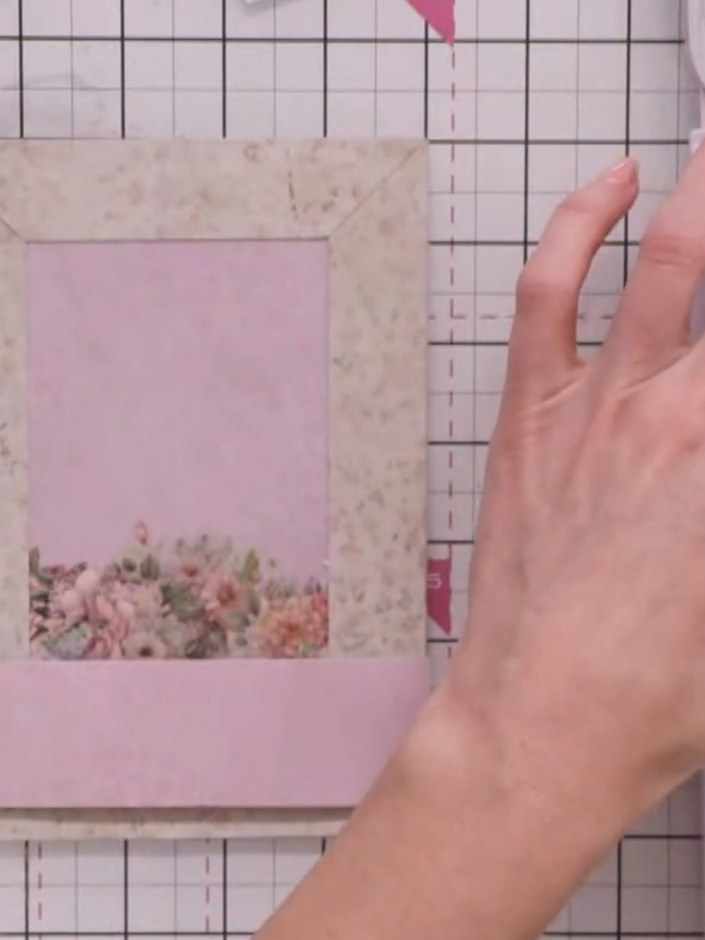
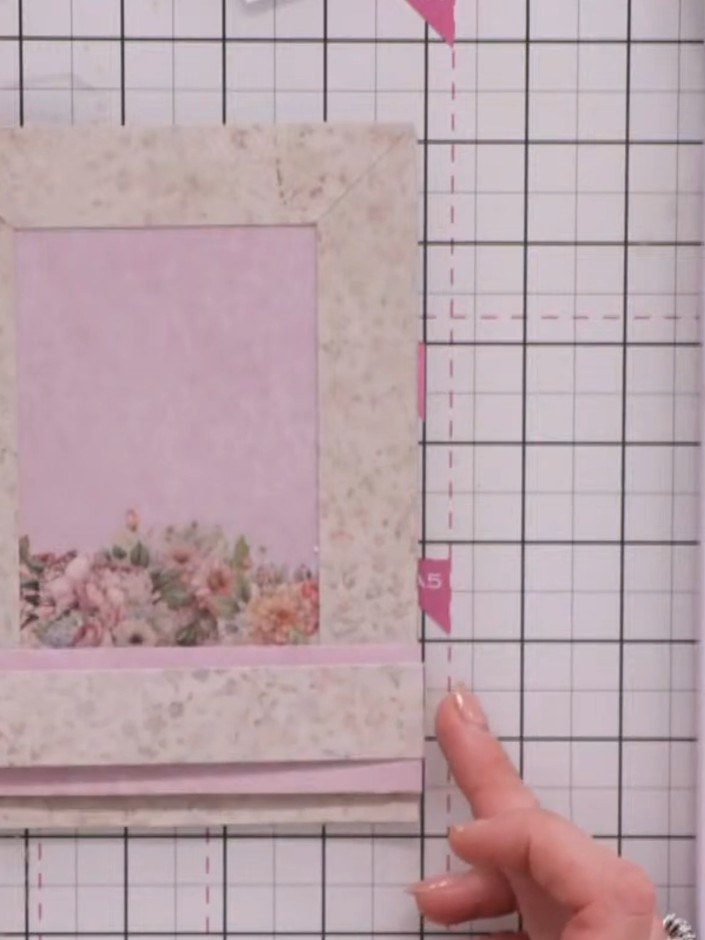
Cut a second panel measuring one inch (2.5 cm) in height from a contrasting patterned paper. Position this panel above the first floral panel on the pink background, creating a tiered effect.
 5
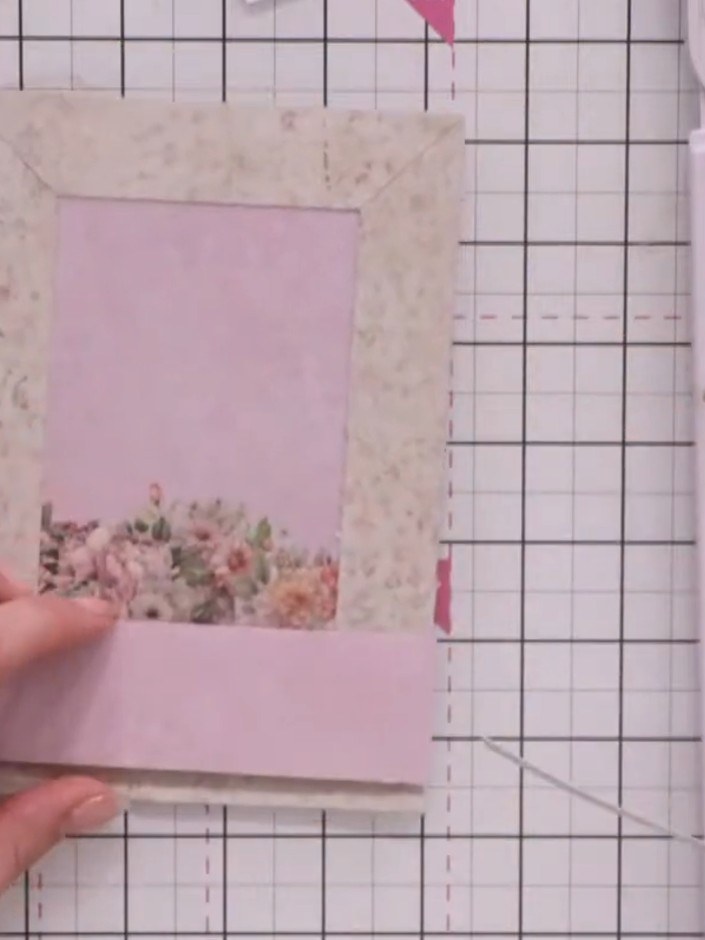
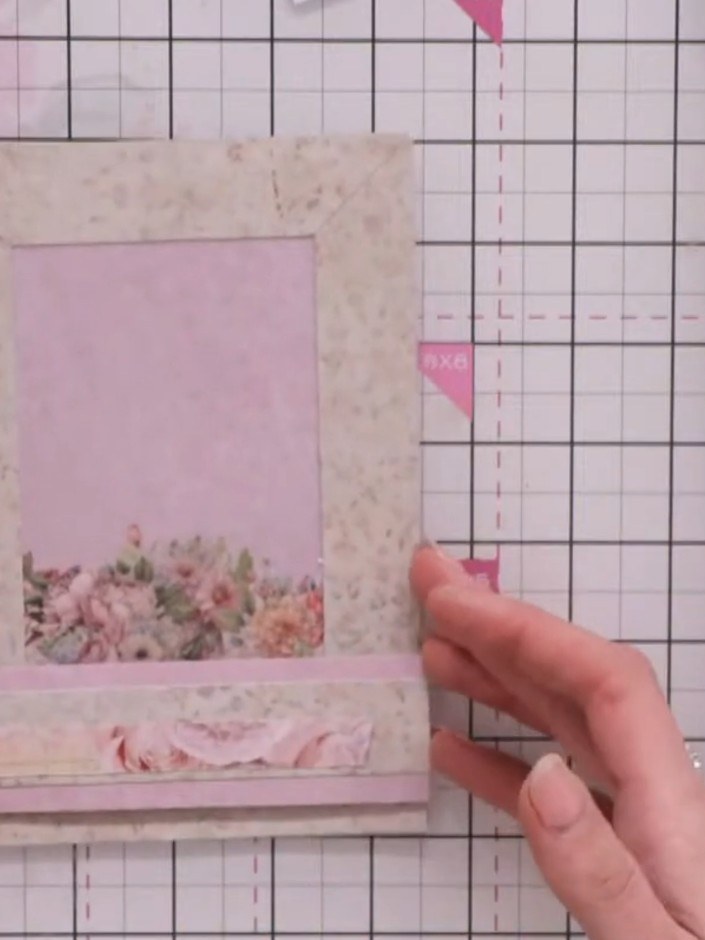
Cut a third panel from the floral patterned paper measuring half an inch (approximately 1.3 cm) in height. Position this narrower panel above the second panel to create a tiered effect on your card front.
 6
Adhere the fussy-cut teacup element to the middle panel using foam pads for dimension.
 7
Add a decorative element, such as a bird cage embellishment, to the top corner of the frame to balance the composition and complete the design.
 8
Hold the completed card and carefully trim away any excess paper from around the decorative elements to neaten the edges and finish the card.
Share your make with the Stamps By Me community - and keep this guide for next time.
Written up from the show itself. See every guide from our shows · free how-to guides · watch live on My Telly · the previous layout