Give your friends $10 off their first order!
Refer a FRIEND








A project from our live show MY PODCAST - Catch my latest updates broadcast 23rd June 2025 · 06/23/2025 · watch it from 22:45
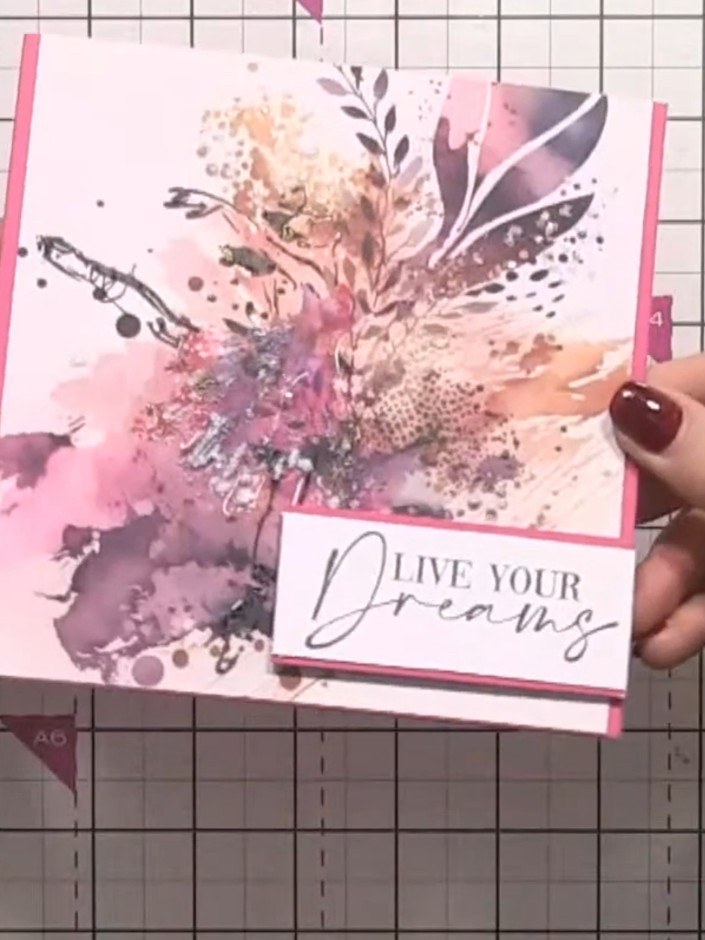
Create a beautiful card featuring a delicate ballerina with a watercoloured tutu dress in soft pink, peach and purple tones. The design uses layered stamping to build dimension, with the dress coloured using watercolours and enhanced with sparkle and gold accents for an artistic, whimsical finish. This elegant card combines stamping, watercolouring and embellishing techniques to create a truly special handmade greeting.
 Stamps By Me - A5 Stamp Set - Little Ballerina - 150323ASEE IT
 Stamps By Me - Creative Watercolours 6 X 6 Paper Pack 221222CSEE IT
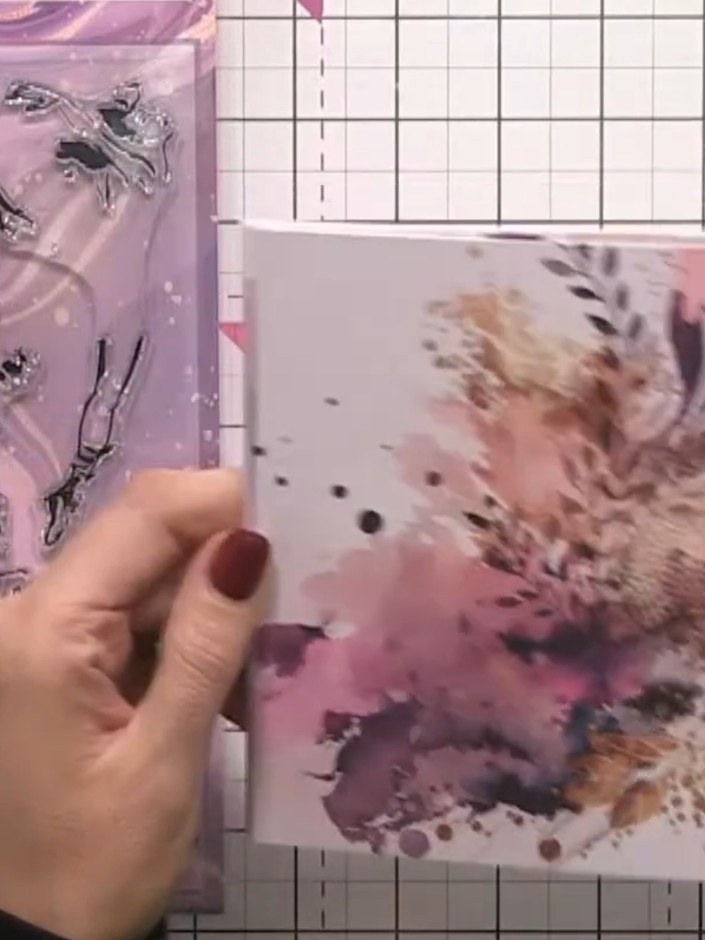
Select a piece of Creative Watercolours paper from the pack in your preferred colour scheme. Choose from the various watercolour designs available in the paper pack.
▶ watch this step (22:45)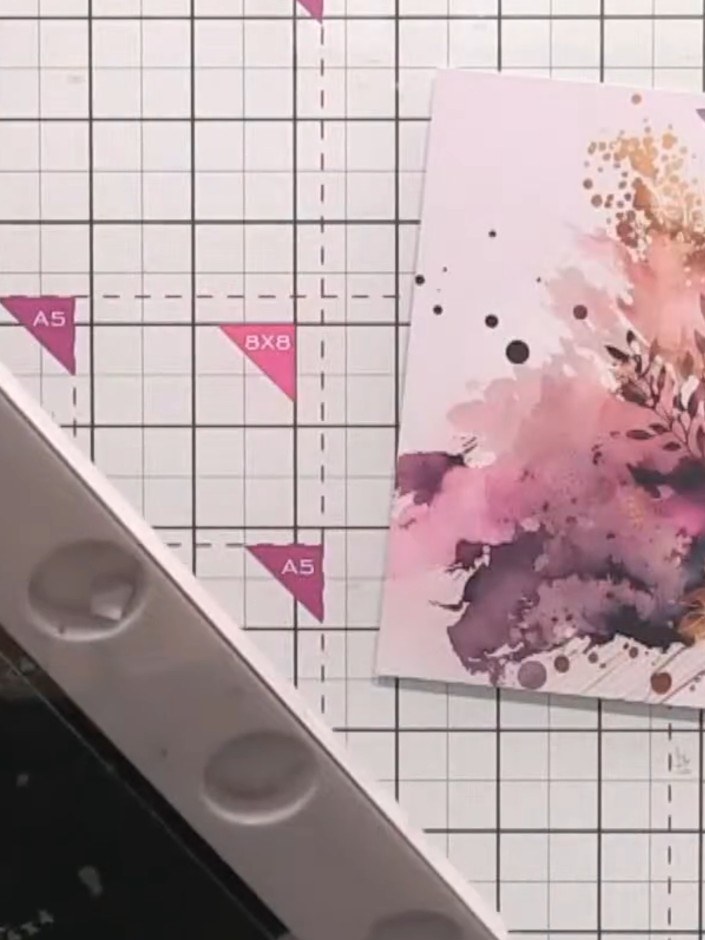
Stamp the solid black portion of the ballerina image from the Little Ballerina stamp set onto your watercoloured paper using black ink. Position the stamp carefully over the watercoloured area to align with your design.
▶ watch this step (23:00)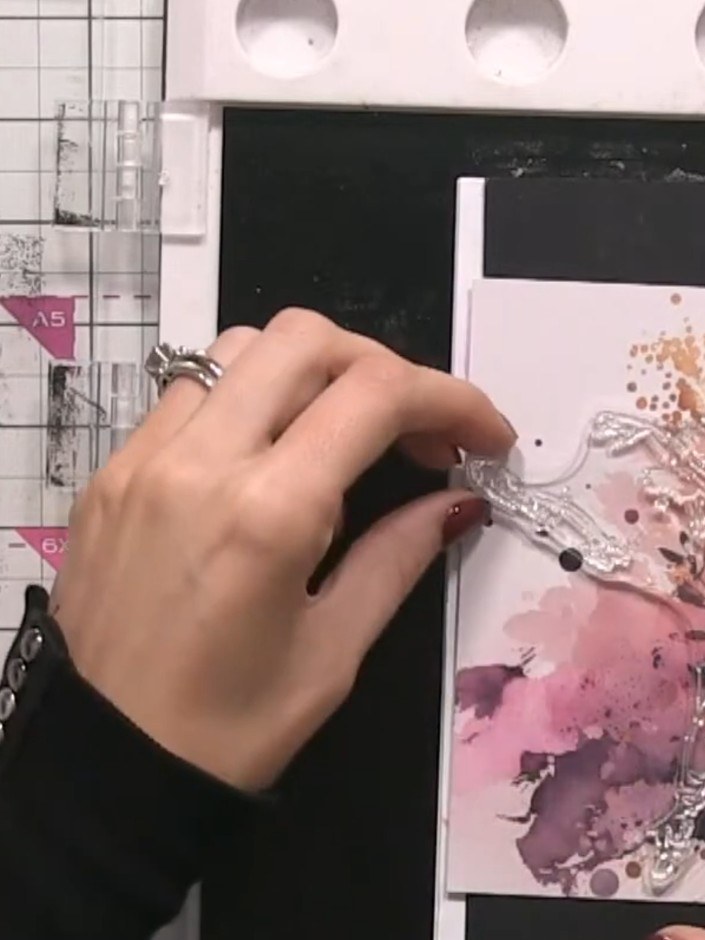
Stamp the coloured dress portion of the stamp onto the card, carefully lining it up with the ballerina girl using the packet insert as a placement guide.
▶ watch this step (24:15)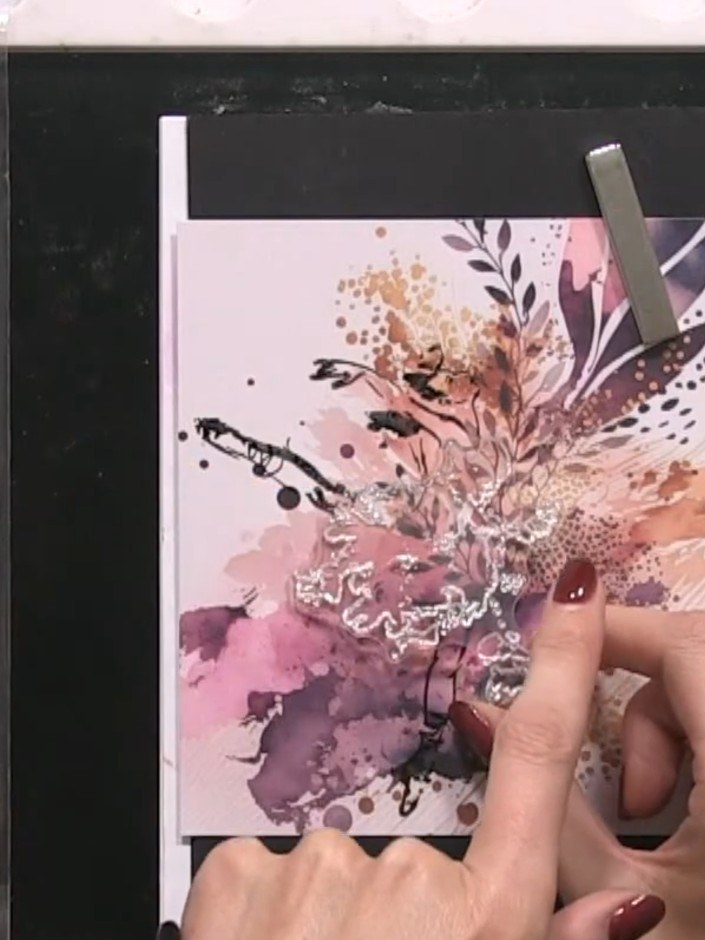
Apply watercolour inks in coral, pink, orange and teal to the dress area of the ballerina image, spotting the colours on in several places to build up the design.
▶ watch this step (28:00)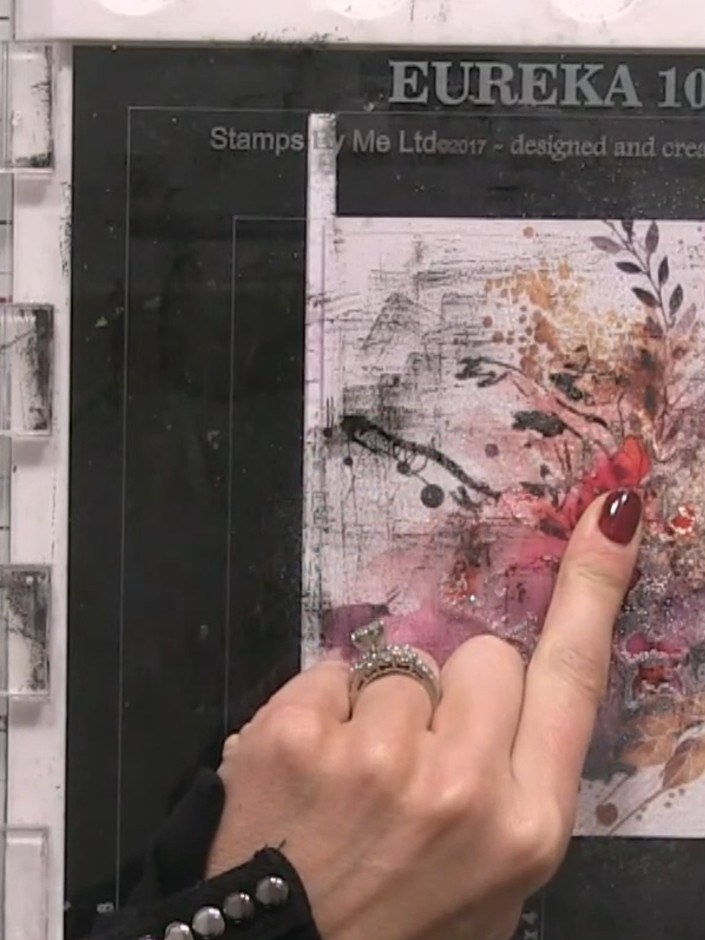
Spray the inked area with water and use your finger to blend the colours, allowing them to spread and puddle across the dress area of the card.
▶ watch this step (29:15)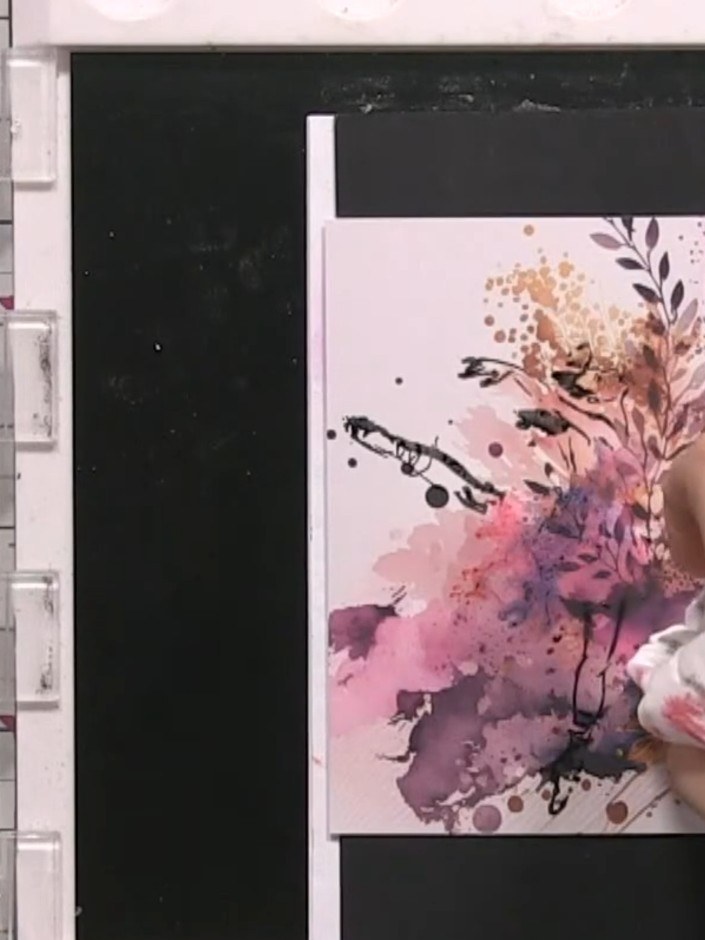
Use a tissue to gently dab and mop up any excess water or puddles from the watercoloured design to prevent unwanted bleeding or pooling.
▶ watch this step (30:45)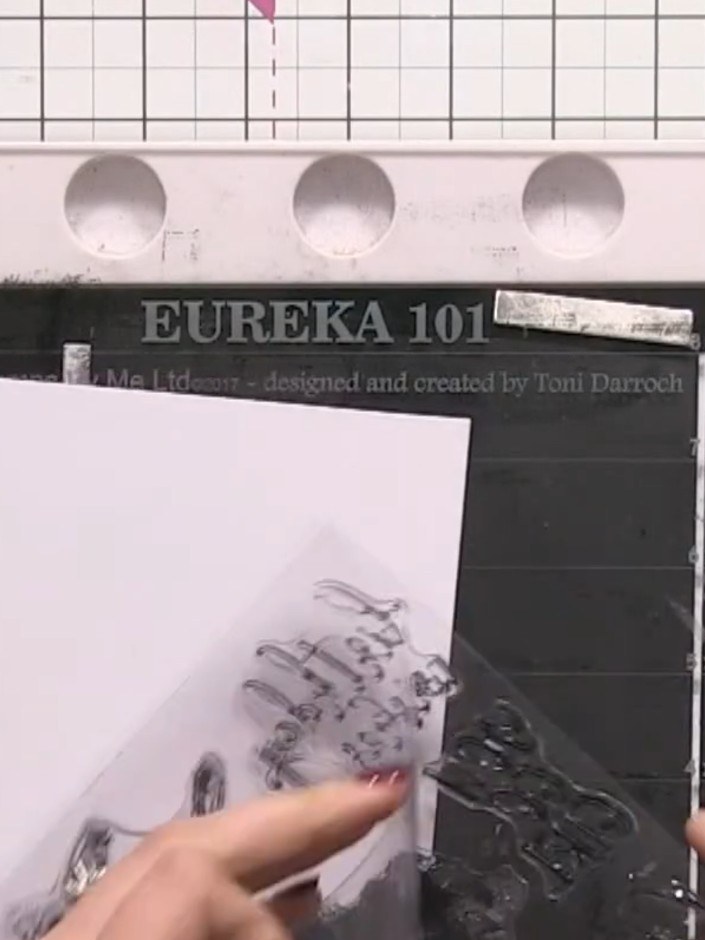
Stamp a sentiment such as 'Live Your Dreams' in white ink onto the card using a stamp from the Little Ballerina set.
▶ watch this step (33:45)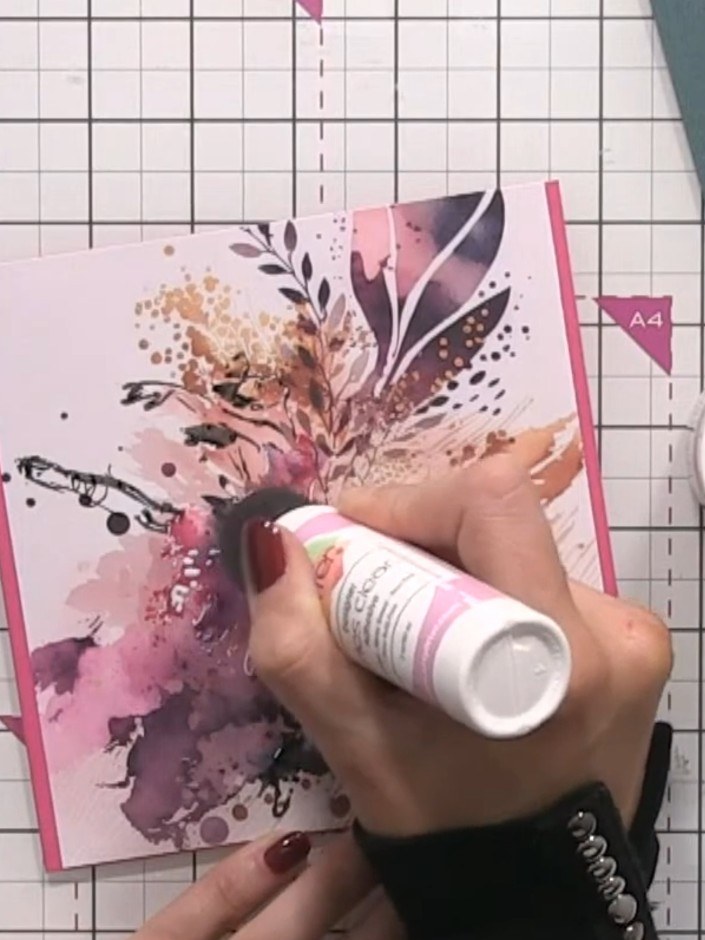
Apply clear glass-like sparkle glitter spray to the bottom of the dress and around the figure, creating a shimmering effect over the watercoloured areas.
▶ watch this step (40:45)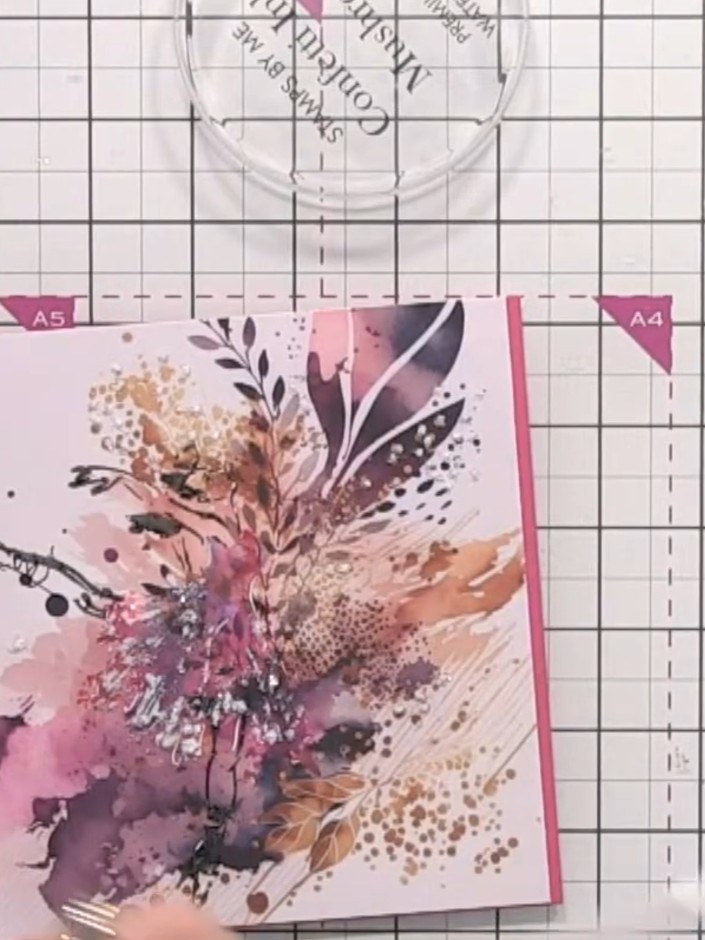
Using a brush, add gold paint splats around the card, allowing the metallic gold to catch the light alongside the sparkle.
▶ watch this step (43:00)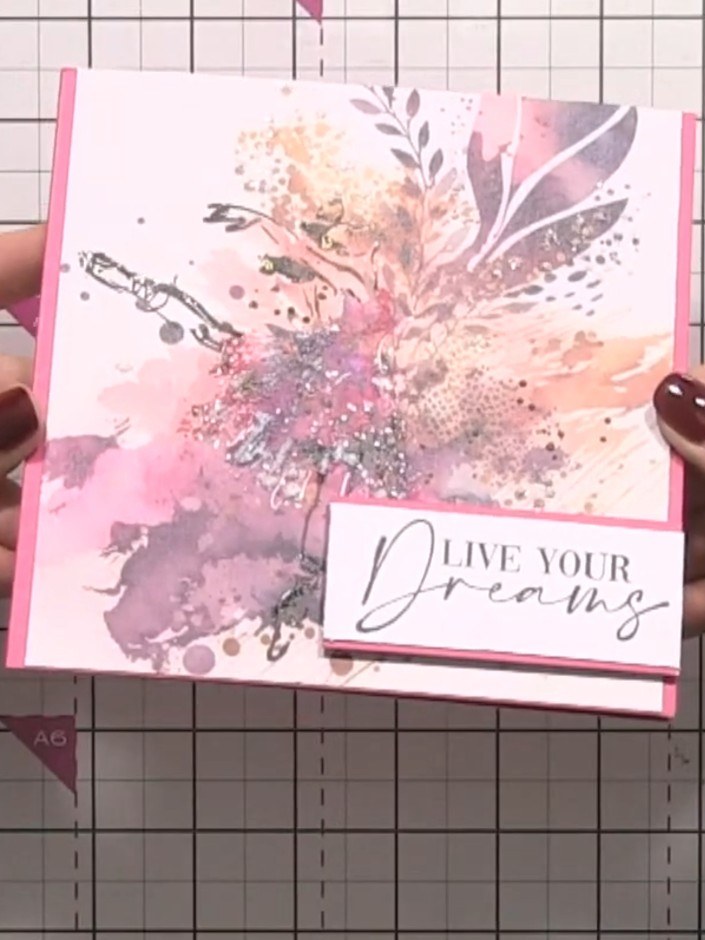
Mount the finished design onto a pink card blank using adhesive foam pads to create dimension.
▶ watch this step (45:00)Written up from the show itself. See every guide from our shows · free how-to guides · watch live on My Telly