Give your friends $10 off their first order!
Refer a FRIEND








Prices change straight away. Every language is our own translation, not Google.
A project from our live show MY PODCAST - Catch my latest updates broadcast 21st July 2025 · 07/21/2025
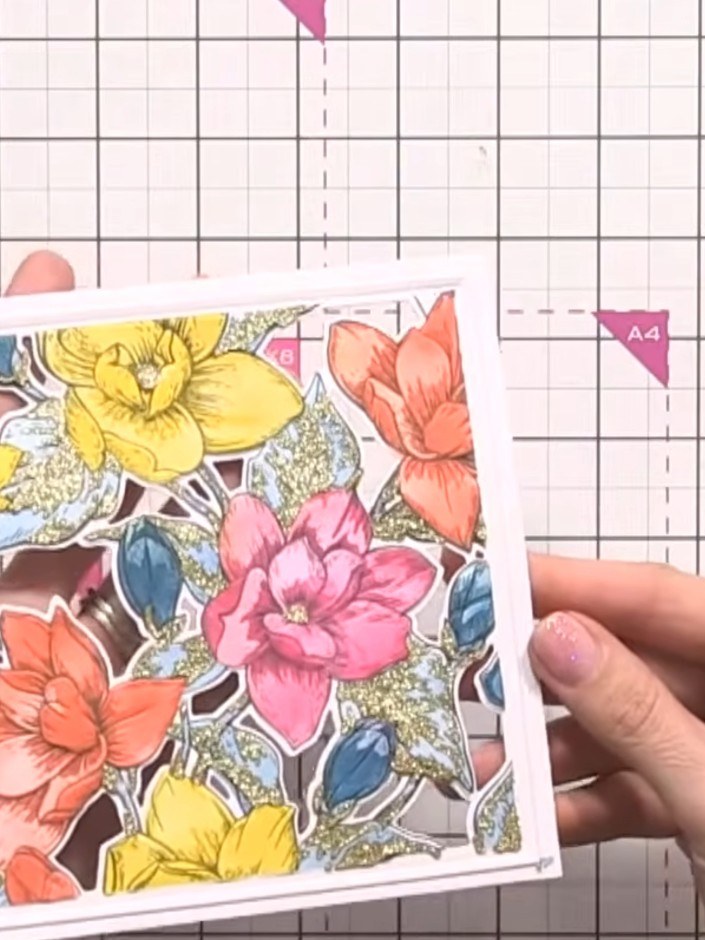
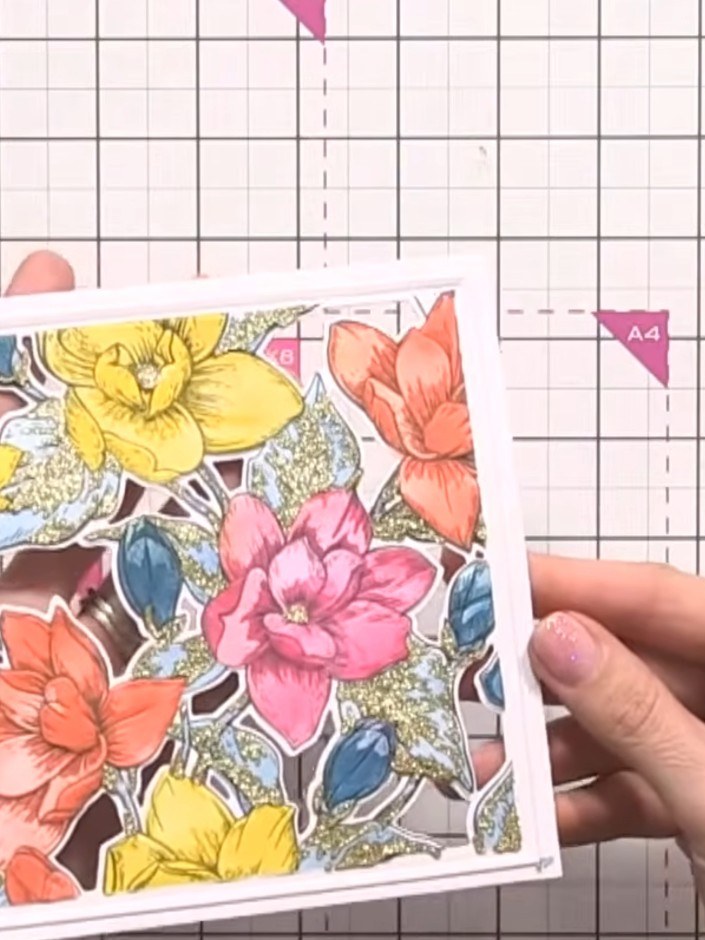
Create a stunning four-stage layered card featuring a beautiful magnolia garden design with vibrant yellow, pink, orange and blue florals accented with glitter. This elegant card showcases dimensional depth through stencilling, stamping, die-cutting and 3D embossing techniques, finished with a decorative shamfered edge frame.
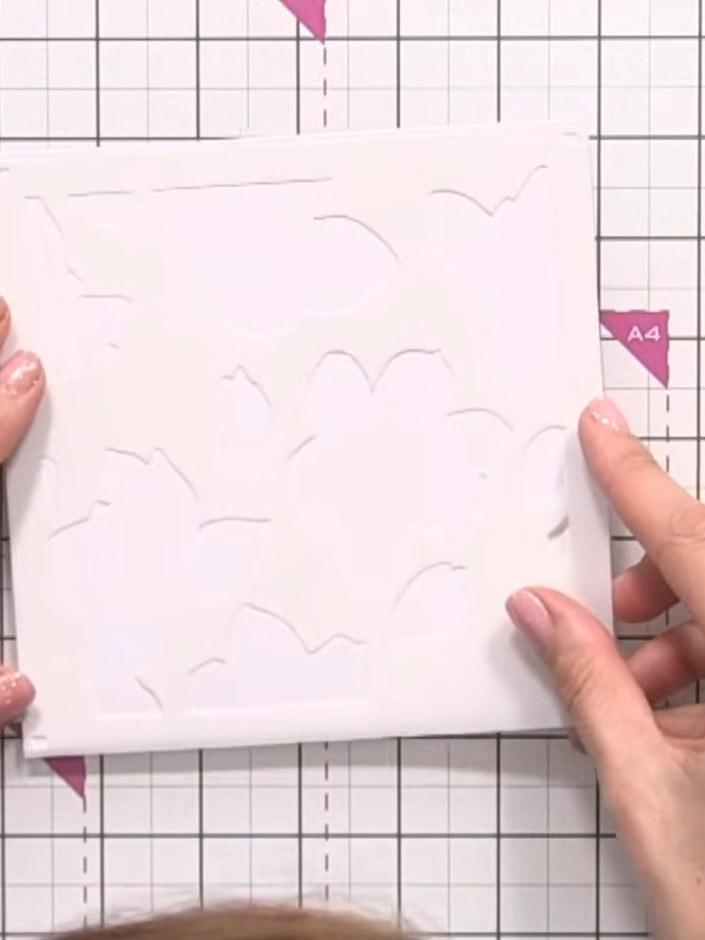 1
Place the first numbered stencil (number one) onto your 6x6 white card blank, positioning it carefully and ensuring it is aligned correctly on the card.
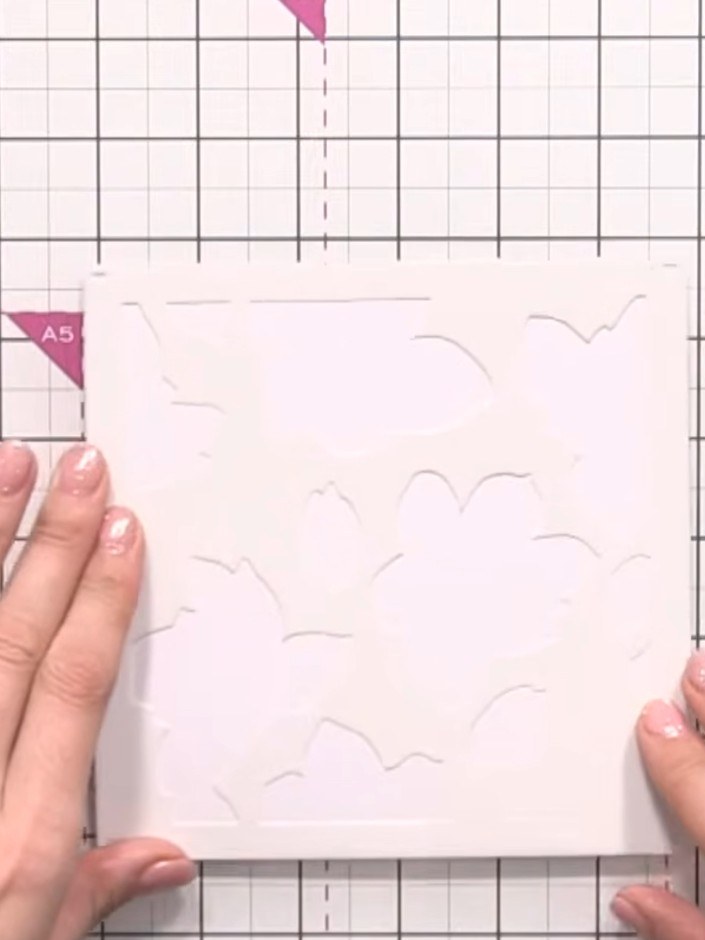 2
Apply colour to the stencil using brushes and ink pads. Work with yellow, orange and pink inks for the flowers, and teal for the leaves, blending multiple colours together.
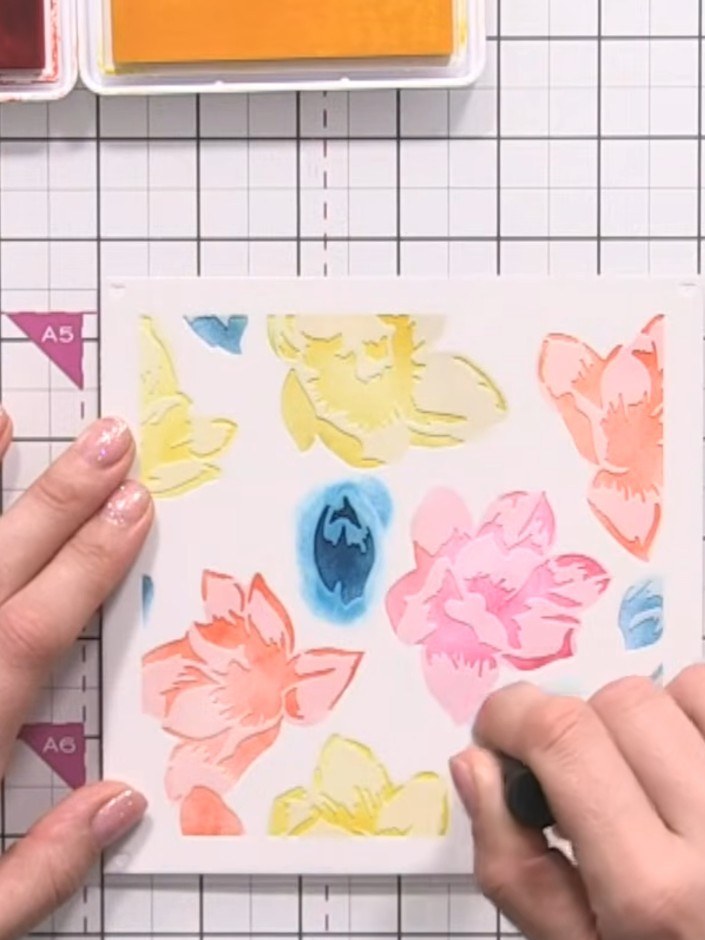 3
Remove the first stencil and position the second stencil over the coloured area. Apply blue ink to the leaves using the Midnight ink pad, then repeat the flower colours (magenta, pink, yellow, and coral) on the remaining floral elements.
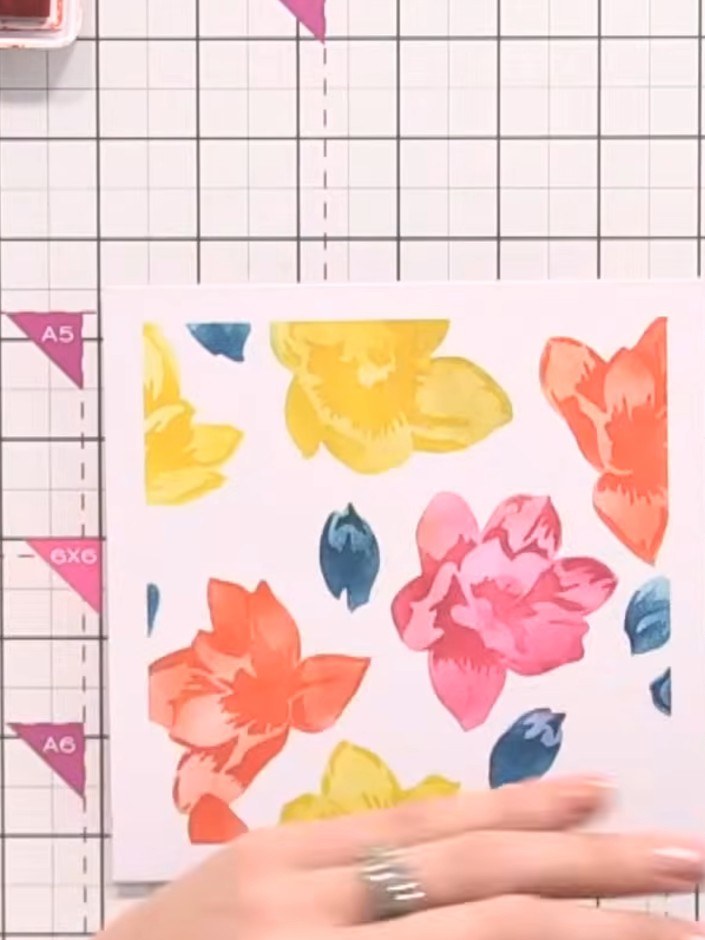 4
Position the third stencil over your card and apply colour lightly using the ink pads. This stencil adds texture, leaves and stalks to the background, so work gently to preserve the detail.
 5
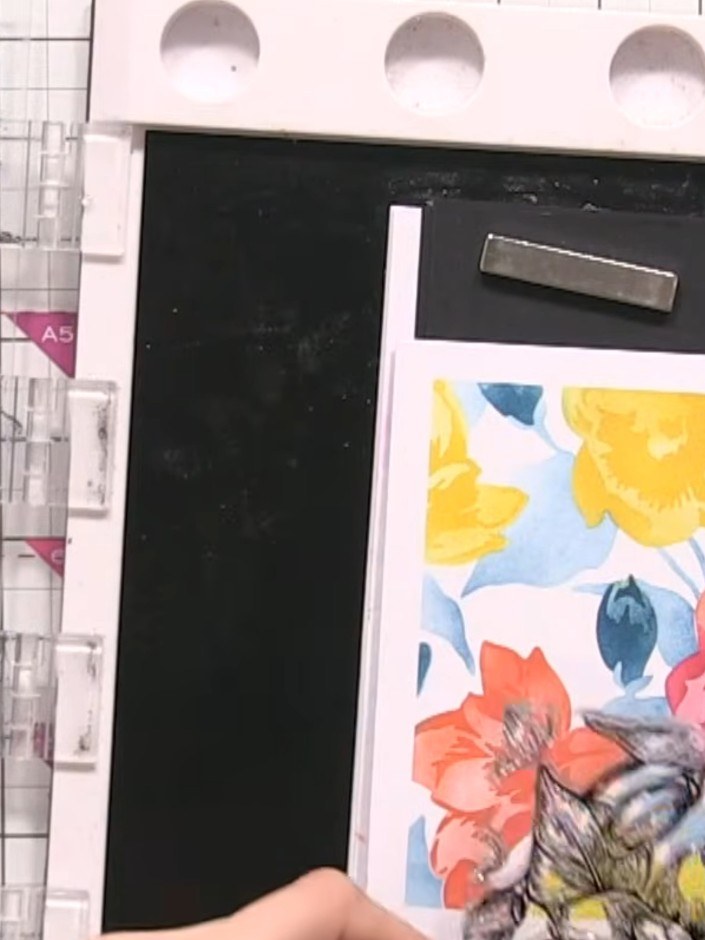
Position the magnolia stamp over your stencilled floral design. Stamp twice using the black ink pad to create deep, detailed impressions of the magnolia flowers and leaves.
 6
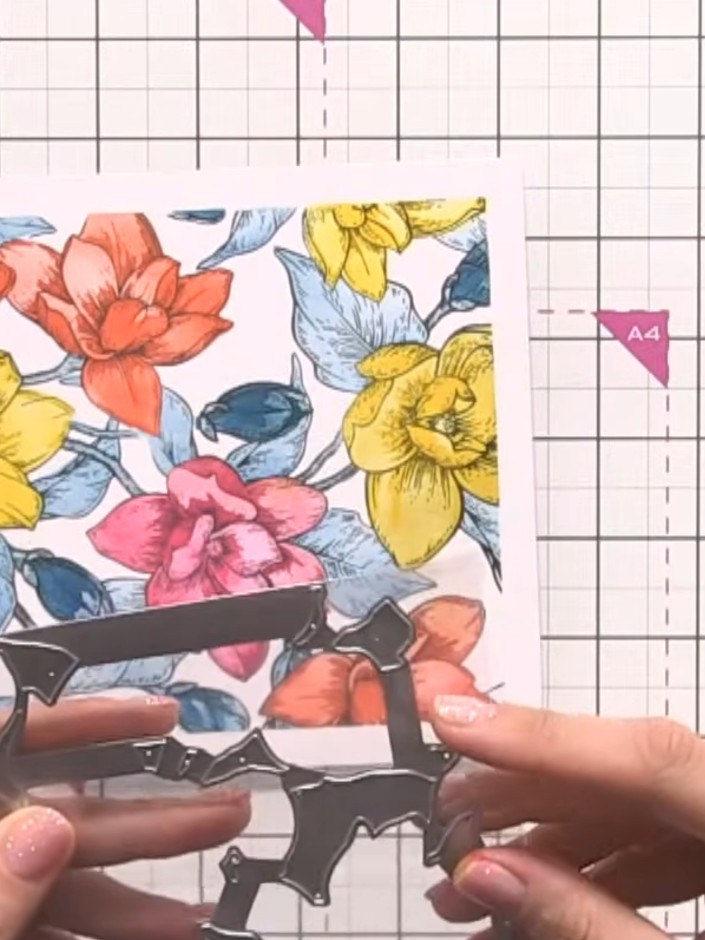
Place the magnolia die over the stamped floral design and run through your die-cutting machine to cut out the magnolia shape.
 7
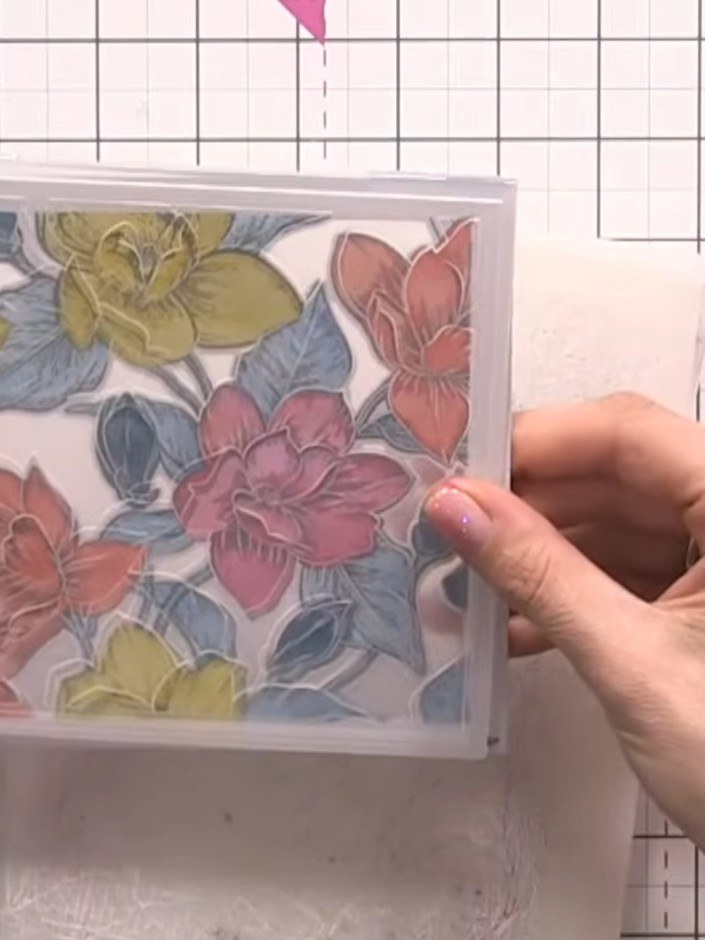
Place the die-cut floral design into the embossing folder with the chamfered edge facing up, then run through your die-cutting machine to create raised 3D detail on the flowers.
 8
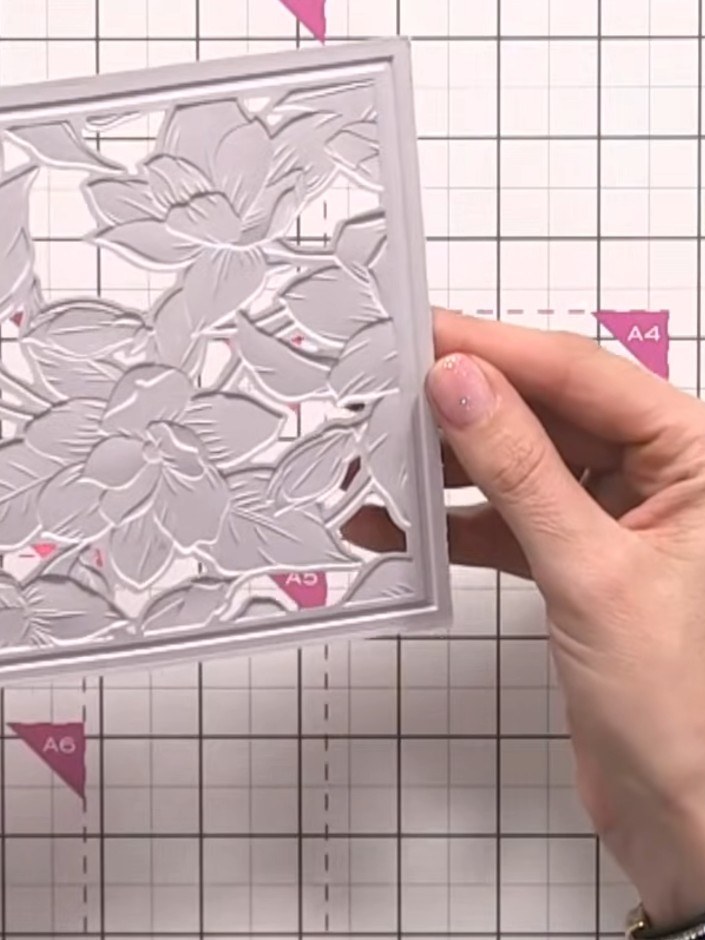
Apply Stella paste gently to the fourth stencil area on the embossed card, working carefully around the raised floral details to add final texture.
 9
Trim the finished floral panel to your desired size. Mount it onto a white card base to complete your card, or alternatively add acetate behind the panel for a shaker window effect if preferred.
Share your make with the Stamps By Me community - and keep this guide for next time.
Written up from the show itself. See every guide from our shows · free how-to guides · watch live on My Telly · the previous layout