Give your friends $10 off their first order!
Refer a FRIEND








A project from our live show MY PODCAST - Catch my latest updates broadcast 28th July 2025 · 07/28/2025 · watch it from 23:30
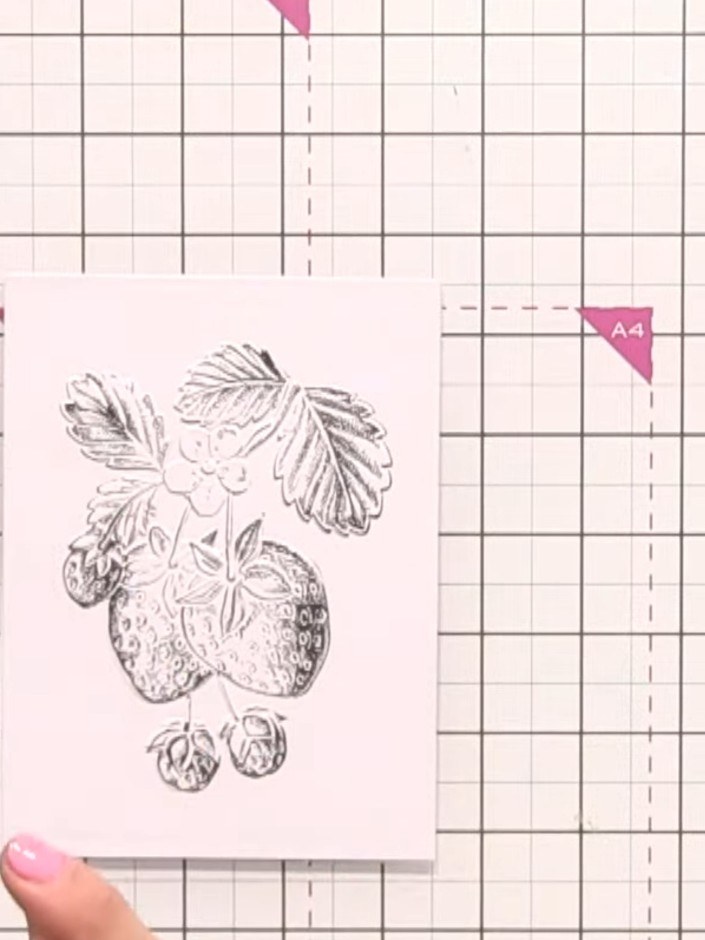
Create a beautiful strawberry card featuring stamped and embossed botanical designs coloured with alcohol markers. This project demonstrates layering techniques using light and dark shades to add dimension and depth, with strategic shadowing to make the strawberries and leaves appear three-dimensional and realistic. The finished card showcases vibrant reds and greens on a clean white background, perfect for summer greetings or special occasions.
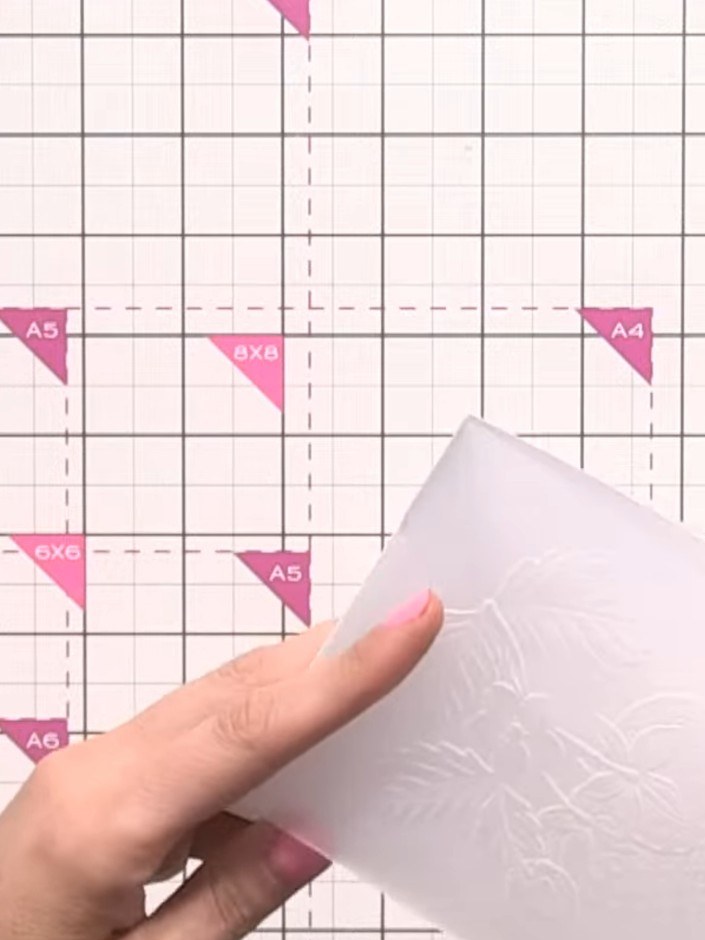
Run the strawberry embossing folder through your die-cutting machine with white card stock to create an embossed background panel.
▶ watch this step (23:30)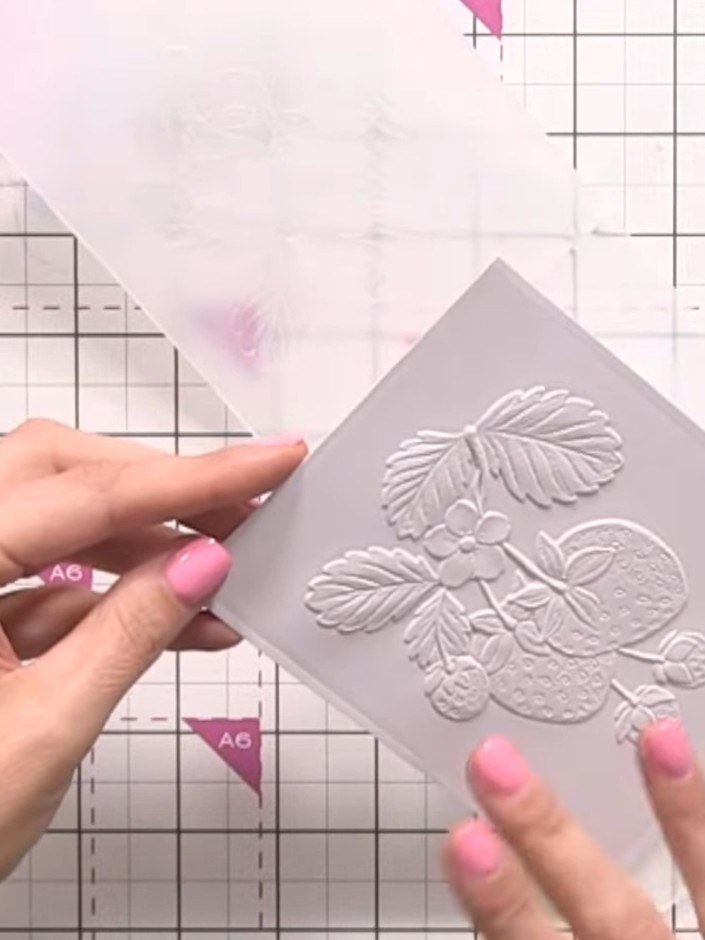
Stamp the strawberry image onto the embossed pink card using hybrid ink. The hybrid ink won't bleed when you colour with alcohol markers.
▶ watch this step (25:15)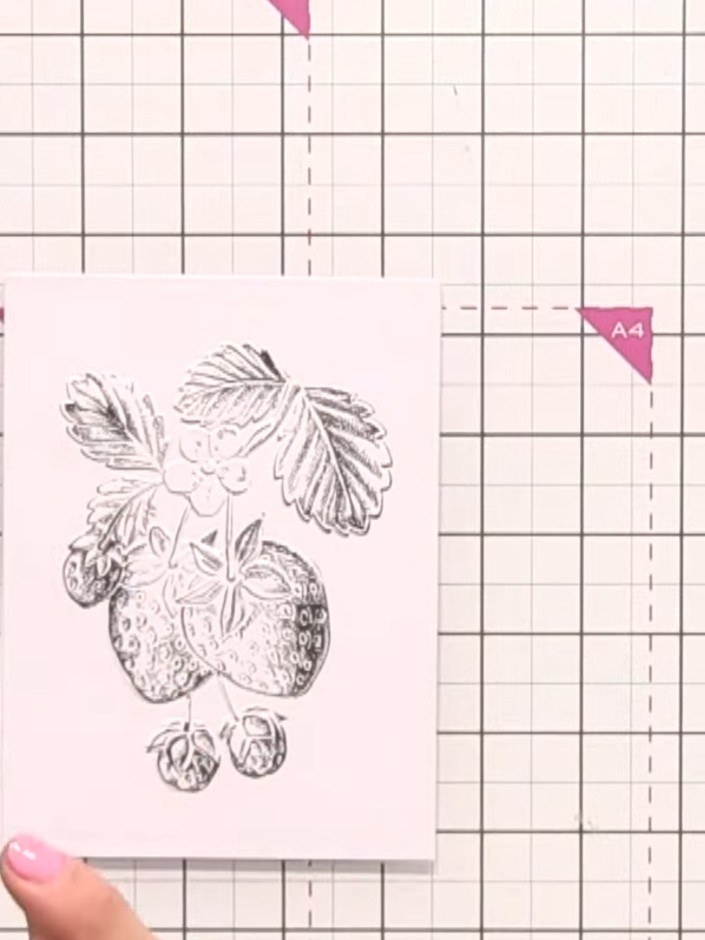
Place a piece of scrap card underneath your stamped strawberry design. This prevents the ink from pooling on hard surfaces and helps pull the ink through the paper.
▶ watch this step (31:00)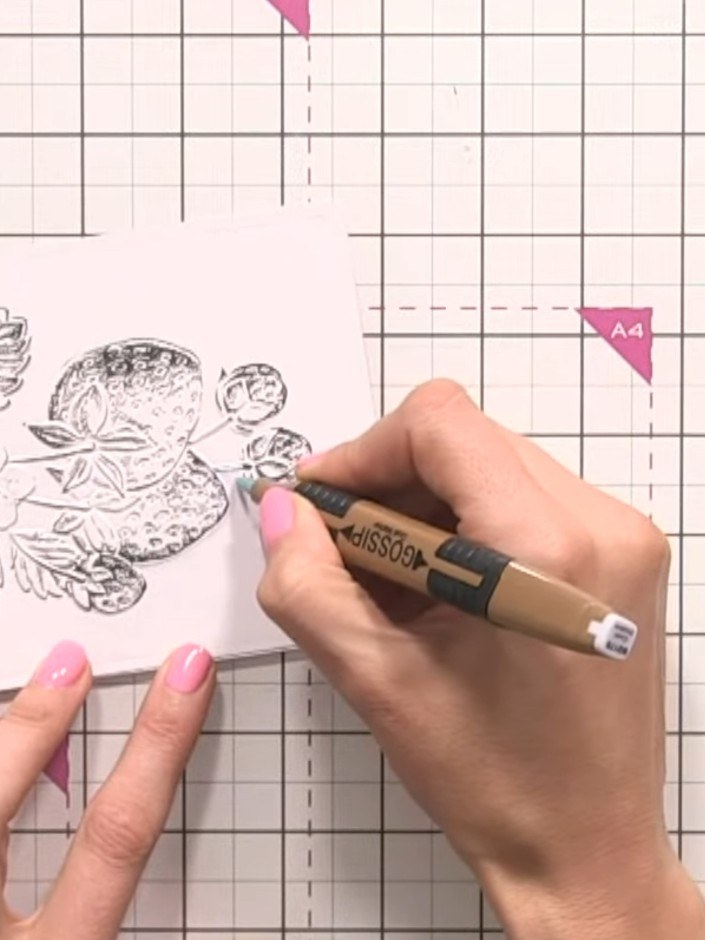
Using a grey alcohol marker, outline the strawberries to add shadow and definition. Work carefully around the edges of the fruit to make the design pop from the page.
▶ watch this step (33:45)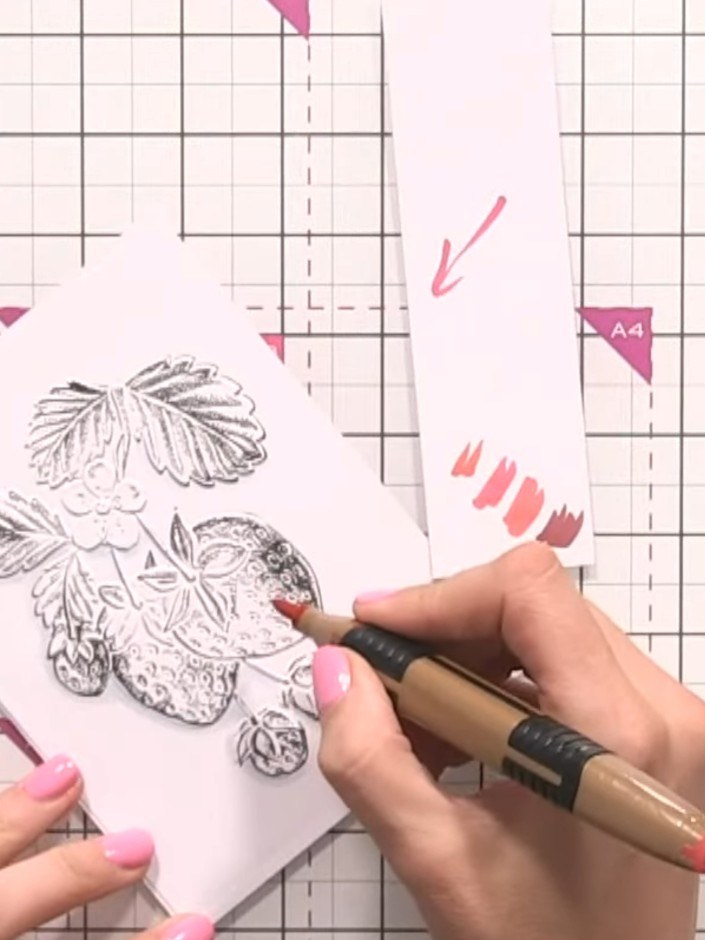
Apply your lightest red shade (R12) all over the strawberries as your base colour, colouring them in completely.
▶ watch this step (37:30)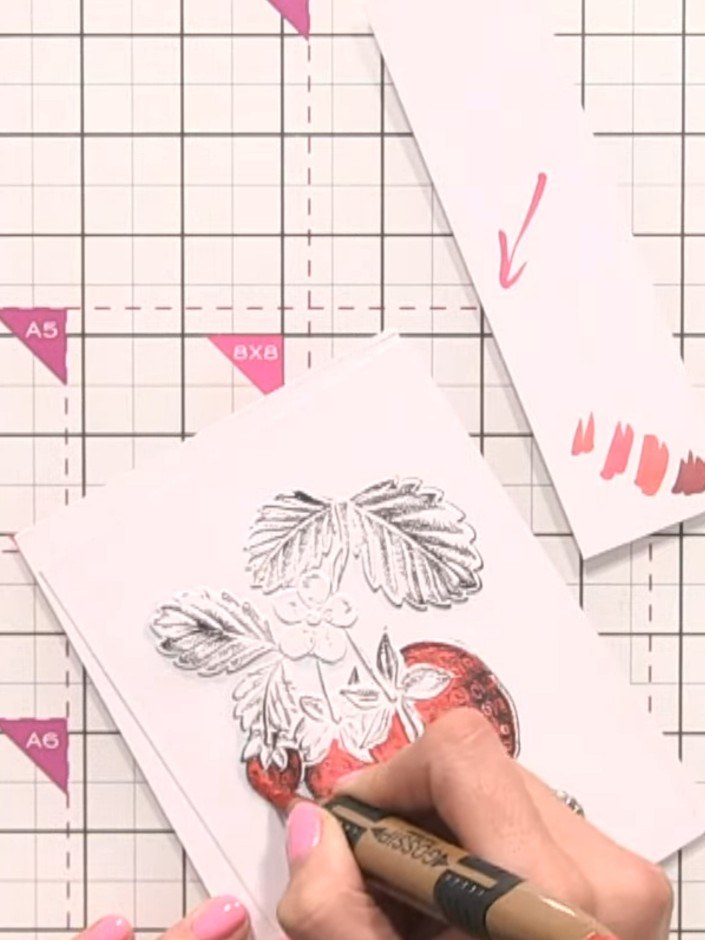
Using the medium red marker (R13), add shading to the strawberries to create dimension. Consider your light source and apply the colour to the areas that would be in shadow.
▶ watch this step (38:45)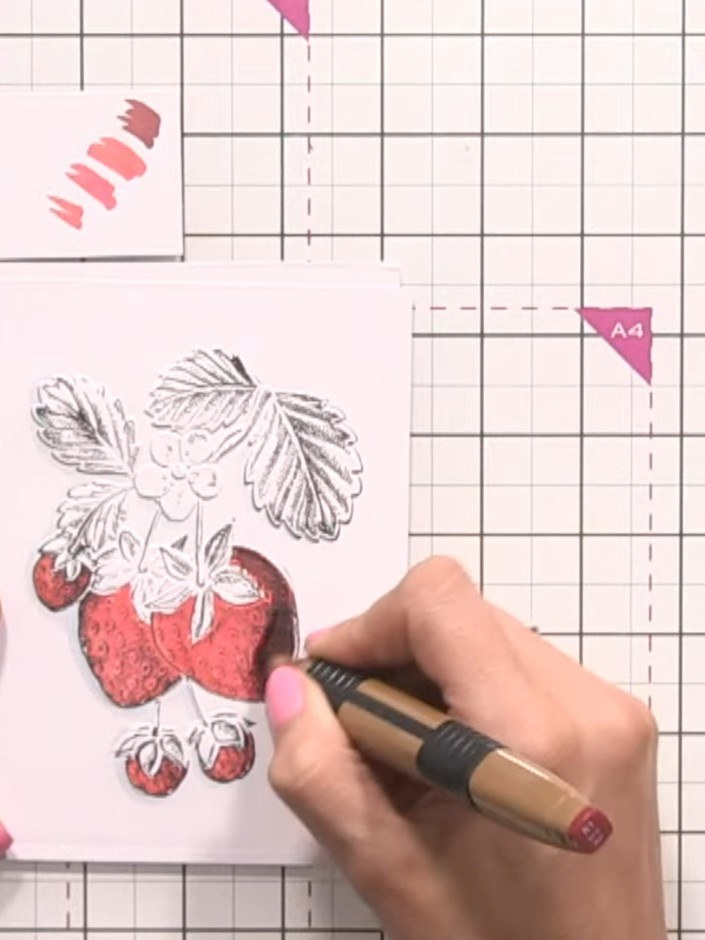
Apply your darkest red shade to the shadowed areas of the strawberries. Blend back over with the lighter red colour to soften any harsh lines and create smooth transitions.
▶ watch this step (40:15)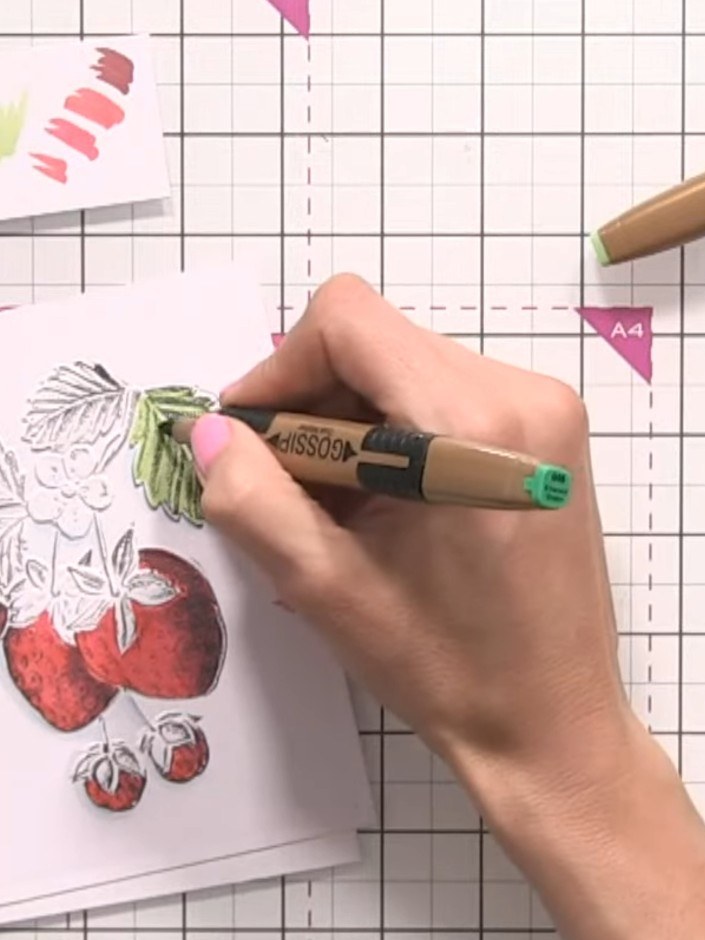
Colour the strawberry leaves with light green marker. Add darker green to the shadowed areas and blend the colours together.
▶ watch this step (41:45)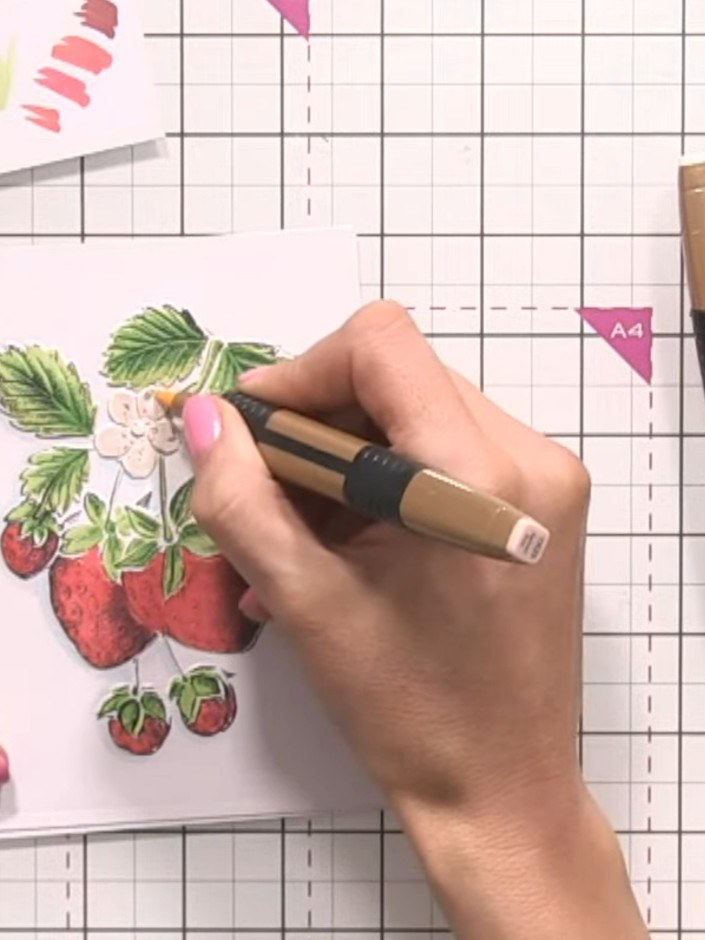
Colour the strawberry flowers with a pale pink or cream marker. Add a small darker pink spot to the centre of each flower for dimension.
▶ watch this step (46:00)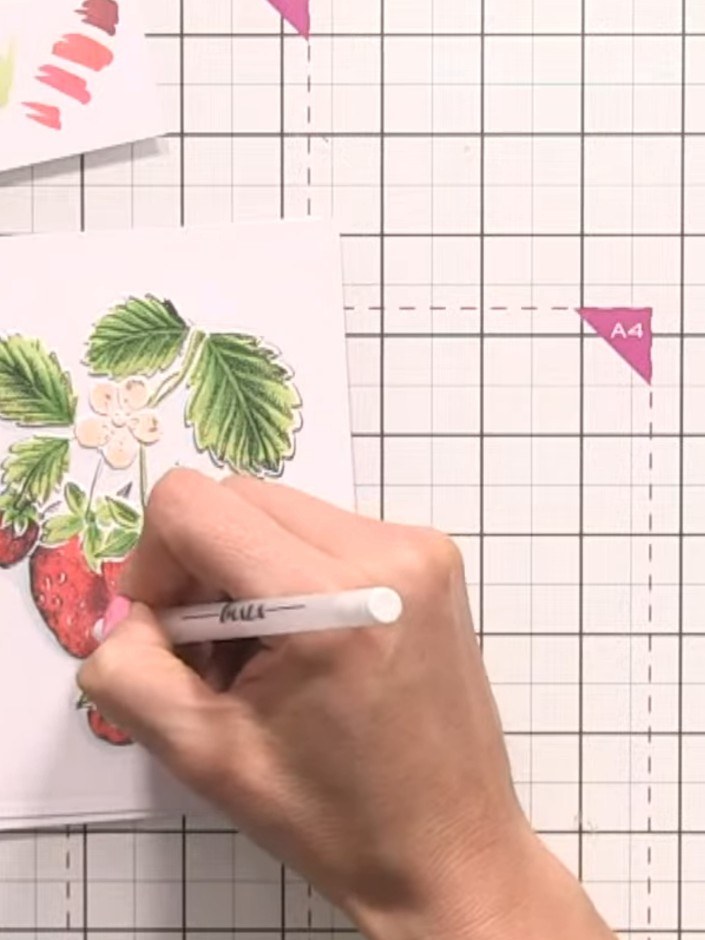
Use a white gel pen to add highlights and bring back detail on the strawberries and leaves, focusing on the lighter areas to create dimension and restore any lost definition.
▶ watch this step (48:00)Written up from the show itself. See every guide from our shows · free how-to guides · watch live on My Telly
