QUICK LINKS

Welcome to the How to Craft Network
 
SBM SHOP
GIVE YOUR FRIENDS $10 OFF REFER A FRIEND › DISCOVER MY-TELLY.COM › WE JUST GOT SMARTER GET THE APP › AWARD WINNING CHANNEL ON YOUR TV › JOIN THE CLUB FOR SAVINGS ›
 

Pink Florals Memory Album with Pockets and Hinges

A project from our live show ONE DAY SPECIAL - Join Toni for her brand new launch - Broadcast 1st August 2025 · 08/01/2025 · watch it from 12:00

Create a handmade mini album using pre-cut card stock pieces that require no measuring or cutting. This album features multiple pockets, hinges, and decorative elements that you assemble and personalise with your own embellishments, stamps, and embossing powders.

You will need

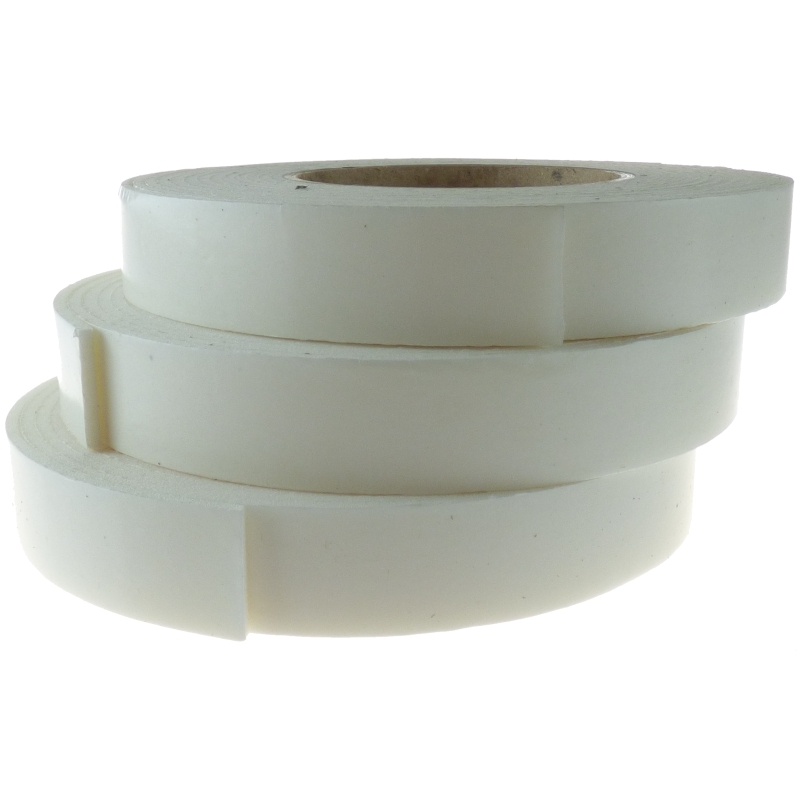
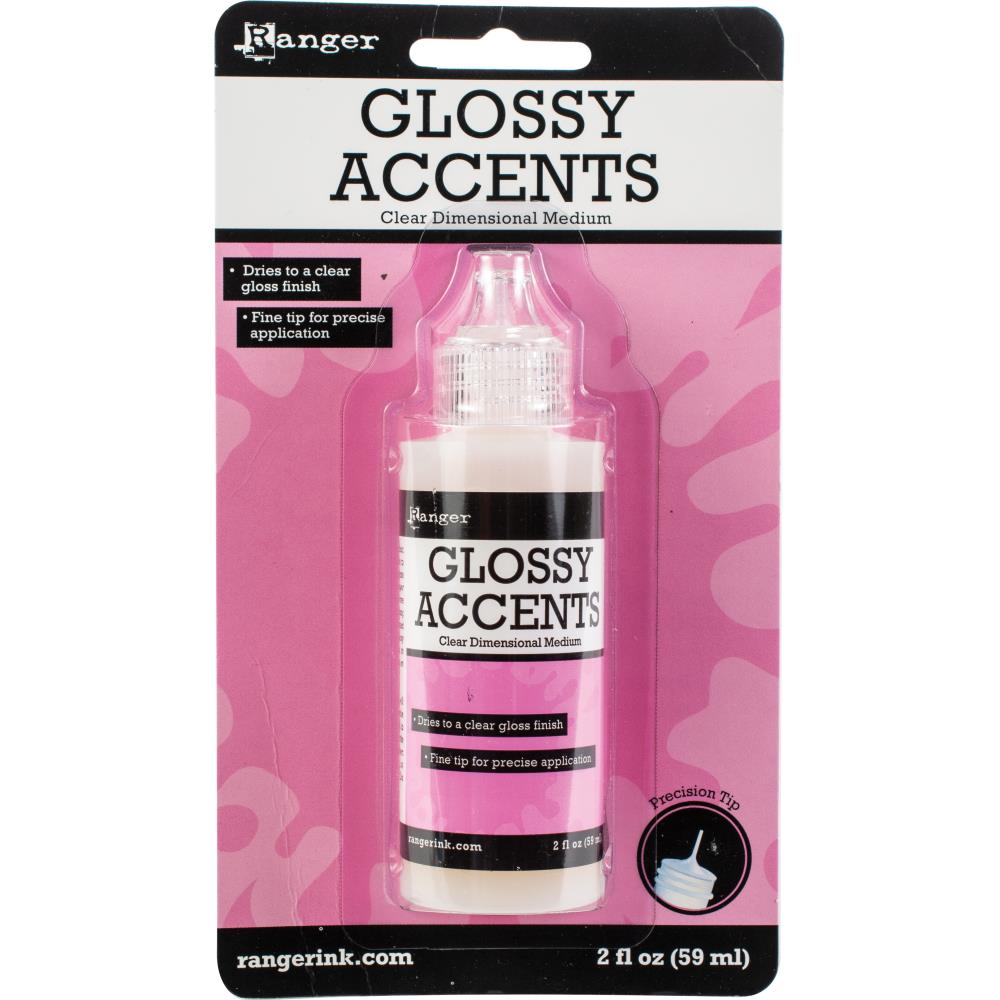
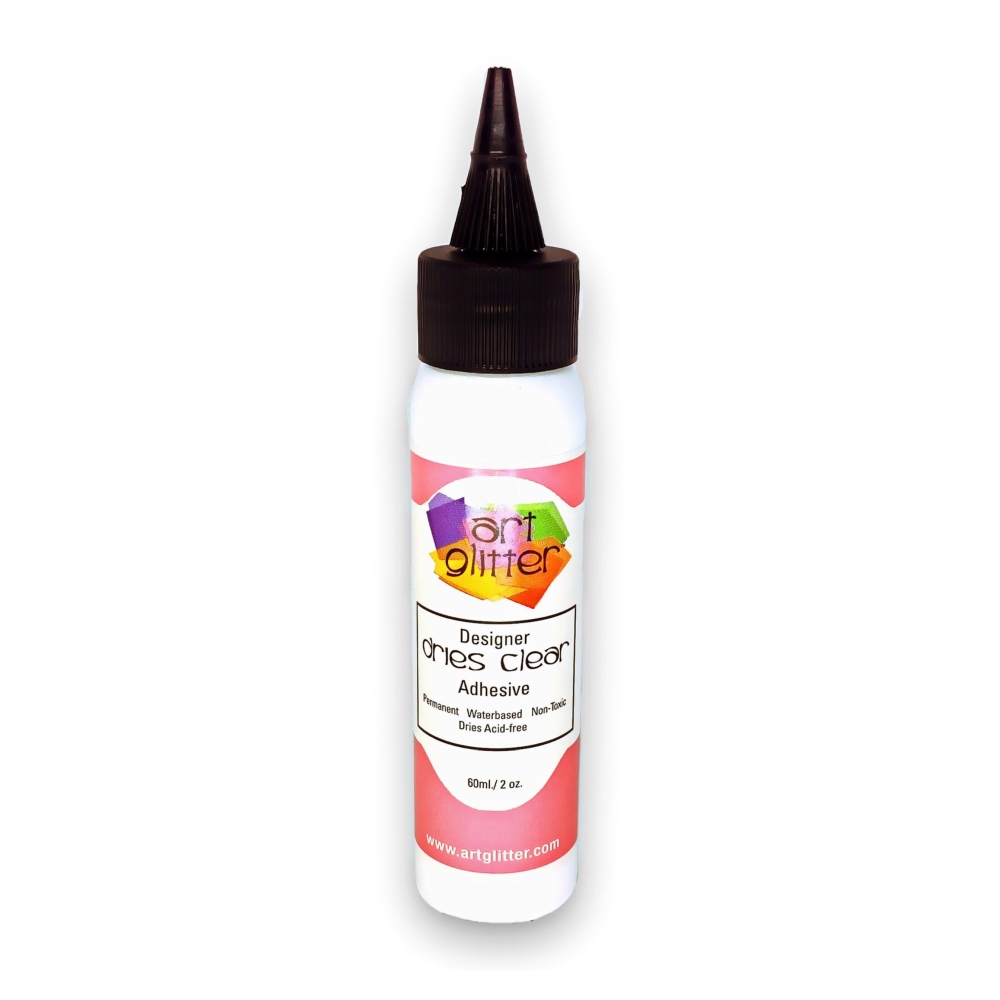
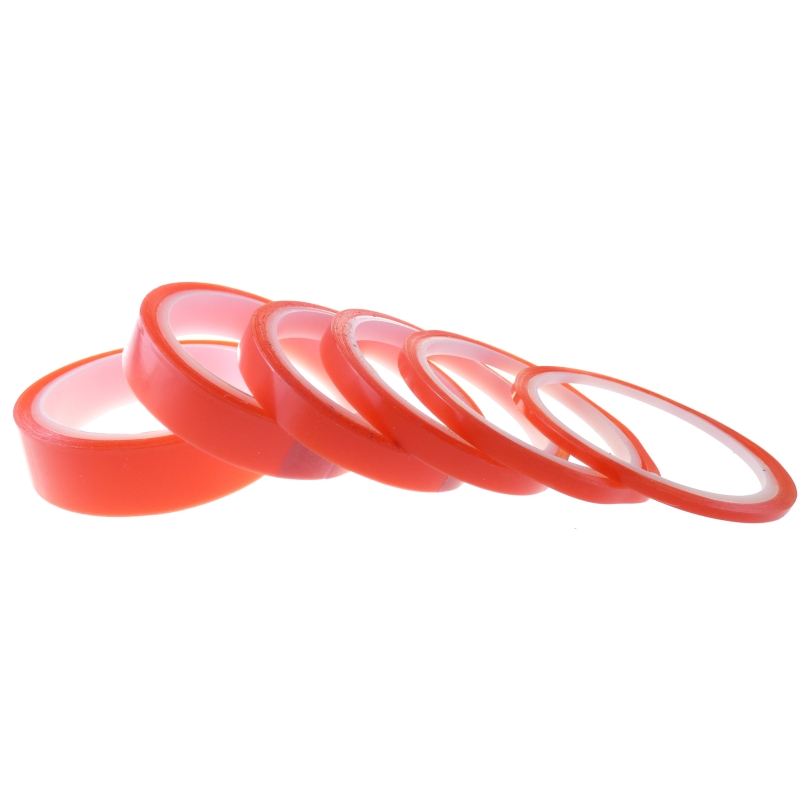
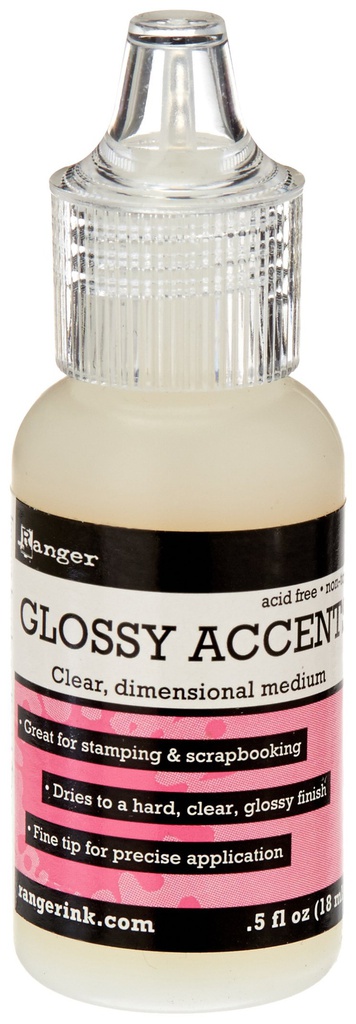
Memory Album - Pink Florals - 010825AMemory Album - Pink Florals - 010825ASEE IT Dry Clear Glue 2Oz.Dry Clear Glue 2Oz.SEE IT Foam Pad Rolls (24mm) x324mm x 24mm x 3mmFoam Pad Rolls (24mm) x324mm x 24mm x 3mmSEE IT Red Liner Assorted Roll Tapes x 3 ,6, 9,12,19, 25mm (5m length)Red Liner Assorted Roll Tapes x 3 ,6, 9,12,19, 25mm (5m length)SEE IT Glossy Accents MiniGlossy Accents MiniSEE IT Glossy AccentsGlossy AccentsSEE IT
DOWNLOAD THIS GUIDE (PDF)

Step by step

  1. Remove all pre-cut pieces from the sheet by gently popping them out from the perforated edges. ▶ watch 20:00
  2. Score the album cover along the pre-marked fold lines using a scoring tool and guillotine. ▶ watch 40:15
  3. Apply fast-grab glue to the edge of the album cover and attach the outer flap piece, pressing firmly. ▶ watch 42:00
  4. Glue the inner matten layer piece inside the album cover, hiding the hinge underneath. ▶ watch 43:00
  5. Arrange and glue pocket pieces onto the inner pages, positioning them at different heights to create visual interest. ▶ watch 45:00
  6. Score and fold pocket pieces along the marked lines to create functional pockets for storing items. ▶ watch 51:00
  7. Decorate pocket fronts with matten layers and embellishments such as rivets or punched details. ▶ watch 54:00
  8. Create stacking pockets by gluing multiple pocket pieces at different vertical positions on the same page. ▶ watch 56:00
  9. Add decorative elements to the back cover, such as a small pocket or embellished panel. ▶ watch 1:00:00
  10. Create alternative closures by layering thickened pieces to form a clasp or tuck mechanism. ▶ watch 1:04:00

Tips from the show

More from this show

Written up from the show itself. See every guide from our shows · free how-to guides · watch live on My Telly