Give your friends $10 off their first order!
Refer a FRIEND








Prices change straight away. Every language is our own translation, not Google.
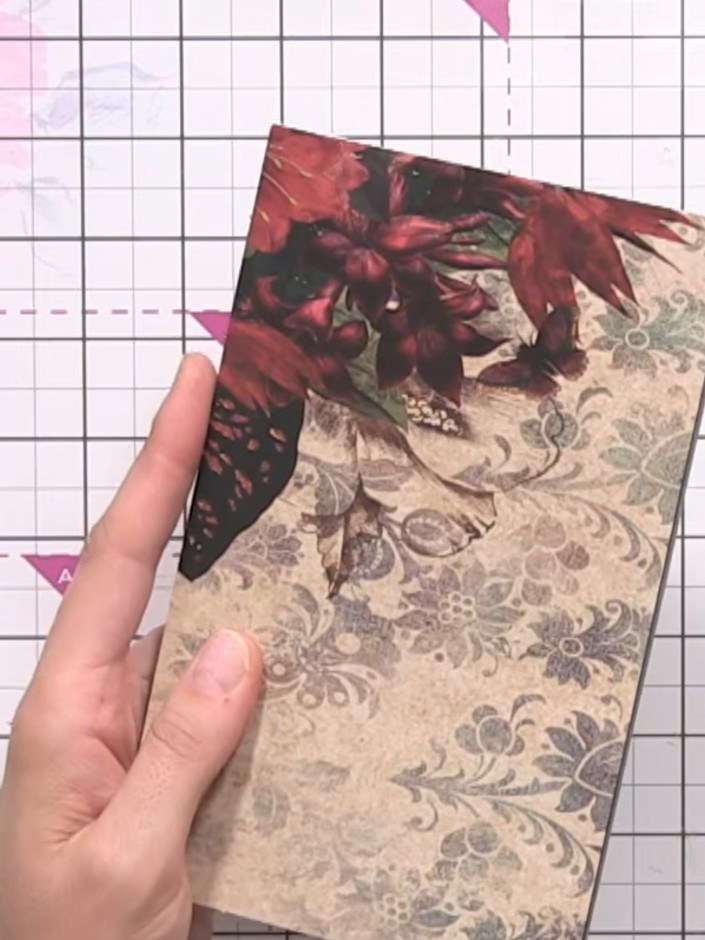
A project from our live show Memory Album Kit - So Much Fun - Item 901226 · 08/01/2025
Create an elegant memory album with a decorative folding cover and interactive pages featuring pockets and fold-out sections. This beautiful keepsake showcases vintage-inspired floral and bird designs in rich burgundy, navy, cream and gold tones. Using pre-cut pieces, you'll assemble the album with simple folding and layering techniques to create a professional-looking finished piece.
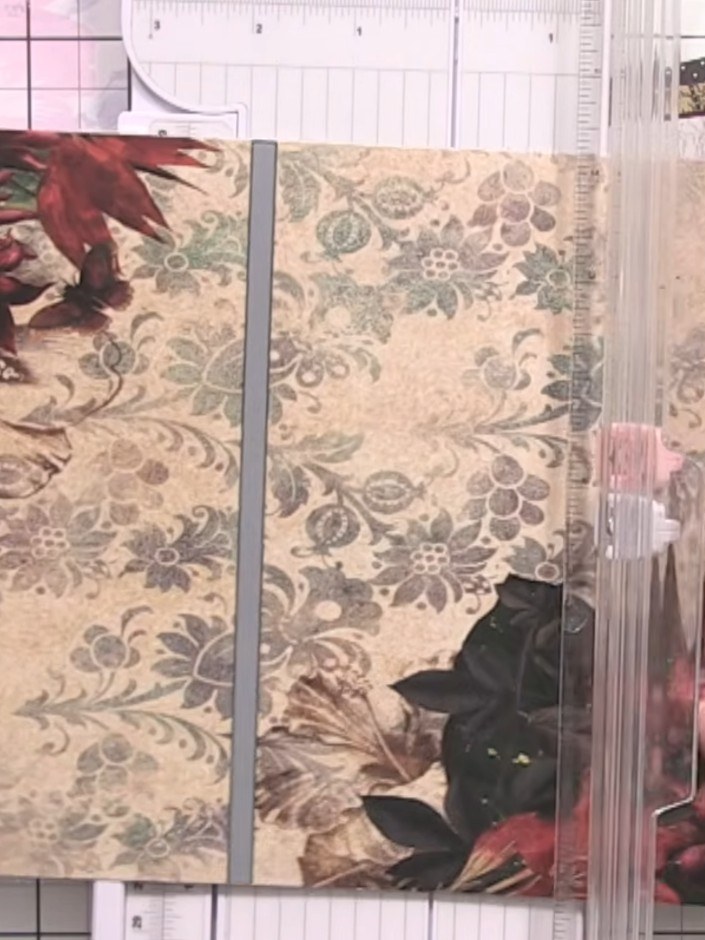 1
Select your front cover piece from the pre-cut kit. Place it on your scoreboard and score along the spine line to create a fold. Use a bone folder or scoring tool to create a crisp crease.
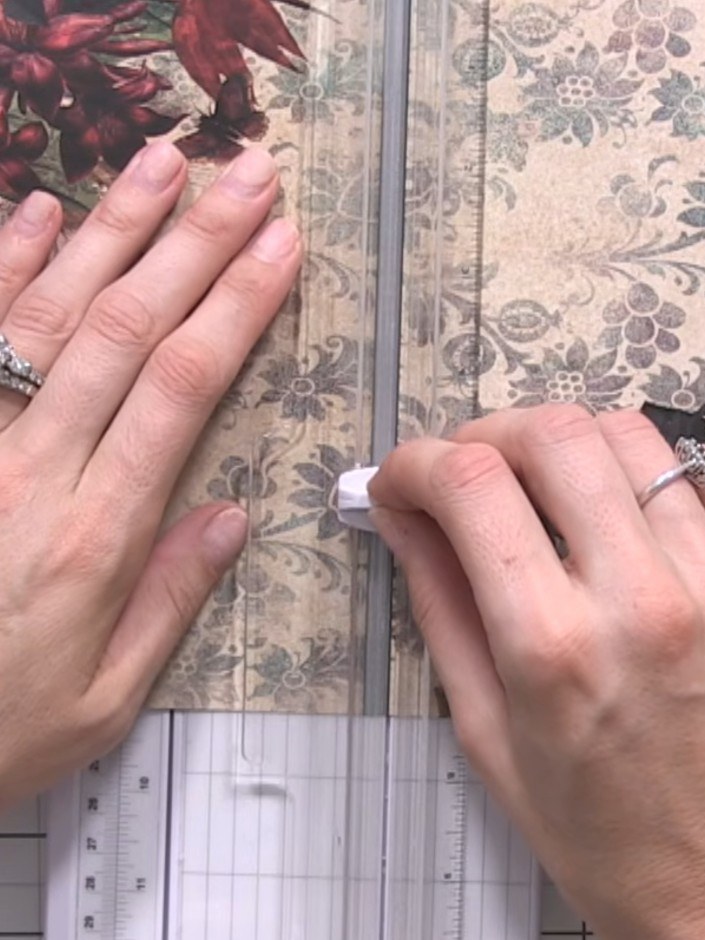 2
Fold the cover piece along the scored spine line to create the album's front cover with a deep spine.
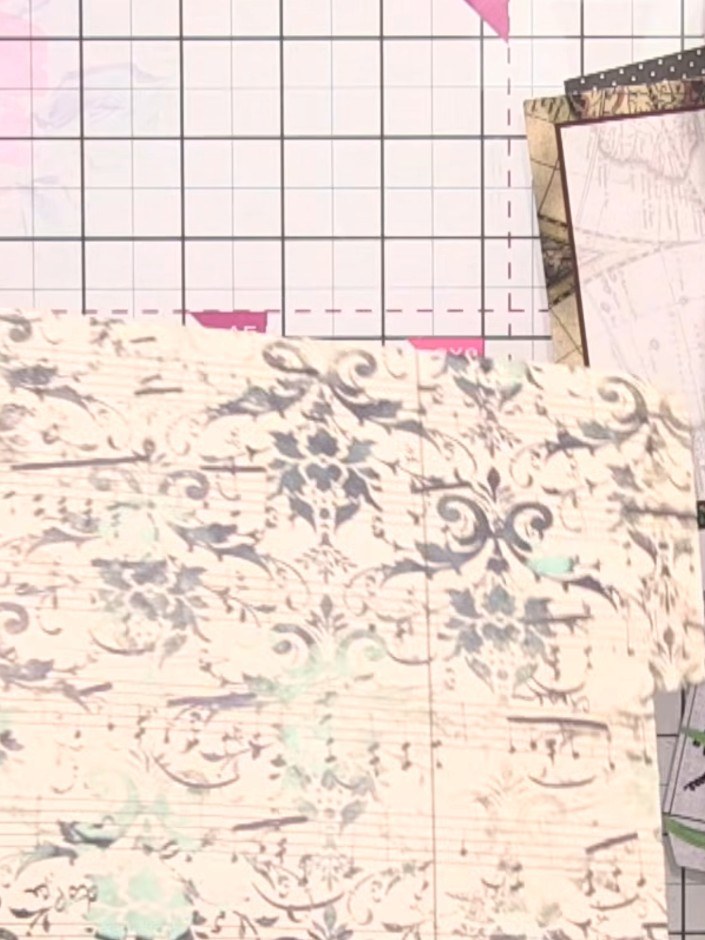 3
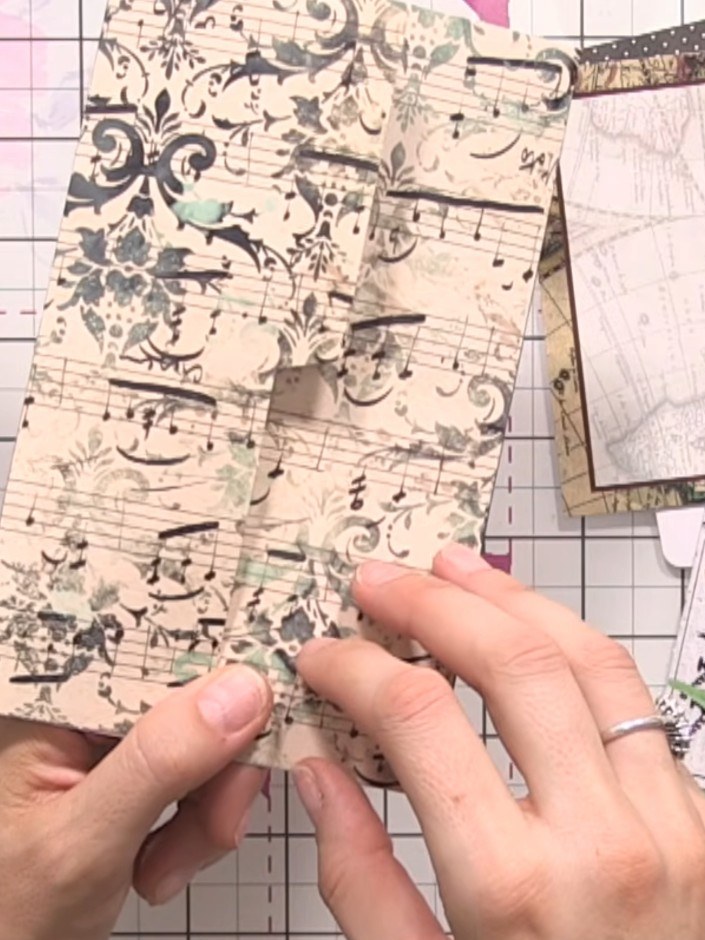
Take a page system piece that folds shut. Score along the dark printed lines visible on the decorative paper to create fold lines for the pages.
 4
Fold the decorative paper piece along the scored lines to create the internal page structure. Use your fingers to create crisp, clean folds along each score line.
 5
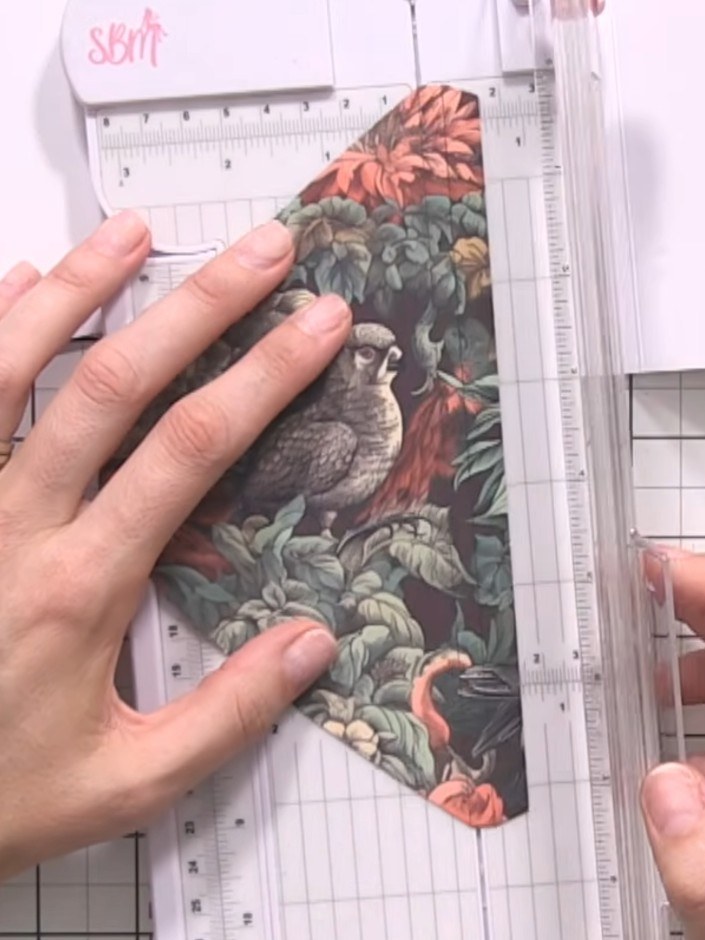
Select a flap closure piece with the bird design and place it in your paper trimmer. Score along the marked lines on the piece to create fold lines for the flap closure.
 6
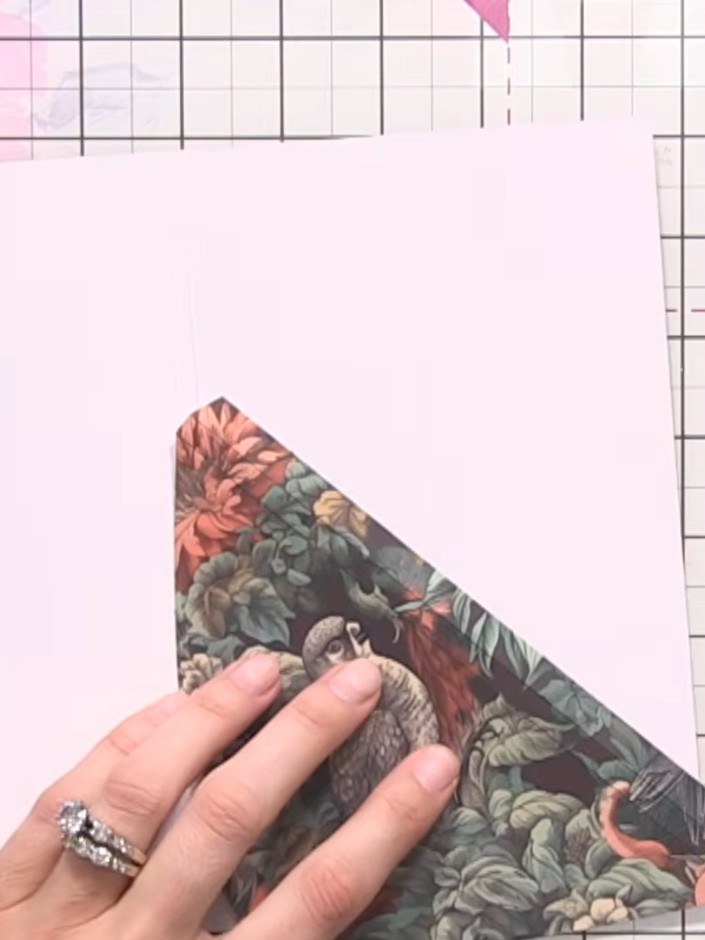
Adhere the scored flap closure to the edge of your cover piece using the red liner tape provided, or alternatively use tape or glue.
 7
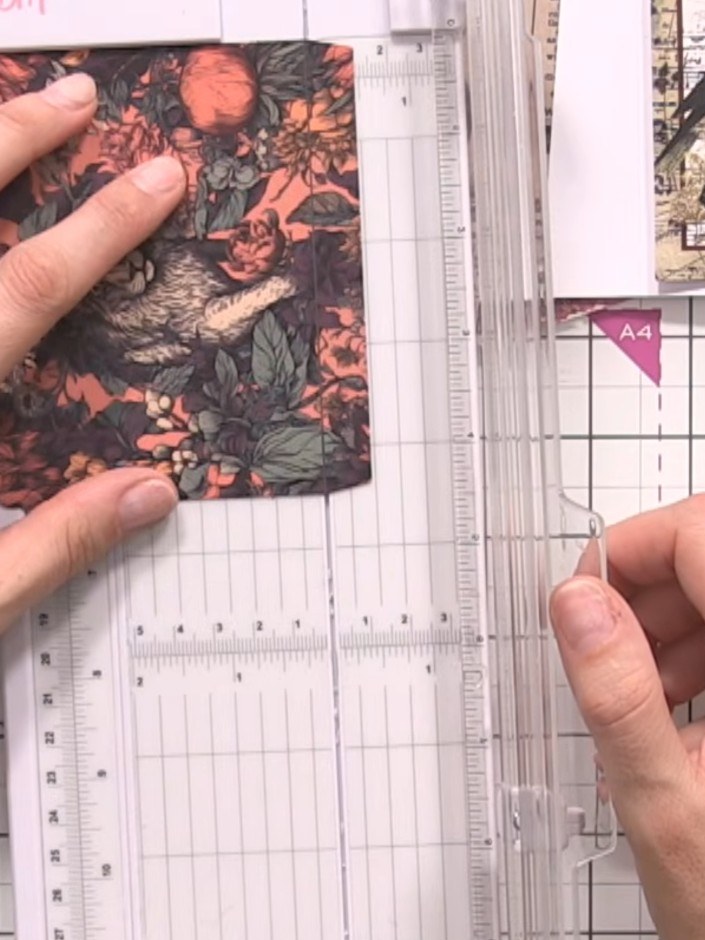
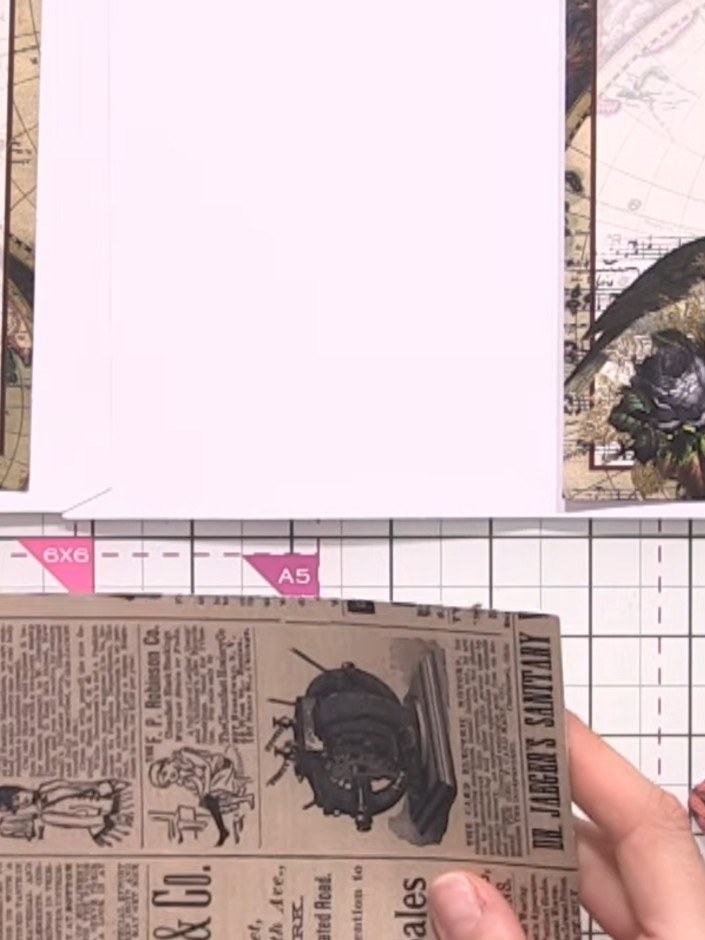
Take one of the interactive page pieces that has score lines marked. Using your scoring tool and ruler, score along both the marked lines at the top and bottom of the piece.
 8
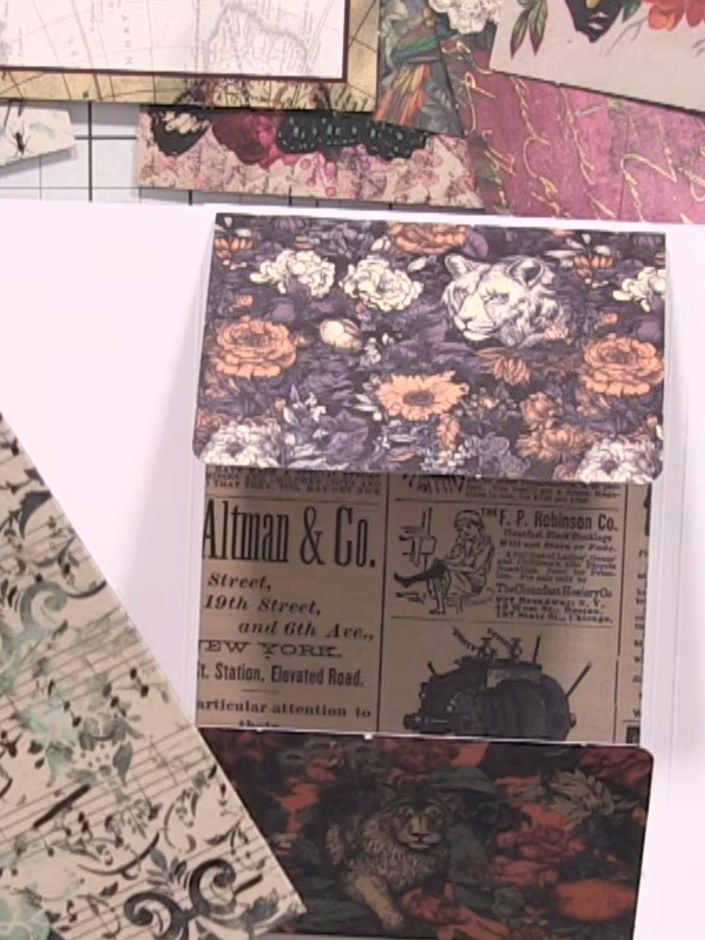
Fold the scored vintage newspaper page along the score lines to create a pocket-style element. Position and adhere this folded piece inside your album pages to create an interactive pocket feature.
 9
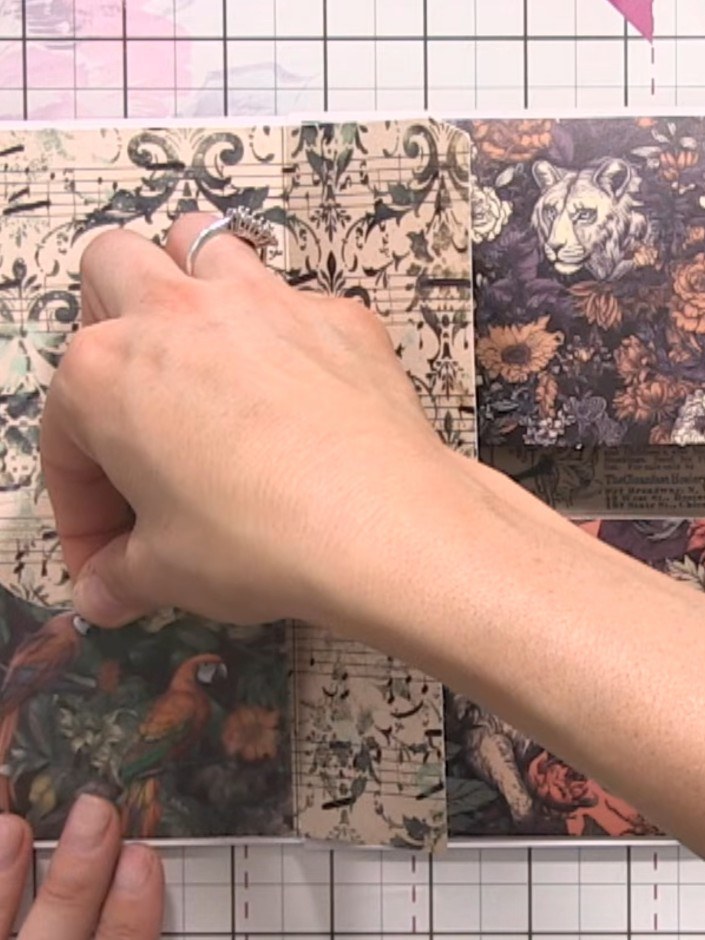
Select decorative patterned papers to coordinate with your album design. Position and adhere the papers to cover the white spaces on your album pages, ensuring they complement the existing vintage newspaper and floral elements.
 10
Adhere the pocket embellishments to your album pages by applying adhesive along the left, bottom, and side edges only, leaving the top open to create functional pockets for photos or mementos.
 11
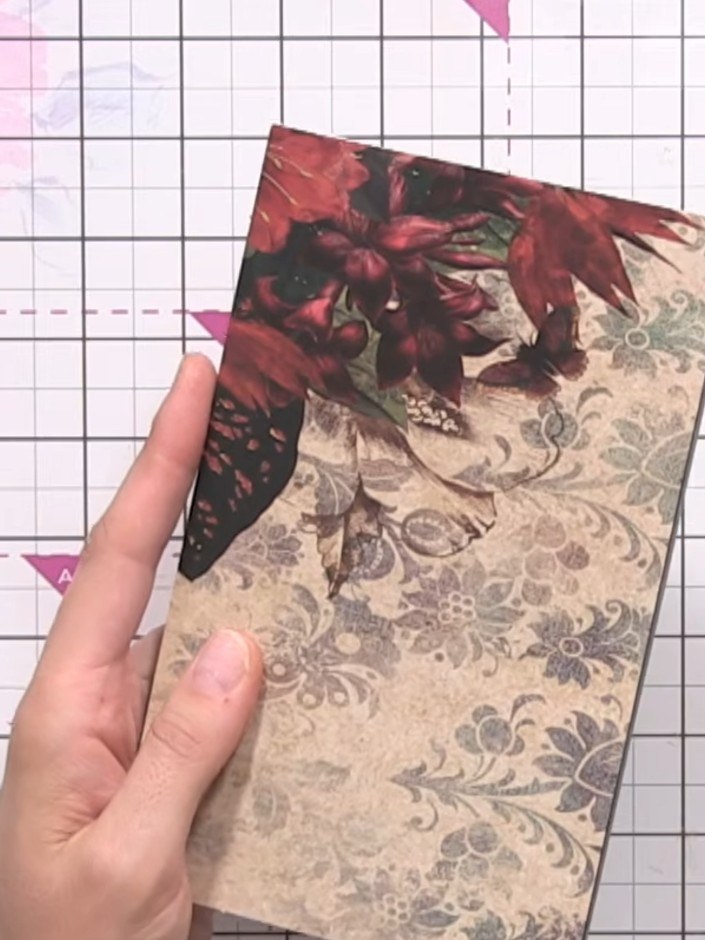
Add final decorative embellishments to personalise your album pages. Use bird toppers, tags, or other decorative elements from your paper collection to complete the design.
Share your make with the Stamps By Me community - and keep this guide for next time.
Written up from the show itself. See every guide from our shows · free how-to guides · watch live on My Telly · the previous layout


