Give your friends $10 off their first order!
Refer a FRIEND








Prices change straight away. Every language is our own translation, not Google.
A project from our live show MY PODCAST - Catch my latest updates broadcast 11th August 2025 · 08/11/2025 · watch it from 1:01:30
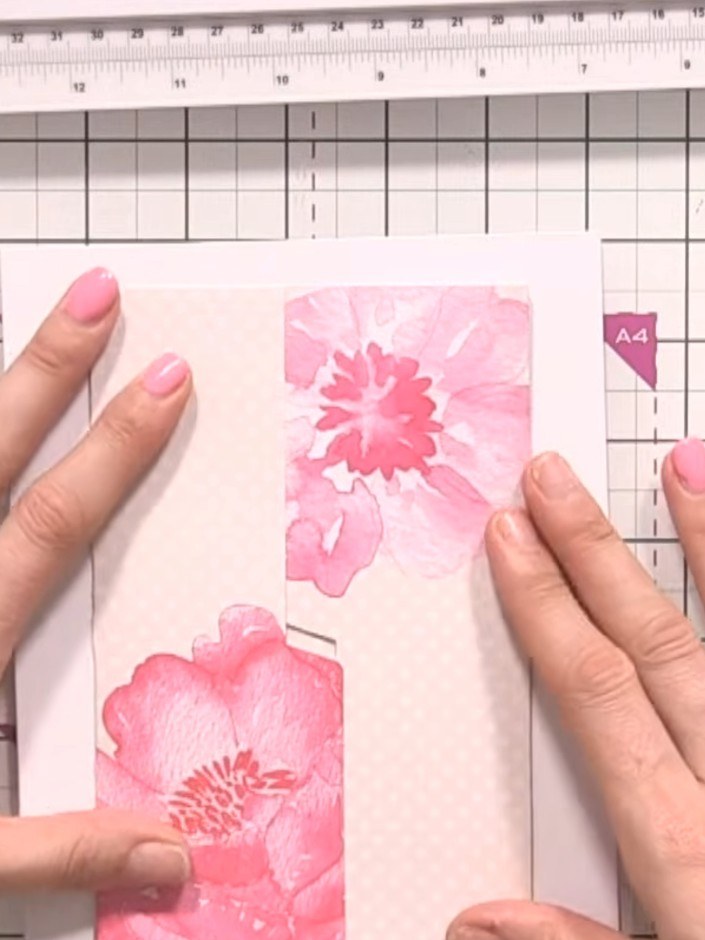
Create an elegant interactive greeting card featuring a hinged fold-out door on the front. The card showcases a delicate pink watercolour floral design and opens to reveal a hidden scene or message inside. This project uses pre-cut album pieces adapted for card-making, with techniques including hinge construction and layered paper assembly.
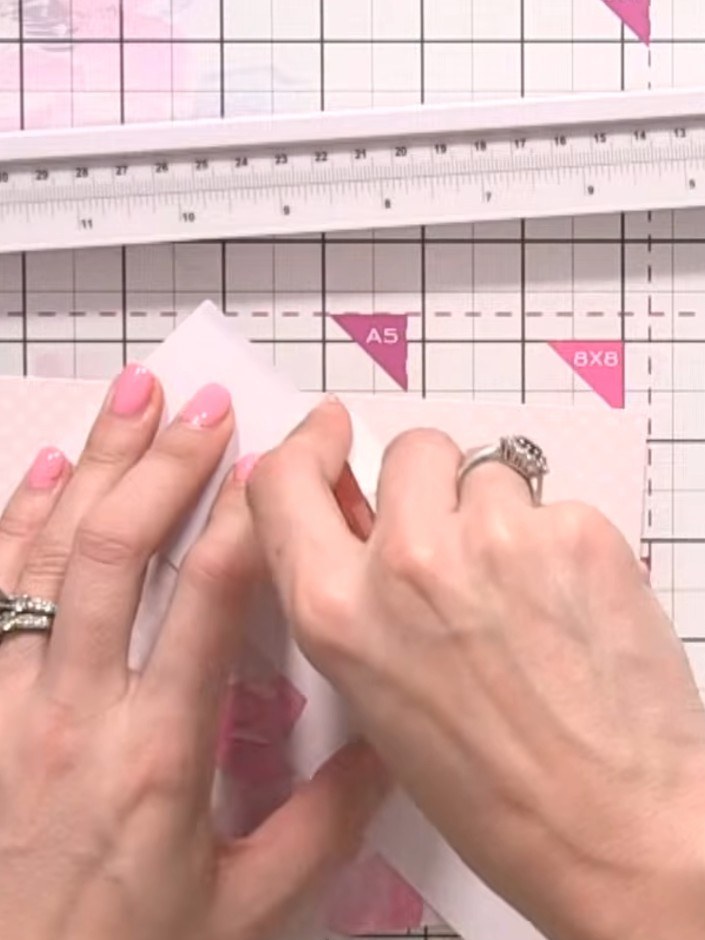
Take a pre-cut hinge piece and score it down the centre to create a fold line. This will allow the piece to fold neatly in half.
▶ watch this step (1:01:45)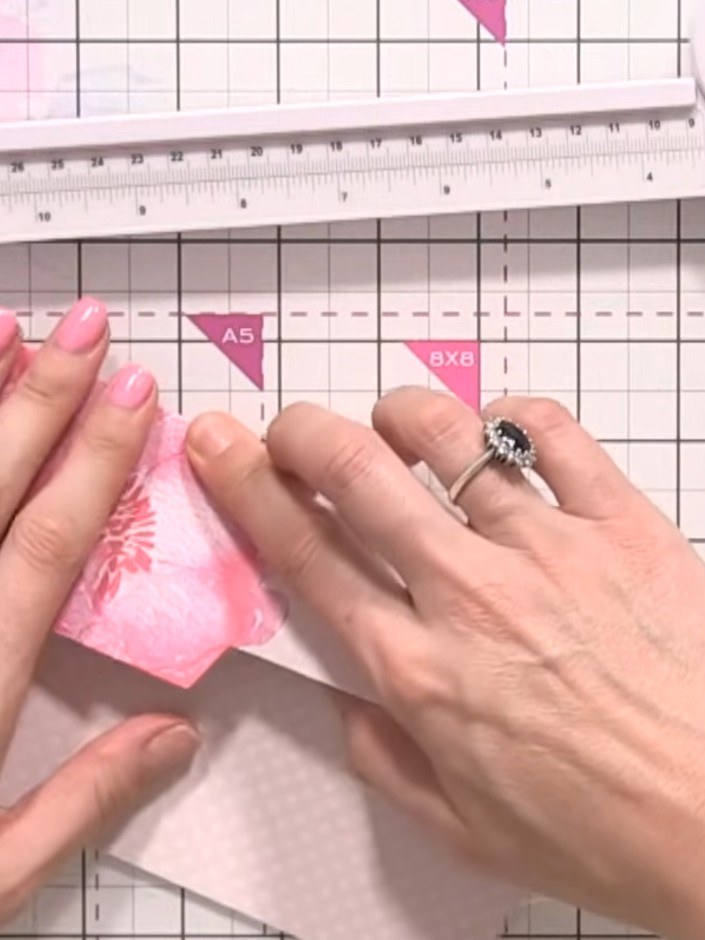
Fold the decorated panel in half with the floral design on the outside. Position it at the top of your card base to create a hinged door effect, then secure it in place with adhesive tape.
▶ watch this step (1:02:15)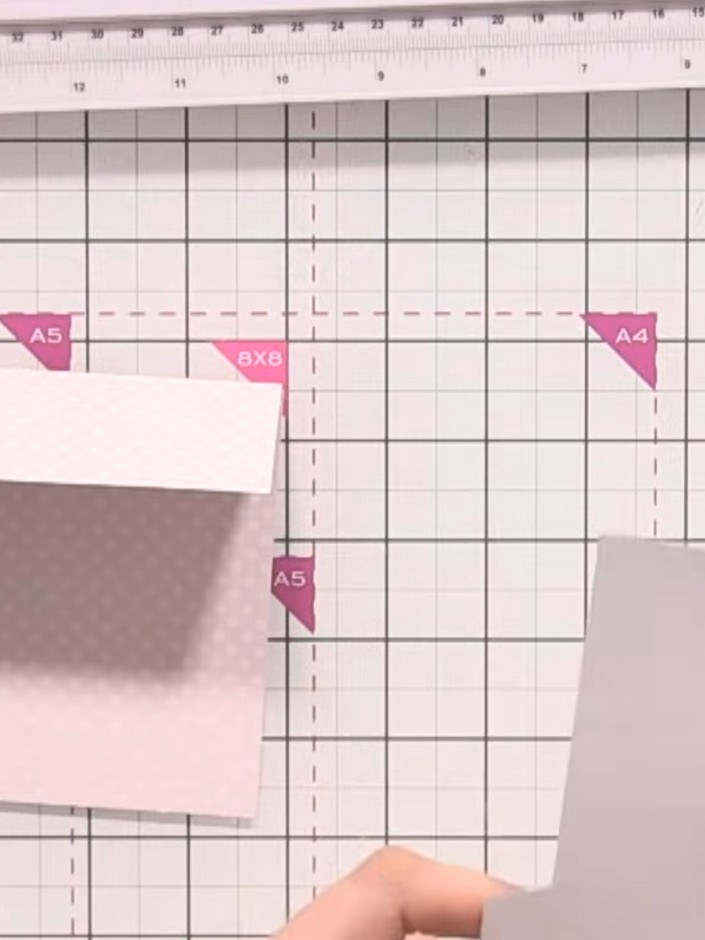
Take a second piece of grey cardstock and position it inside the card to create the fold-out flap. This piece will form the hinge that allows the door to open from the centre.
▶ watch this step (1:02:45)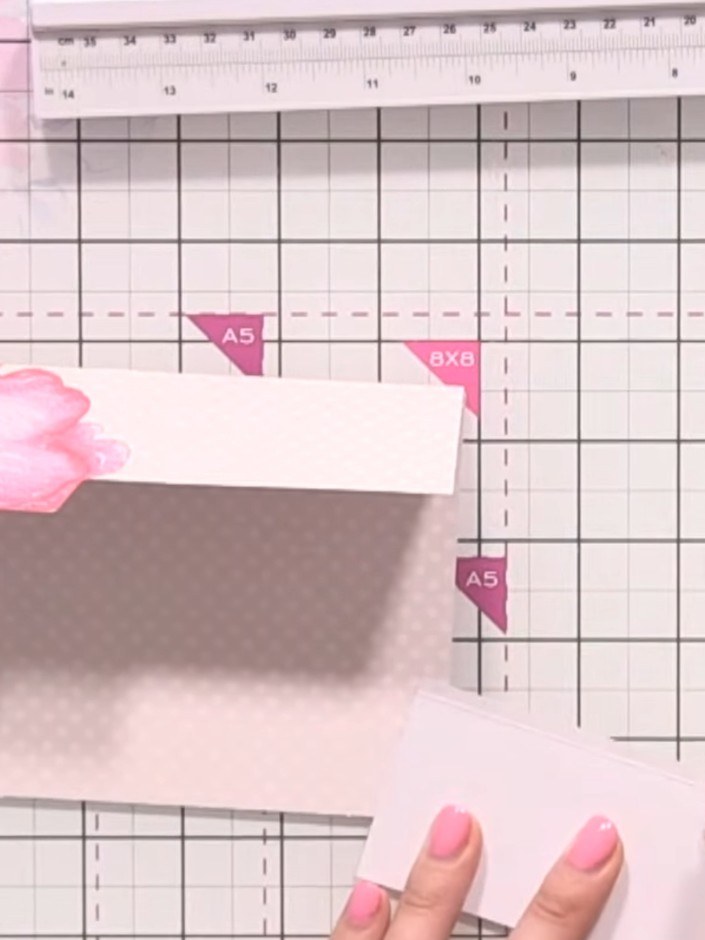
Mount your finished card panel onto a card blank using dry clear glue. Add a matted layer beneath the panel to create a border and complete the base of your interactive card.
▶ watch this step (1:03:15)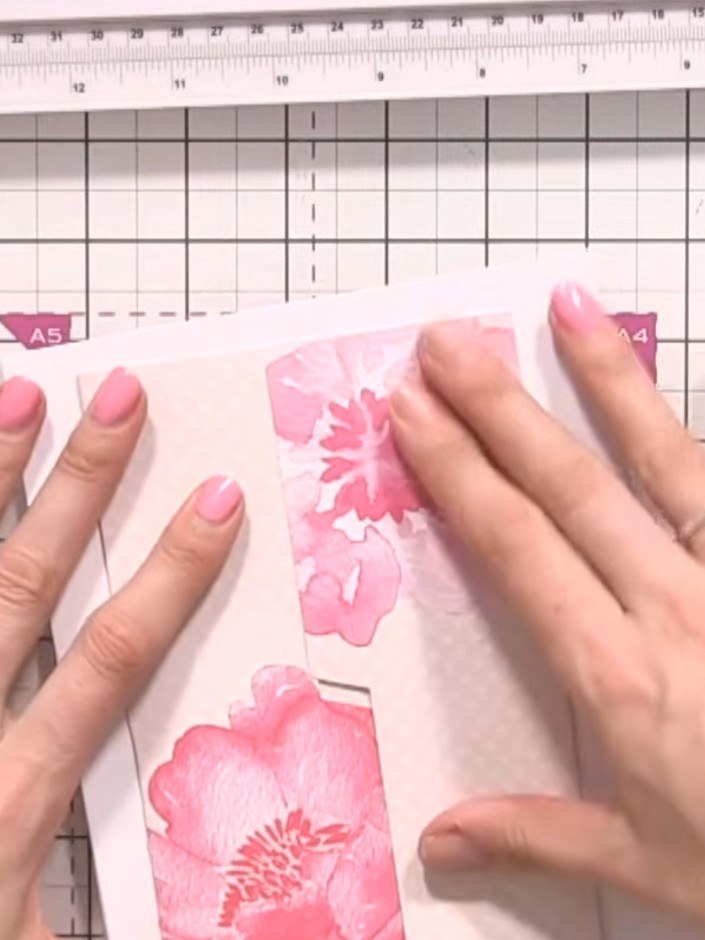
Decorate the front of the card around the hinged door area. Add pink floral embellishments and sentiments to create an attractive design. Smooth down all elements to ensure they are securely attached.
▶ watch this step (1:03:45)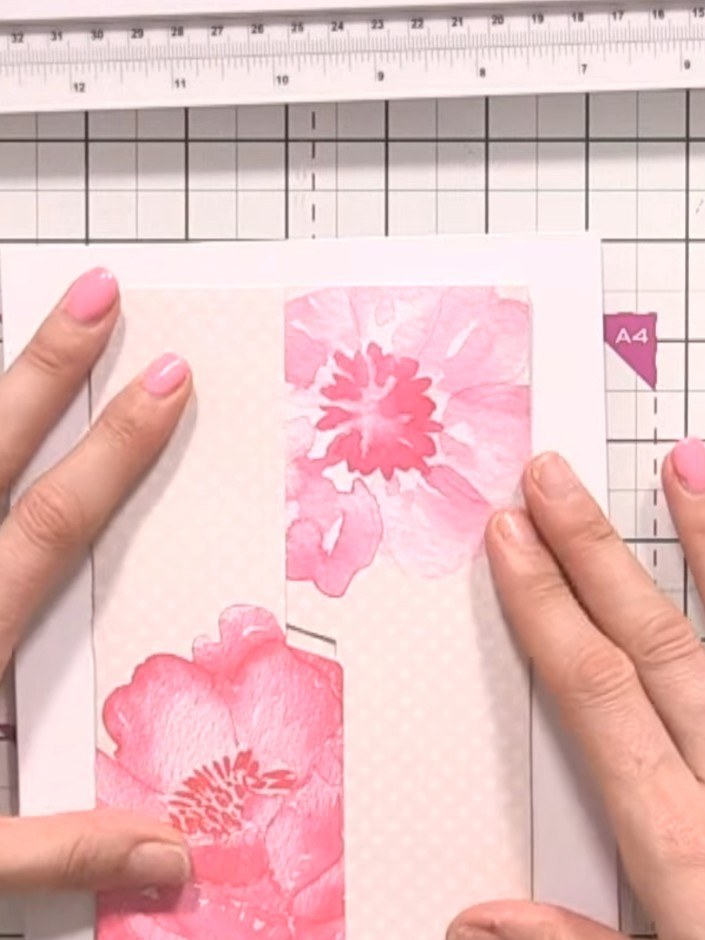
Add decorative embellishments to your card. You can place floral toppers on the front of the card blank or use them to create a surprise reveal inside the fold-out section.
▶ watch this step (1:04:00)Written up from the show itself. See every guide from our shows · free how-to guides · watch live on My Telly