Give your friends $10 off their first order!
Refer a FRIEND








Prices change straight away. Every language is our own translation, not Google.
A project from our live show ONE DAY SPECIAL - Join Toni for her brand new launch - Broadcast 22nd August 2025 · 08/22/2025 · watch it from 4:30
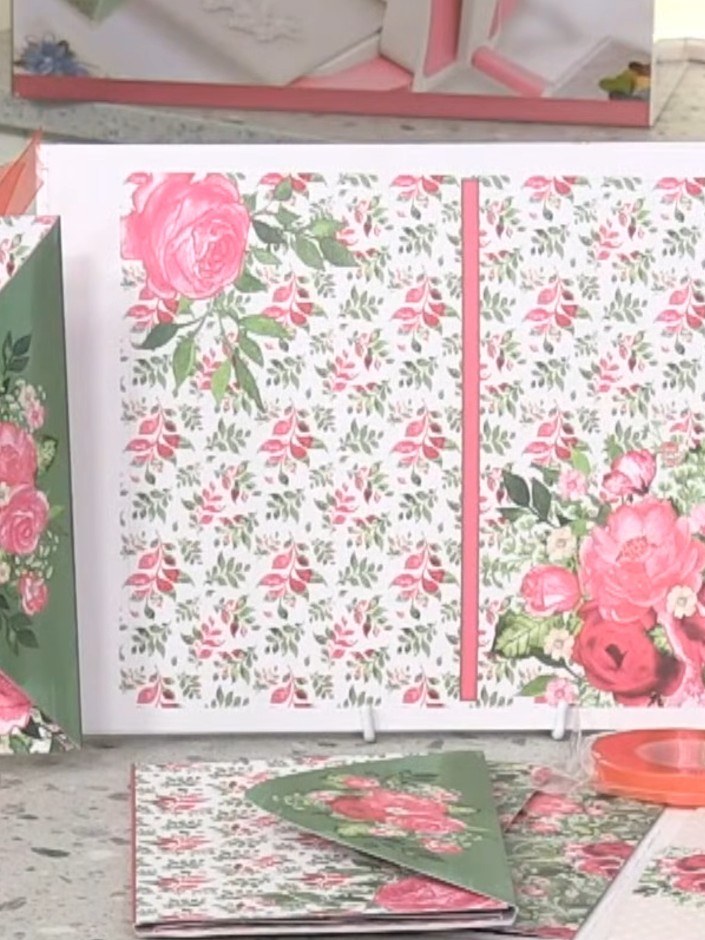
Create beautiful keepsake memory albums using a pre-cut paper kit featuring delicate floral designs in pink, green and cream tones. This no-scissors-required project uses red liner tape to assemble five complete albums, each with decorative covers adorned with roses and botanical patterns. Perfect for preserving precious memories in an elegant, vintage-inspired style.
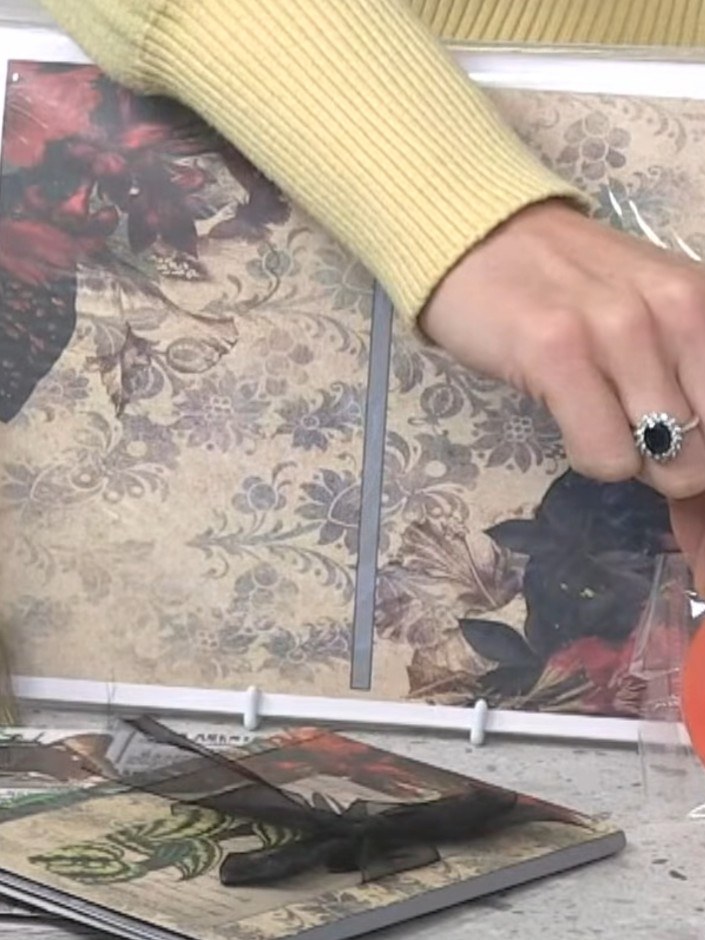
Carefully pop all the pre-cut pieces out of the album pages. No scissors are needed—simply punch them out by hand. Use the liner tape included to hold the pieces together and test the time as you work.
▶ watch this step (5:45)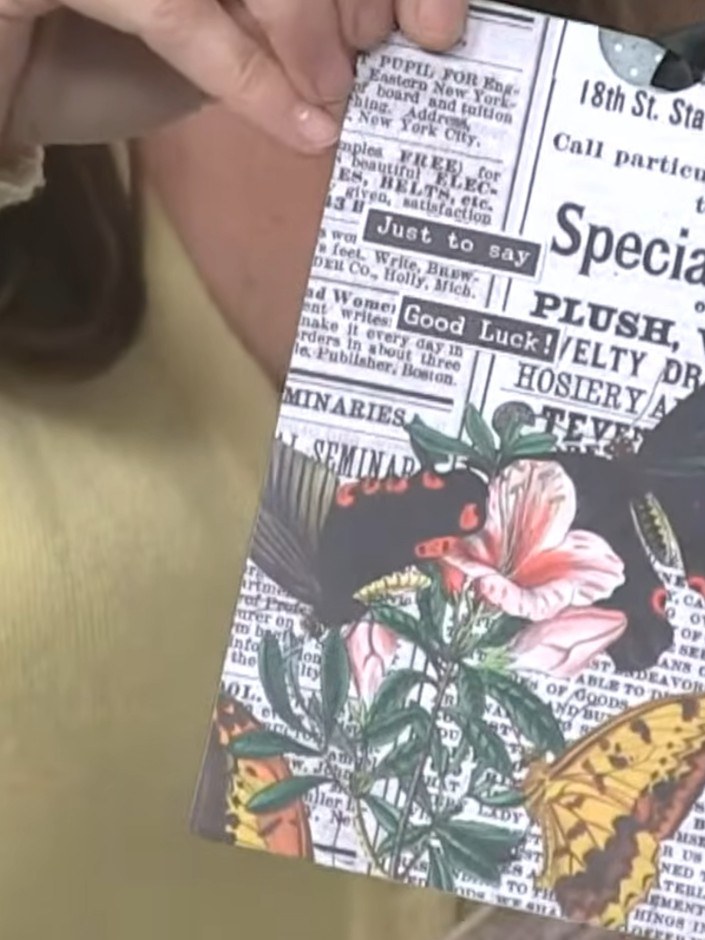
Score along the marked lines on each piece using a scoring tool to create the fold lines for your album structure. Work through all the pieces systematically, ensuring clean, straight score lines.
▶ watch this step (6:15)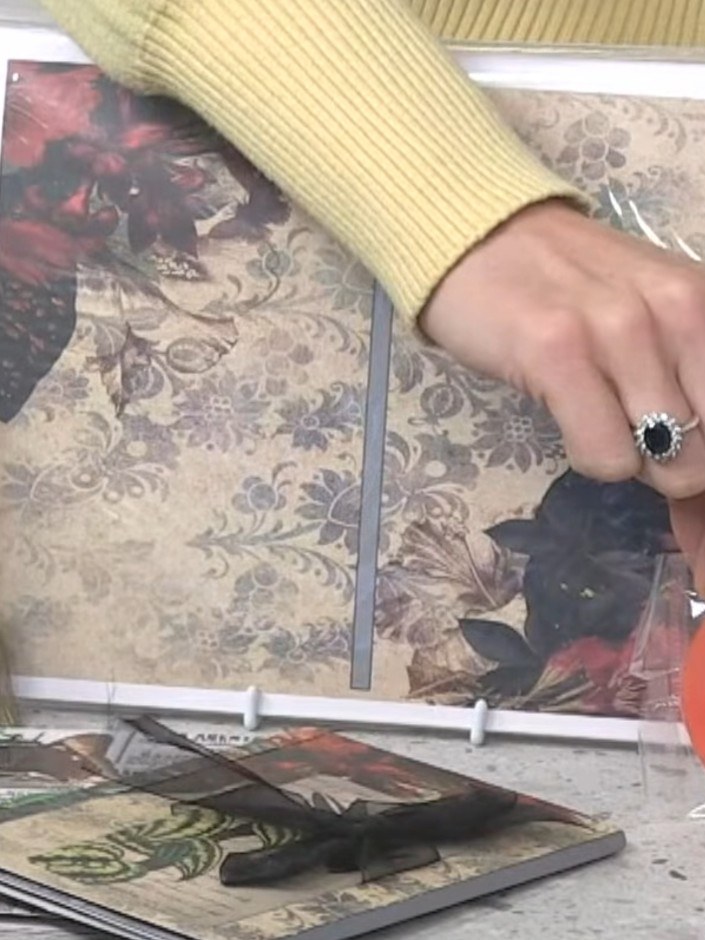
Attach the album pages together using the included 10-metre roll of red liner tape for a permanent bond. Position the tape along the edges where pages meet and press firmly to secure.
▶ watch this step (6:30)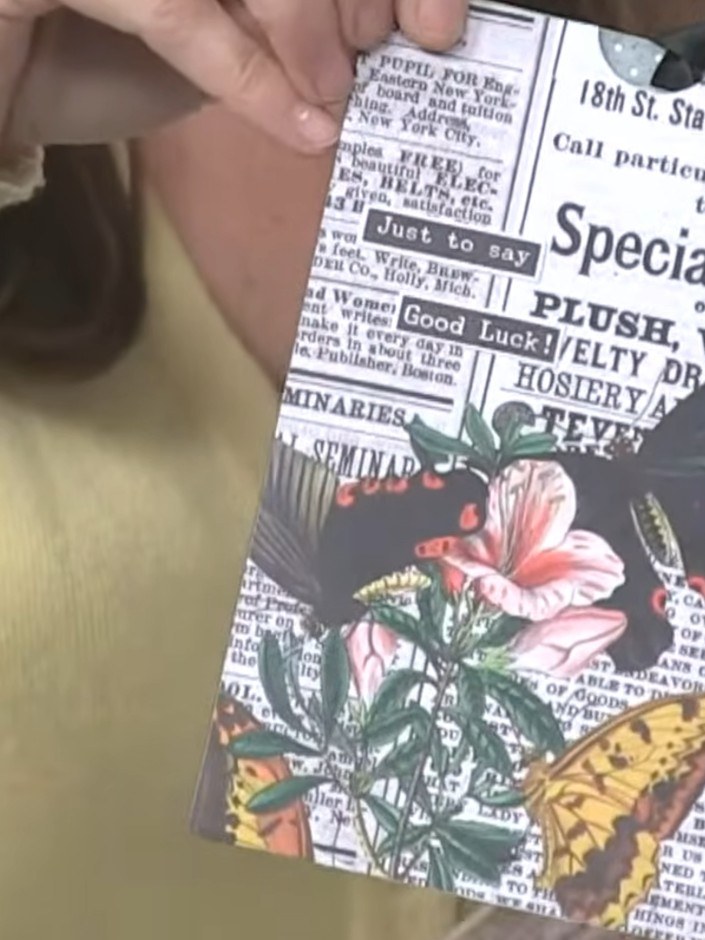
Personalise your album by adding photographs, seed packets, chocolate, gifts or other memorabilia into the pockets. Slip items behind the decorative panels or tuck them into the folded sections.
▶ watch this step (6:45)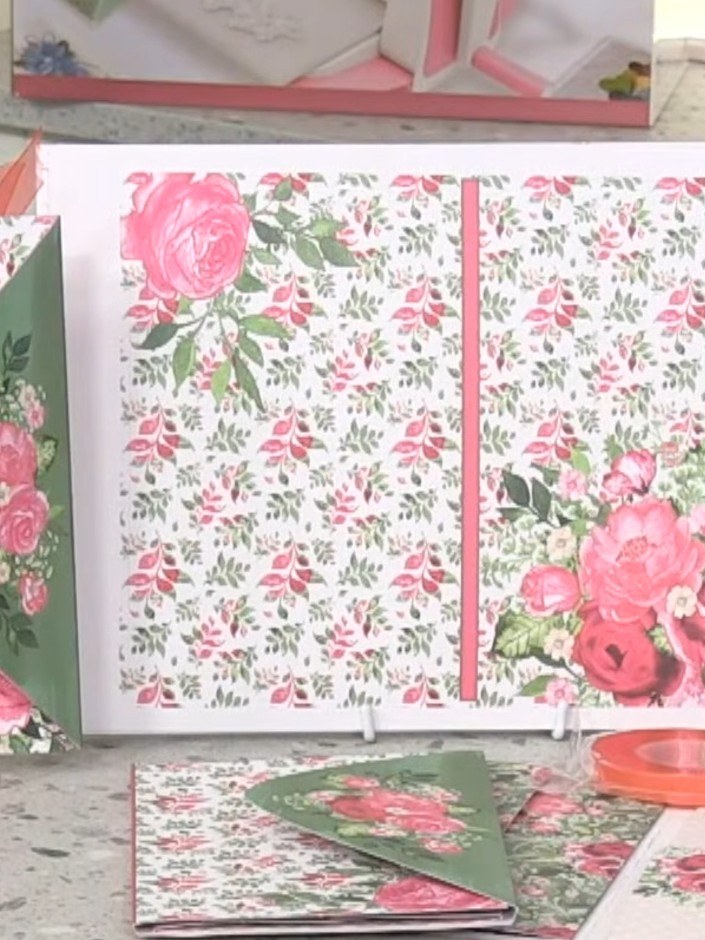
Add finishing touches to your album by attaching magnetic closures, ribbon ties, elastics or bookmarks. These embellishments provide both decorative flair and practical functionality to keep your album securely closed. Use the pre-cut pieces from the memory album kit to create alternative projects. Make gift wallets, add decorative pockets to card fronts, or create tags using the floral panels and embellishments provided in the kit.
▶ watch this step (7:15)Written up from the show itself. See every guide from our shows · free how-to guides · watch live on My Telly




