Give your friends $10 off their first order!
Refer a FRIEND








A project from our live show ONE DAY SPECIAL - Join Toni for her brand new launch - Broadcast 29th August 2025 · 08/29/2025 · watch it from 24:00
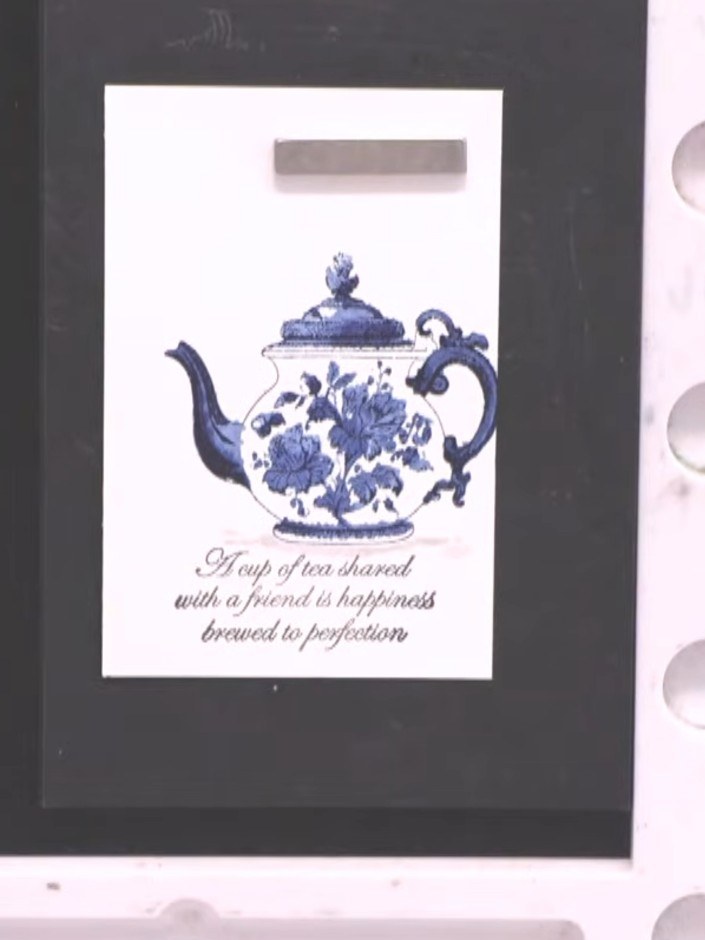
Create a stunning teapot card featuring a beautiful blue and white china teapot with delicate floral detailing. Using lamination stamps on watercolour paper, you'll achieve a gorgeous hand-painted watercolour effect with fine details that look like traditional porcelain. The finished card is mounted on a dark background, creating an elegant contrast that makes the teapot design truly stand out.
 Stamps By Me Lamination Stamp Set - Time for Tea - 270125FSEE IT
 Carta - Traditional Watercolour Paper - A5 - WCPA501SEE IT
 Stamps By Me - Craft Blank Cards & Envelopes 5 X 7 - 110425CSEE IT
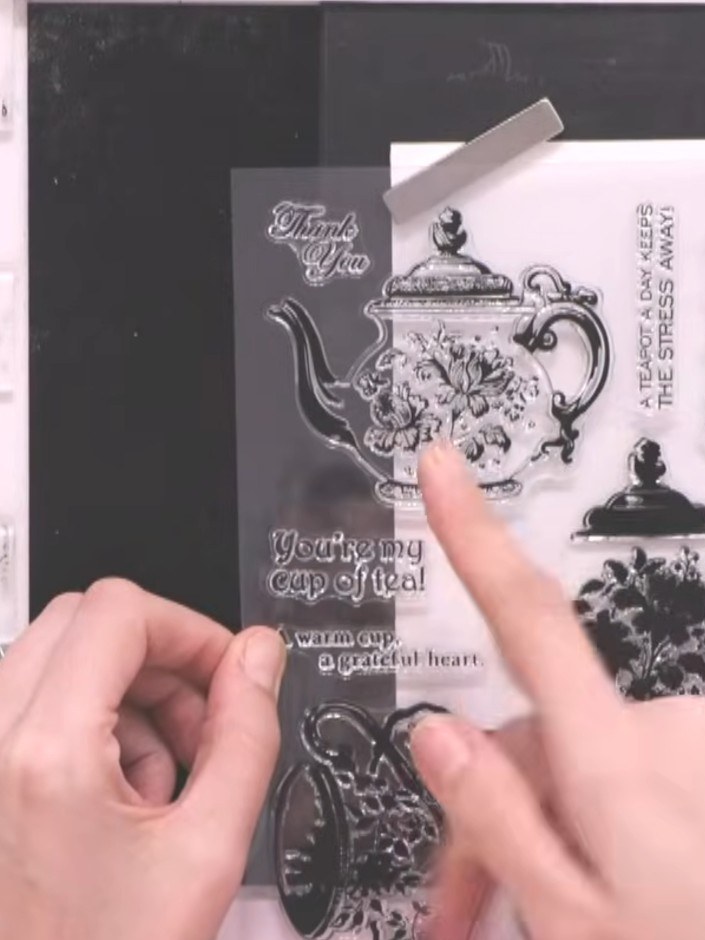
Ink up the solid teapot stamp in teal ink, tapping gently to ensure even coverage across the stamp.
▶ watch this step (24:30)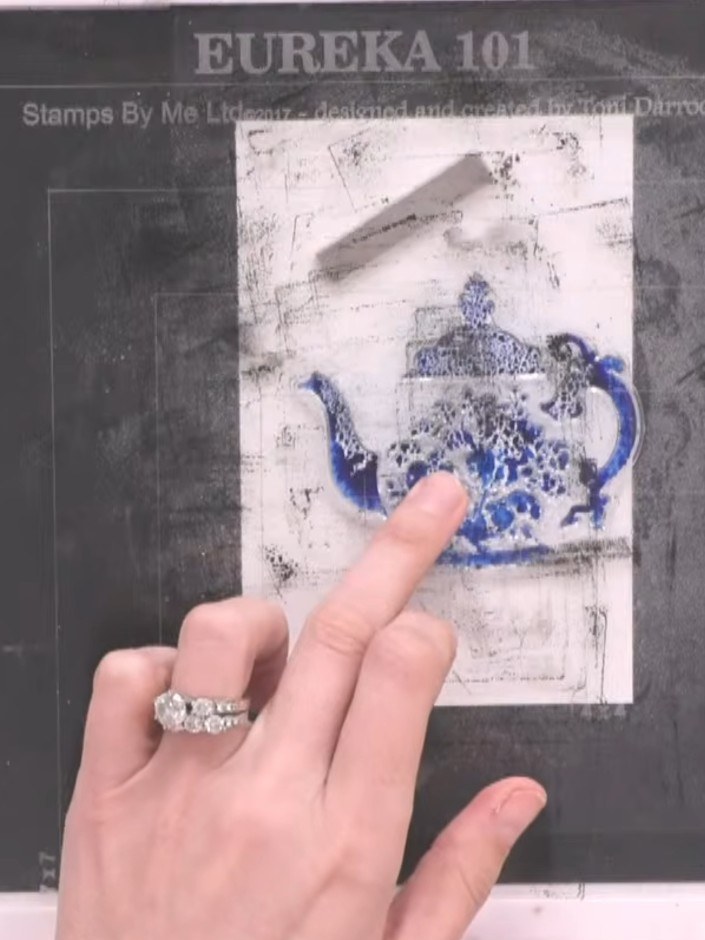
Stamp the solid teapot image onto the watercolour card, pressing down firmly and evenly to ensure good coverage.
▶ watch this step (25:45)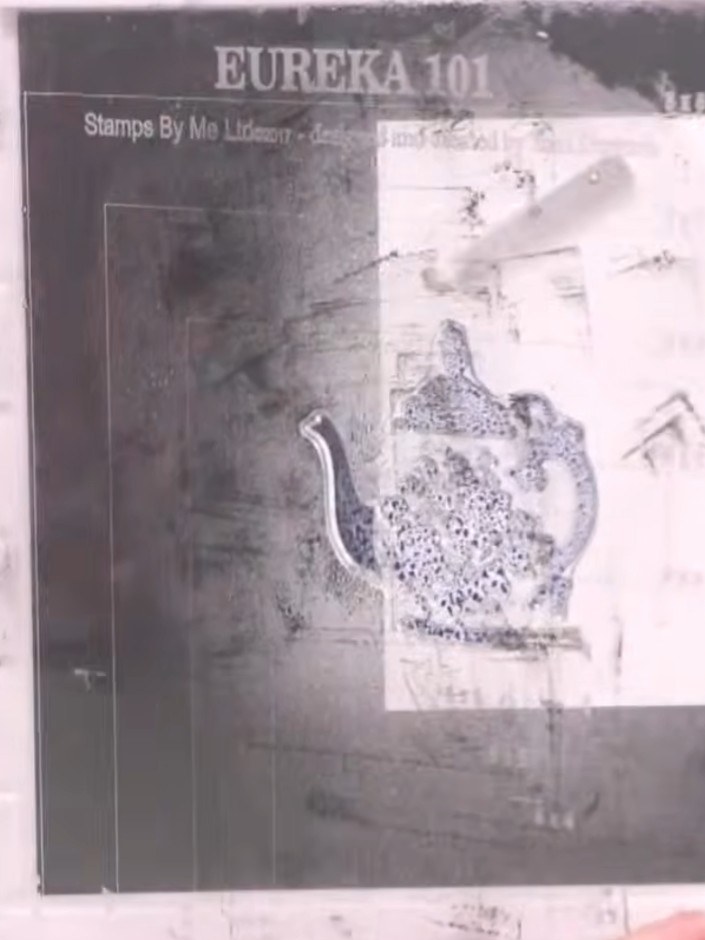
Spray the stamped teapot image three times with water to activate the ink and create a watercolour effect. Allow the water to spread across the image naturally.
▶ watch this step (26:00)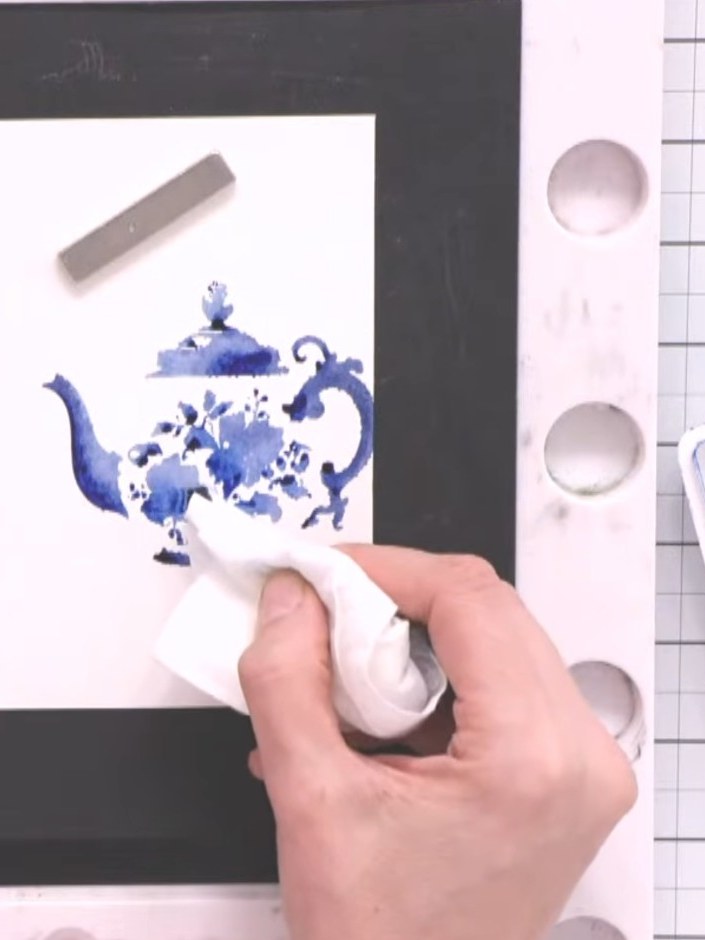
Gently dab the stamped teapot image with a damp baby wipe or cloth to lift excess ink, creating a watercolour effect. Allow the watercolour paper to absorb the ink for a few seconds without rushing, as it will not drink the ink as quickly as regular card stock.
▶ watch this step (28:00)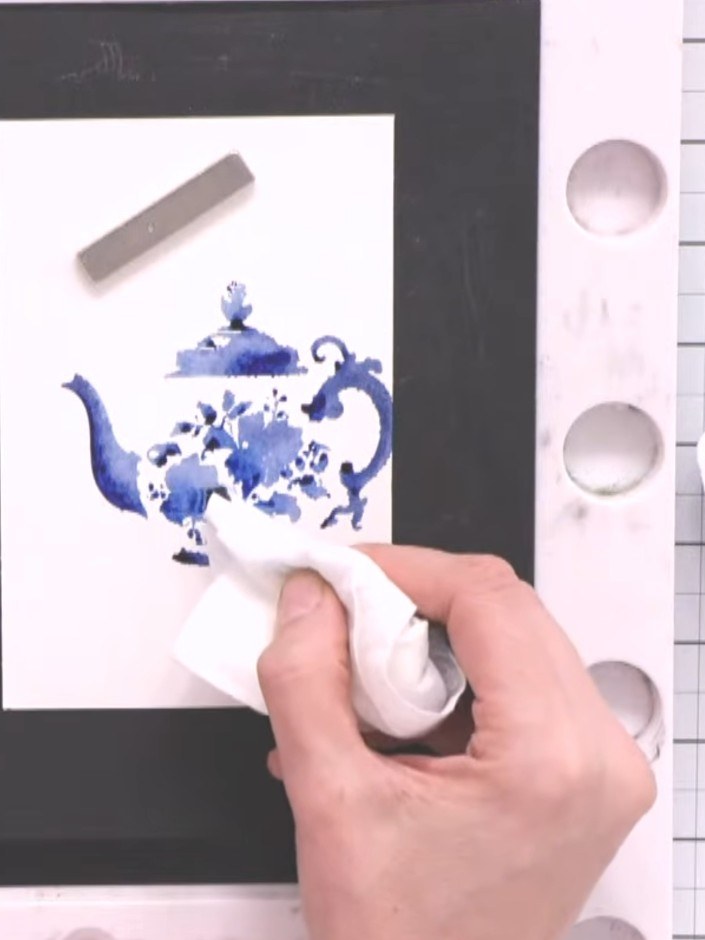
Blot away any excess water puddles using a dry baby wipe, being careful not to disturb the stamped teapot image.
▶ watch this step (28:15)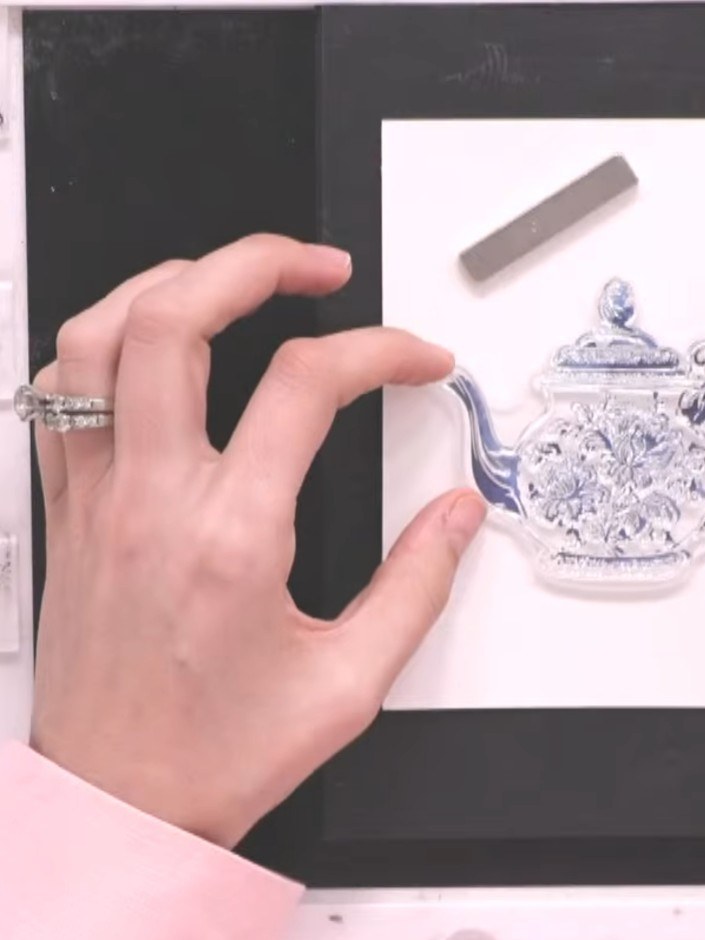
Ink up the detail stamp in the same teal colour. Carefully align it over the solid teapot image, using the packet as a guide to ensure proper placement.
▶ watch this step (31:00)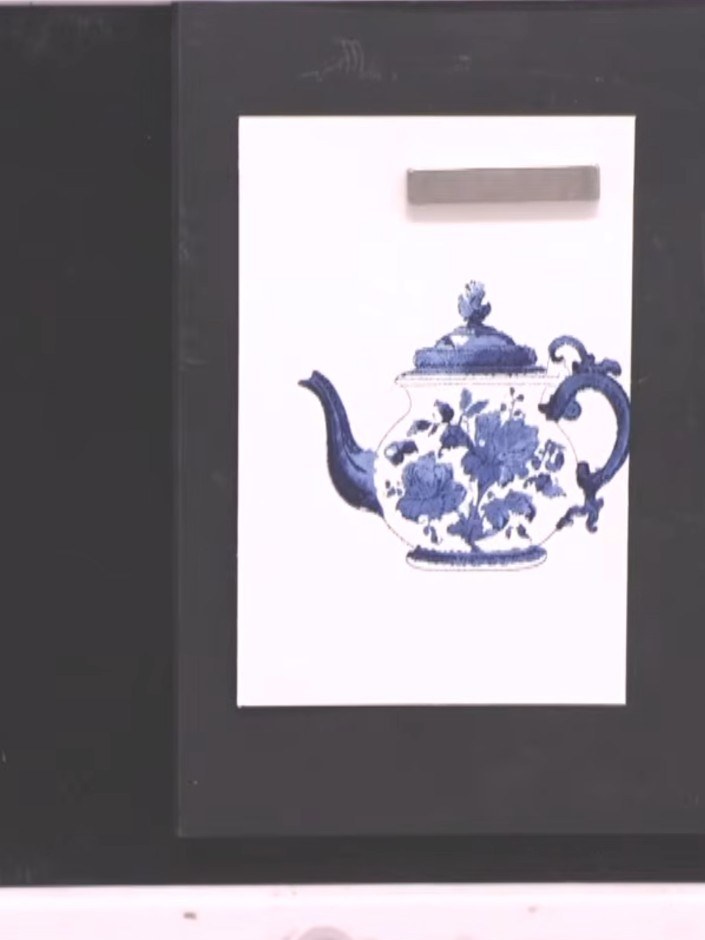
Stamp the teapot image onto white card using the blue ink, pressing firmly to transfer the fine china pattern details. Ensure good contact with the stamp to reveal all the decorative elements clearly.
▶ watch this step (32:45)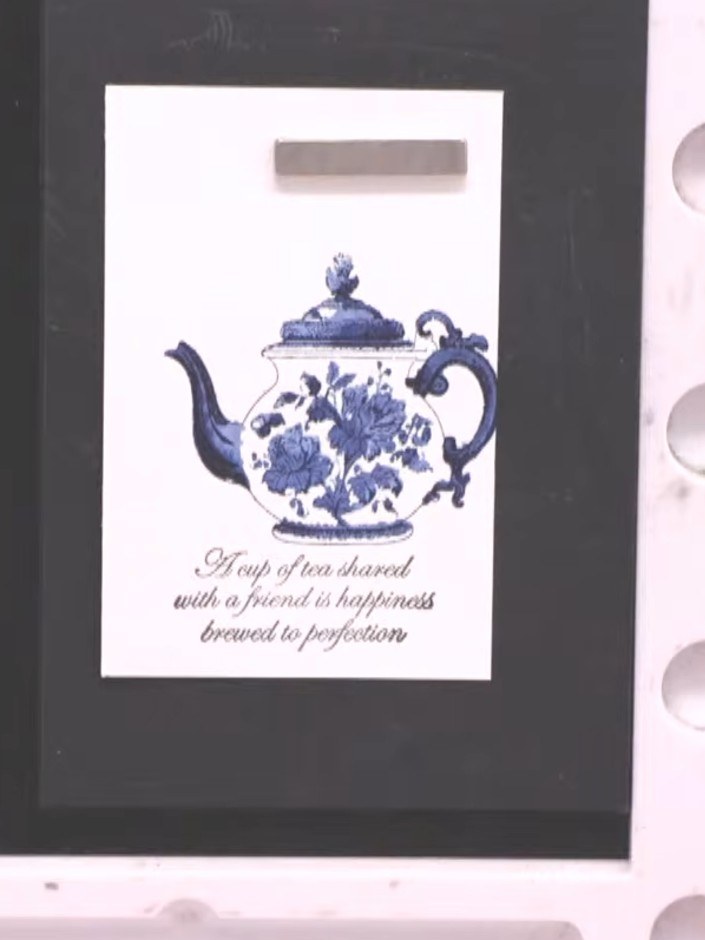
Using a brush with a light touch of water and heather ink, paint a subtle shadow beneath the teapot to ground the image on the card.
▶ watch this step (36:15)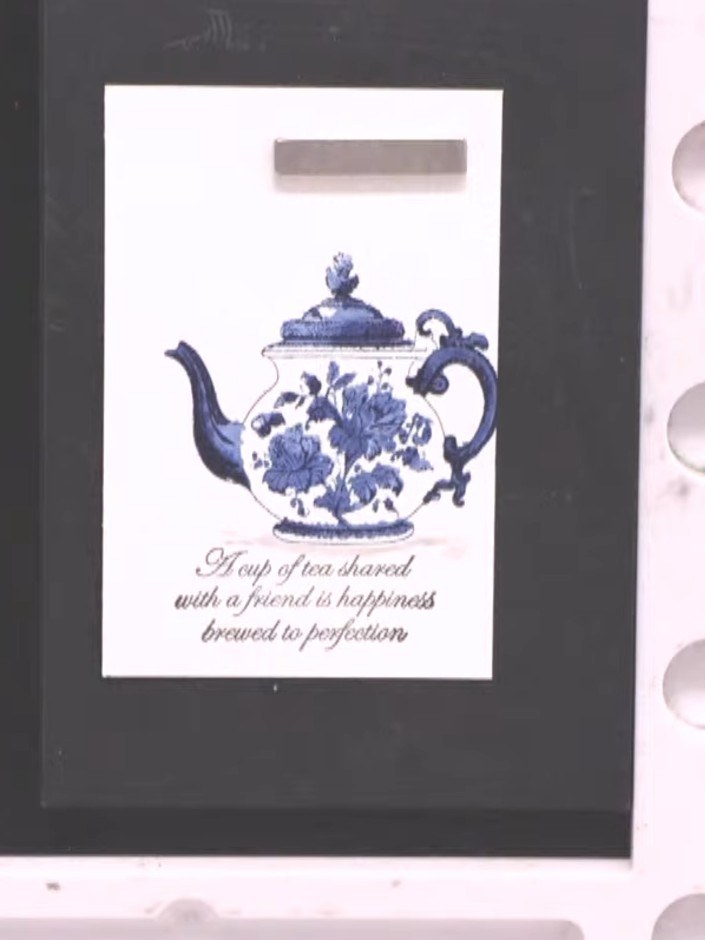
Add a black ink sentiment stamp below the teapot image, positioning it centrally to complement the design. The sentiment reads 'A cup of tea shared with a friend is happiness brewed to perfection'.
▶ watch this step (37:00)Written up from the show itself. See every guide from our shows · free how-to guides · watch live on My Telly