Give your friends $10 off their first order!
Refer a FRIEND








A project from our live show Product Demonstation - Lamination Set - Slice of Joy and Time for Tea - 290825A · 08/29/2025 · watch it from 22:00
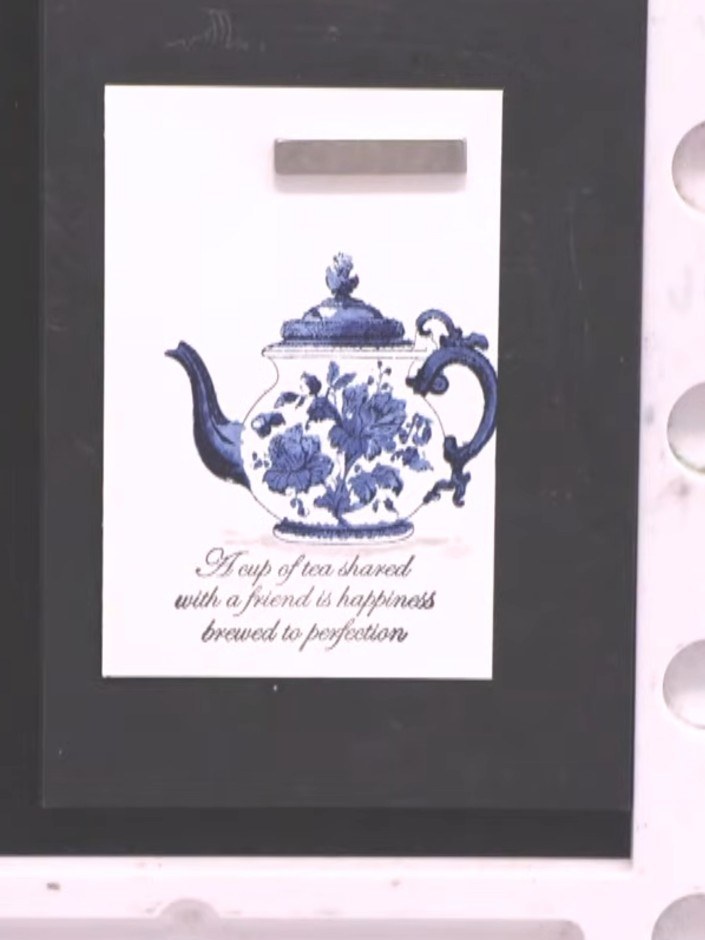
Create a stunning card featuring a blue and white teapot stamp with a hand-painted watercolour appearance using lamination techniques. The elegant design is mounted on a dark grey mat and white card base, with the sentiment 'A cup of tea shared with a friend is happiness brewed to perfection' beneath the teapot. Multi-layered stamping creates fine china detail with soft colour blending and delicate shading for a sophisticated finish.
 Stamps By Me Lamination Stamp Set - Slice of Joy - 270125ESEE IT
 Carta - Traditional Watercolour Paper - A5 - WCPA501SEE IT
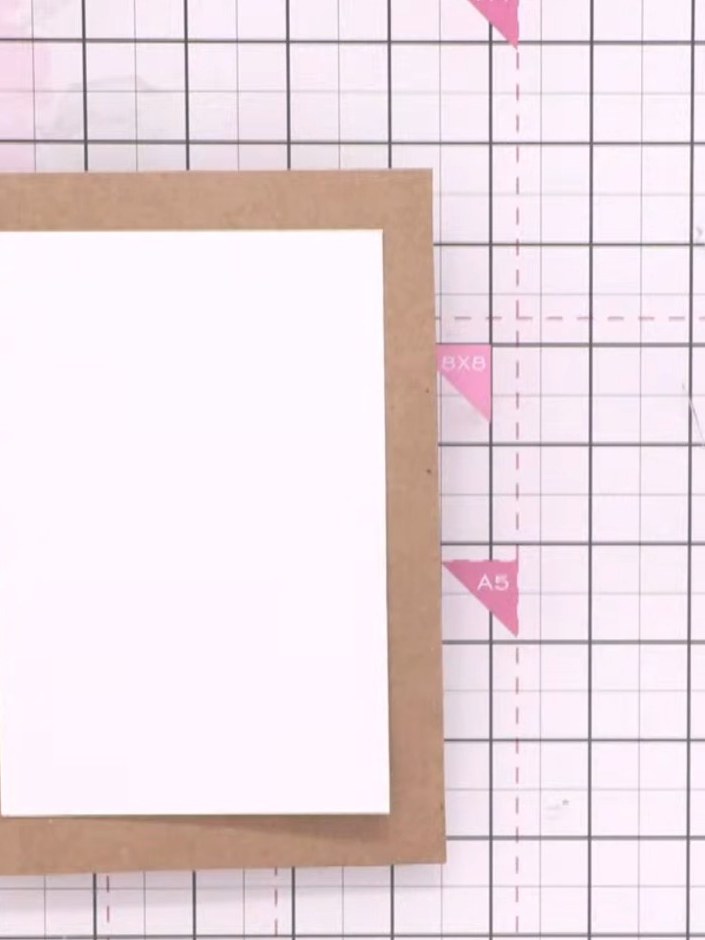
Trim your white watercolour card to a smaller size to create a mini card format. Place the trimmed white card centrally onto the kraft card base.
▶ watch this step (22:00)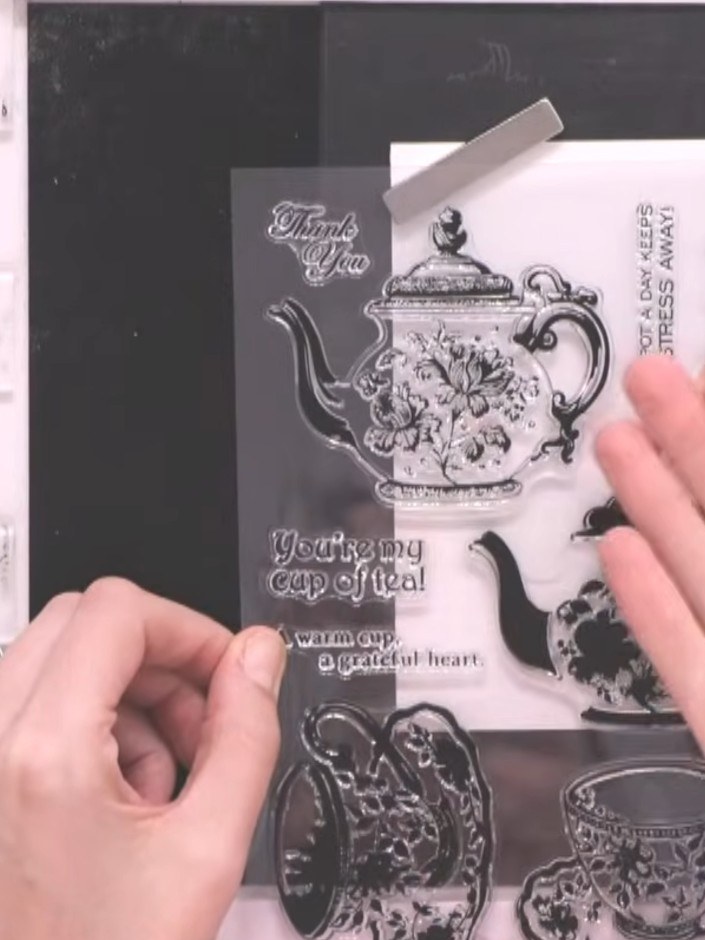
Ink the solid teapot stamp with teal ink, tapping gently to ensure even coverage across the stamp surface.
▶ watch this step (24:30)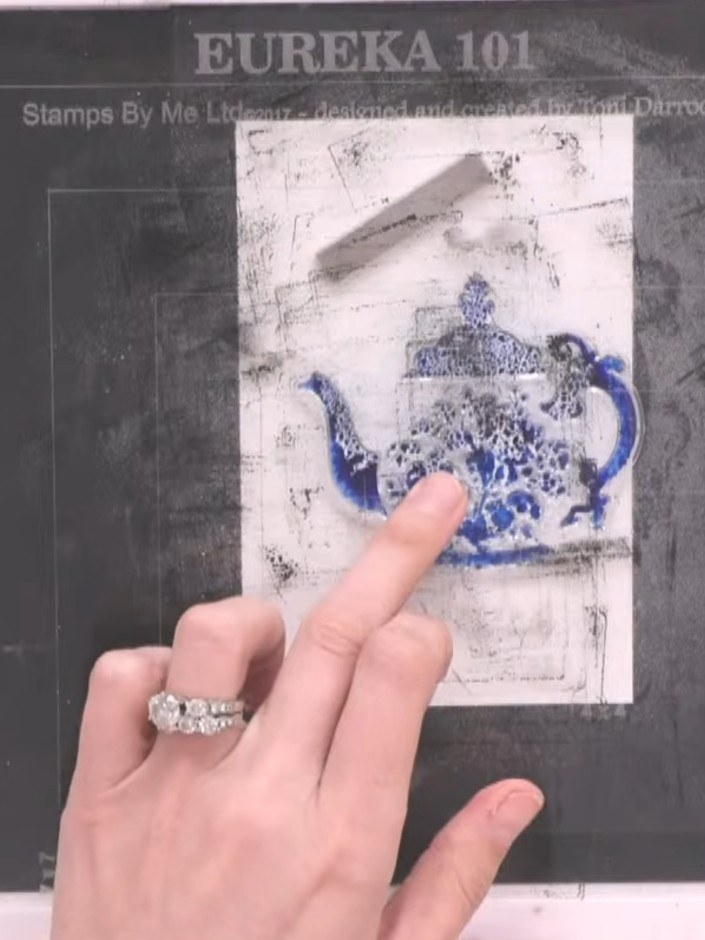
Spray the inked stamp three times with water using a water spray bottle to create a wet, blendable surface on the watercolour paper.
▶ watch this step (25:45)
Press the lamination stamp firmly onto the watercolour card and hold for a moment to ensure good contact.
▶ watch this step (26:00)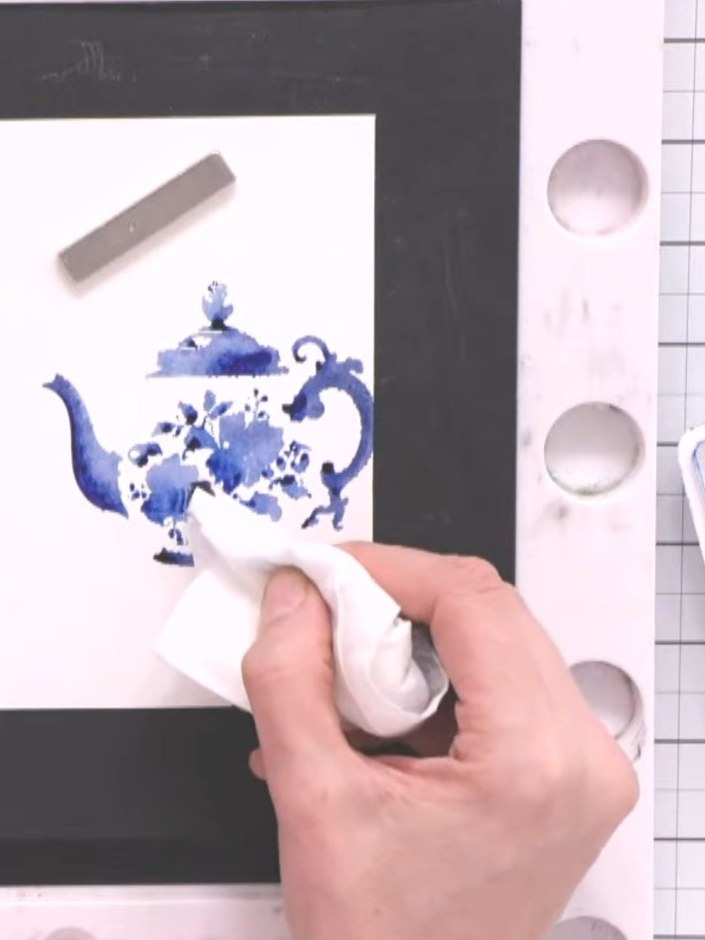
Use a dry baby wipe to blot away excess water and puddles from the teapot image, whilst keeping the blue watercolour wet on the surface.
▶ watch this step (28:00)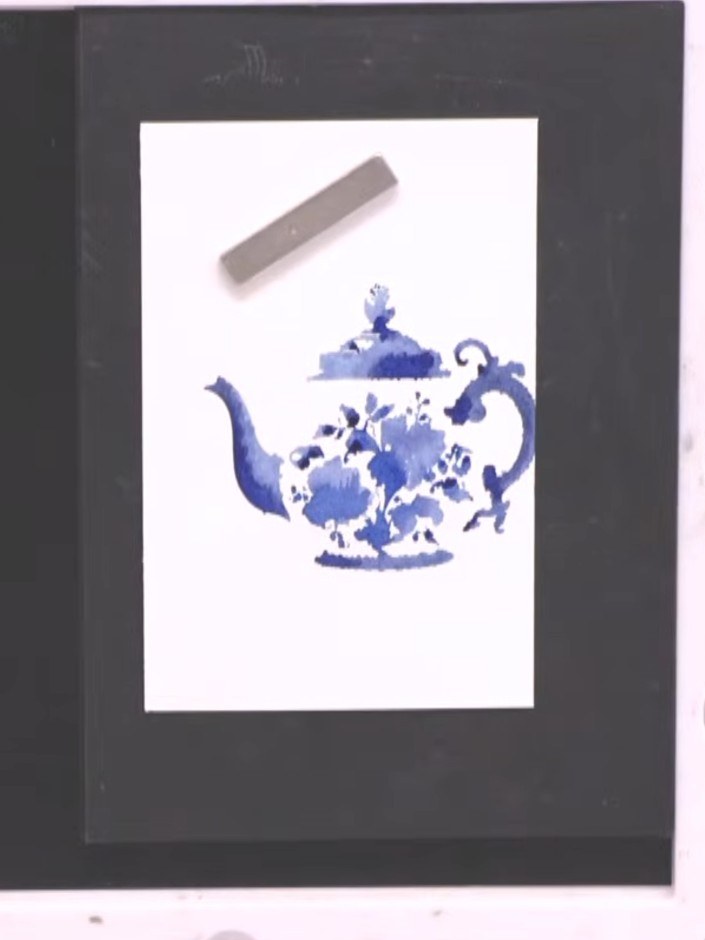
Align the detail stamp over the solid blue teapot image, using the packet as a guide to ensure proper placement of the decorative pattern.
▶ watch this step (29:45)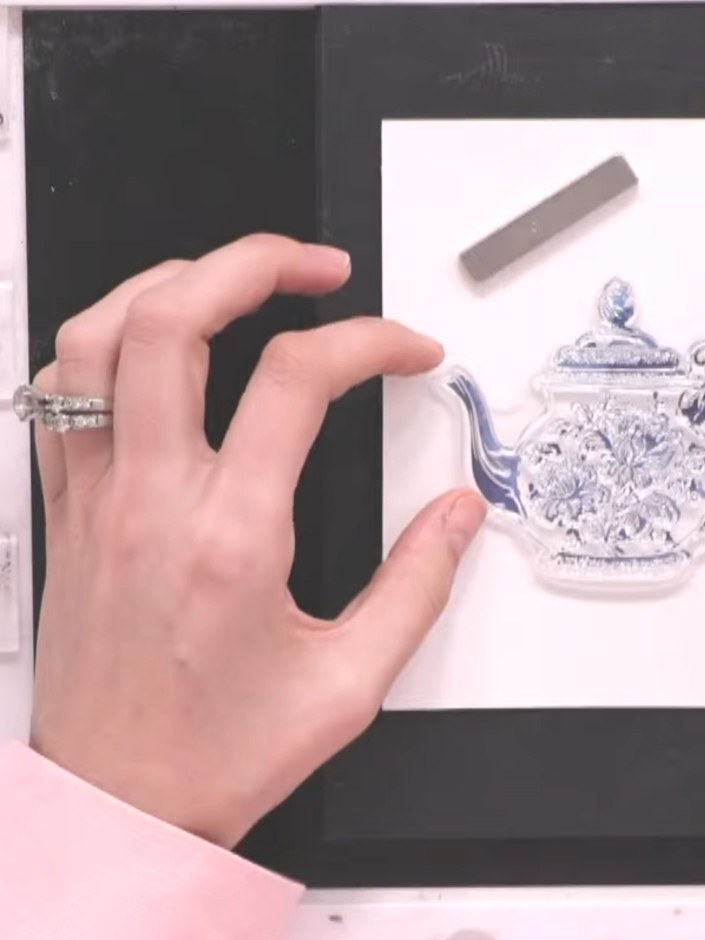
Ink the detail stamp with the same teal colour. Stamp the image twice onto the teapot for better definition and depth.
▶ watch this step (31:00)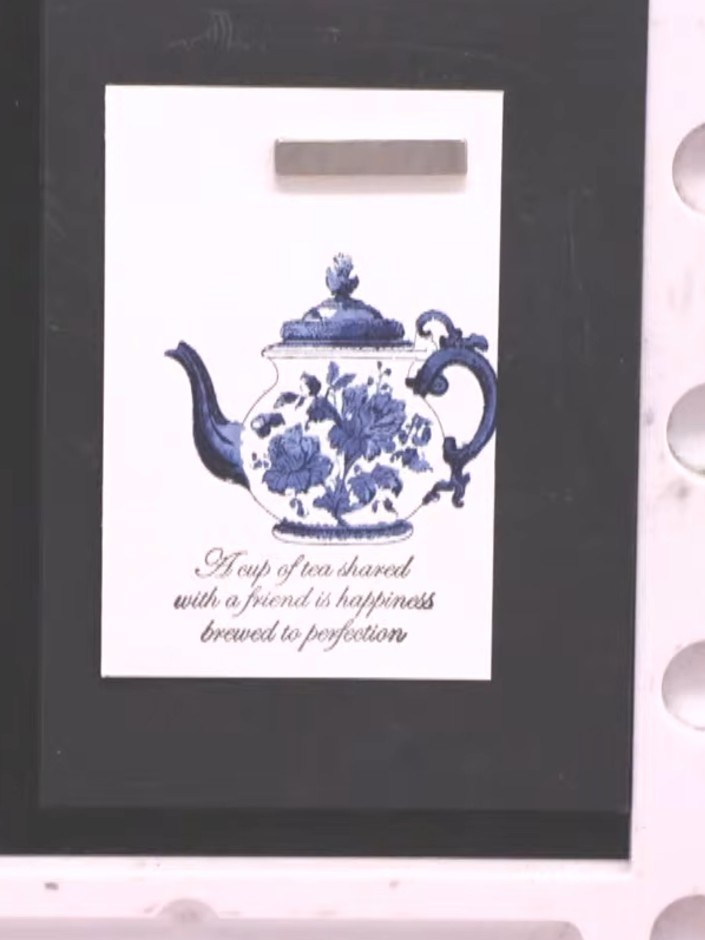
Using a damp brush with a light grey or heather ink, paint a soft shadow underneath the teapot to ground the image. Apply the colour lightly to create a subtle watercolour effect.
▶ watch this step (36:15)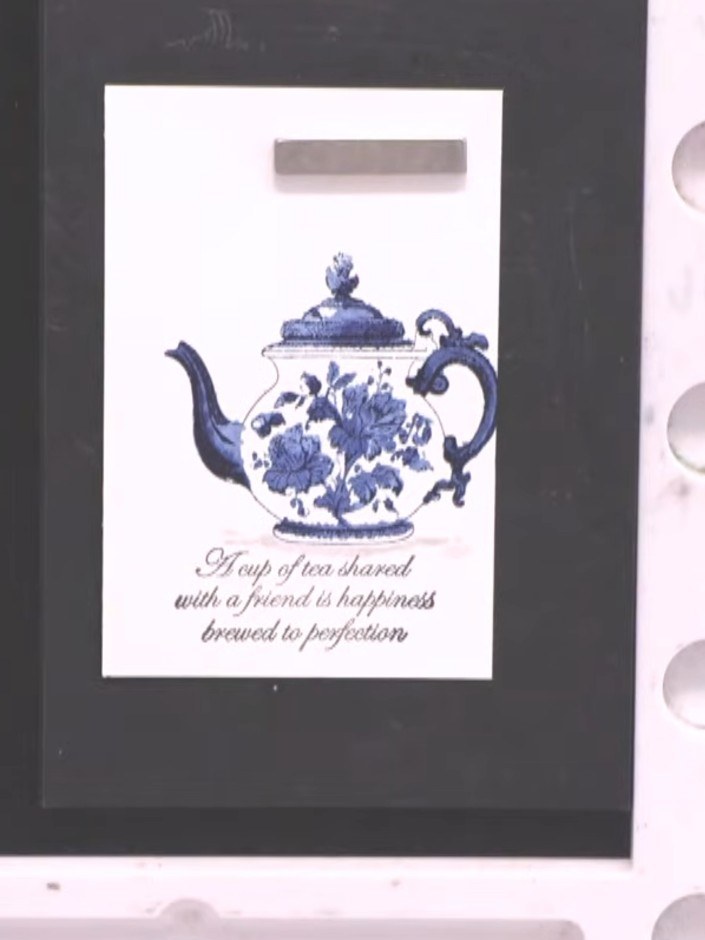
Mount the finished stamped teapot panel onto a craft-coloured card blank to complete your card.
▶ watch this step (37:00)Written up from the show itself. See every guide from our shows · free how-to guides · watch live on My Telly