Give your friends $10 off their first order!
Refer a FRIEND








A project from our live show ONE DAY SPECIAL - Join Toni for her brand new CHRISTMAS LAUNCH - Broadcast 5th September 2025 · 09/05/2025 · watch it from 1:16:15
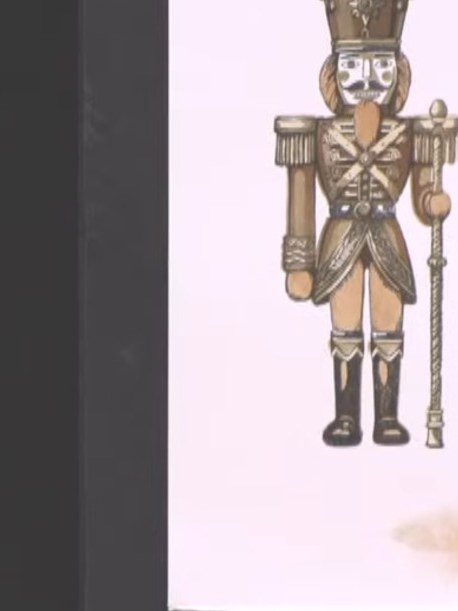
Create a beautifully layered festive card featuring a charming nutcracker soldier character. Using five coordinating stencils and detailed stamping, you'll build rich dimensional colour through careful layering of bronze, gold and neutral tones. This elegant Christmas card showcases intricate detail and sophisticated stencilling techniques for a truly special handmade greeting.
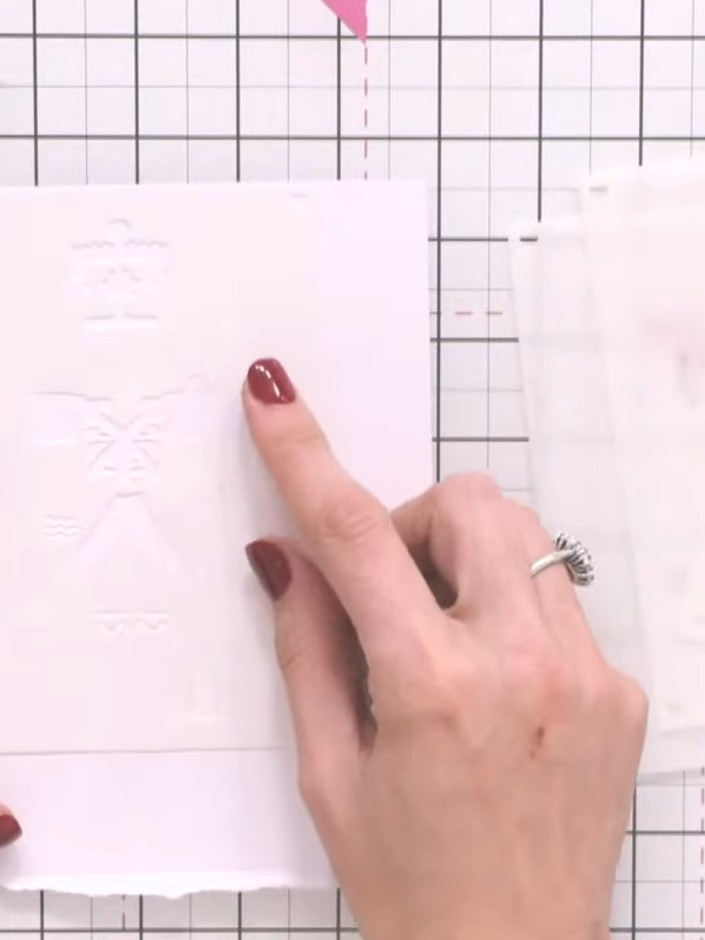
Take a white card blank and position stencil number one at the edge of the card, lining it up carefully.
▶ watch this step (1:17:30)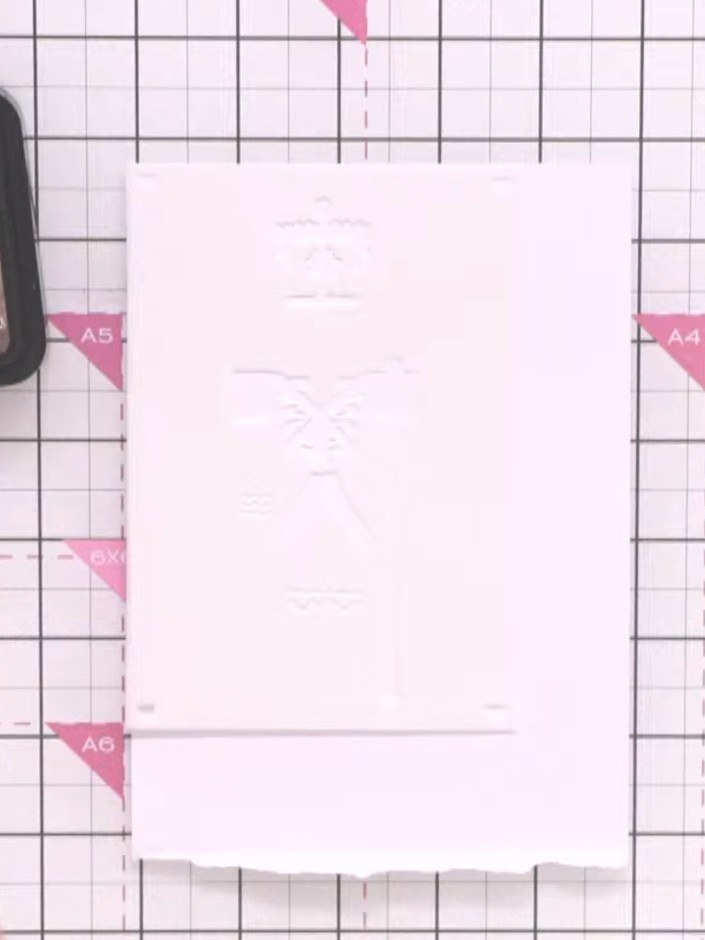
Position the stencil over your white card base. Apply Distress Ink through the stencil using a sponge dauber, starting with lighter colours and building up to darker tones for depth.
▶ watch this step (1:18:00)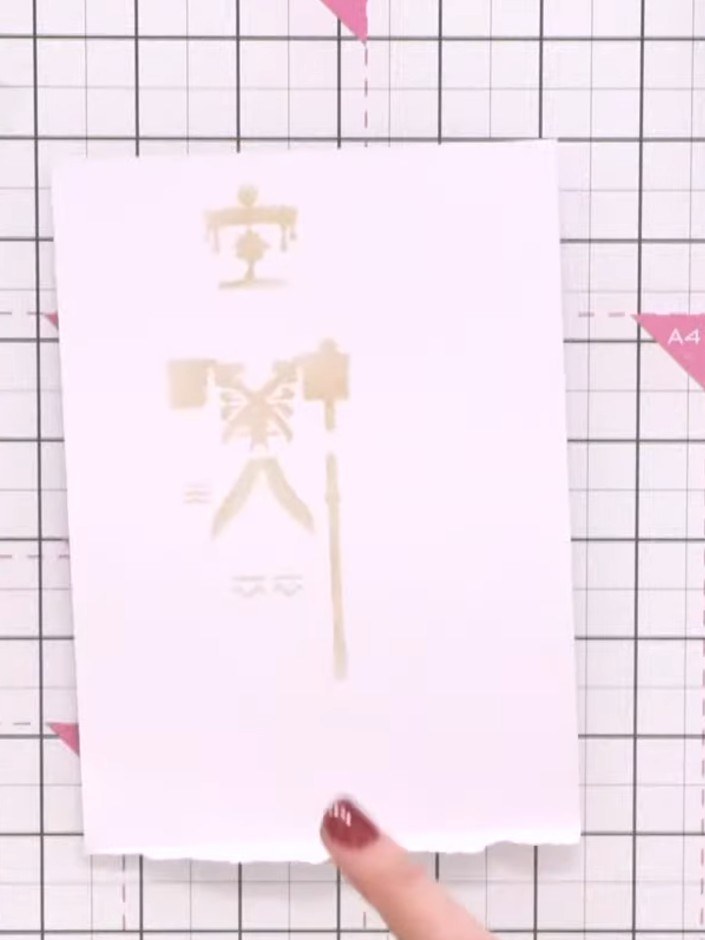
Remove the first stencil and position stencil number three over the stamped image. Apply a medium brown Distress Ink through the stencil to add the next layer of detail to the chestnut design.
▶ watch this step (1:19:45)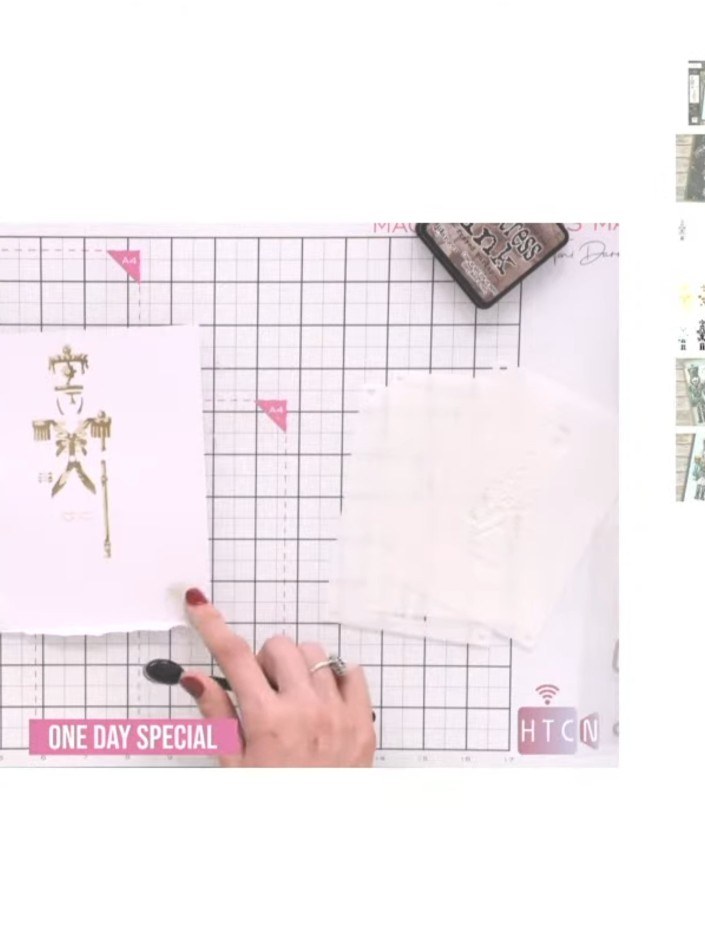
Use stencil number four and press darker ink through the design to build depth and variation in the chestnut tones. Apply the ink with a light touch to create subtle shading.
▶ watch this step (1:20:30)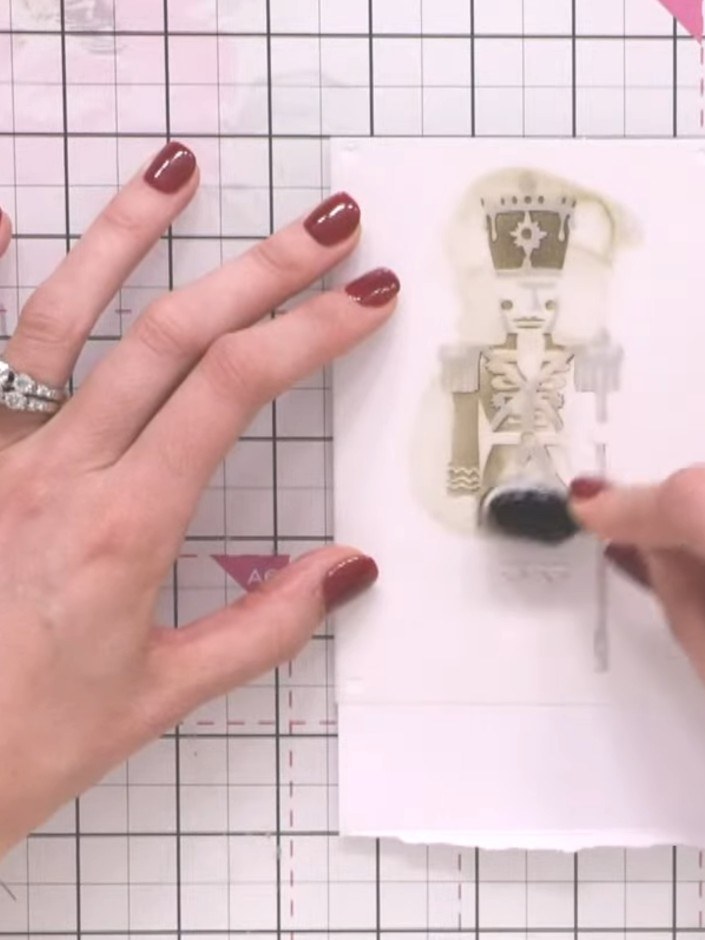
Continue layering the stencils, applying each numbered layer in sequence to build up the complete General Chestnut character design. Press firmly to ensure clean, crisp images with each application.
▶ watch this step (1:21:00)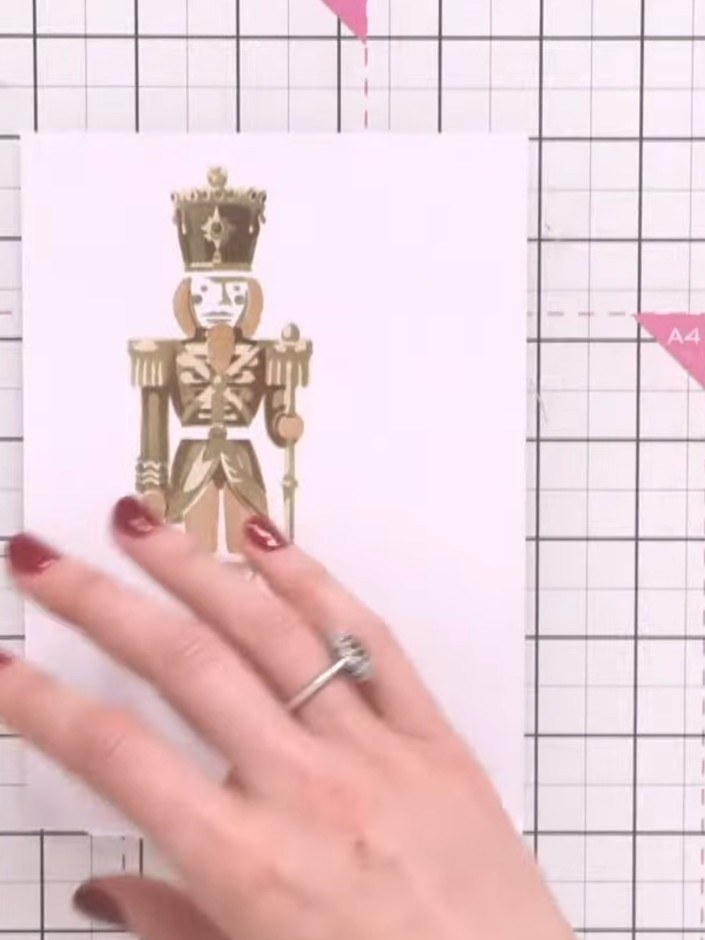
Line up the coordinating General Chestnut stamp over the stencilled image. Ink the stamp with black ink pad, ensuring even coverage across the detailed design.
▶ watch this step (1:24:00)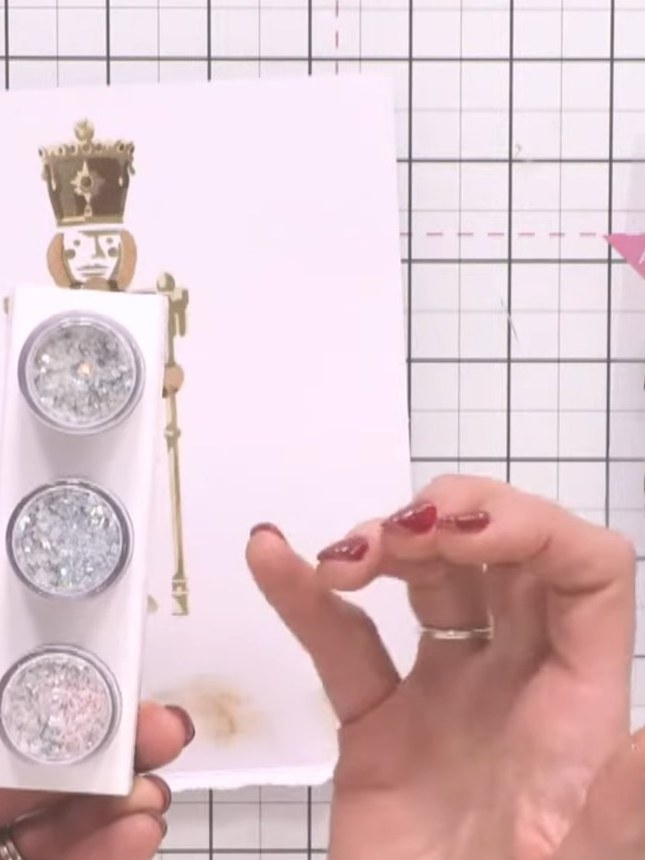
Press the nutcracker stamp firmly onto the white card panel to add fine detail and definition to the character. Ensure the stamp is aligned with the stencilled image beneath.
▶ watch this step (1:24:30)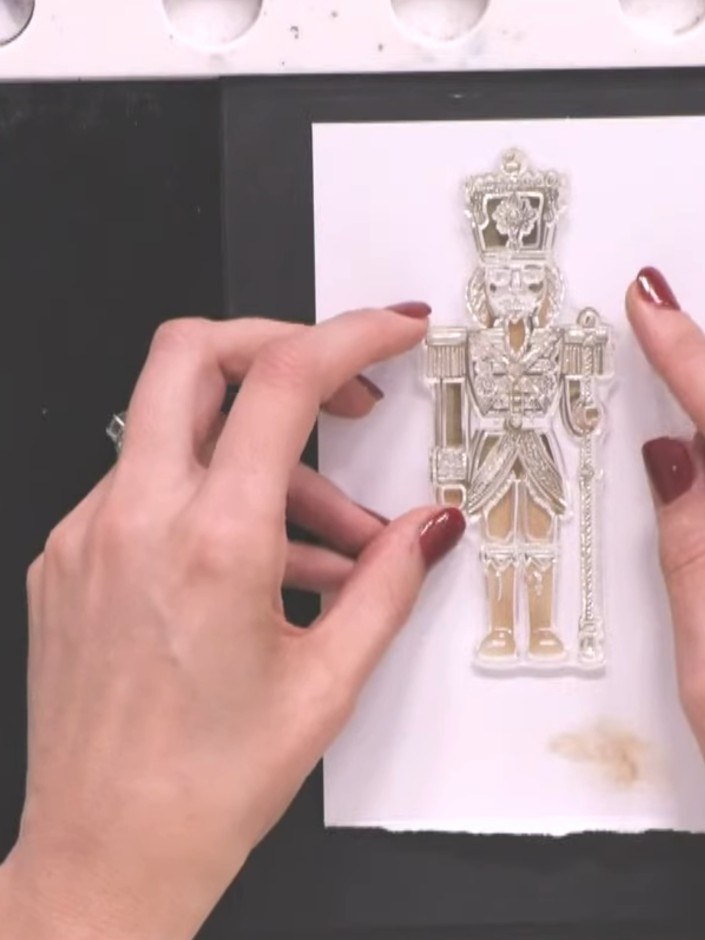
Carefully remove the stamp from the card to reveal the detailed nutcracker image. Admire the layered effect created by combining the gold and silver stencilling with the stamped design.
▶ watch this step (1:25:00)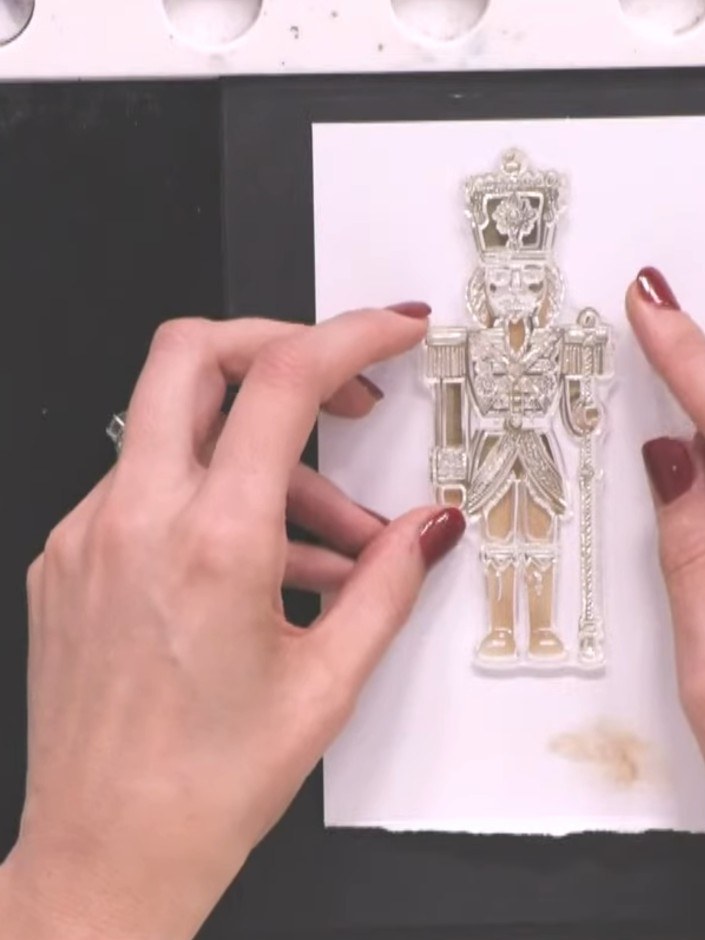
Use the coordinating outline die to cut out the stamped General Chestnut character, creating a finished embellishment ready to use on your card.
▶ watch this step (1:26:00)Written up from the show itself. See every guide from our shows · free how-to guides · watch live on My Telly
