Give your friends $10 off their first order!
Refer a FRIEND








A project from our live show ONE DAY SPECIAL - Join Toni for her brand new launch - Broadcast 18th September 2025 · 09/18/2025 · watch it from 1:03:15
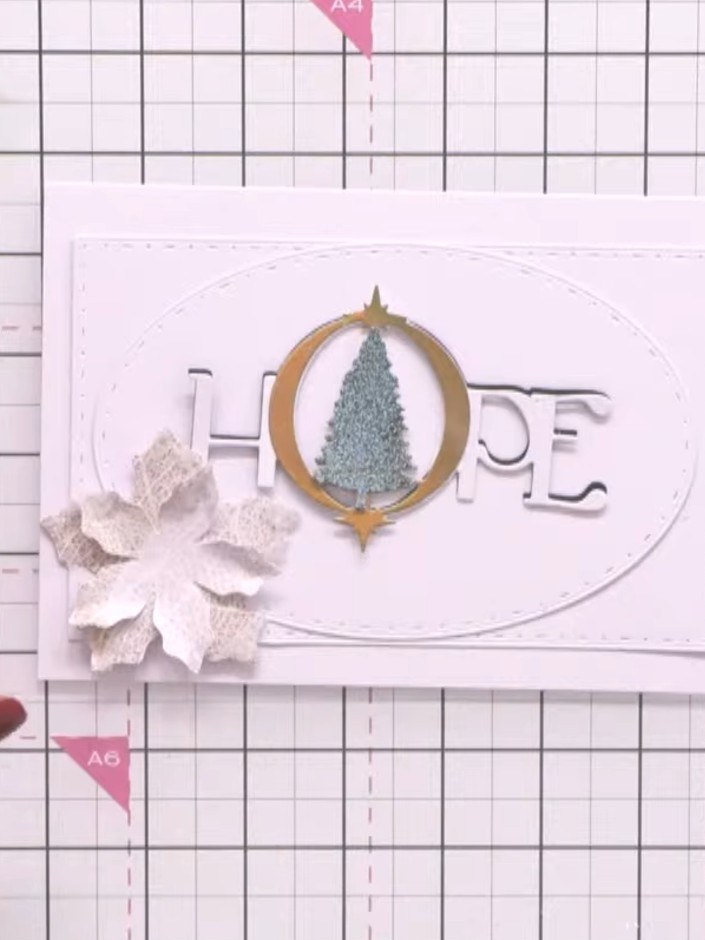
Create an elegant 'Hope' card featuring nesting rectangle frames with decorative stitched edges. This sophisticated design showcases a Christmas tree within a gold ornamental frame, accented with white poinsettia flowers and silver lettering on a soft white base. The project uses die-cutting and layering techniques to build dimensional matted frames that add structure and visual interest to your festive card.
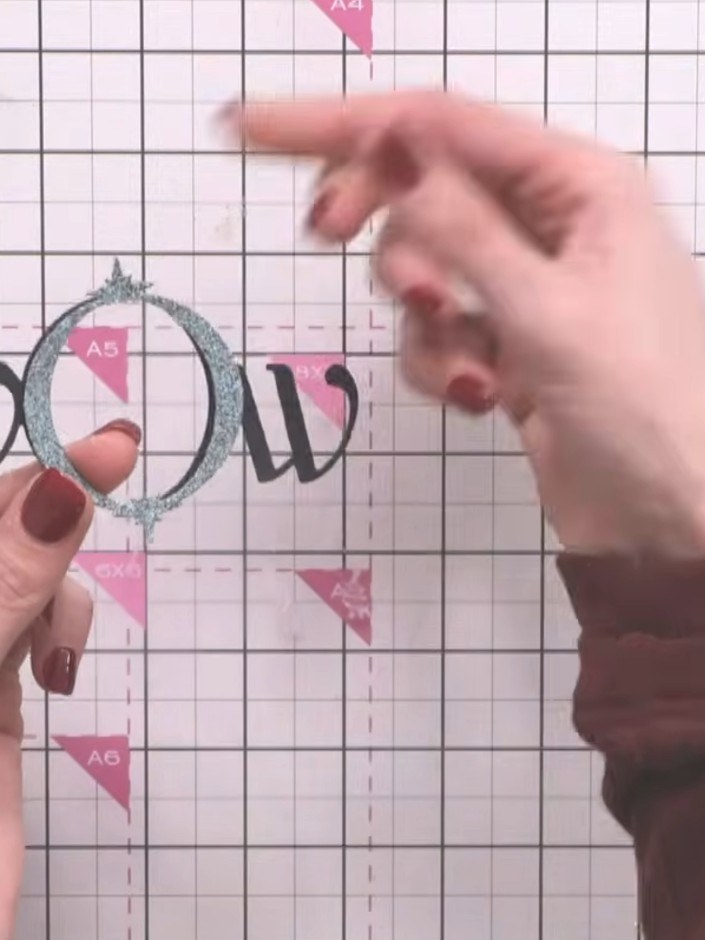
Layer the die-cut rectangles on top of each other, starting with the largest glittery frame and working down to the smallest. Position the 'WOW' sentiment pieces on either side of the central frame.
▶ watch this step (1:03:45)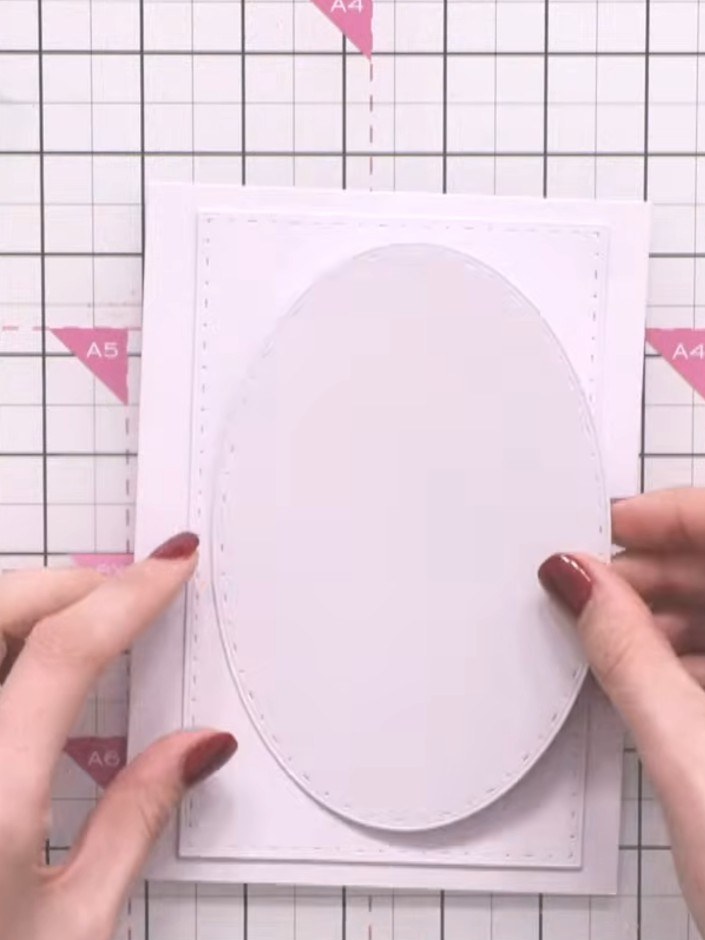
Position the layered rectangle and oval pieces on your card base. Centre them or offset as desired to create your preferred layout.
▶ watch this step (1:04:00)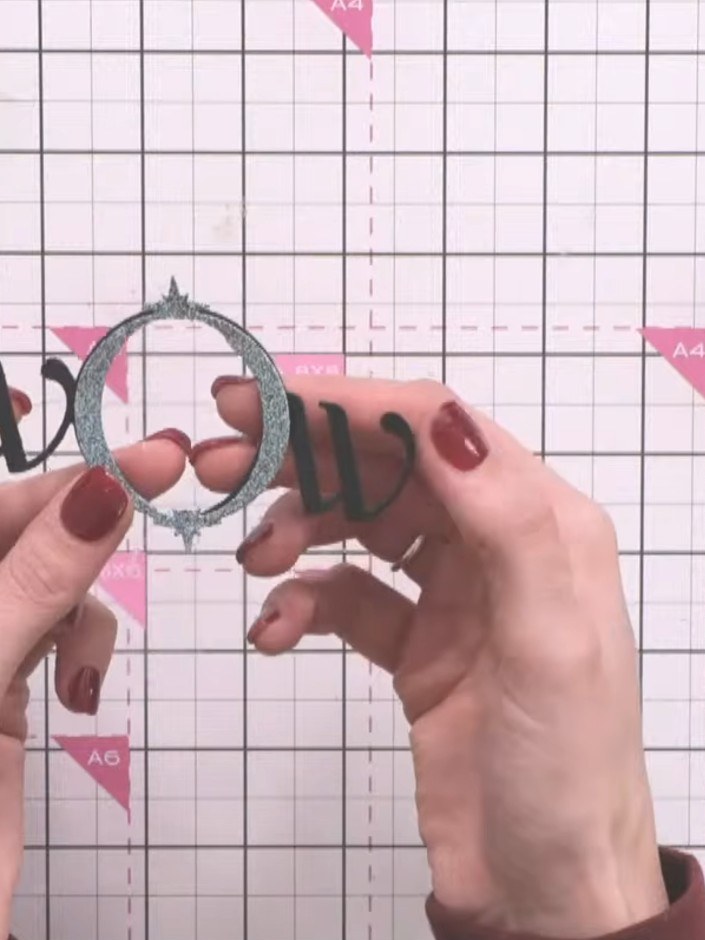
Layer the die-cut frames together, adhering each piece securely to create the matted frame effect. Ensure the glittery silver frame is positioned in the centre with the other frames layered around it.
▶ watch this step (1:04:15)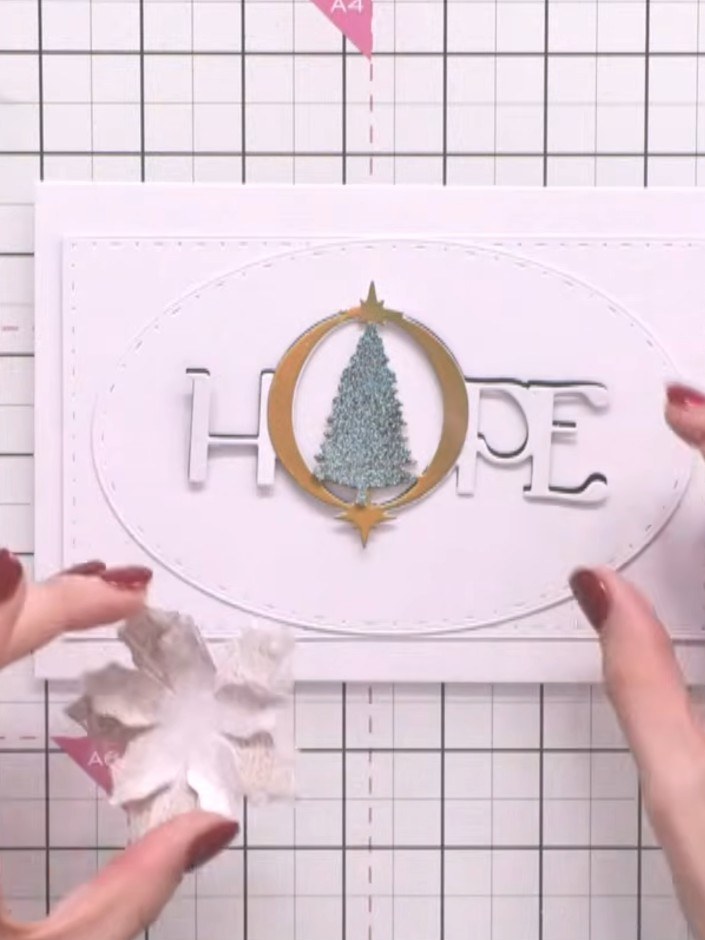
Stamp your sentiment or focal image in the centre of the smallest rectangle using your chosen stamp and ink.
▶ watch this step (1:04:45)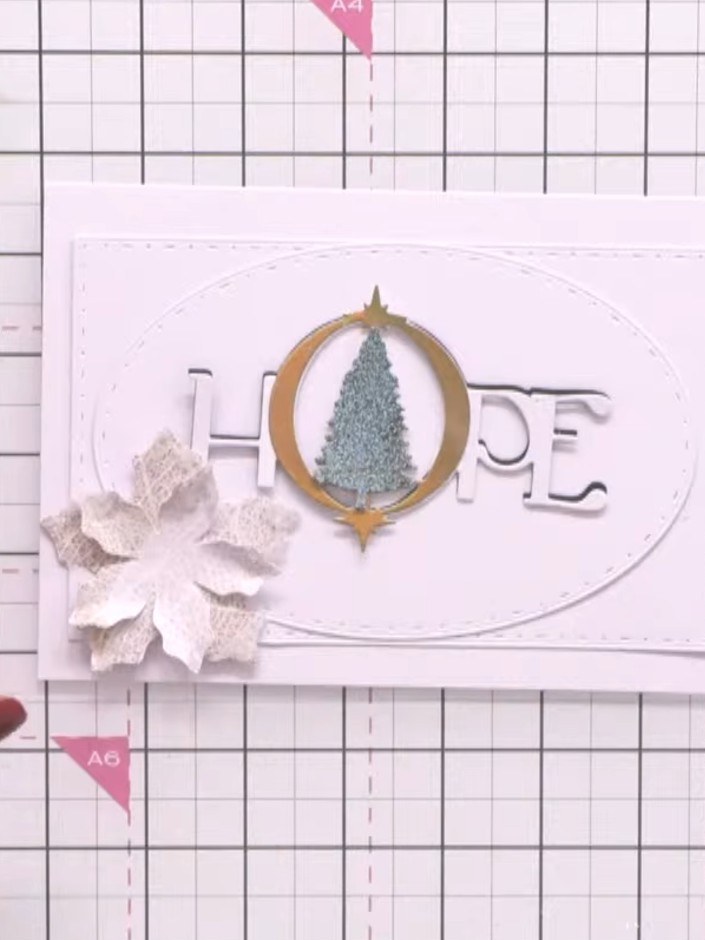
Add embellishments to enhance your card design. Attach white decorative flowers to the left side of the card using adhesive. You can also add twine, embossing or other decorative elements as desired.
▶ watch this step (1:05:15)Written up from the show itself. See every guide from our shows · free how-to guides · watch live on My Telly
