Give your friends $10 off their first order!
Refer a FRIEND








Prices change straight away. Every language is our own translation, not Google.
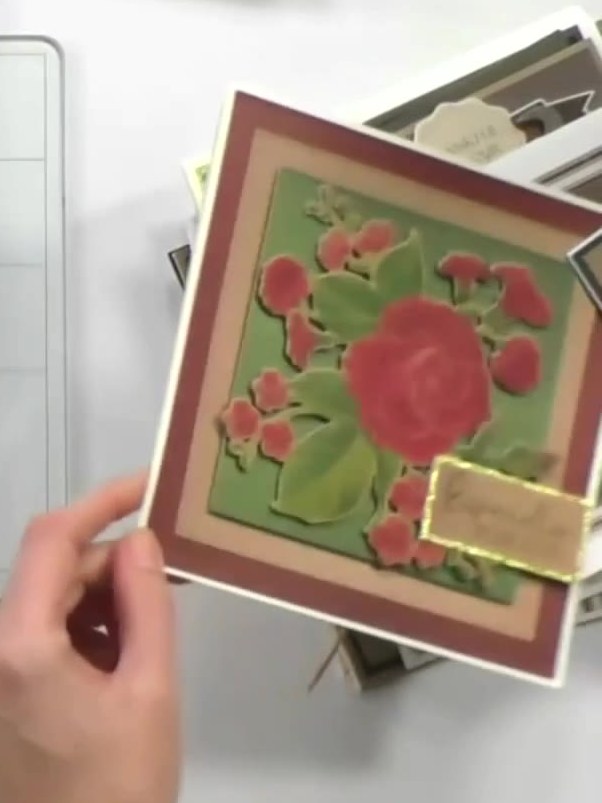
A project from our live show HOBBYMAKER TV - Broadcast 9th November 2026 · 11/09/2026
Create an elegant Christmas wreath card using interchangeable poinsettia dies with multiple layers and details. Combine solid and detailed die-cut layers with coordinating cardstock colours in festive reds, greens and golds. Add pearls and dimensional foam pads for a luxurious, professional finish perfect for the festive season.
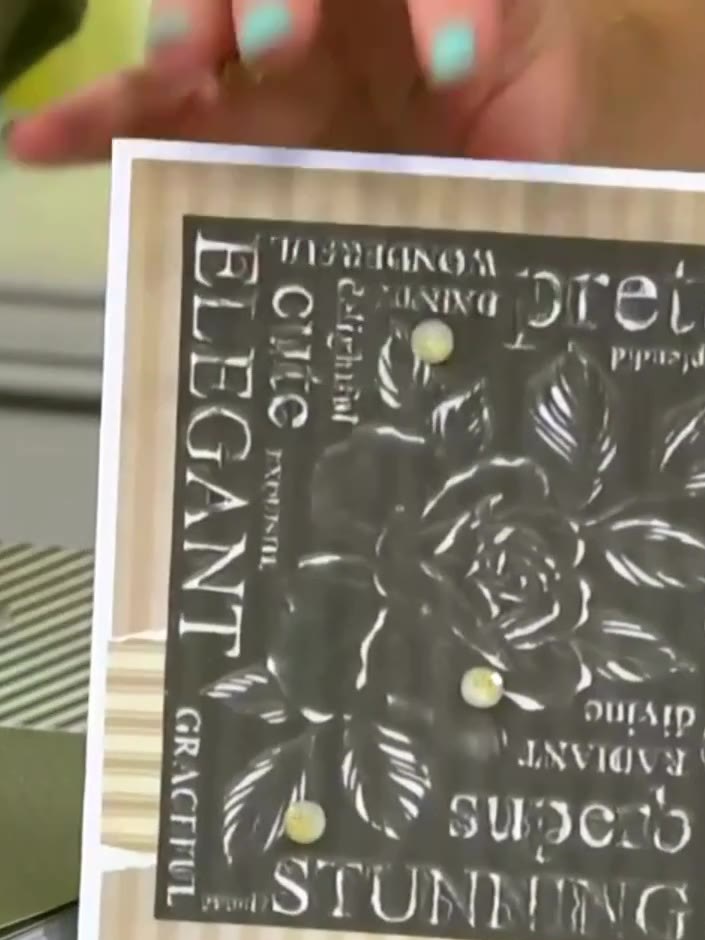 1
Die-cut the outer poinsettia shape from your chosen cardstock using the larger die from the set. This creates the base layer for your floral embellishment.
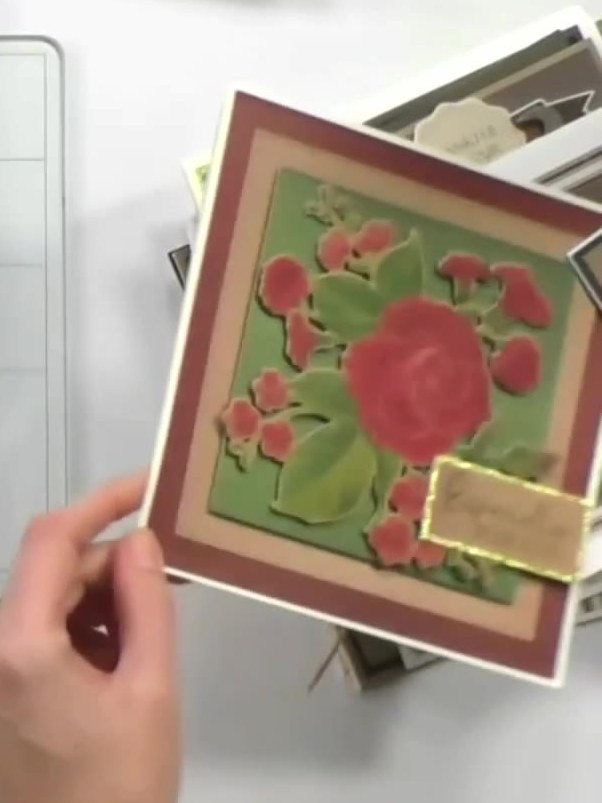 2
Die-cut the detailed inner poinsettia layer from red cardstock. This creates the smaller, more intricate flower elements that will sit on top of the base layer. Layer the detailed poinsettia die-cut on top of the solid outer poinsettia shape using foam pads for dimension. This creates a raised, layered floral effect for your wreath card.
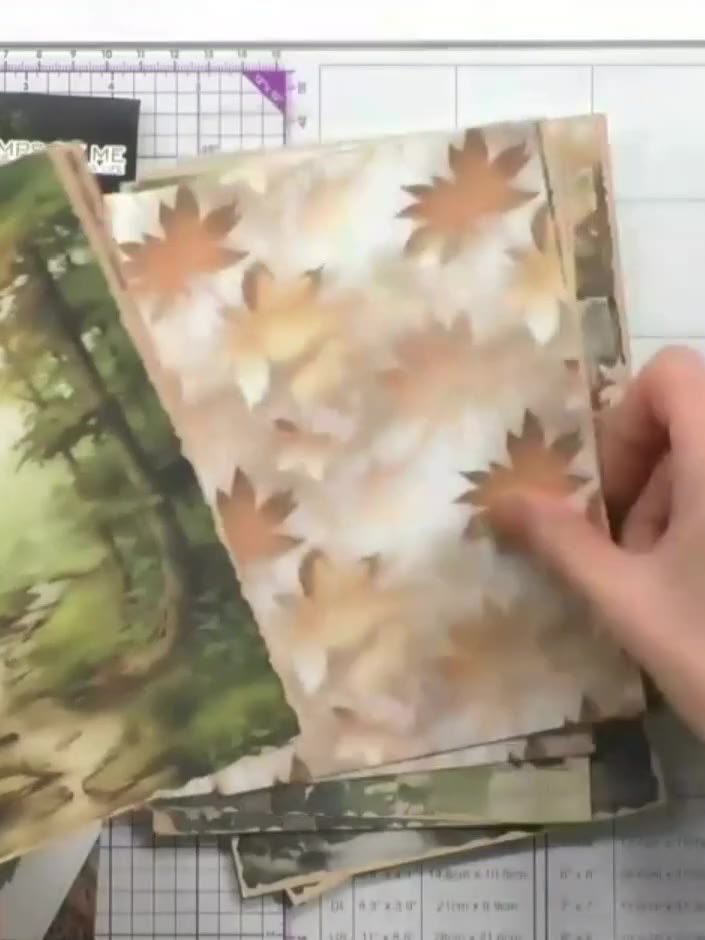 3
Die-cut additional poinsettia shapes in different sizes and colours to create a full wreath arrangement. Layer the die-cut florals and wildlife elements to build up the design.
 4
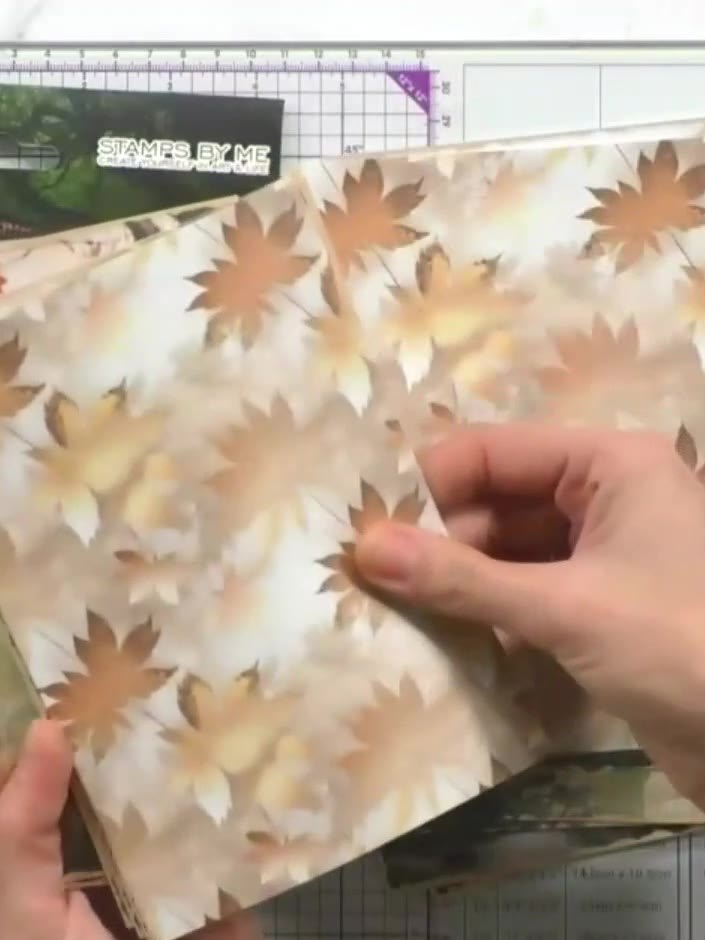
Arrange the poinsettias in a circular or semi-circular pattern on your card base, offsetting each layer slightly to create depth and dimension. Add green foliage elements between and around the poinsettias to fill any gaps. Use die-cut or stamped leaves and greenery from the Woodland Wildlife bundle to create depth and texture in your wreath design. Attach pearls to the centre of each poinsettia or scatter them throughout the wreath design for added sparkle. Position the pearls carefully to enhance the festive look of your card.
 5
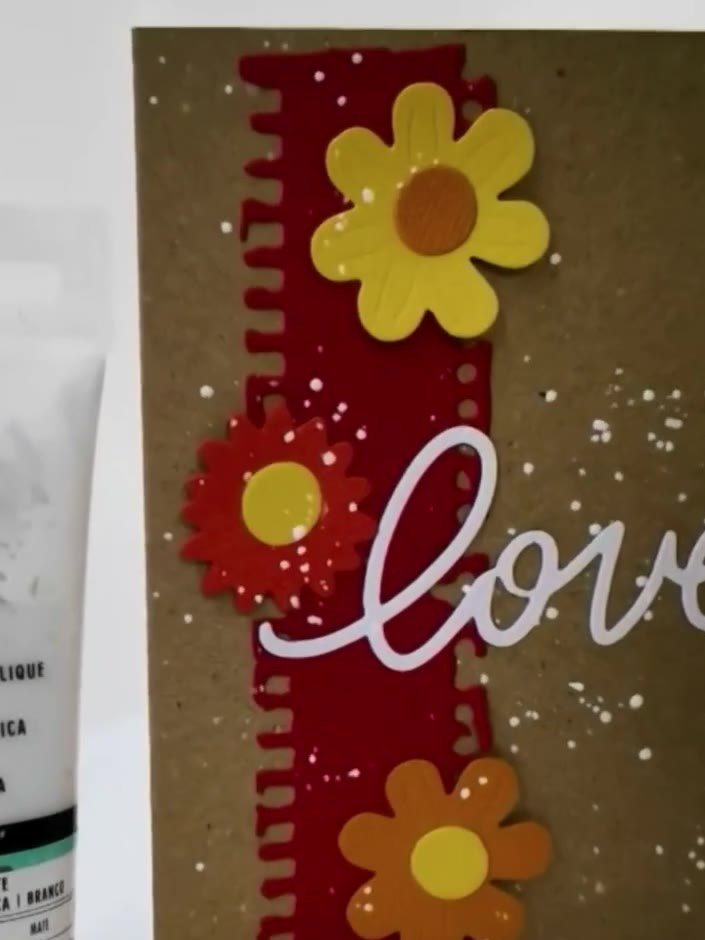
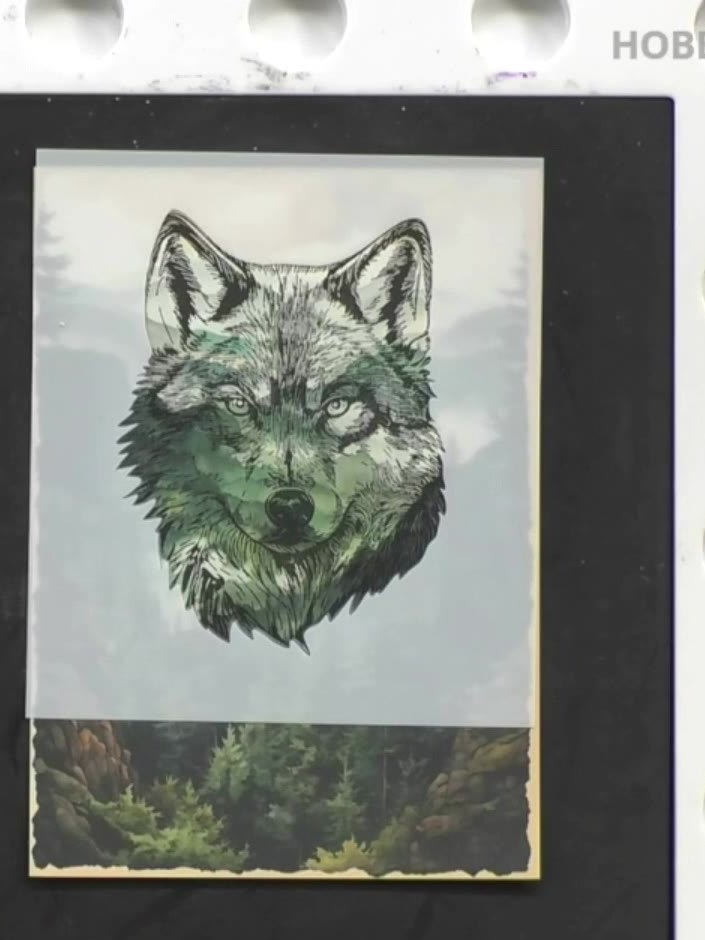
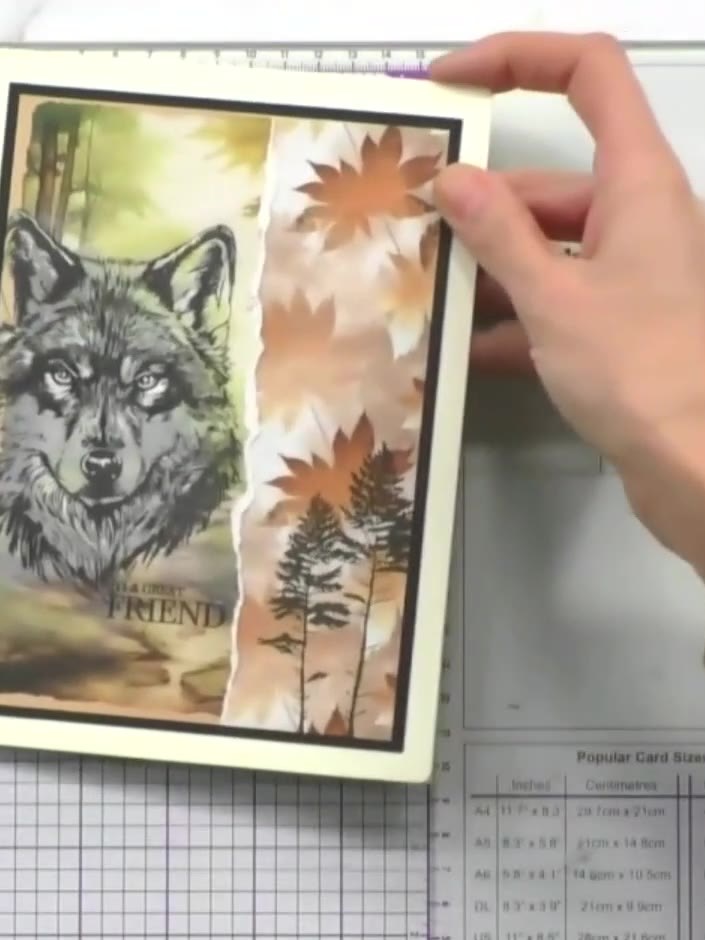
Add autumn-coloured leaf die-cuts to the right panel of the card for decoration. Position a sentiment stamp reading 'FRIEND' on the wolf image and complete your woodland-themed card.
Share your make with the Stamps By Me community - and keep this guide for next time.
Written up from the show itself. See every guide from our shows · free how-to guides · watch live on My Telly · the previous layout