Give your friends $10 off their first order!
Refer a FRIEND








Prices change straight away. Every language is our own translation, not Google.
A project from our live show THE THURSDAY DROP - Broadcast 5th November 2026 · 11/05/2026 · watch it from 2:15:00
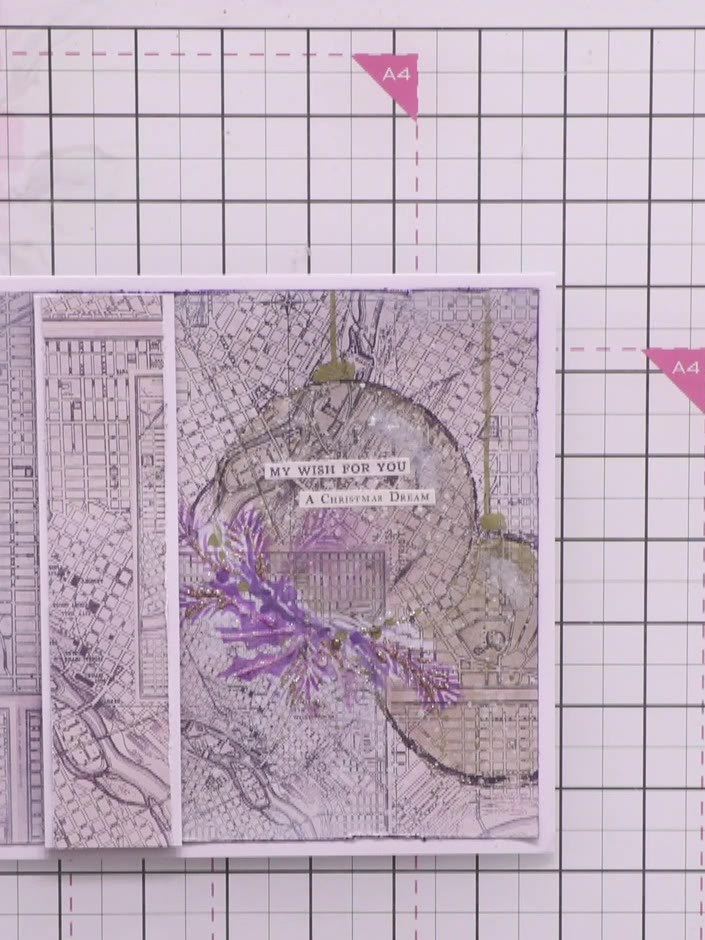
Create a beautiful handmade Christmas card featuring layered purple and white foliage clusters adorned with gold and sparkly baubles. This vintage-inspired design combines stencilled leaves and berries with hand-painted shimmer details and distressed edges for an elegant festive look. Perfect for adding a touch of handcrafted charm to your seasonal greetings.
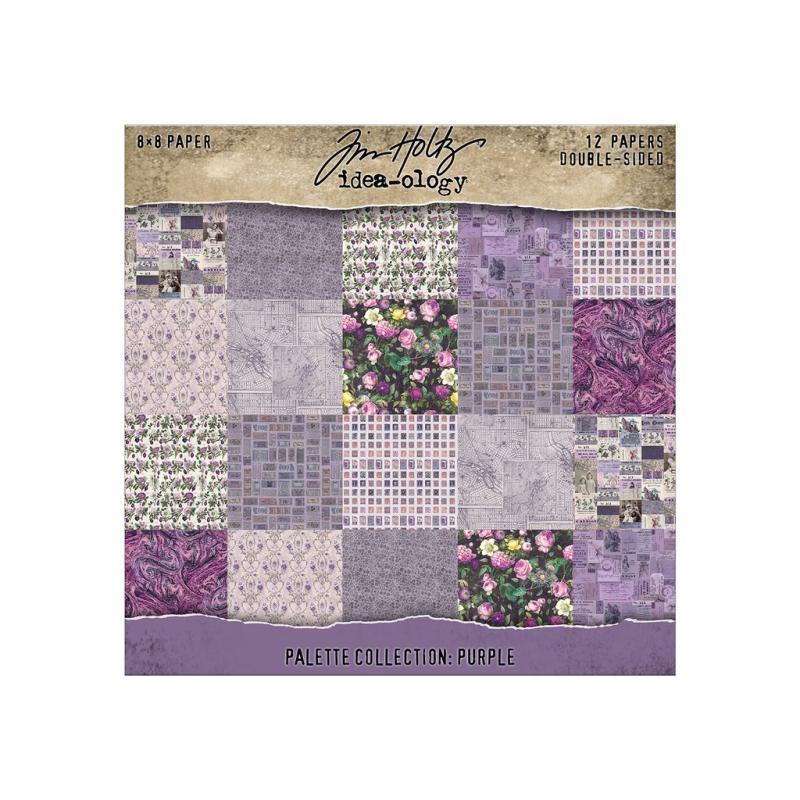 Tim Holtz Idea-ology - Palette Collection: Purple (8"x8")SEE IT
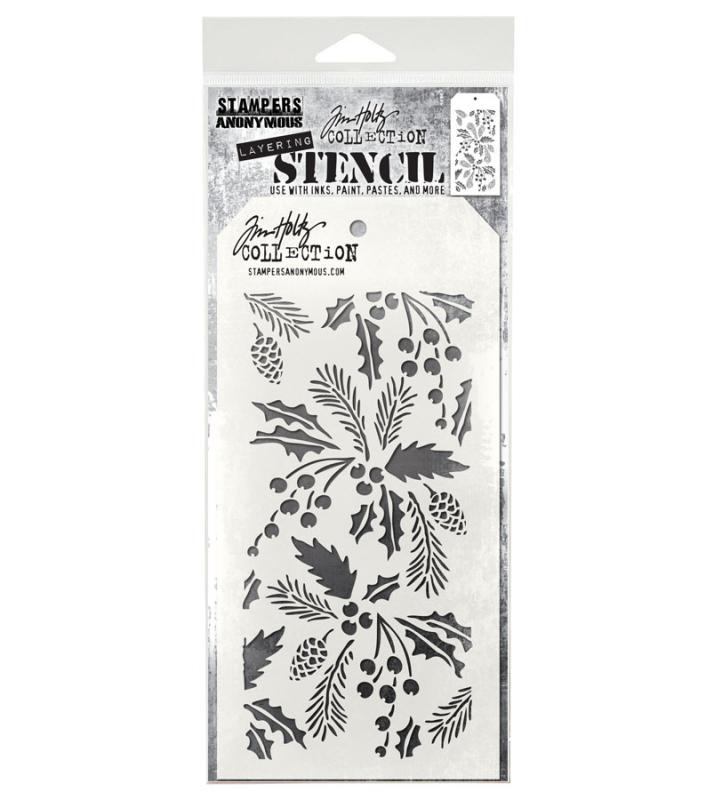 Tim Holtz Layering Stencil - FestiveSEE IT
 Stamps By Me Sparkle Ink - Orange - 290926CSEE IT
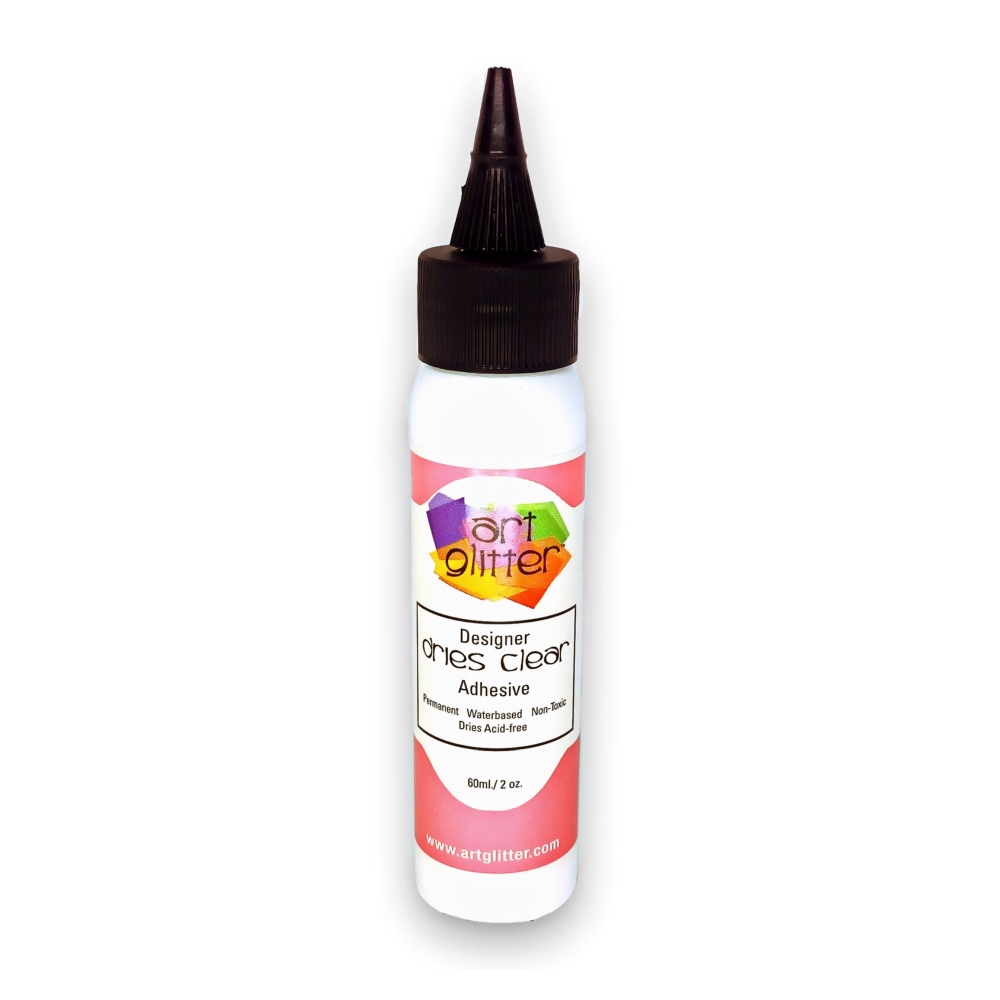 Dry Clear Glue 2Oz.SEE IT
 Cadence Finger Wax - Pearl (20ml)SEE IT
 Cadence Finger Wax - Rose Gold (20ml)SEE IT
 Cadence Finger Wax - Silver (20ml)SEE IT
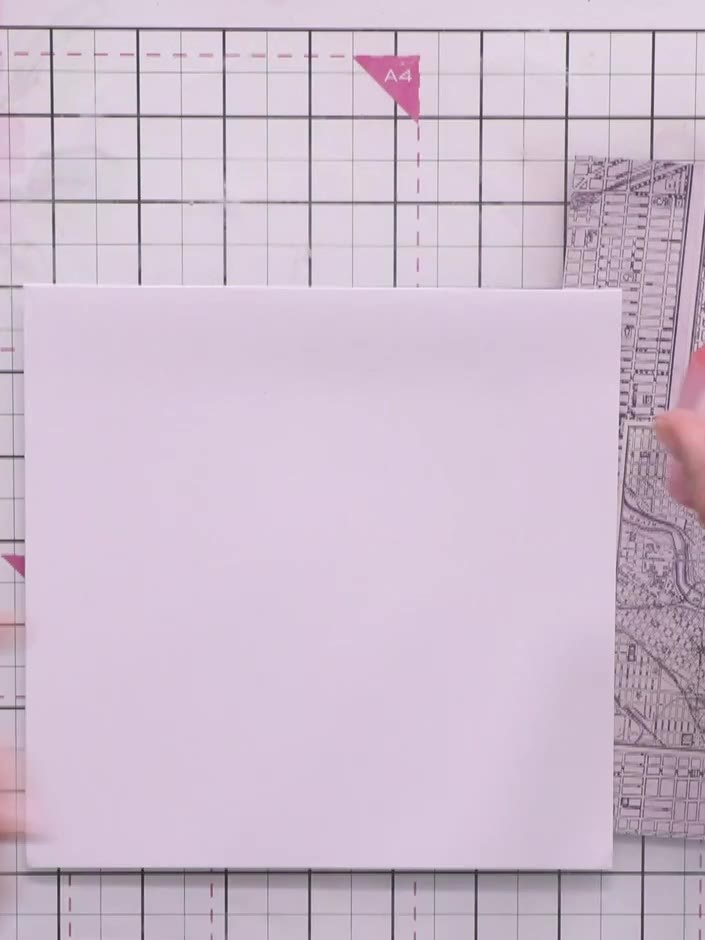
Cut a square card base from white cardstock. Layer a slightly smaller white panel on top of the card base, positioning it slightly offset to create a border effect.
▶ watch this step (2:15:00)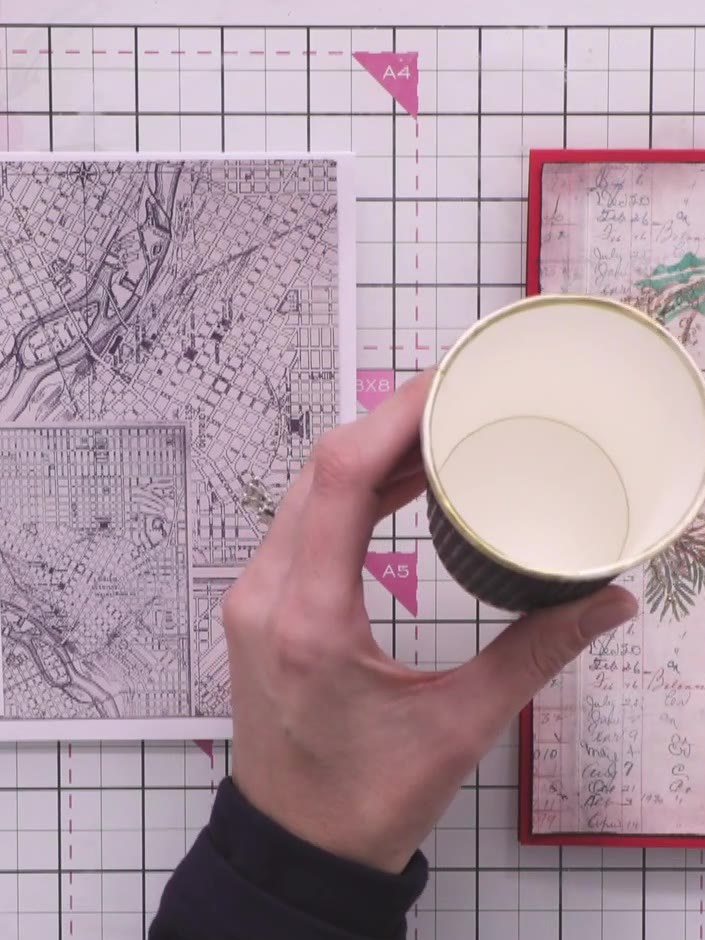
Use a cup or circular object as a template. Apply purple Cadence finger wax around the rim to create a circular bauble outline on your card panel.
▶ watch this step (2:18:00)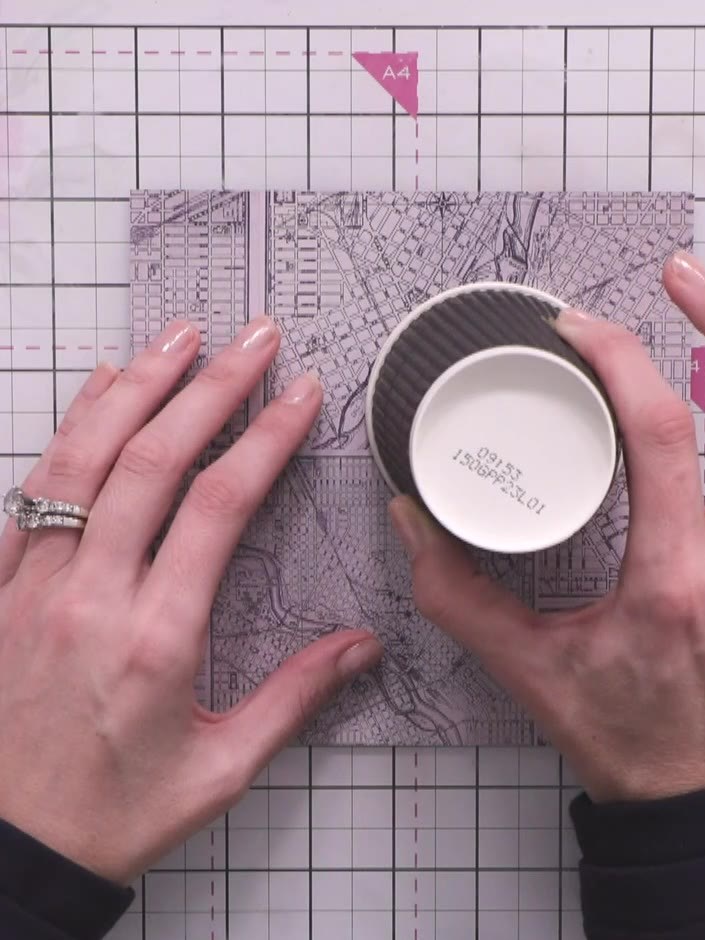
Create a second half-bauble shape overlapping the first one by twisting the cup to transfer the silver wax onto the purple patterned paper.
▶ watch this step (2:21:00)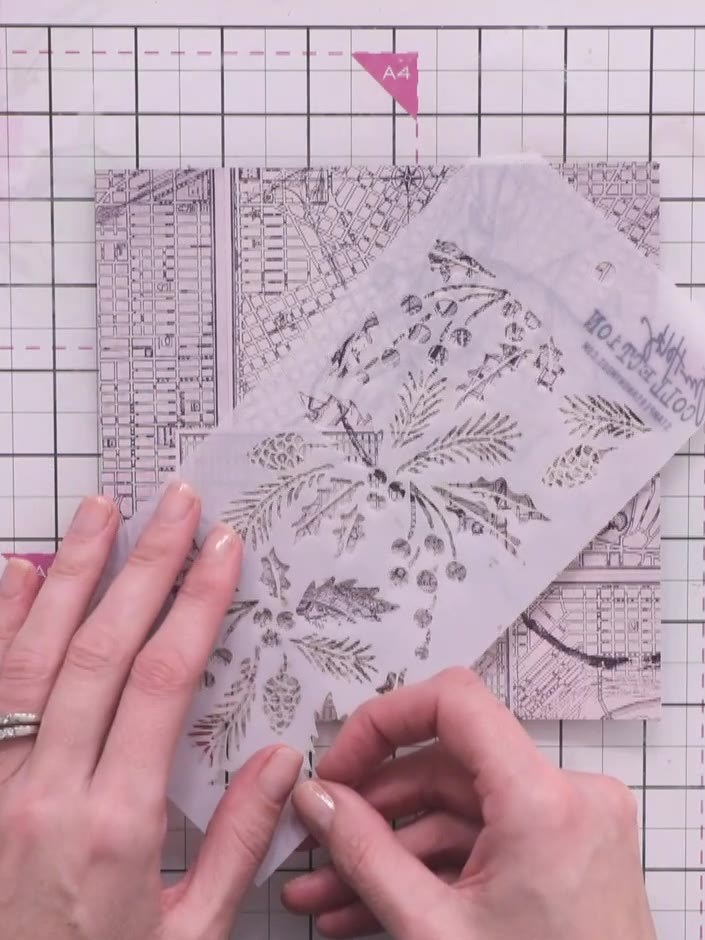
Position the layering stencil over your card panel. Using white ink, stencil through the berry and leaf details to create an underlay for the design.
▶ watch this step (2:23:45)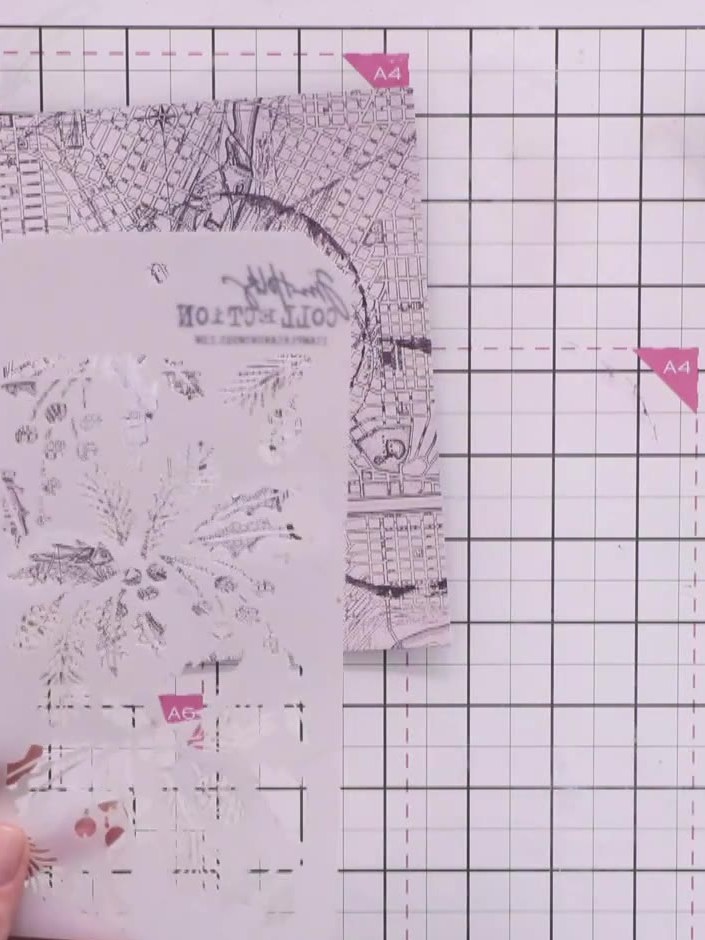
Apply purple ink over the white stencilled areas using a blending tool to create depth and an oxide effect. Work the ink gently over the textured patterns to build up colour gradually.
▶ watch this step (2:26:00)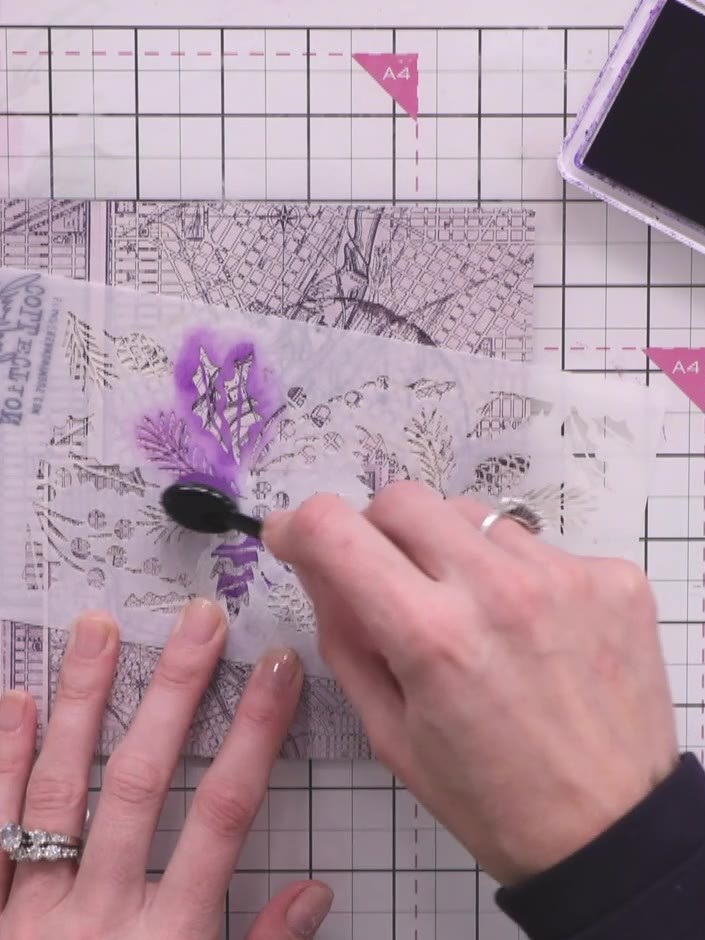
Continue adding stencilled sprigs and foliage clusters around the baubles using the purple ink and finger wax. Build up layers of different foliage elements to create depth and interest around the focal points.
▶ watch this step (2:27:30)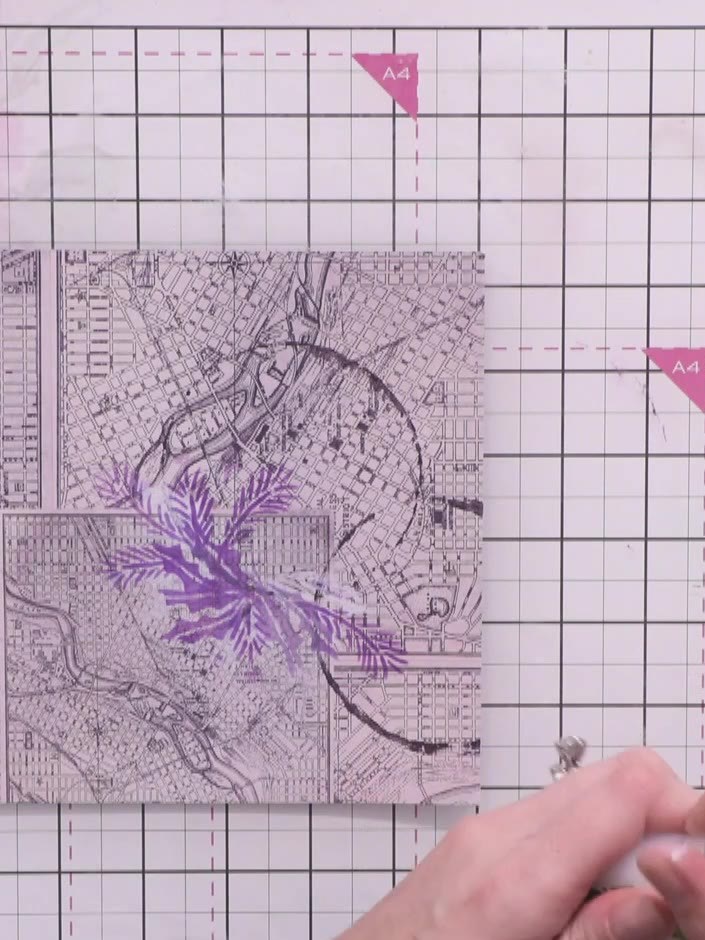
Using a clean brush, paint clear sparkle ink inside the purple bauble circles. Dilute the ink slightly with water to create a subtle shimmer without overpowering the stamped design.
▶ watch this step (2:30:00)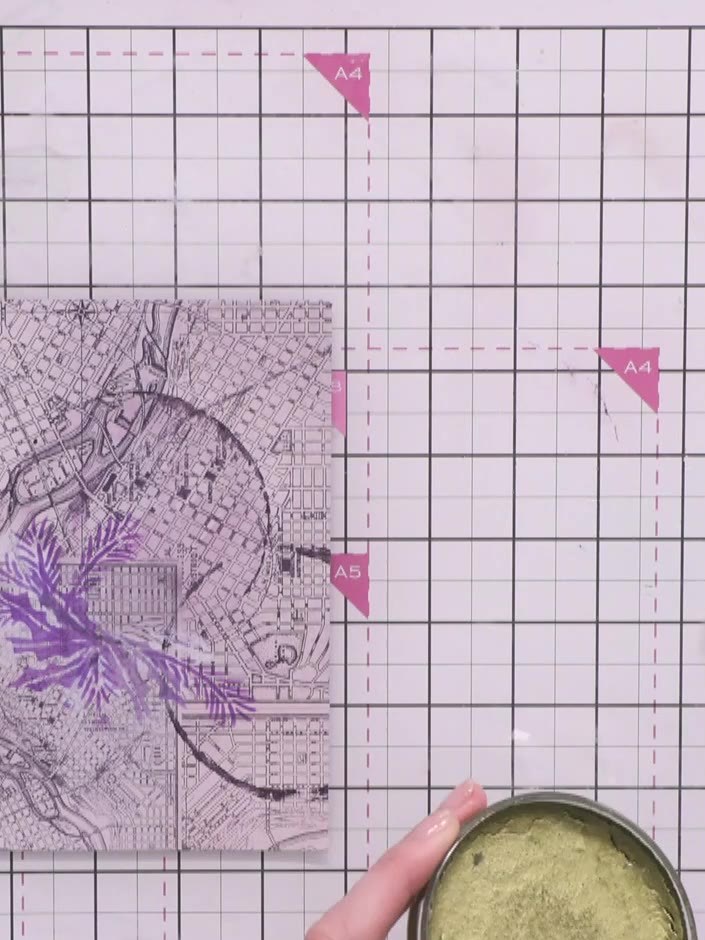
Mix gold spray stain with sparkle ink and paint the second bauble using a brush to create a warm metallic shimmer over the purple base.
▶ watch this step (2:31:45)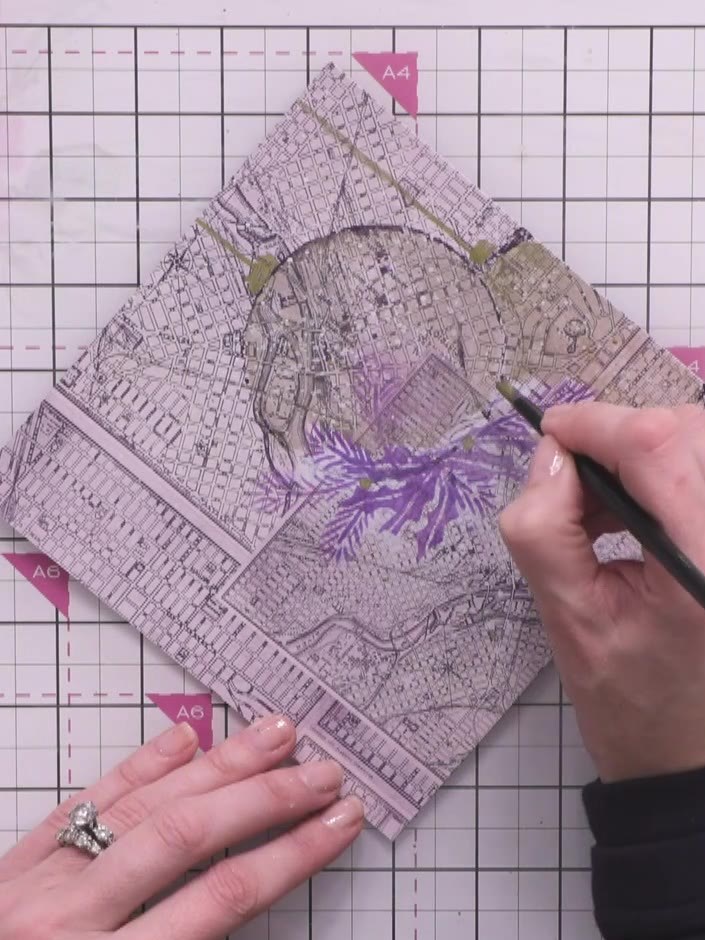
Add small gold shimmer circles throughout the design using the gold finger wax to represent additional baubles. Dot them around the purple foliage and across the background layers.
▶ watch this step (2:38:15)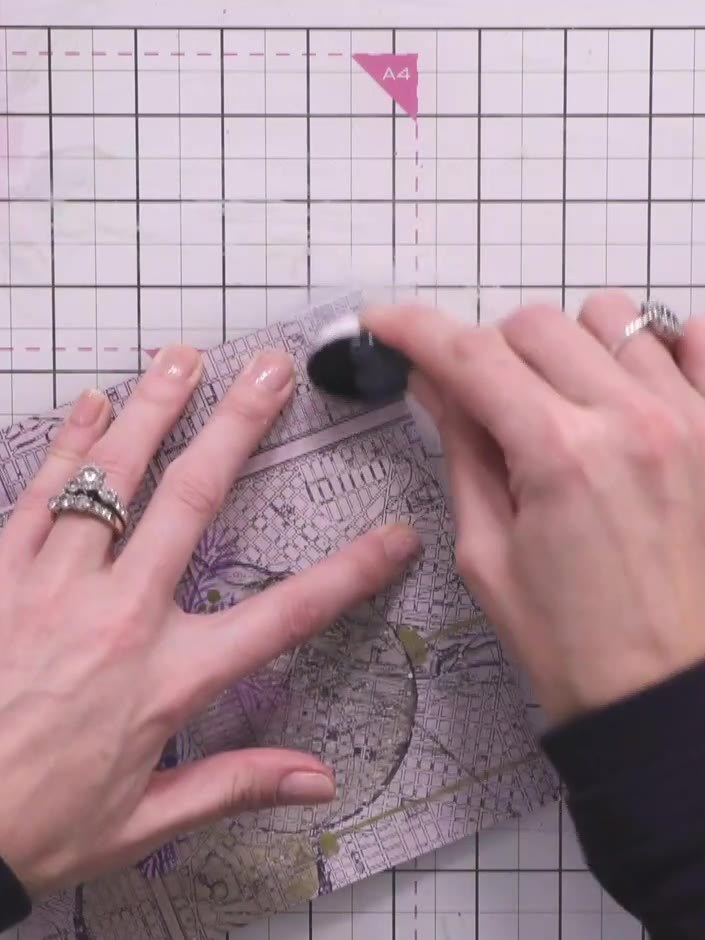
Distress the edges of the white panel using scissors to create a vintage effect. Ink the distressed edges with purple ink.
▶ watch this step (2:40:45)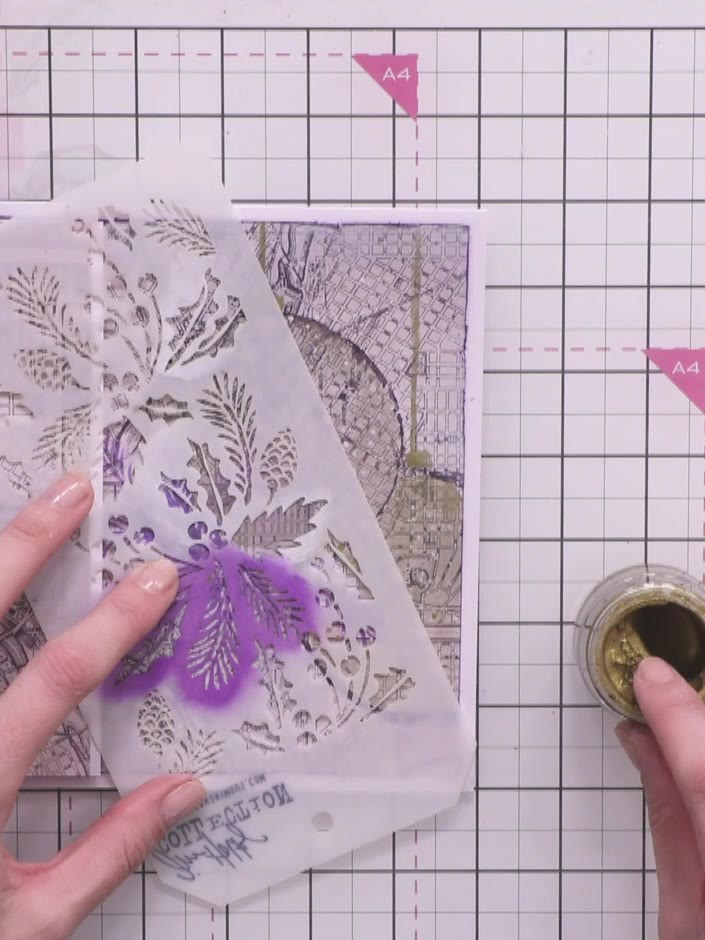
Apply gold wax through the stencil using your finger to add subtle highlights to the foliage design. Gently dab the wax onto the raised areas of the stencilled pattern for a delicate metallic finish.
▶ watch this step (2:48:00)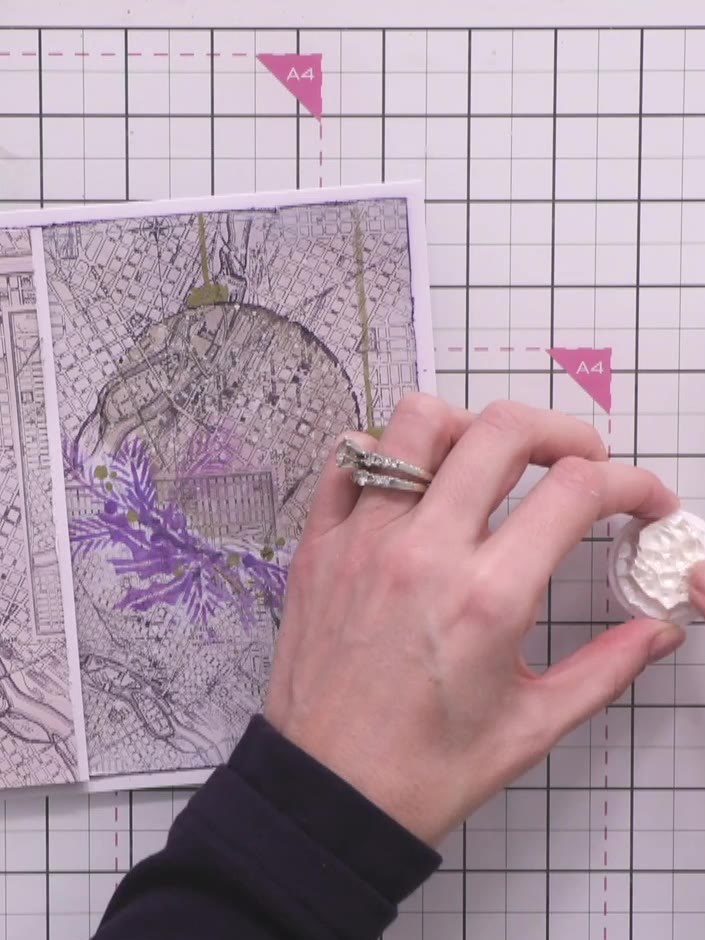
Using white finger wax, apply a small halo or highlight to the top of each bauble to create dimension and the effect of light reflection.
▶ watch this step (2:49:00)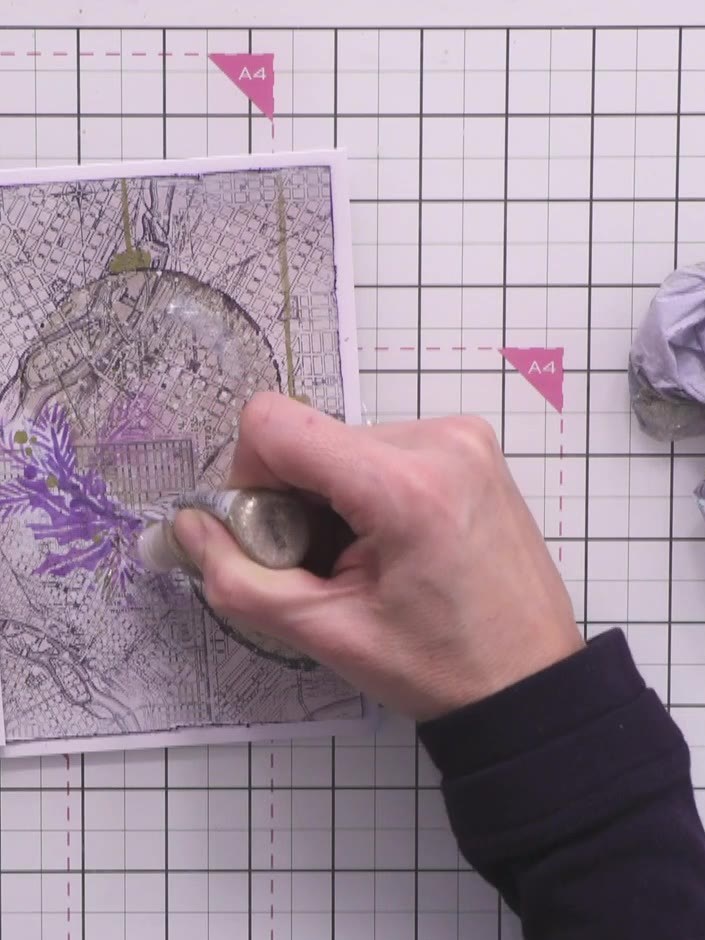
Apply gold Stickles glue to selected sprigs and foliage details on the card for extra sparkle and definition. Focus on the purple-coloured foliage elements to add highlights.
▶ watch this step (2:50:45)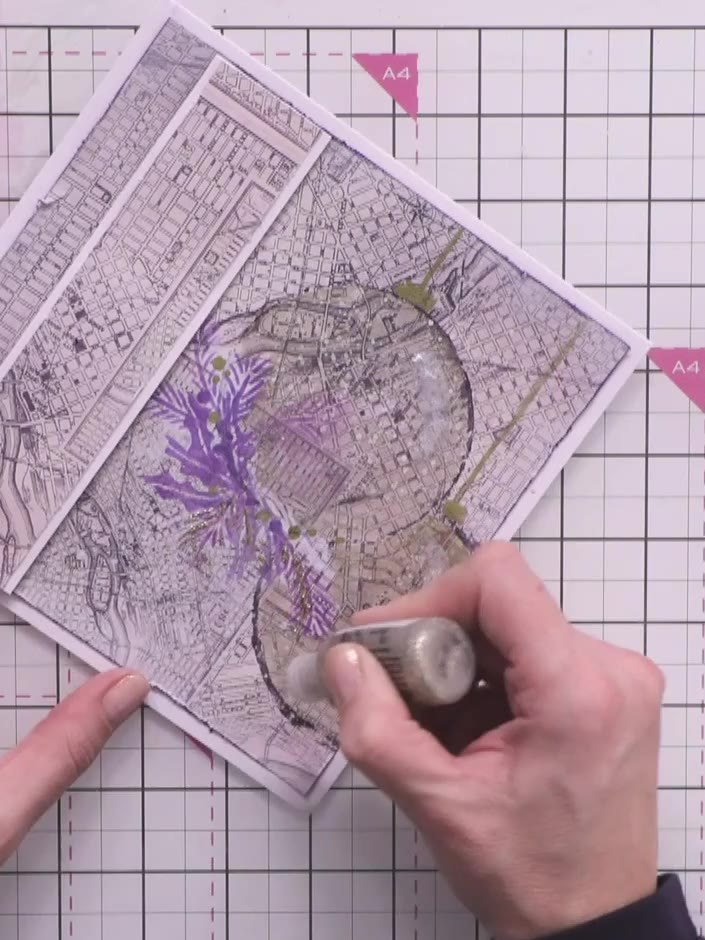
Adhere a sentiment sticker to the centre bauble, such as 'A Christmas dream', using the applicator tool to position it carefully.
▶ watch this step (2:52:00)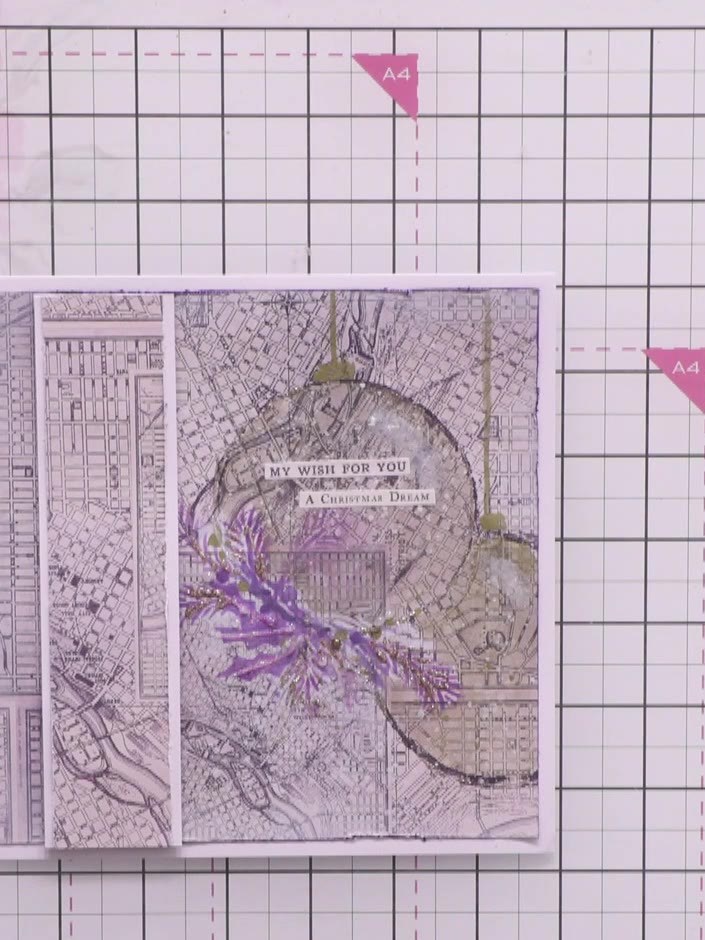
Apply dry clear glue to selected white spaces on the card front. Attach purple sequins to these glued areas to add dimensional embellishment to the design.
▶ watch this step (2:55:30)Written up from the show itself. See every guide from our shows · free how-to guides · watch live on My Telly


