Geef je vrienden $ 10 korting op hun eerste bestelling!
Nodig een VRIEND uit








 Community Showcasema 9 nov 5:00 uur
 Hobbymaker TVma 9 nov 9:00 uur
 Deal Huntersdi 10 nov 9:00 uur
Prijzen worden meteen aangepast. Elke taal is onze eigen vertaling, niet Google.
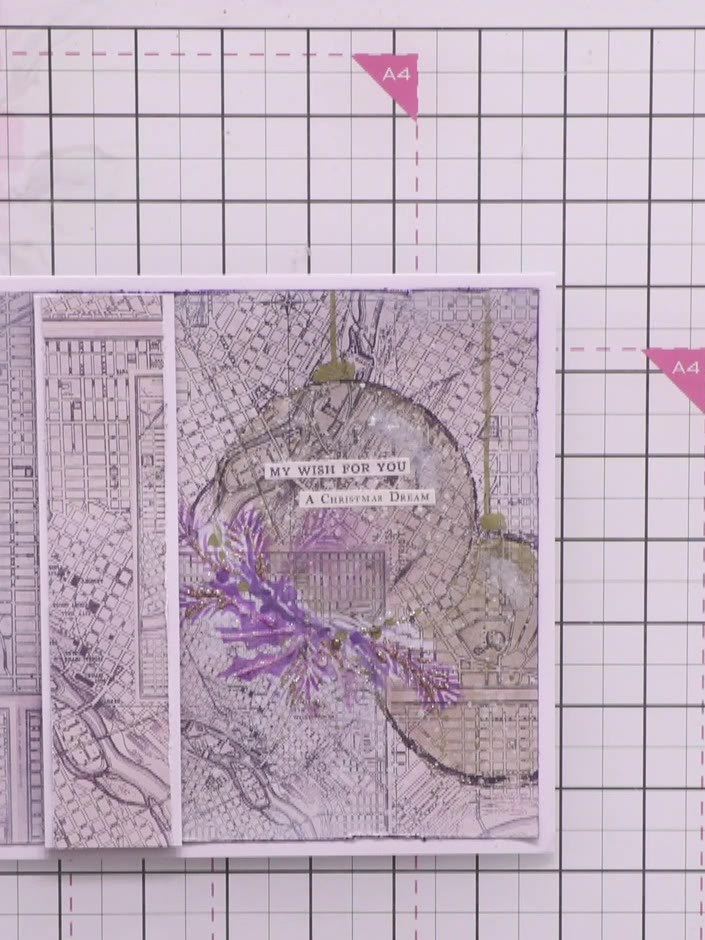
Een project uit onze liveshow THE THURSDAY DROP - Uitzending 5 november 2026 · 11/05/2026
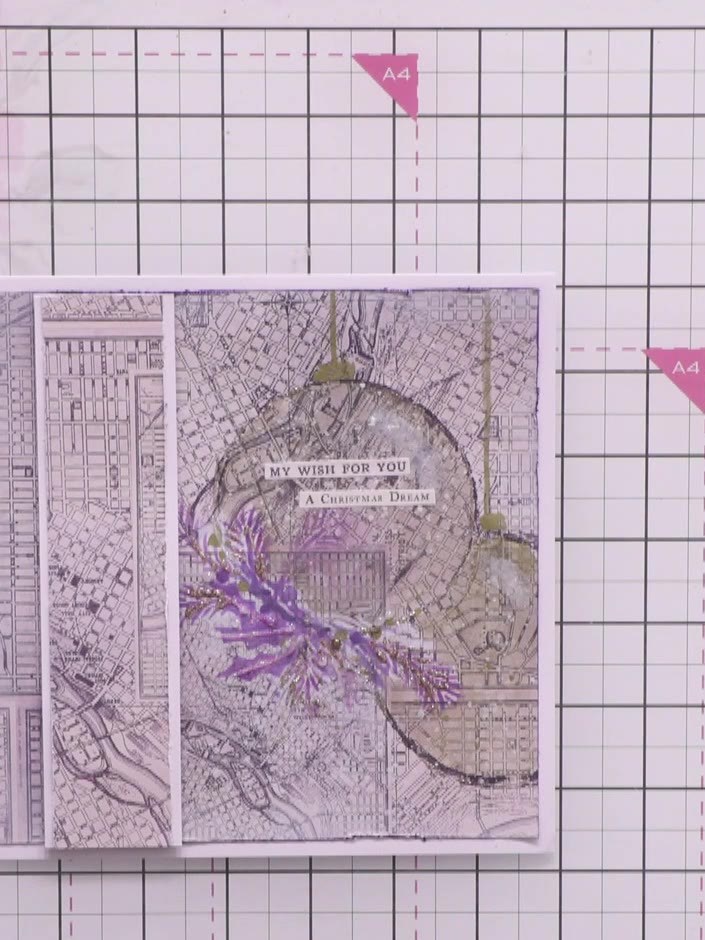
Create a beautiful handmade Christmas card featuring layered purple and white foliage clusters adorned with gold and sparkly baubles. This vintage-inspired design combines stencilled leaves and berries with hand-painted shimmer details and distressed edges for an elegant festive look. Perfect for adding a touch of handcrafted charm to your seasonal greetings.
 1
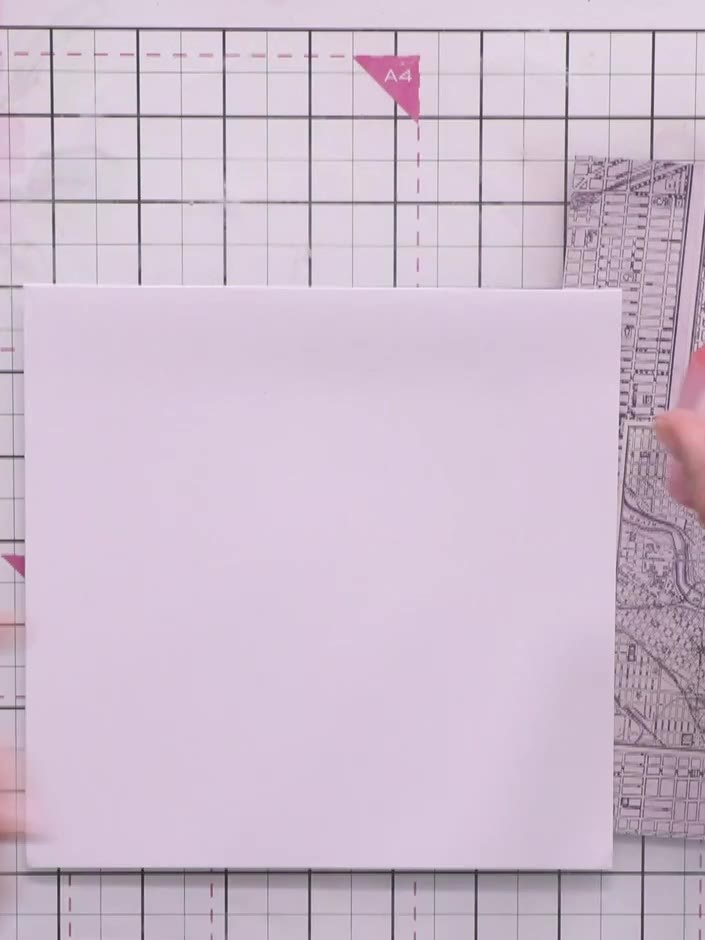
Cut a square card base from white cardstock. Layer a slightly smaller white panel on top of the card base, positioning it slightly offset to create a border effect.
 2
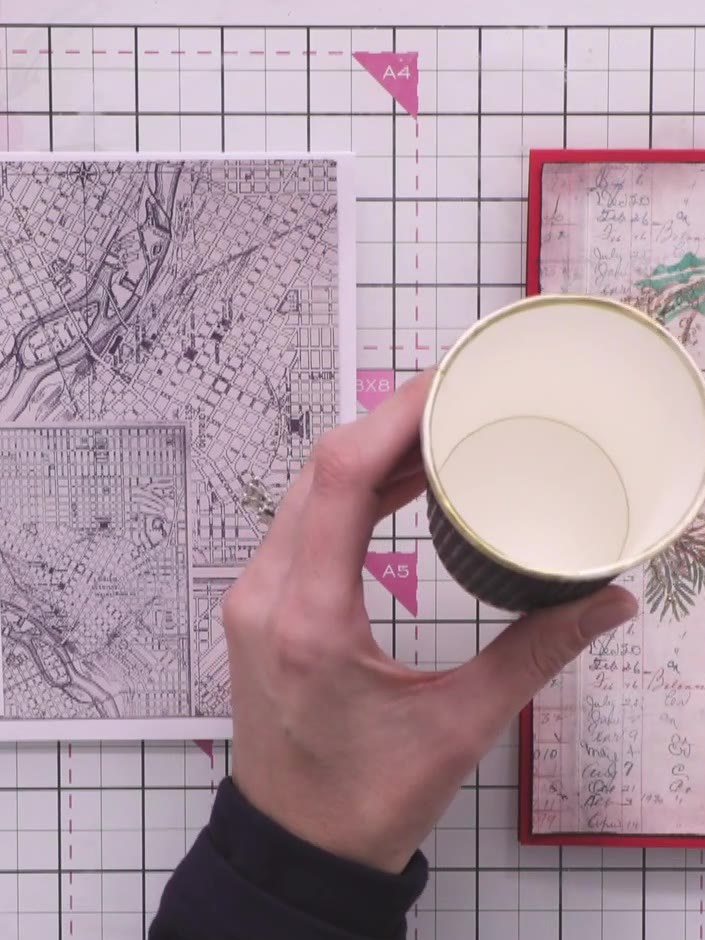
Use a cup or circular object as a template. Apply purple Cadence finger wax around the rim to create a circular bauble outline on your card panel.
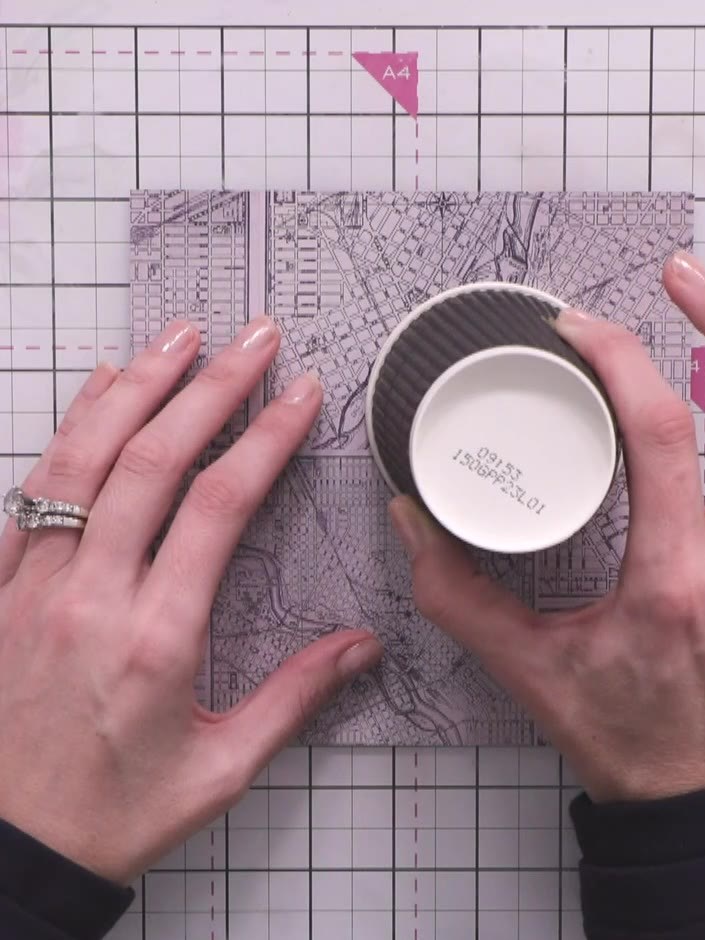 3
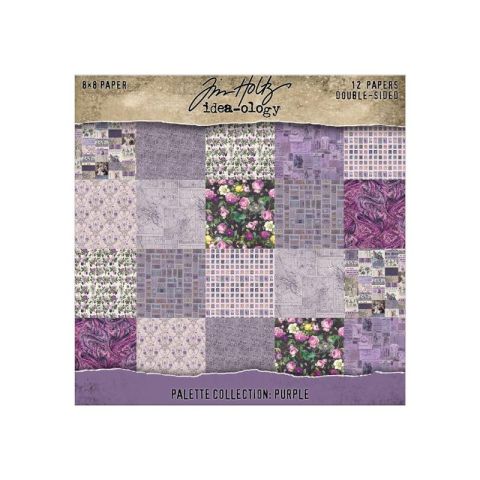
Create a second half-bauble shape overlapping the first one by twisting the cup to transfer the silver wax onto the purple patterned paper.
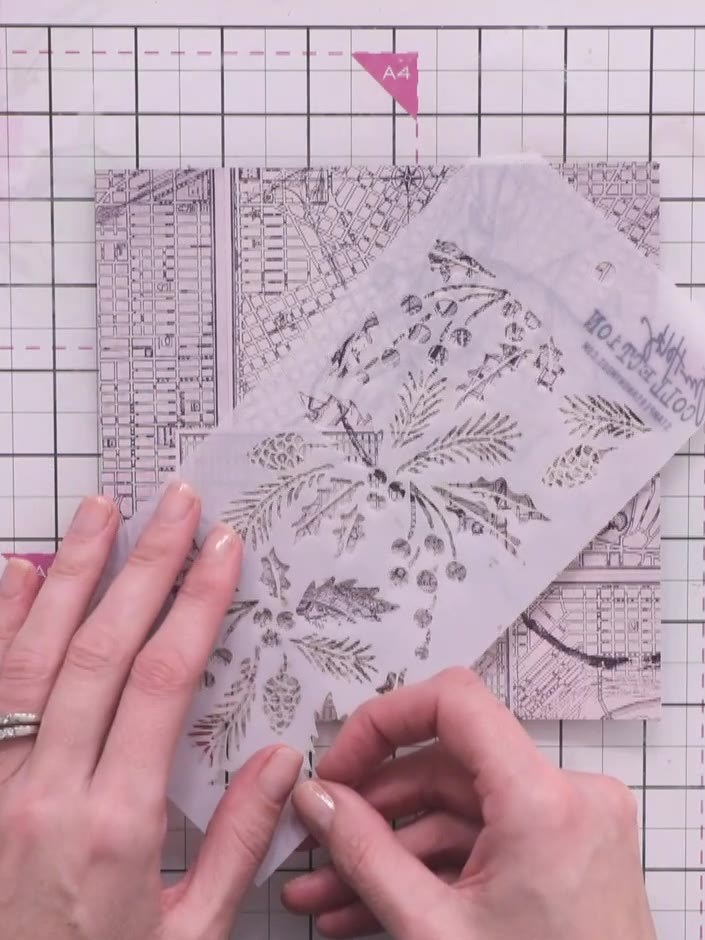 4
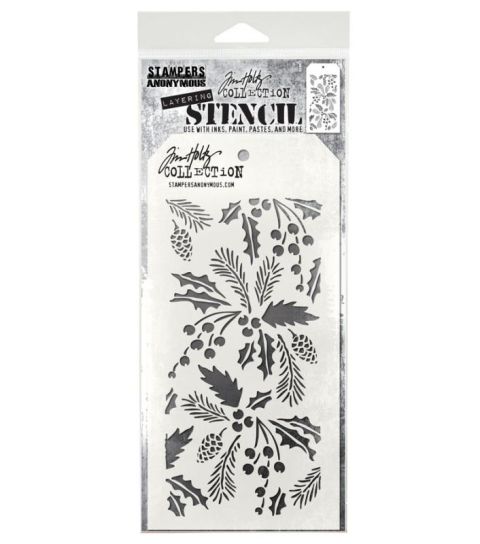
Position the layering stencil over your card panel. Using white ink, stencil through the berry and leaf details to create an underlay for the design.
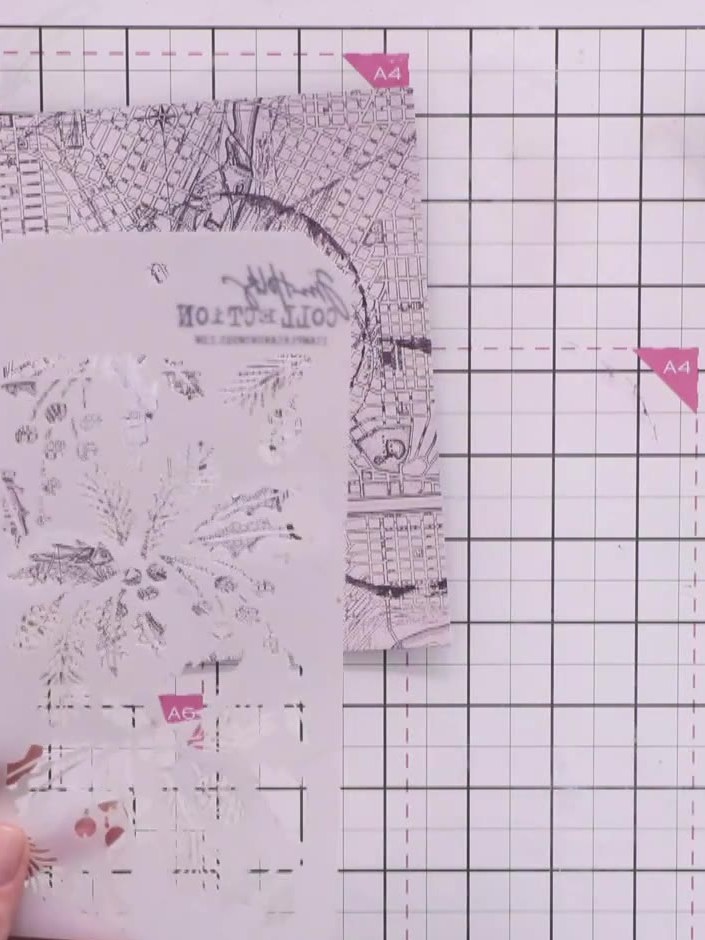 5
Apply purple ink over the white stencilled areas using a blending tool to create depth and an oxide effect. Work the ink gently over the textured patterns to build up colour gradually.
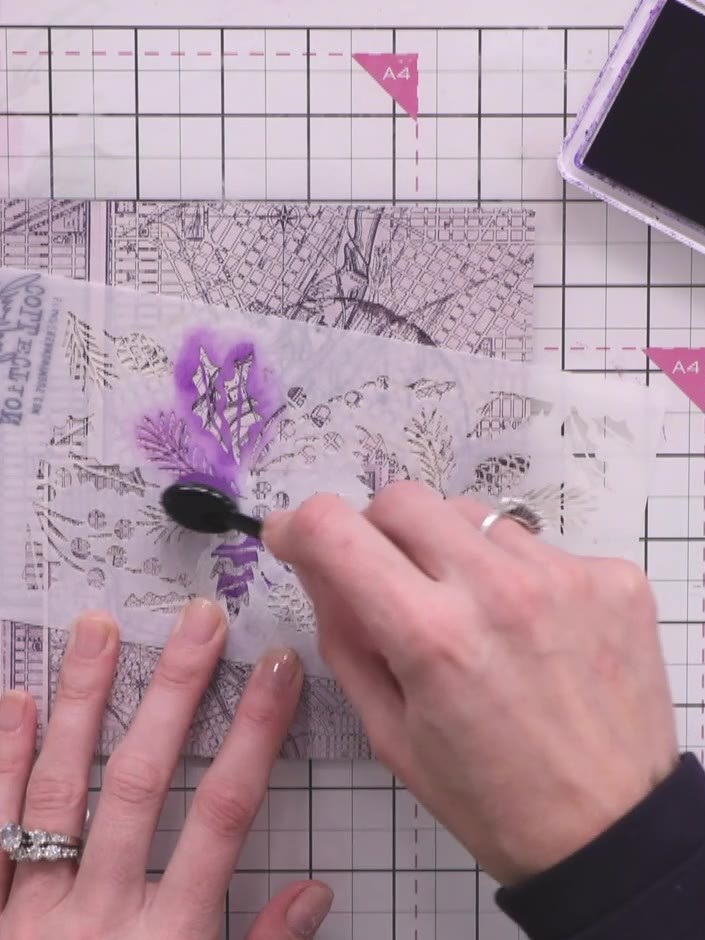 6
Continue adding stencilled sprigs and foliage clusters around the baubles using the purple ink and finger wax. Build up layers of different foliage elements to create depth and interest around the focal points.
 7
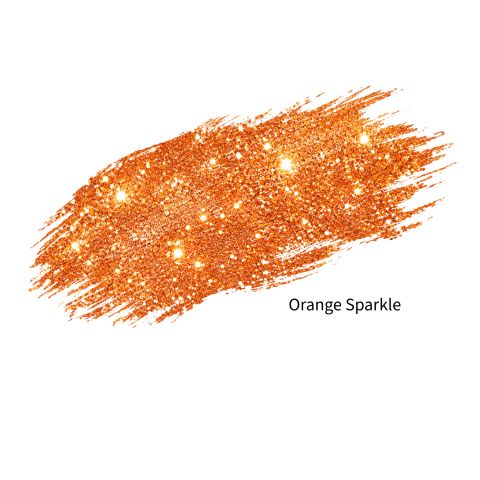
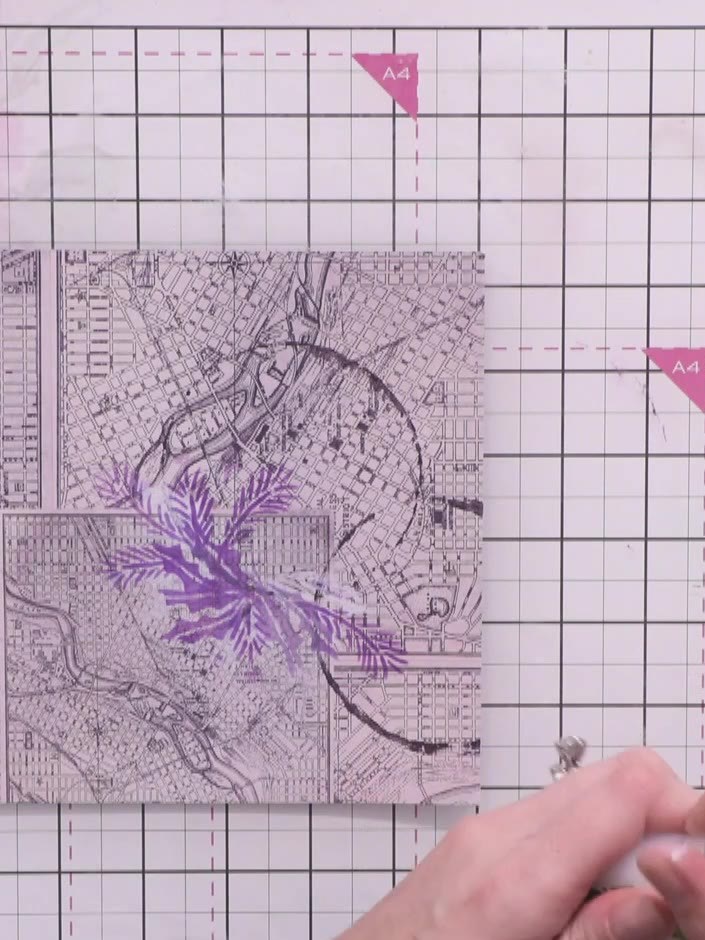
Using a clean brush, paint clear sparkle ink inside the purple bauble circles. Dilute the ink slightly with water to create a subtle shimmer without overpowering the stamped design.
 8
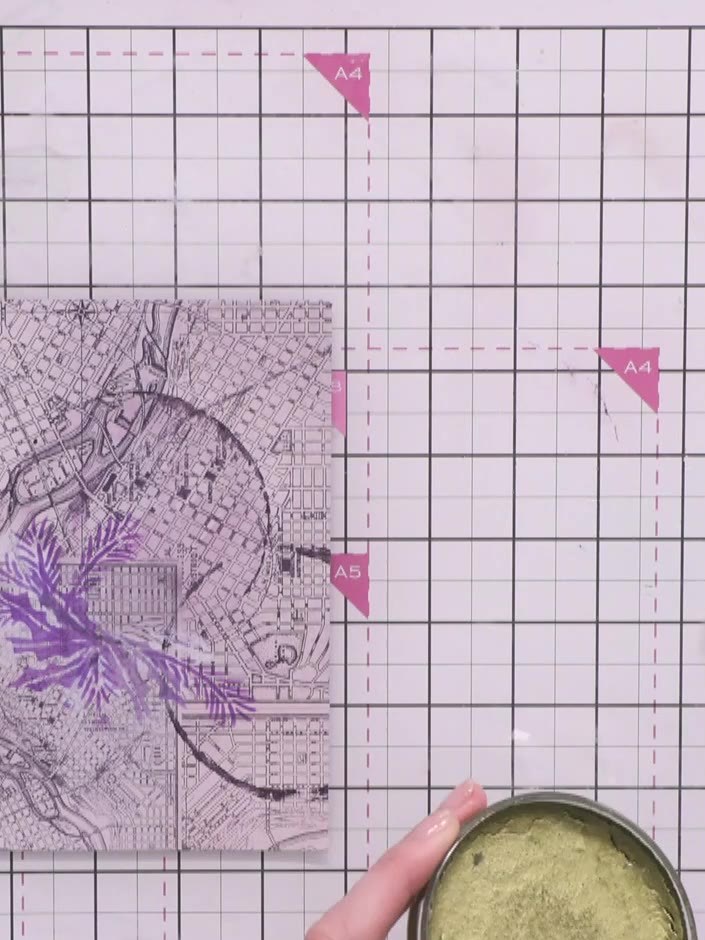
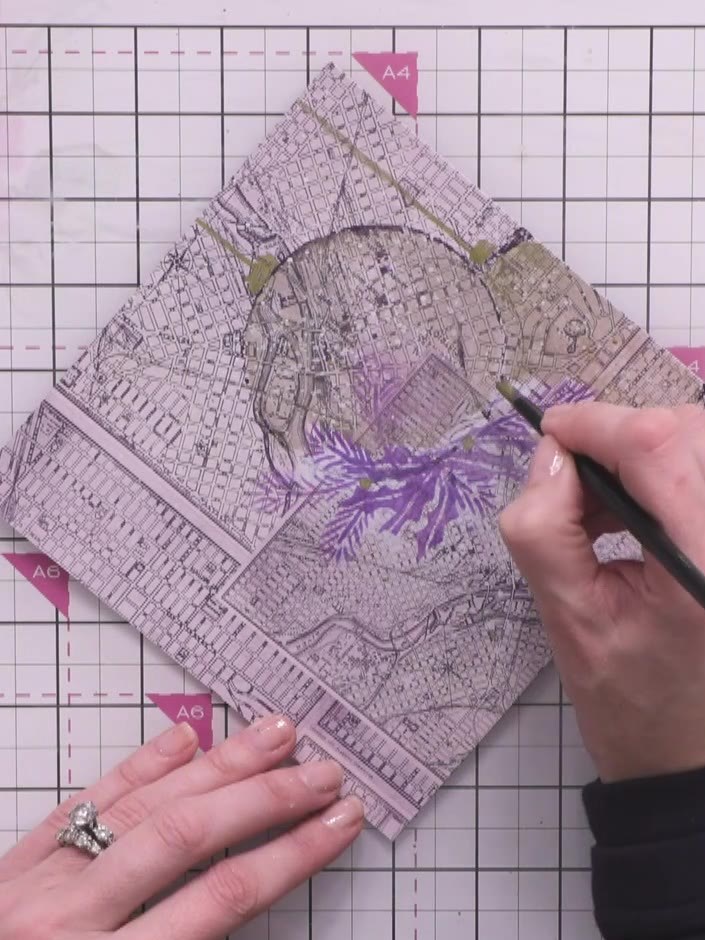
Mix gold spray stain with sparkle ink and paint the second bauble using a brush to create a warm metallic shimmer over the purple base.
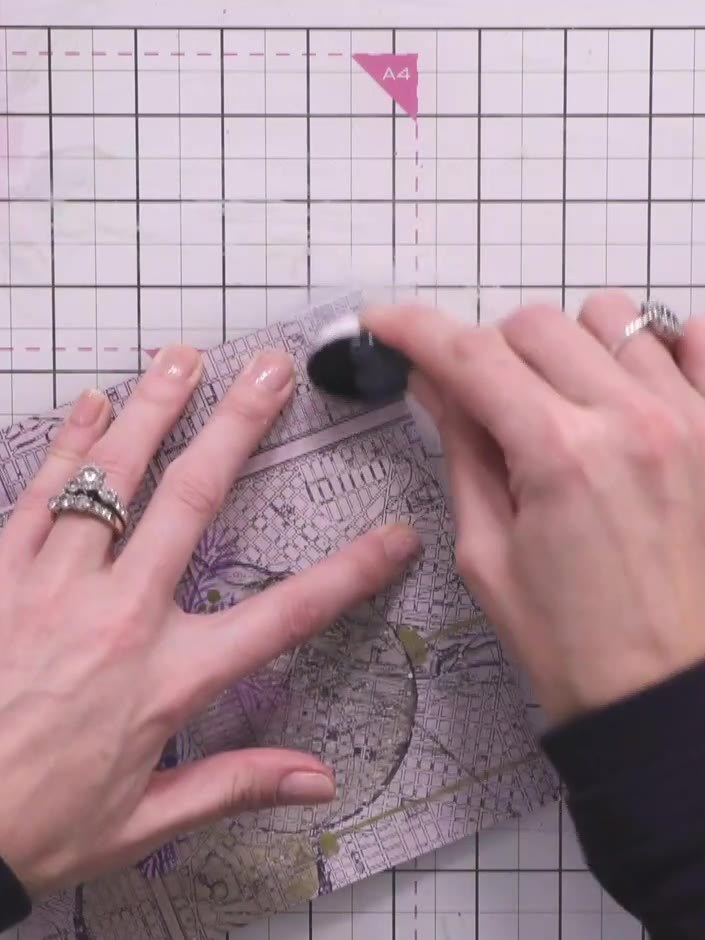
Use a white ink pad to create snow splatter effects across the card by flicking ink with your fingers or using a flicking motion with a brush.
 10
Add small gold shimmer circles throughout the design using the gold finger wax to represent additional baubles. Dot them around the purple foliage and across the background layers.
 11
Distress the edges of the white panel using scissors to create a vintage effect. Ink the distressed edges with purple ink.
 12
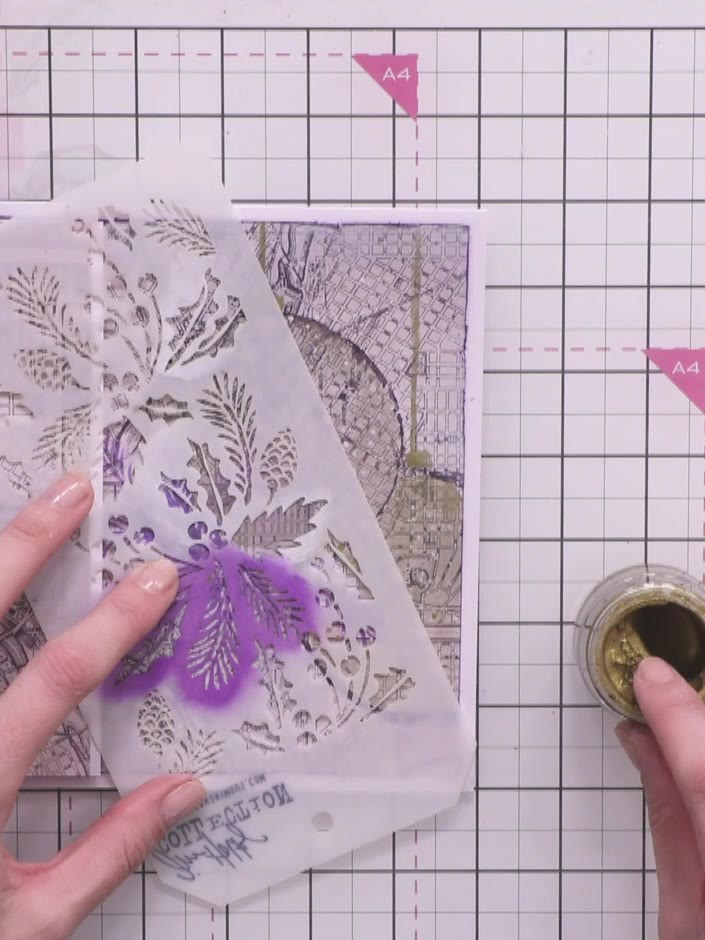
Apply gold wax through the stencil using your finger to add subtle highlights to the foliage design. Gently dab the wax onto the raised areas of the stencilled pattern for a delicate metallic finish.
 13
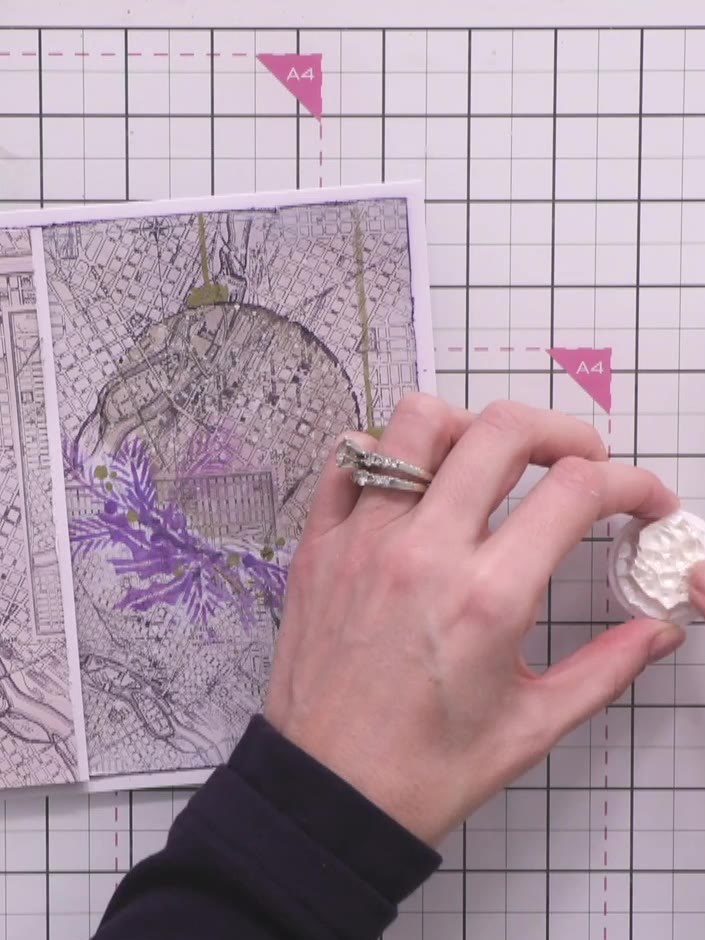
Using white finger wax, apply a small halo or highlight to the top of each bauble to create dimension and the effect of light reflection.
 14
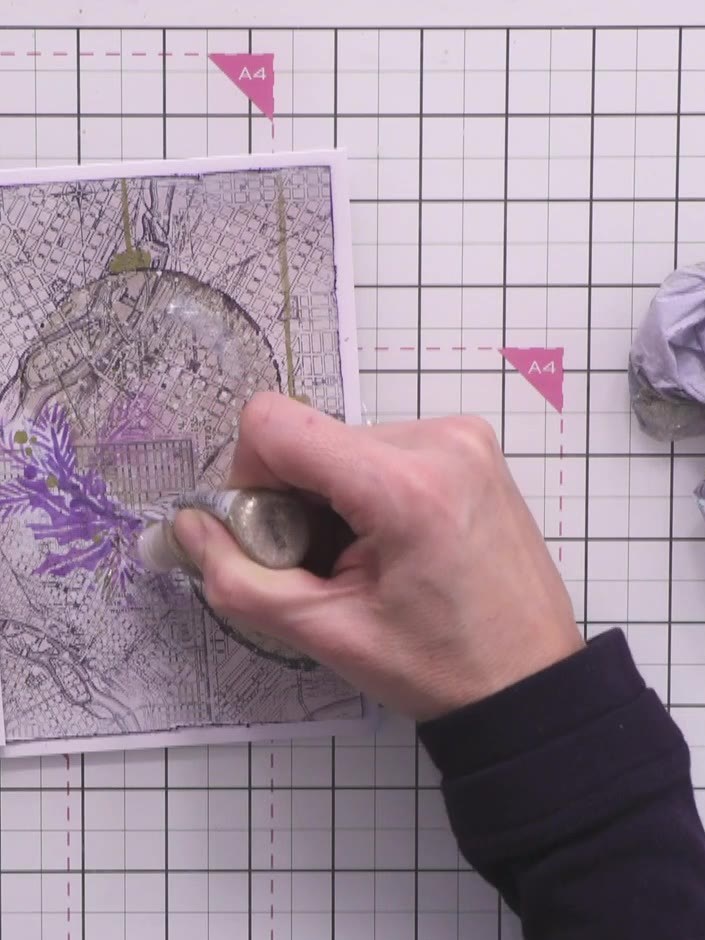
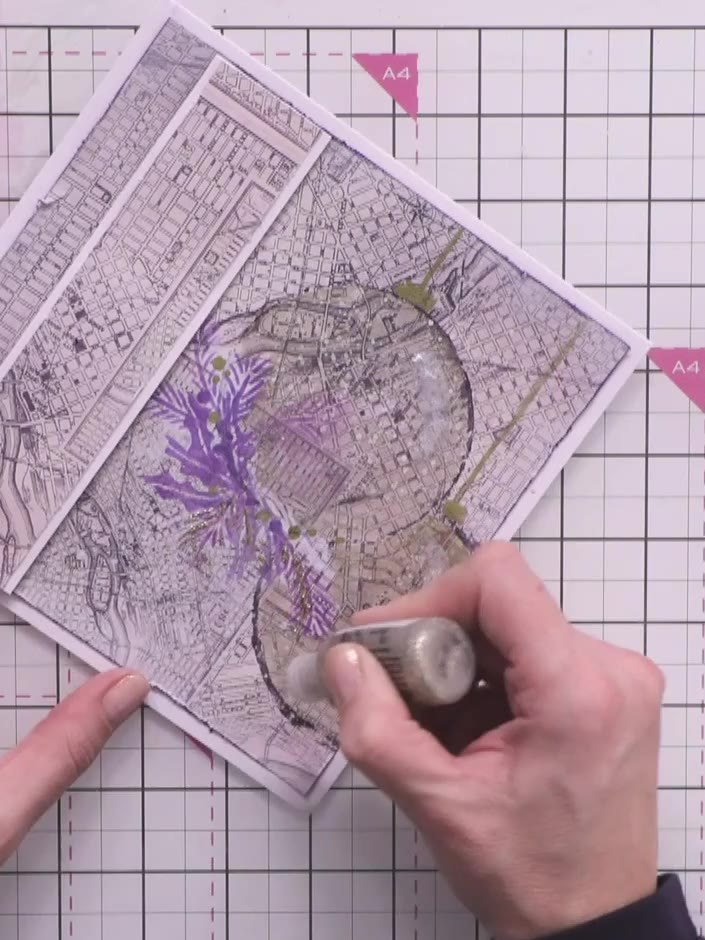
Apply gold Stickles glue to selected sprigs and foliage details on the card for extra sparkle and definition. Focus on the purple-coloured foliage elements to add highlights.
 15
Adhere a sentiment sticker to the centre bauble, such as 'A Christmas dream', using the applicator tool to position it carefully.
 16
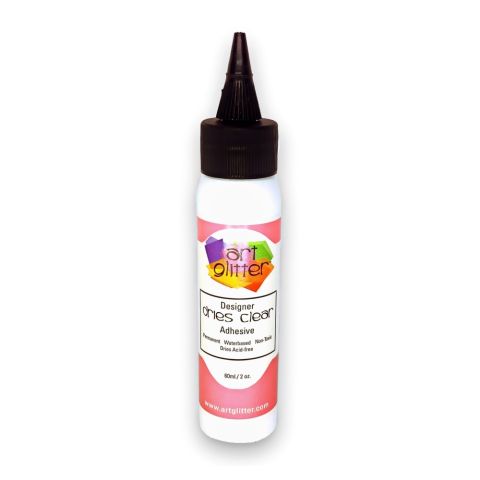
Apply dry clear glue to selected white spaces on the card front. Attach purple sequins to these glued areas to add dimensional embellishment to the design.
Deel je project met de Stamps By Me community - en bewaar deze handleiding voor de volgende keer.
Rechtstreeks uit de show uitgeschreven. Bekijk alle handleidingen uit onze shows · gratis handleidingen · kijk live op My Telly · de vorige weergave