Give your friends $10 off their first order!
Refer a FRIEND








 The Thursday DropTomorrow 1pm
 The Friday Final CutFri 20 Nov 5am
 Community ShowcaseMon 23 Nov 5am
Prices change straight away. Every language is our own translation, not Google.
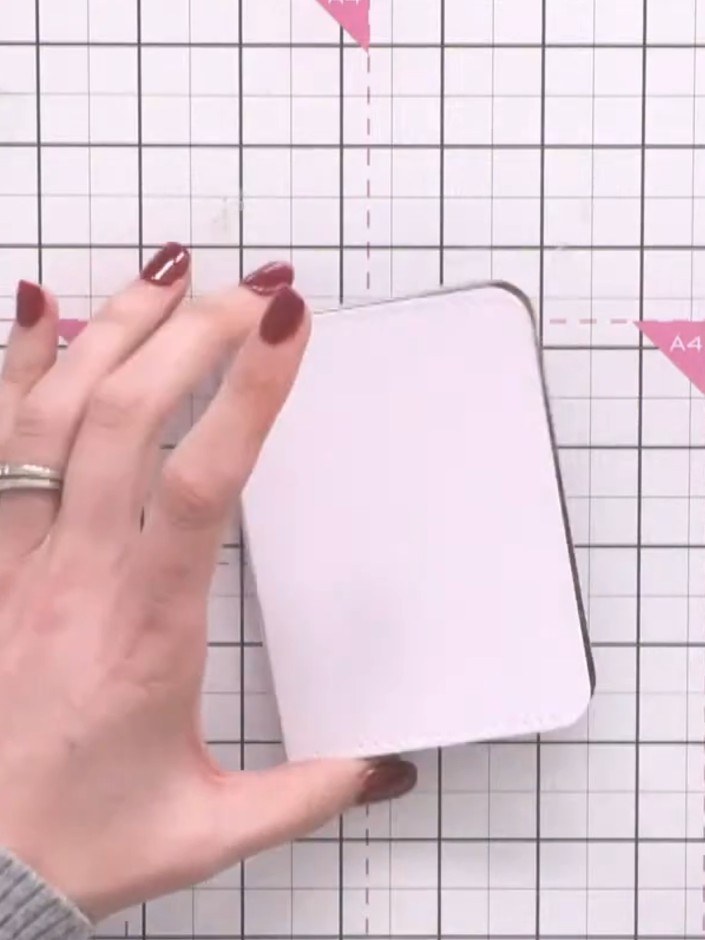
A project from our live show Create Together Club - 5 Days of Creativity - Broadcast Thursday 25TH September 2025 · 09/25/2025
Create a charming wraparound exploding mini book featuring wallet-style pages perfect for holding photos, gift cards, or heartfelt messages. This interactive keepsake uses vintage-inspired imagery in muted tones of grey, sepia, and cream, and employs folding, layering, and decorative closure techniques. The book folds flat for gifting but opens out to reveal multiple pages in an impressive display.
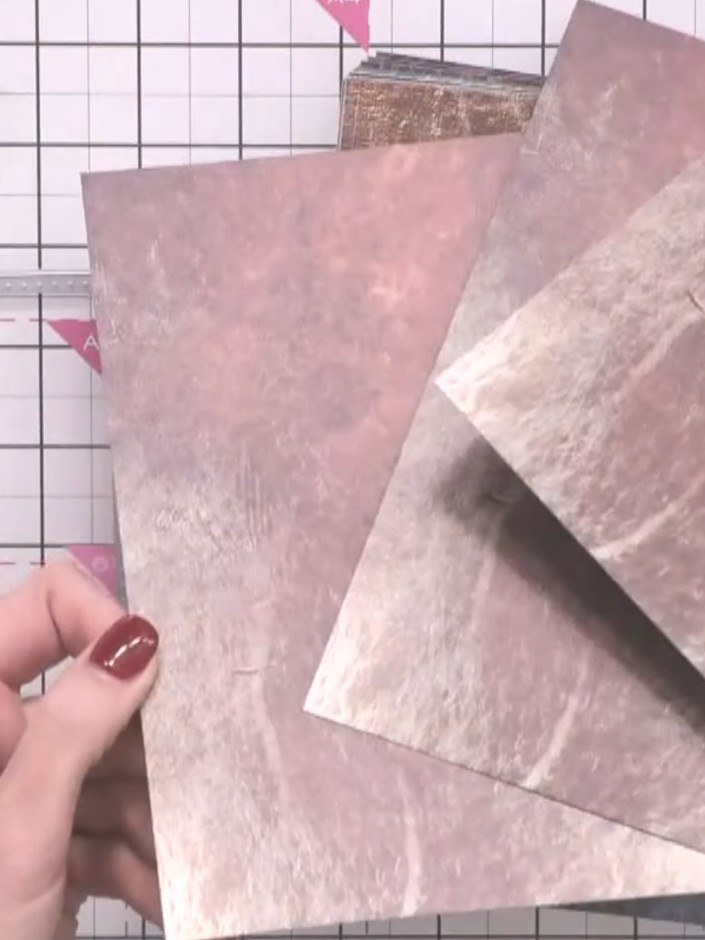 1
Cut multiple wallet die shapes from your patterned paper. Ensure you cut on the white side so the pattern shows on the inside of each page. You can use whatever colours you want to.
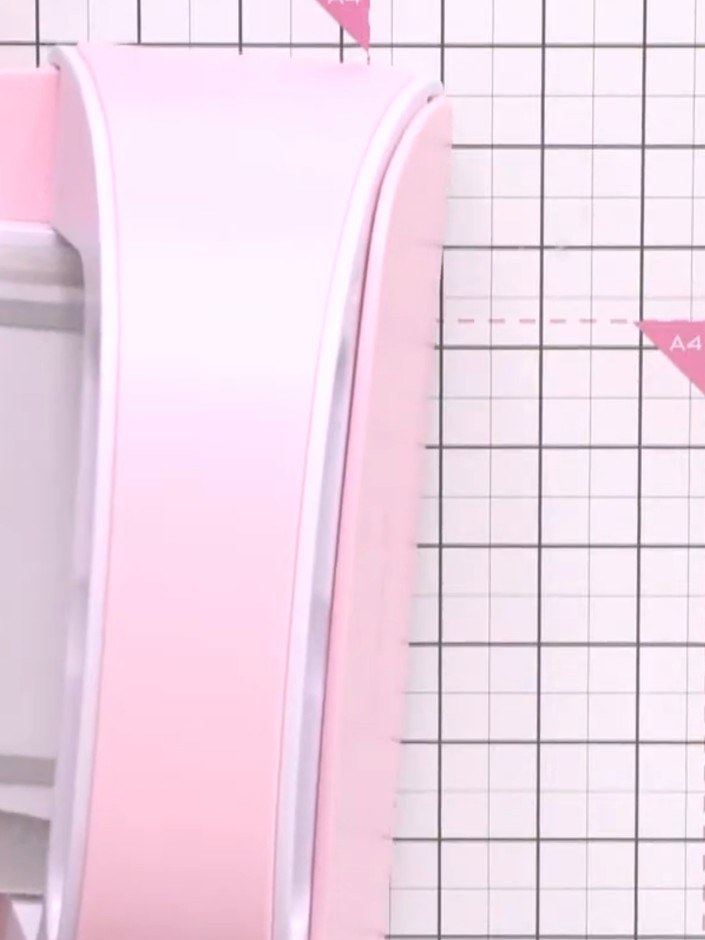 2
Fold each of the two wallet pieces in half to create individual pages. You can either fold them or score them down the centre for a crisp fold.
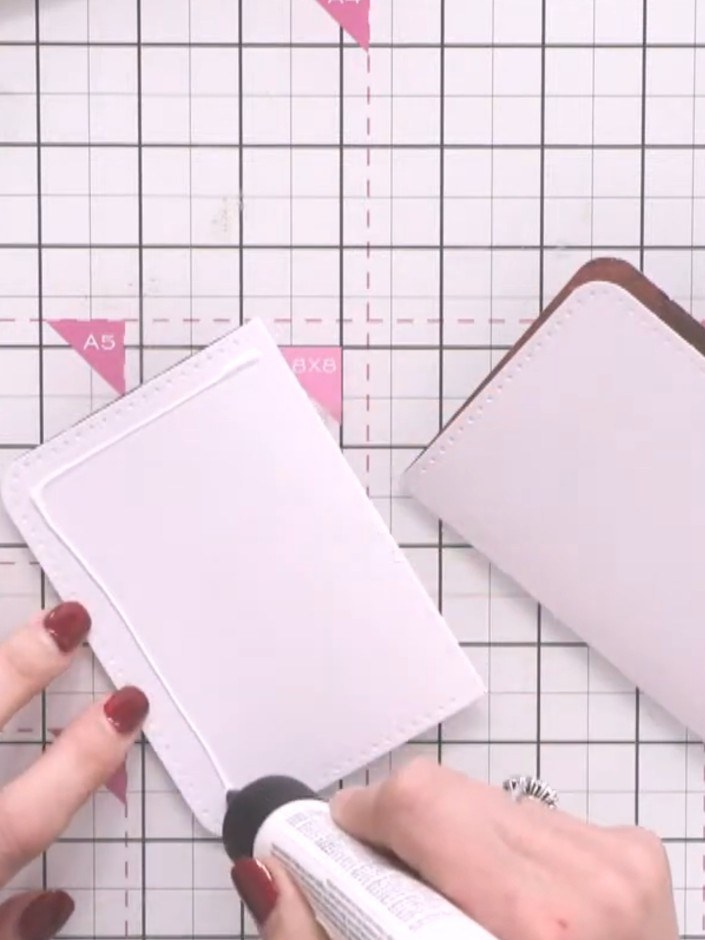 3
Apply glue to one of the folded card pieces and adhere it to another folded piece, stacking them back to back. Continue gluing the remaining folded pieces together to create the multi-page structure.
 4
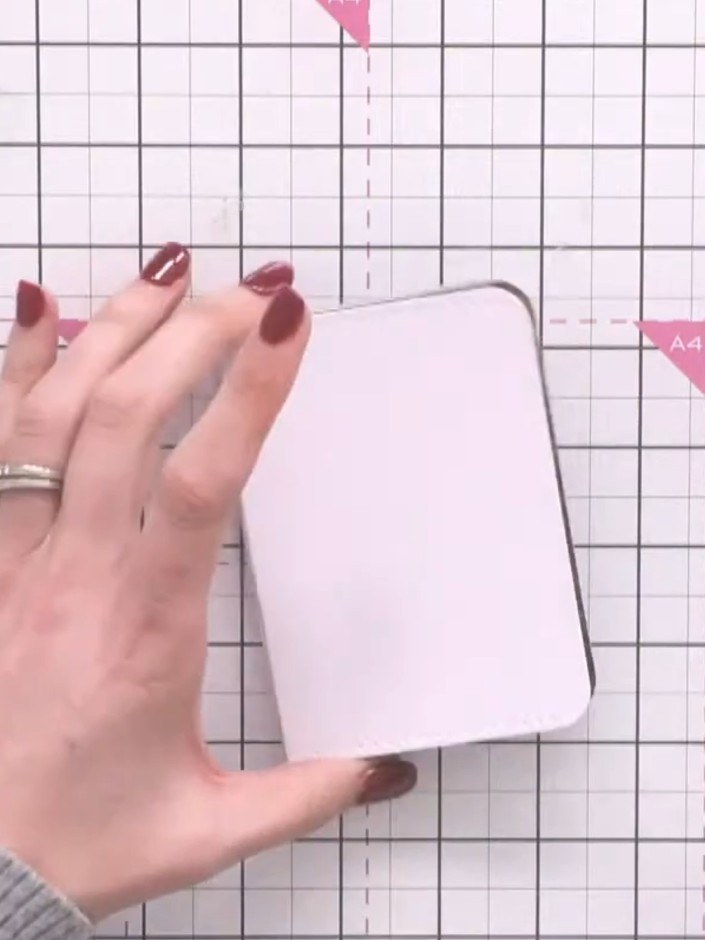
Cut two strips from the dye pieces and glue them to the front and back of your stacked pages, leaving a slight hump in the middle to accommodate the clasp mechanism.
 5
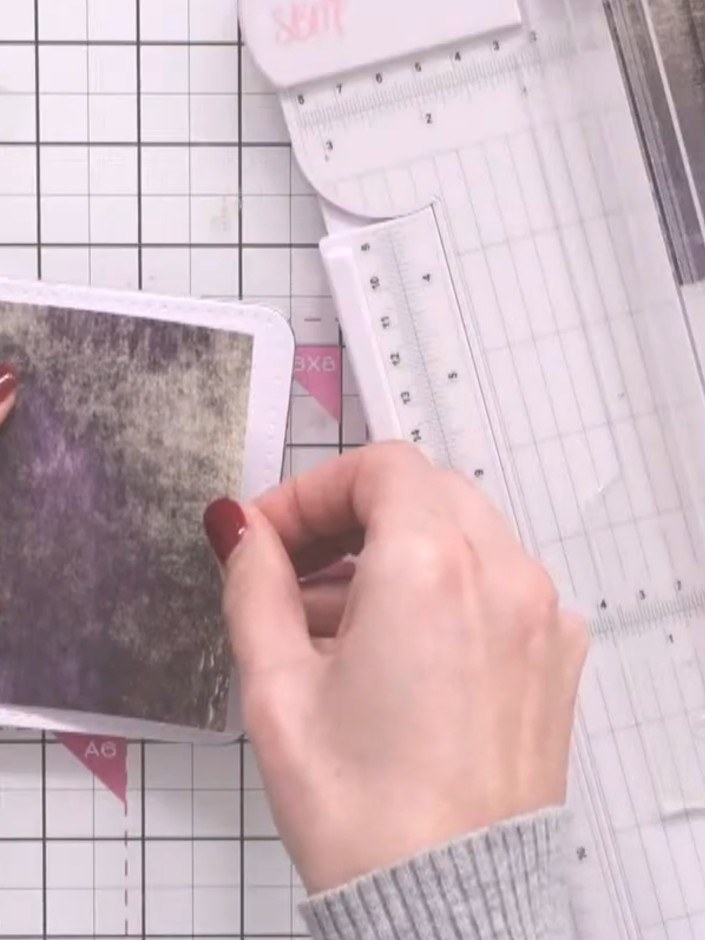
Cut belt buckle pieces from the die-cut sheet and adhere them underneath the front closure panel using adhesive.
 6
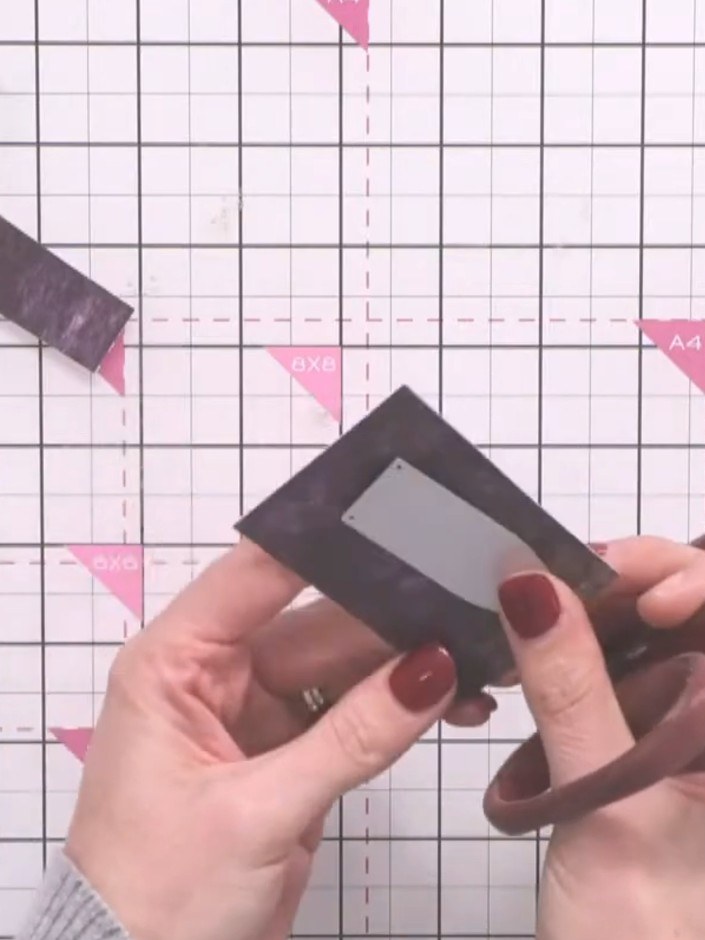
Cut out the rectangular window from the dark grey die-cut frame piece using scissors. This creates a pocket frame that will be adhered to your pages.
 7
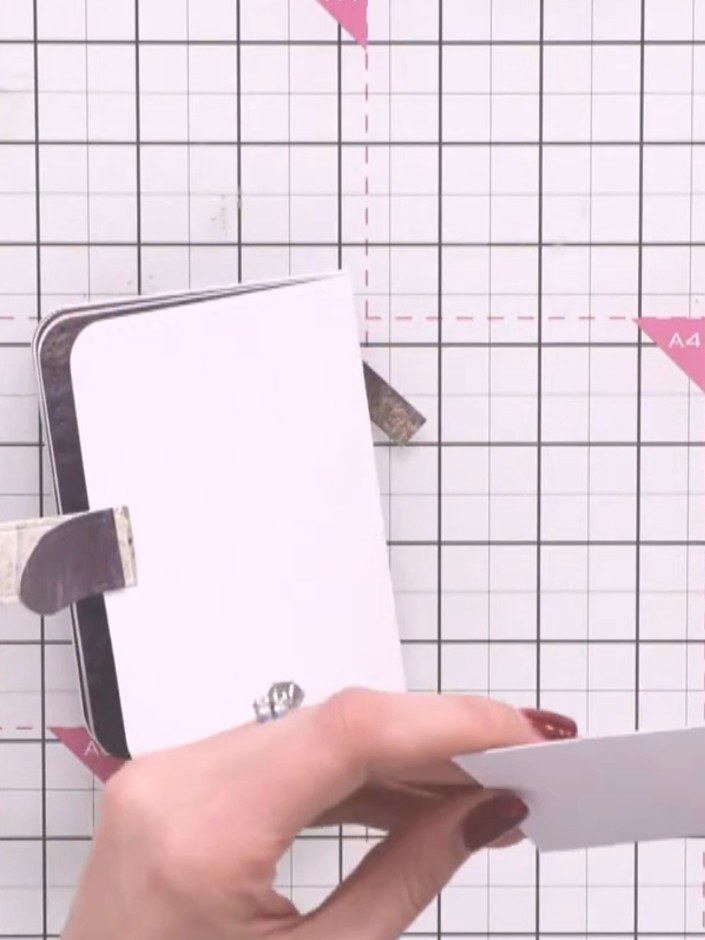
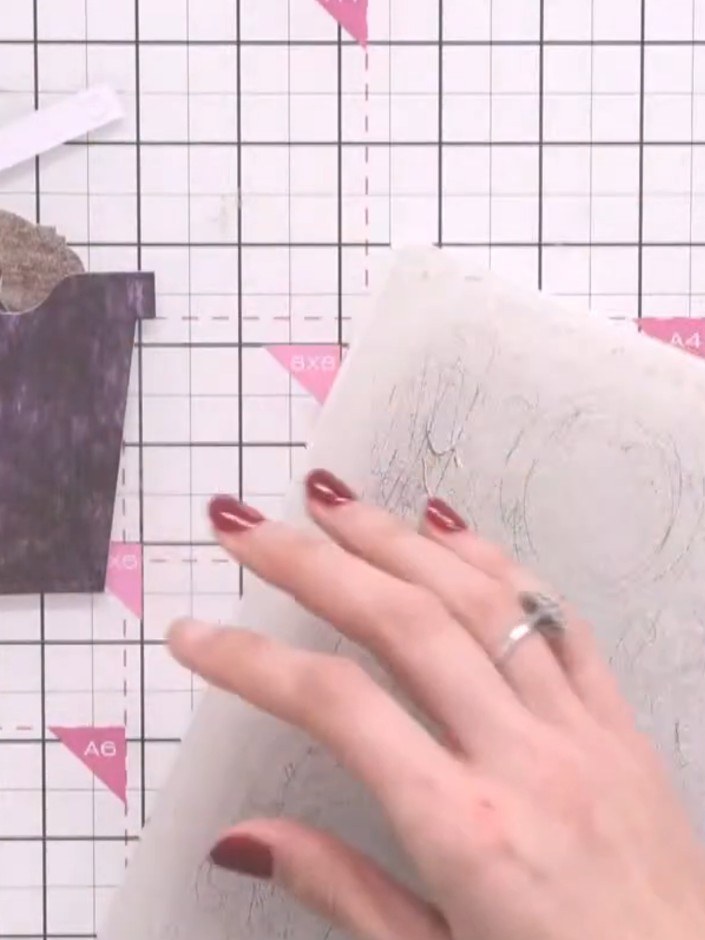
Cut a second closure piece from the brown patterned paper. Apply adhesive to the back of this piece and glue it to the inside back page to create a clasp that holds the book closed.
 8
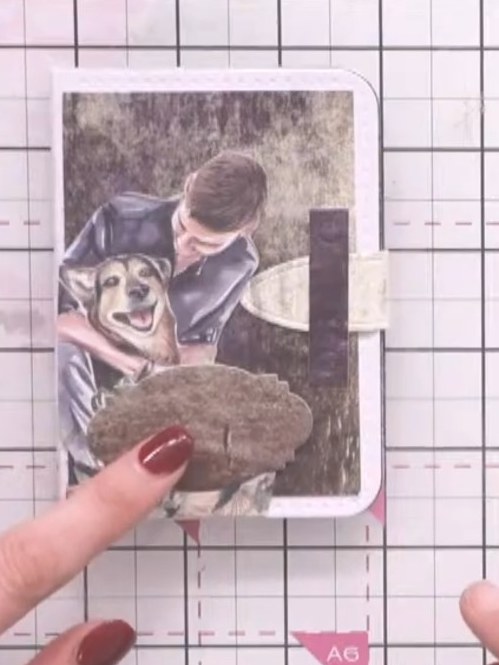
Attach a decorative panel from your paper collection to the front cover, positioning it off to one side using adhesive.
 9
Blend black or vintage colour around the white edges of the photo card using a blending brush to tidy up and tie the design together. Optional: Thread twine down the middle of the book and tie it in a bow at the side for extra decoration.
Share your make with the Stamps By Me community - and keep this guide for next time.
Written up from the show itself. See every guide from our shows · free how-to guides · watch live on My Telly · the previous layout