Give your friends $10 off their first order!
Refer a FRIEND








Prices change straight away. Every language is our own translation, not Google.
A project from our live show HSN PRODUCT INSPIRATION - Join me for a fun filled show broadcast 1st September 2026 · 09/01/2026 · watch it from 40:00
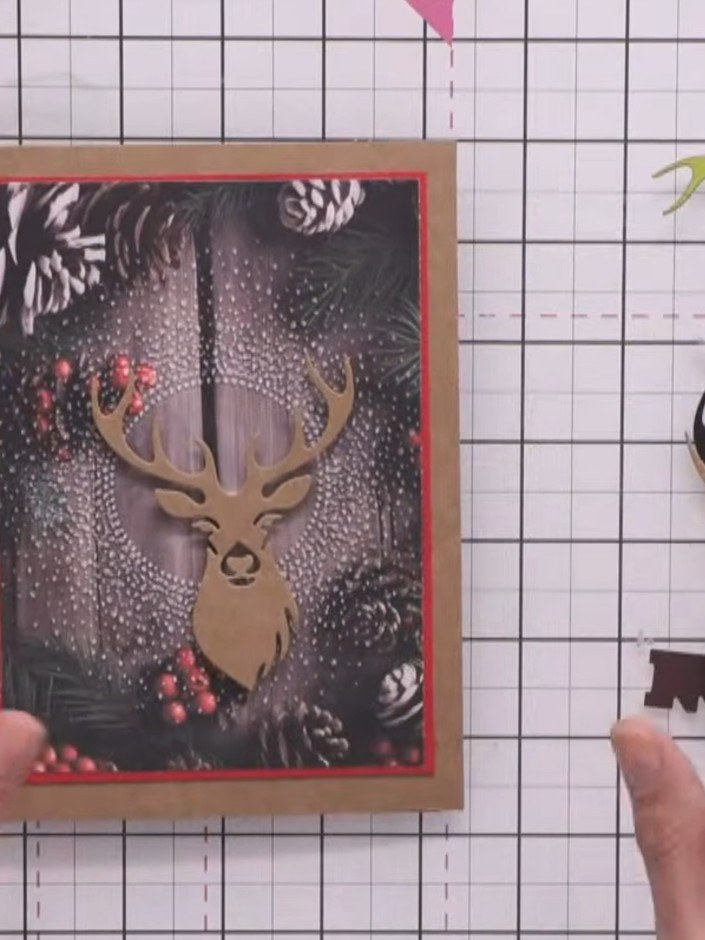
Create a festive Christmas card featuring a kraft-coloured stag mounted on a dramatic black embossed background with snow burst texture. The design includes red berry accents and is finished with a bold red border on a kraft card base. This project demonstrates embossing folder techniques and simple layering for a striking seasonal card.
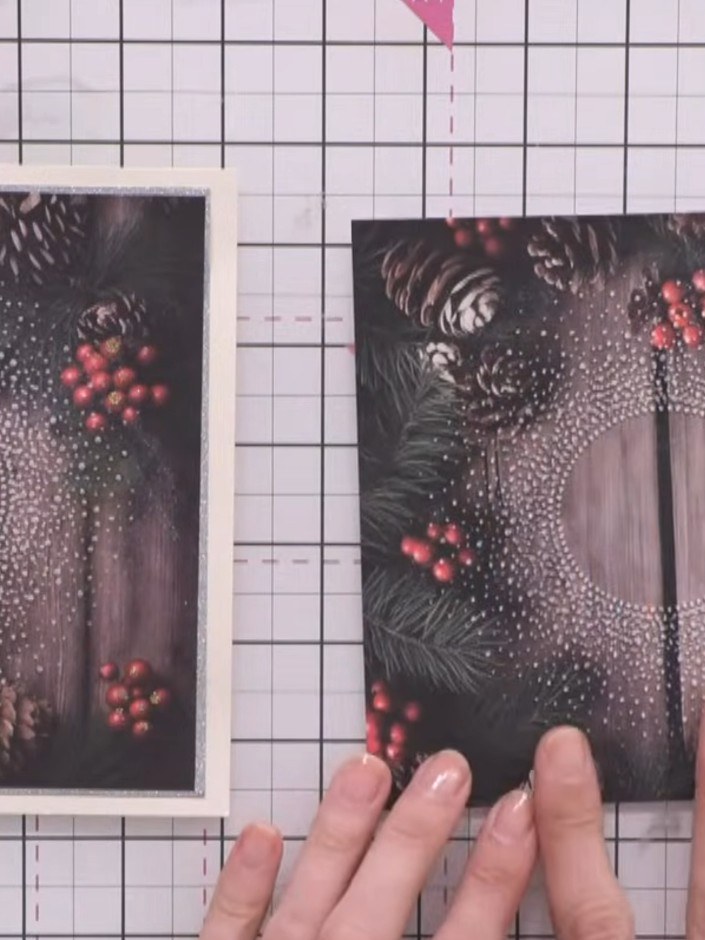
Run your patterned paper through the snow burst embossing folder. The paper features a festive wreath design with pine cones, red berries, and a wooden door centre on a dark background.
▶ watch this step (40:15)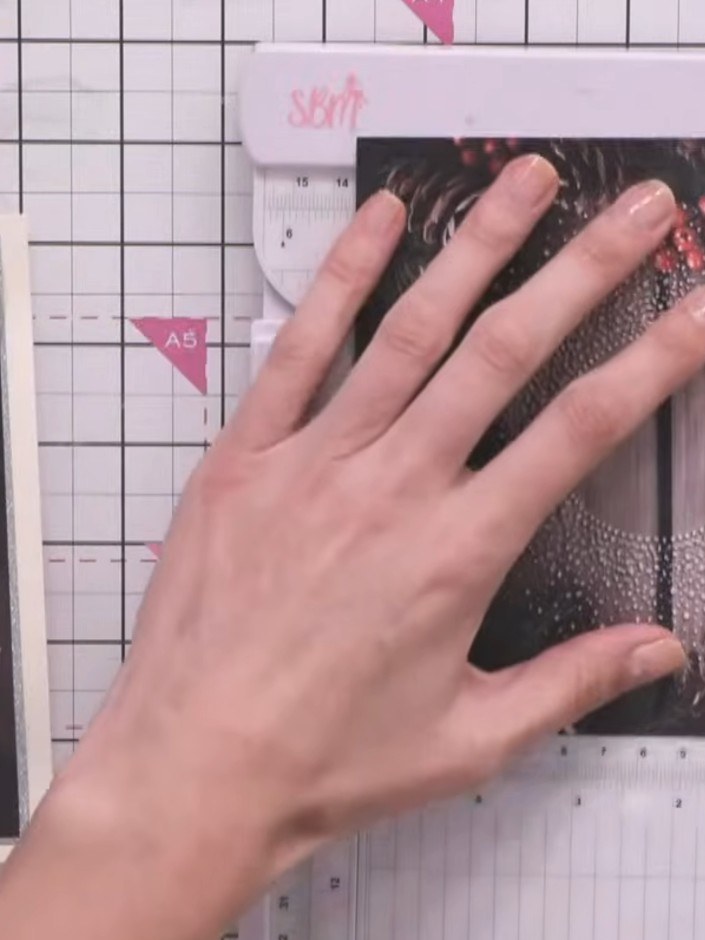
Place the embossed piece onto a trimmer and cut away the ragged edges to create a neat rectangular card shape that is smaller than the original embossed panel.
▶ watch this step (40:30)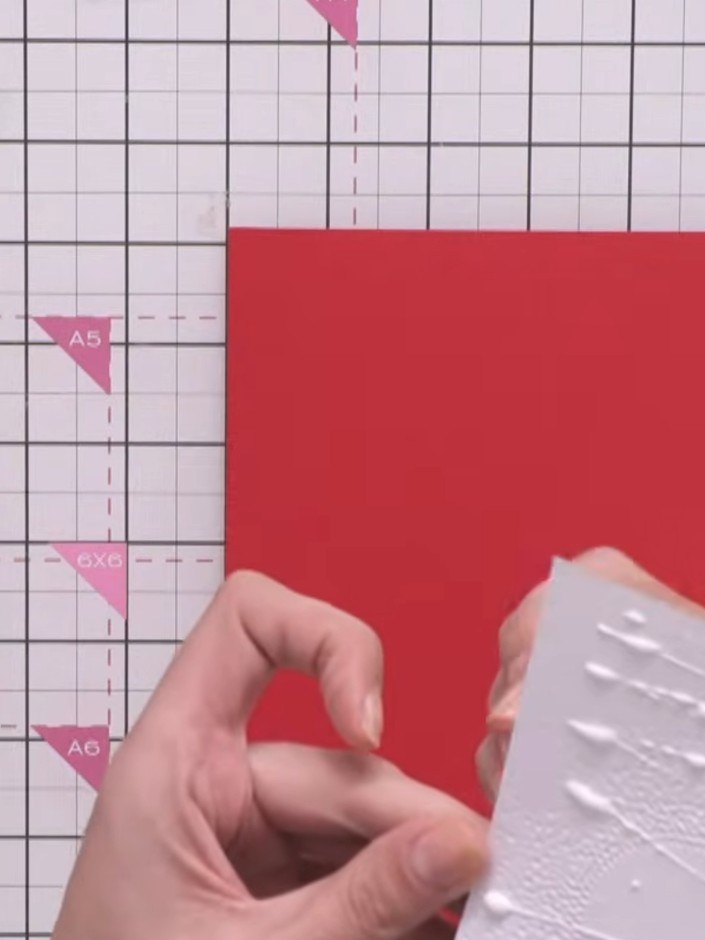
Cut a piece of red card stock slightly larger than your embossed panel to create a border around it.
▶ watch this step (41:00)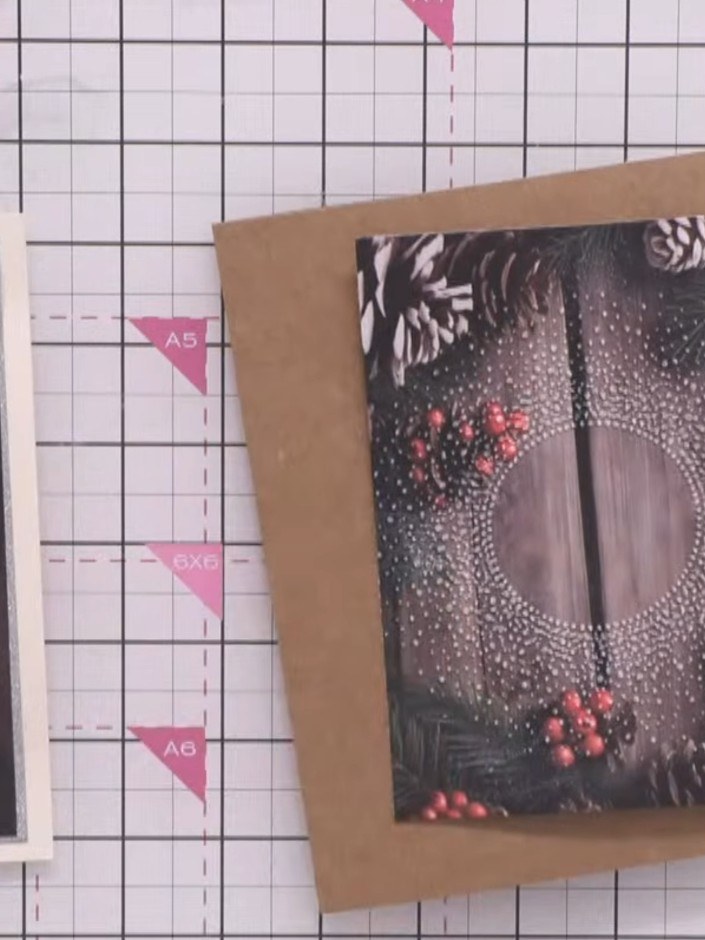
Adhere the embossed panel to the kraft card base, ensuring an even border of red card is visible on all sides.
▶ watch this step (41:30)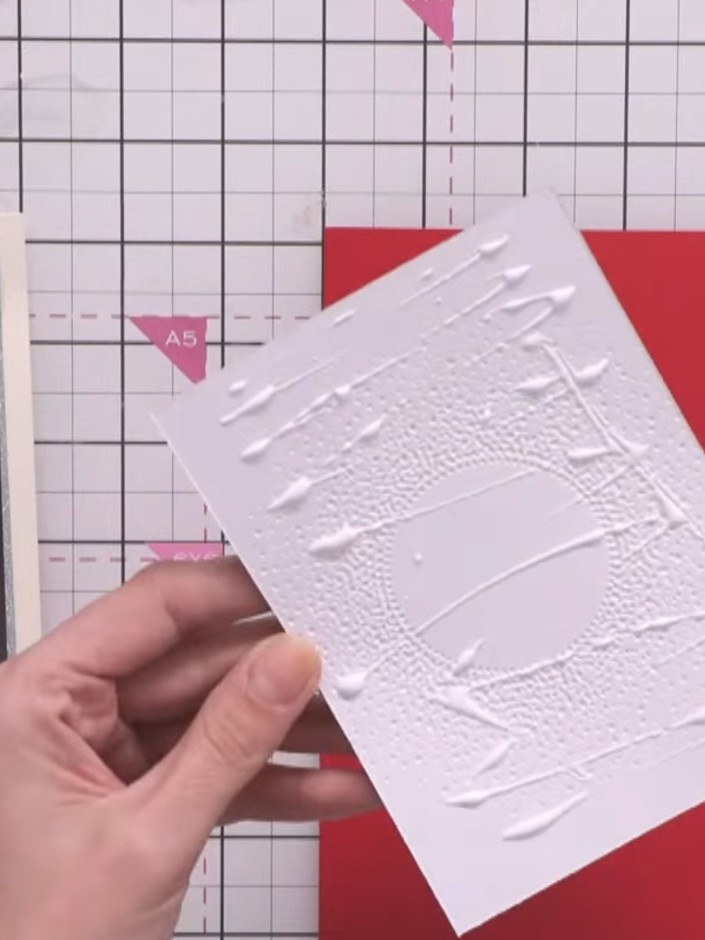
Mount the embossed white panel onto the red card blank using foam pads for dimension.
▶ watch this step (42:00)Written up from the show itself. See every guide from our shows · free how-to guides · watch live on My Telly


