Give your friends $10 off their first order!
Refer a FRIEND








A project from our live show ONE DAY SPECIAL - Join Toni and Simon for the brand new launch - Broadcast 10th October 2025 · 10/10/2025 · watch it from 36:45
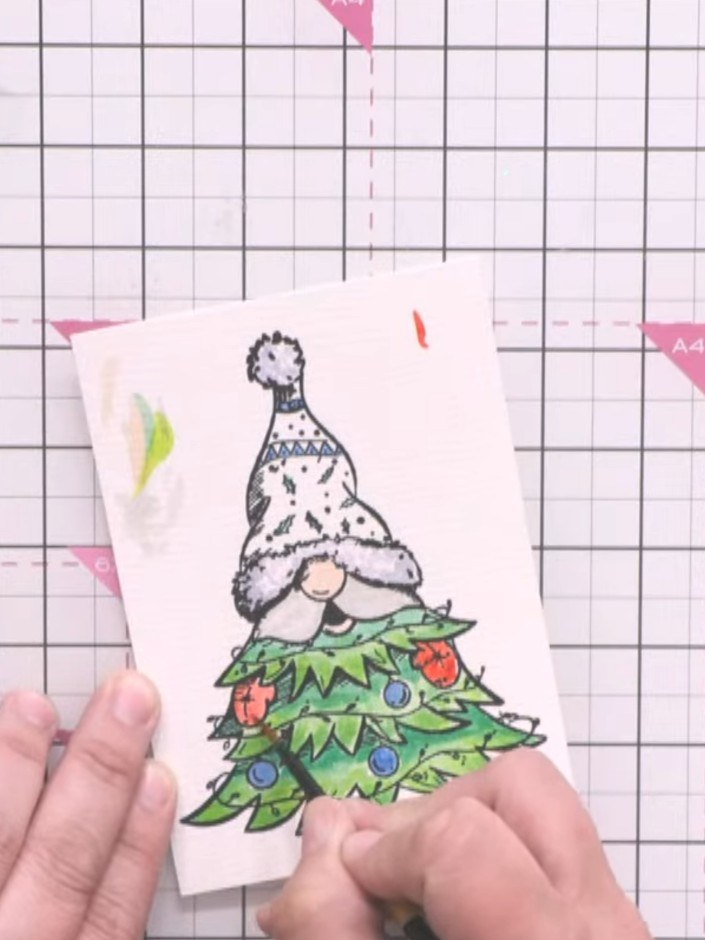
Create a delightful interactive Christmas card featuring a charming gnome character perched atop a layered Christmas tree. The design showcases vibrant colours including coral red, festive green and white, with dimensional die-cut elements that bring texture and depth to your card. This project uses layering and die-cutting techniques to create a three-dimensional effect with moveable elements.
 Avago-ink Designs Stamp & Die Set - Gnome for the Holidays - 110624FSEE IT
 Avago-ink Designs Paper Collection - Mystical Christmas - 110624ESEE IT
 Media Glitter - Colourless Glitter - 050923ASEE IT
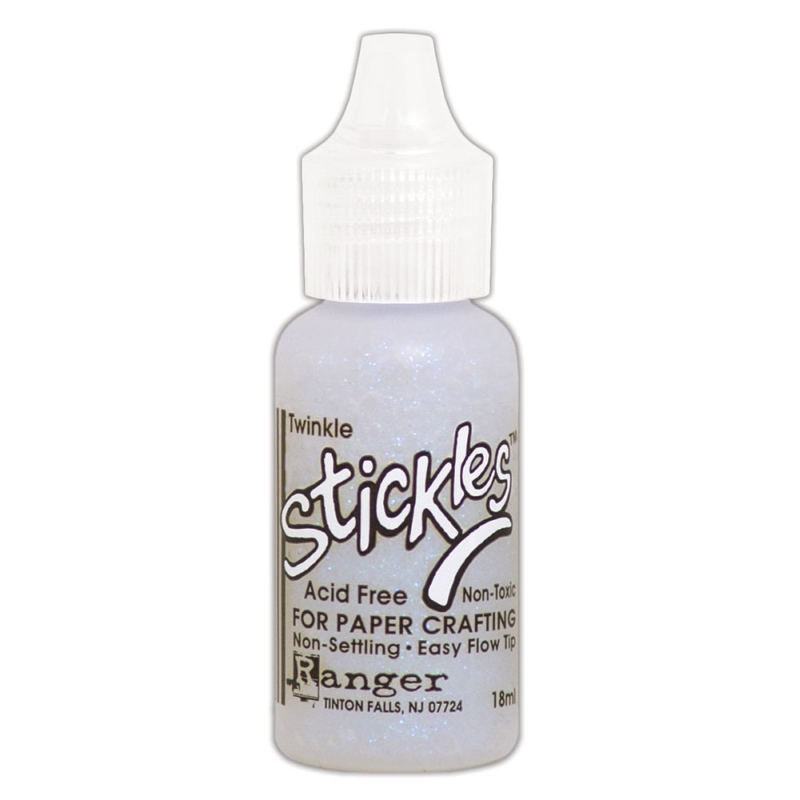 Stickles Glitter Glue TwinkleSEE IT
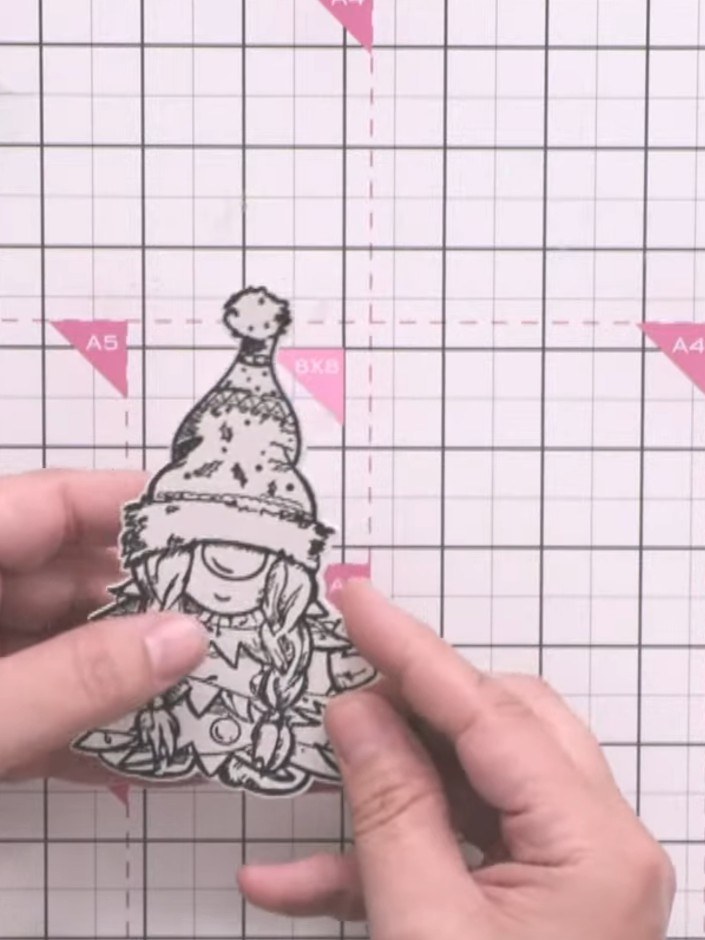
Stamp the gnome character from the Gnome for the Holidays stamp set onto white watercolour card using black ink. Ensure all the intricate details of the gnome, including the hat, beard, and decorative elements, are clearly stamped.
▶ watch this step (36:45)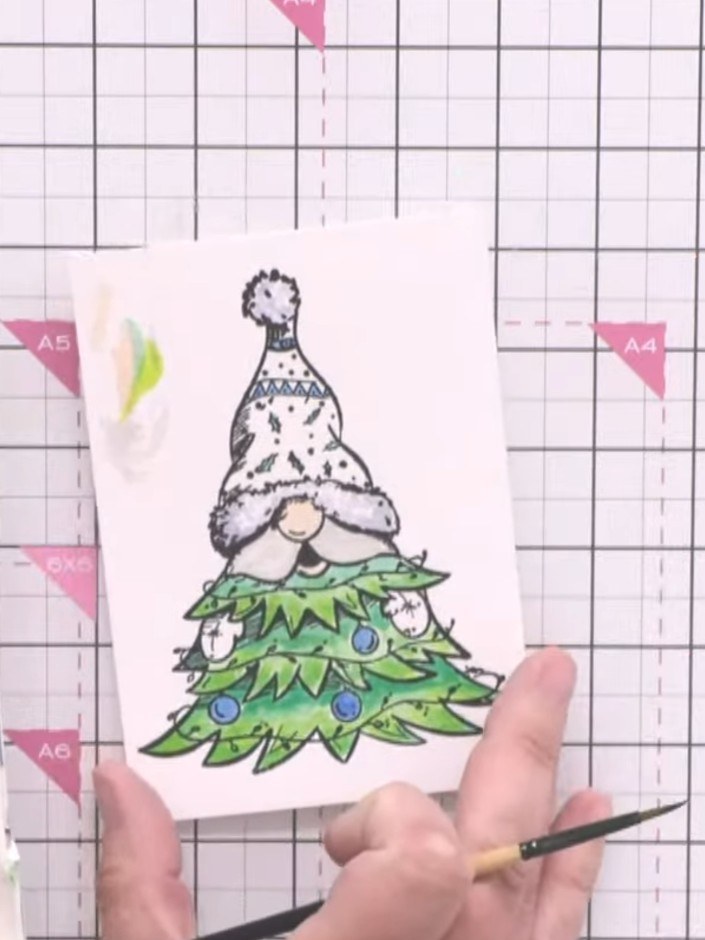
Colour the Christmas tree with watercolours, using lighter green at the bottom and darker green at the top to create dimension. Add colour to the baubles and other details on the tree.
▶ watch this step (37:15)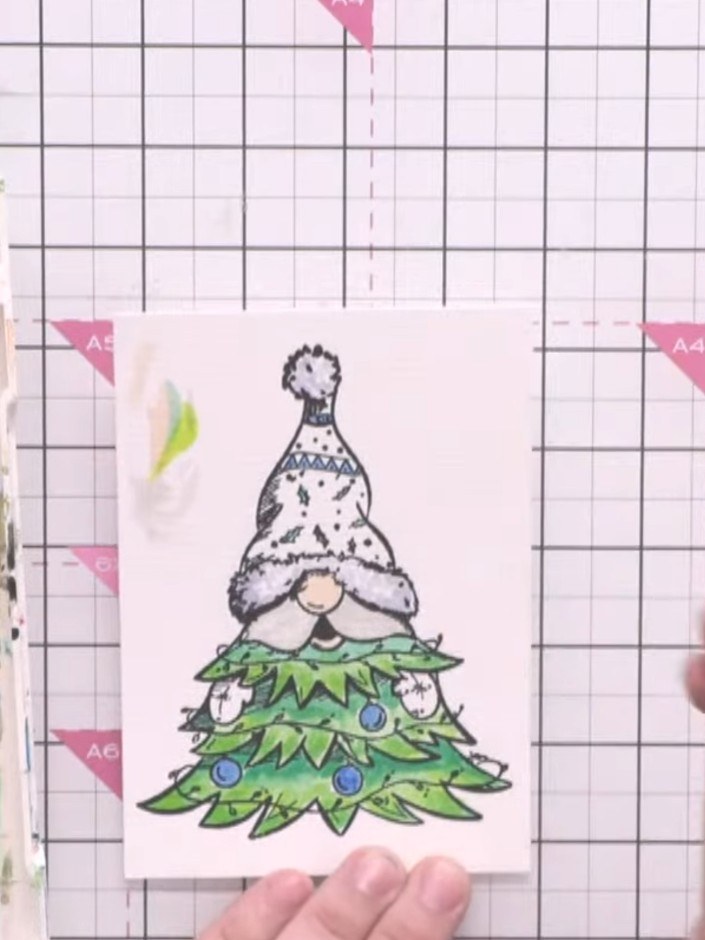
Add red watercolour to the gnome's hat and white watercolour to the beard. Use a fine brush to apply the colours carefully to the stamped image.
▶ watch this step (37:45)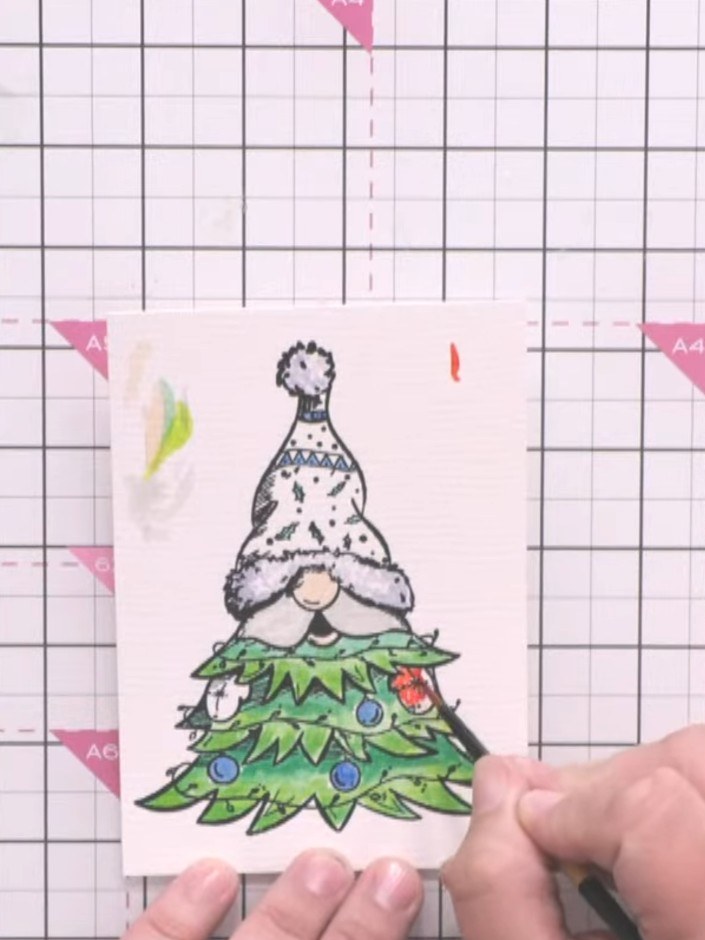
Add decorative details to the Christmas tree using watercolour paints or markers. Colour the baubles in red and blue, and add shading to the green tree branches to create depth and dimension.
▶ watch this step (38:00)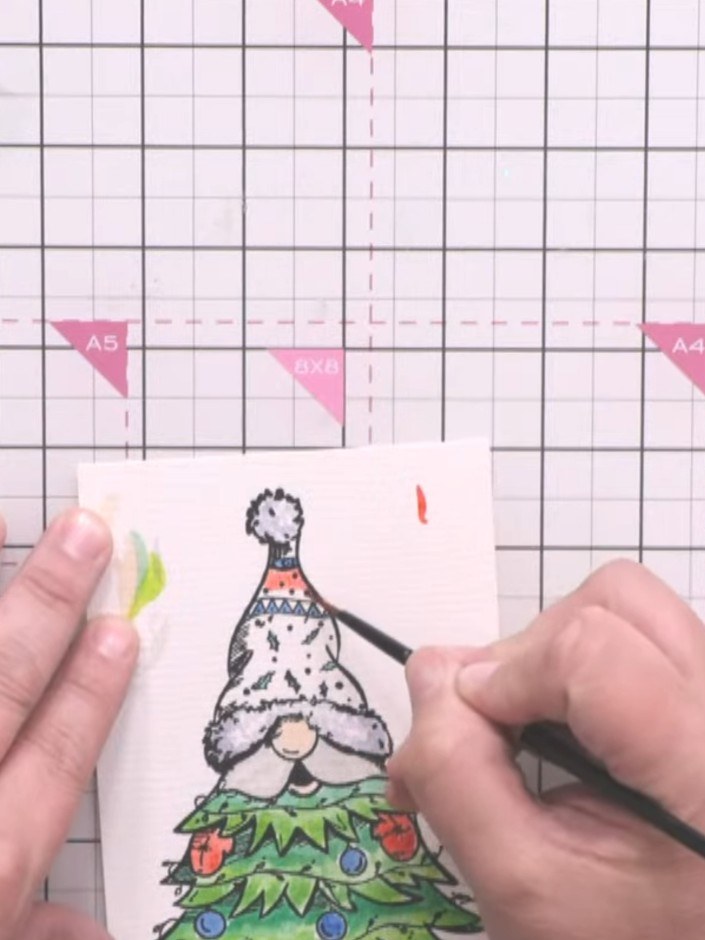
Heat set the embossing powder on the gnome's hat using a heat gun, moving it gently over the surface until the powder melts and becomes shiny.
▶ watch this step (38:15)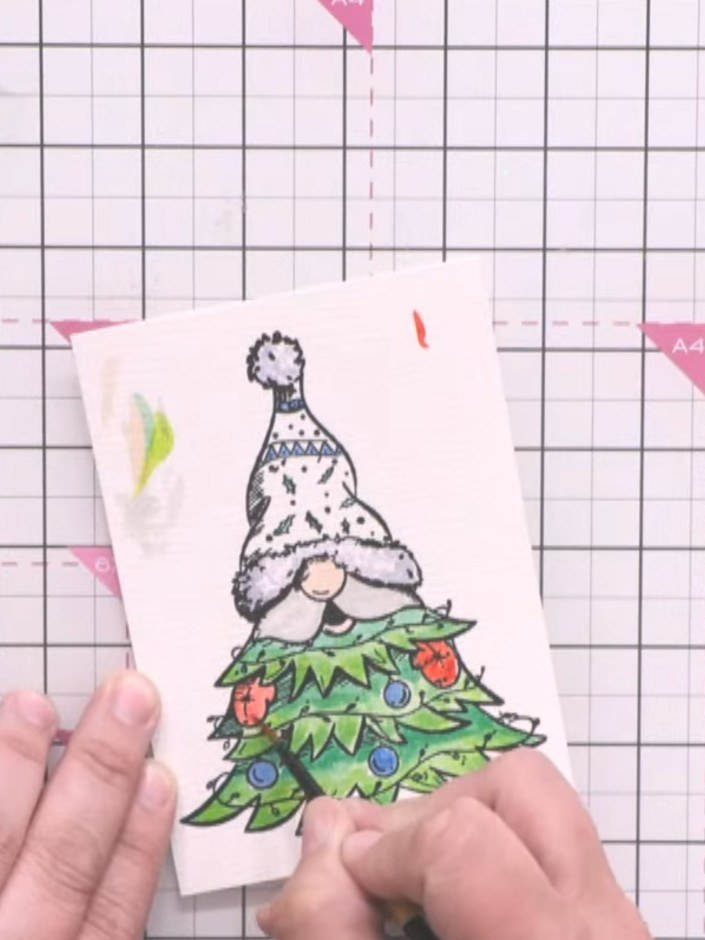
Die-cut the gnome character from your coloured image using the coordinating die from the Gnome for the Holidays die set. Carefully remove the die-cut piece from the die.
▶ watch this step (38:30)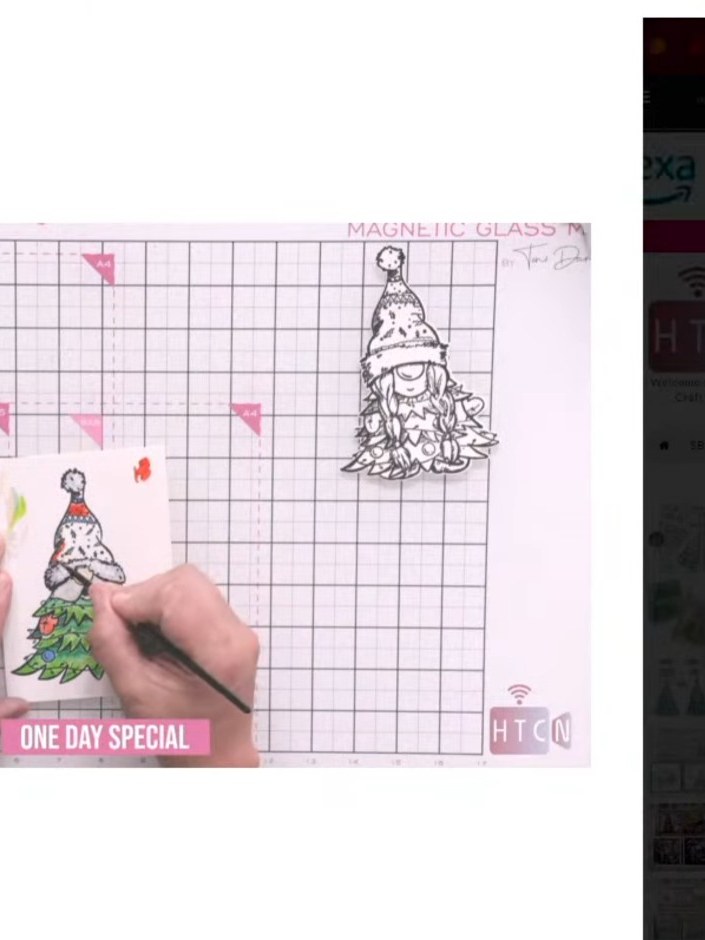
Use a white crayon to add colour to the gnome's cheeks and create small circles to enhance the design details.
▶ watch this step (39:00)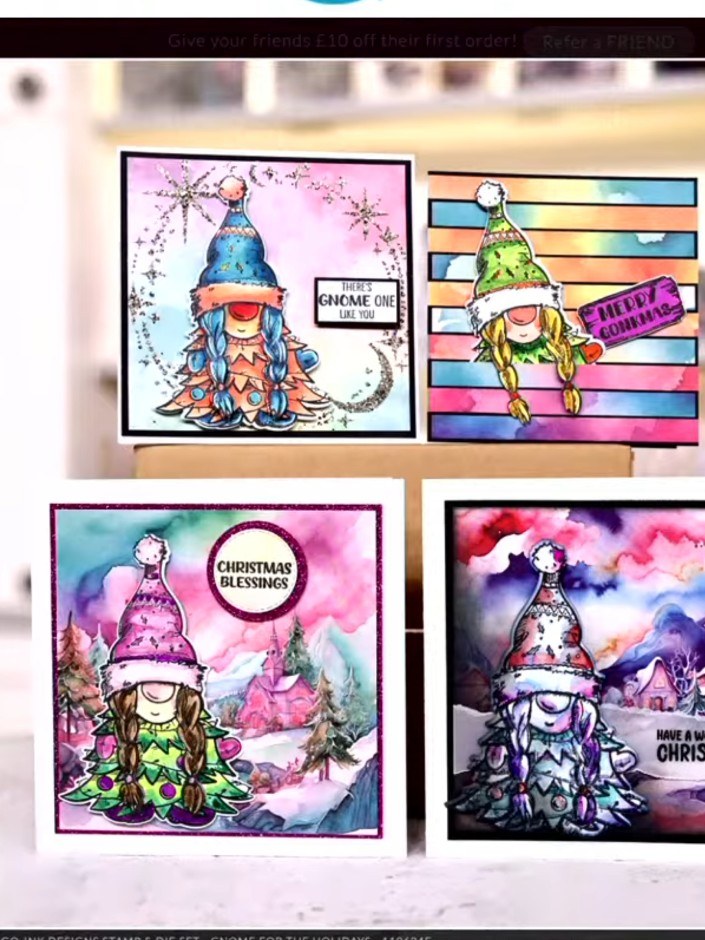
Mount the die-cut gnome onto a card base with a patterned paper background. Position the gnome centrally on the card front and secure with adhesive.
▶ watch this step (39:30)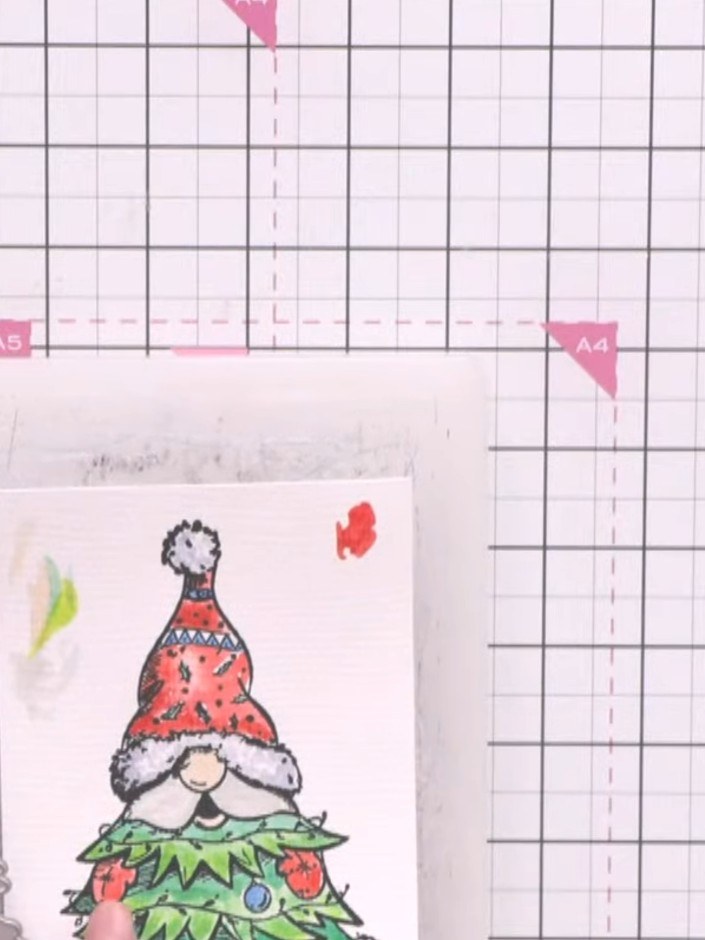
Apply colourless glitter using clear glue to add sparkle and texture to your finished card. Focus on areas you want to highlight, such as the gnome's hat or the Christmas tree decorations.
▶ watch this step (40:00)Written up from the show itself. See every guide from our shows · free how-to guides · watch live on My Telly