Give your friends $10 off their first order!
Refer a FRIEND








 The Friday Final CutFri 20 Nov 5am
 Community ShowcaseMon 23 Nov 5am
 Deal HuntersTue 24 Nov 8am
Prices change straight away. Every language is our own translation, not Google.
A project from our live show ONE DAY SPECIAL - Join Toni for her brand new launch - Broadcast 7th November 2025 · 11/07/2025
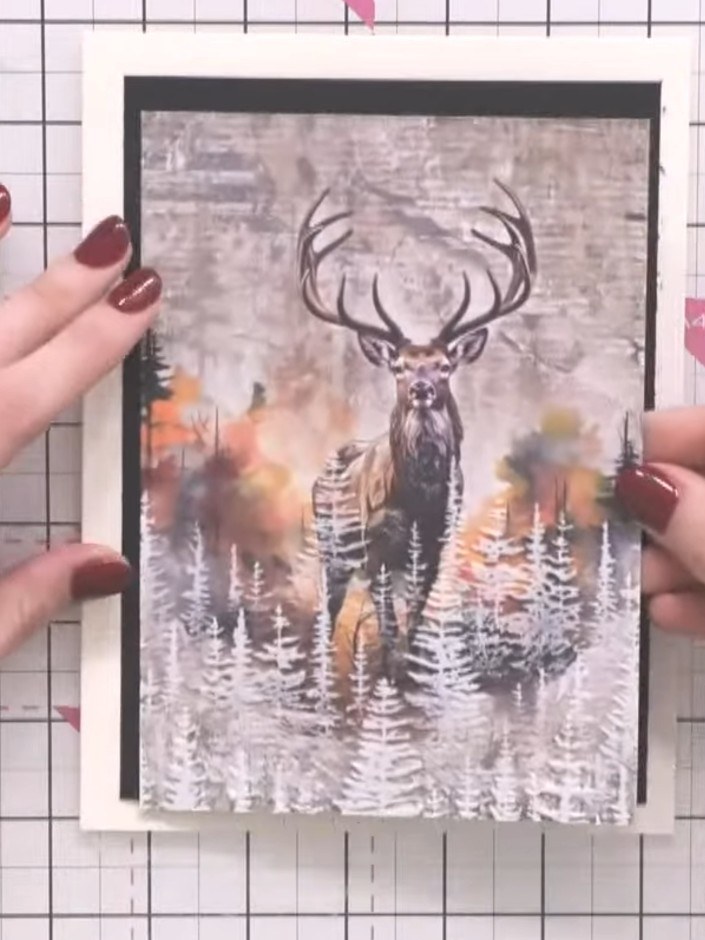
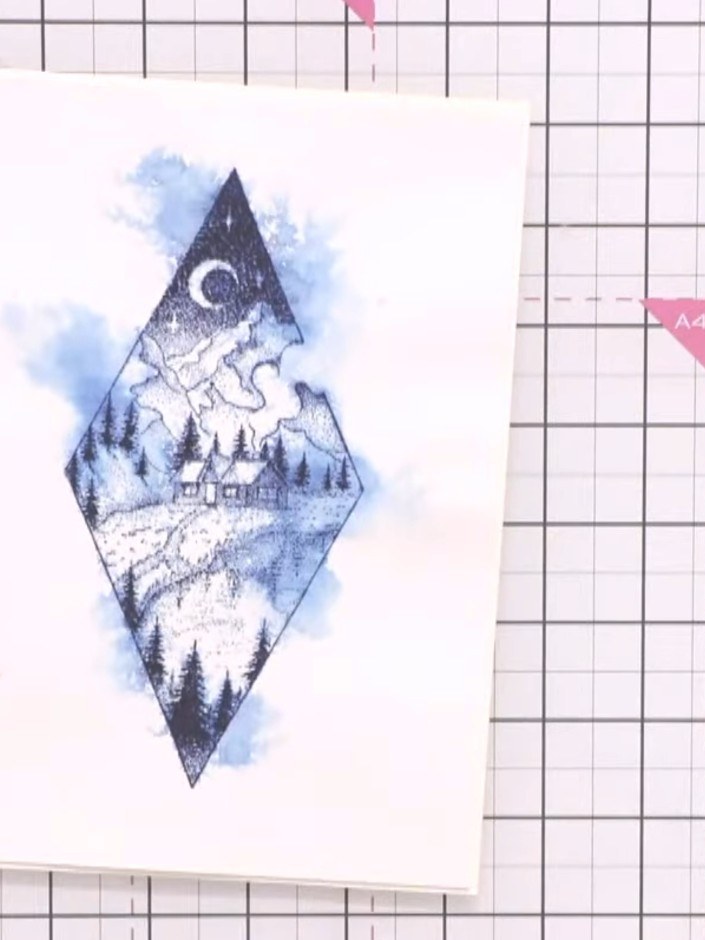
Create a stunning watercolour card featuring a large diamond-shaped winter village scene. The design uses a beautiful blue and white colour palette with a soft, atmospheric effect achieved by spraying water over stamped ink to create a dreamy bleed. The finished piece is mounted on white card with an aperture frame to showcase the delicate watercolour technique.
 1
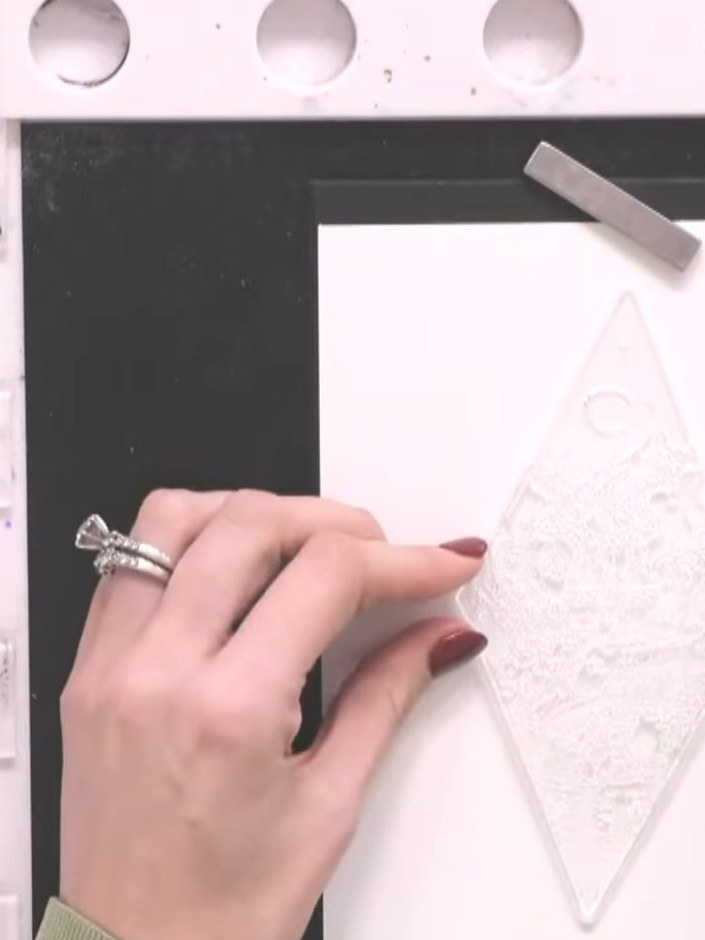
Place a large diamond-shaped waste-free die into your die-cutting machine with a piece of white watercolour card.
 2
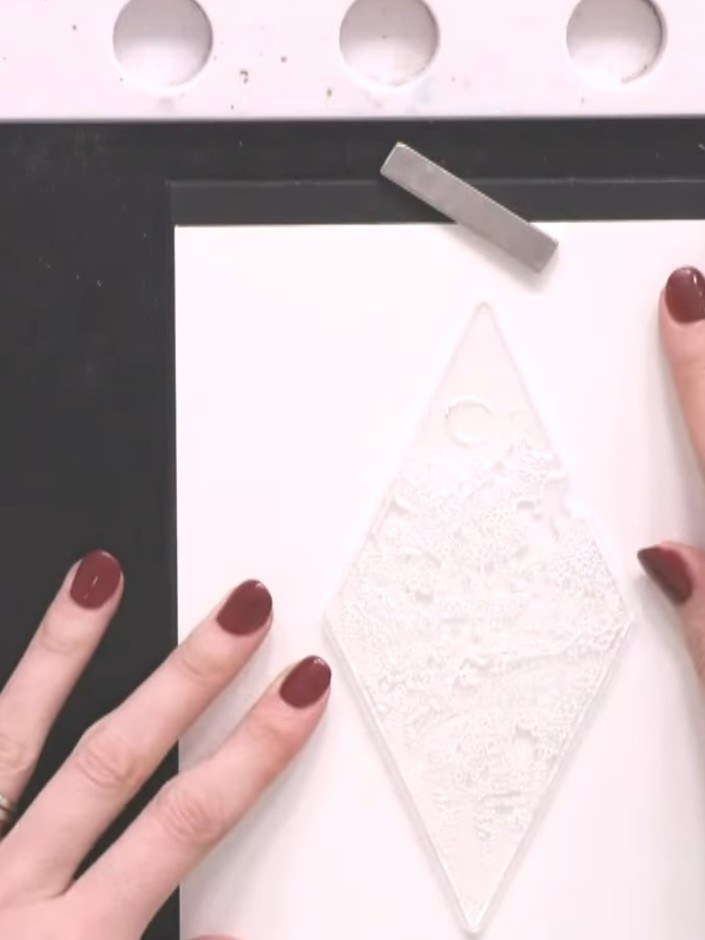
Lightly tap the ocean-coloured premium ink pad onto your diamond stamp, using minimal ink to create a subtle effect.
 3
Stamp the diamond design centrally onto the watercolour card using black ink. Position the stamp carefully to ensure it is centred on the card.
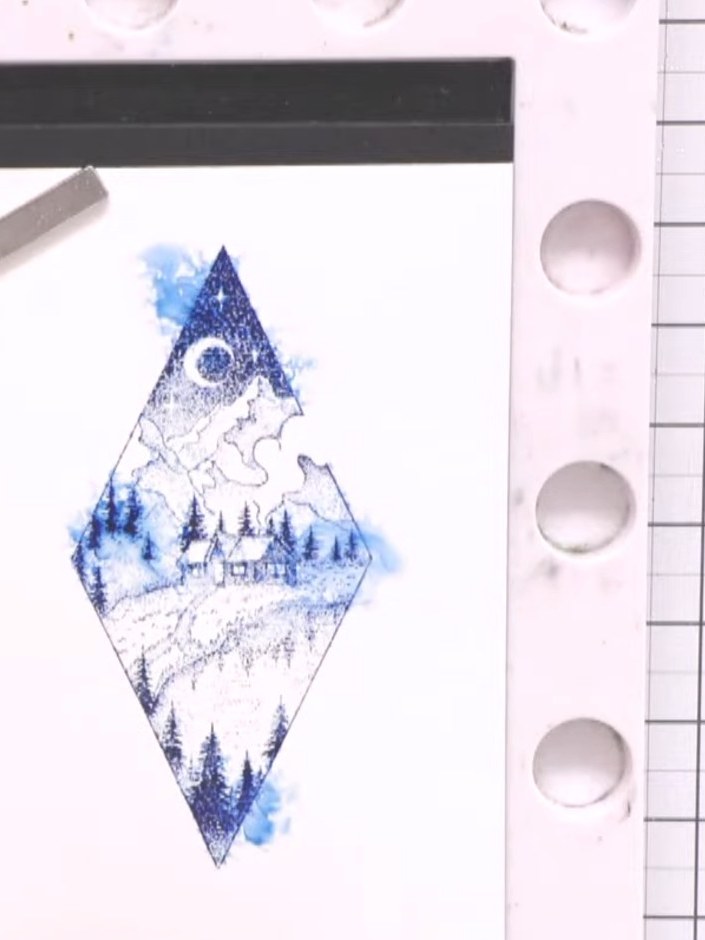 4
Spray the stamped design lightly with water using a water mister, allowing the blue ink to bleed and blend outward from the stamped areas to create a soft watercolour effect.
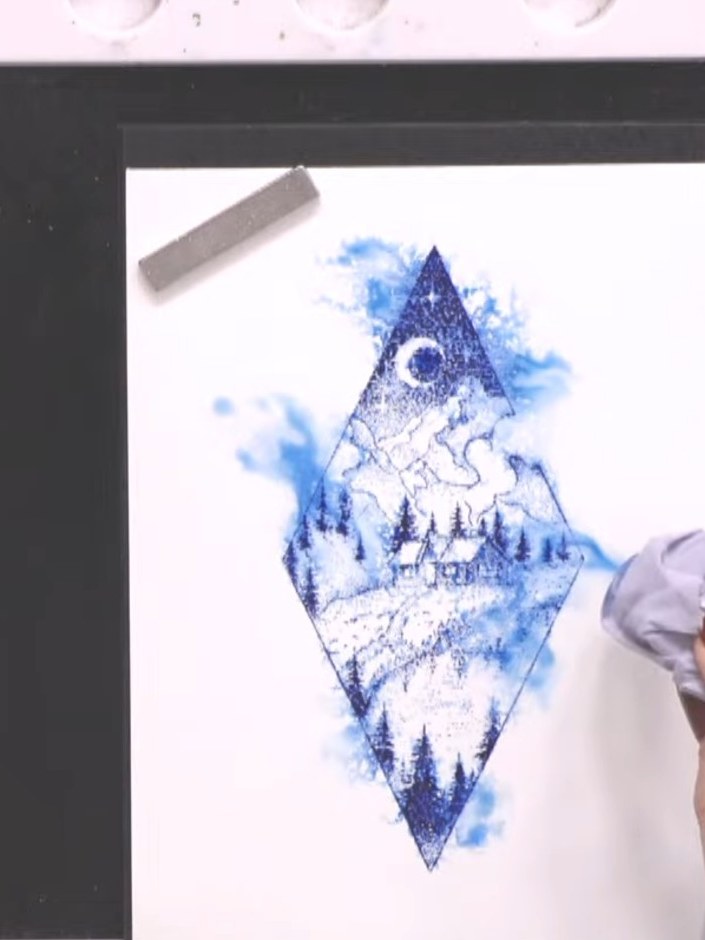 5
Use a piece of tissue to gently mop up any puddles of water or ink on the stamped image. This will help speed up the drying process.
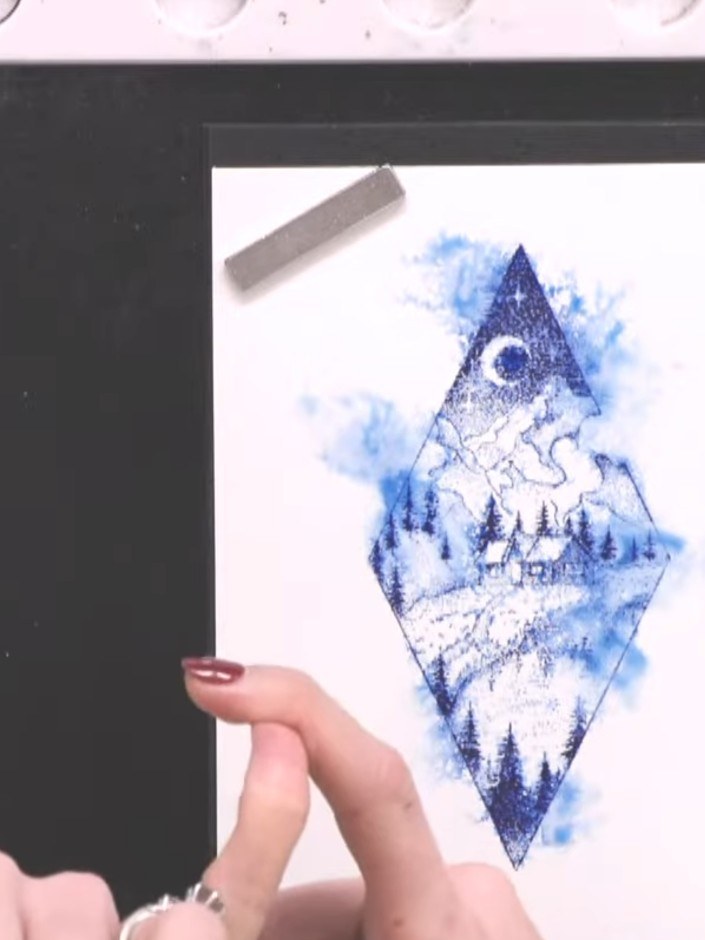 6
Heat-set the stamped card with a heat gun to dry the ink completely. Hold the heat gun above the card and move it gently over the surface until the watercolour ink is fully dry.
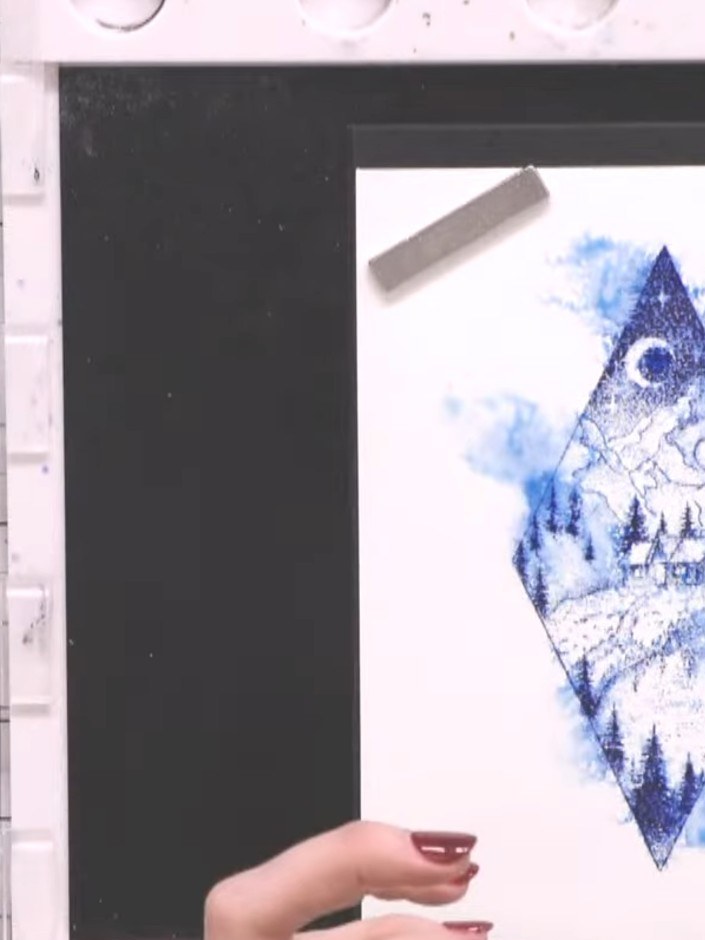 7
Re-stamp the diamond design over the same area using the ocean blue ink to bring back the detail and create a distressed edge effect.
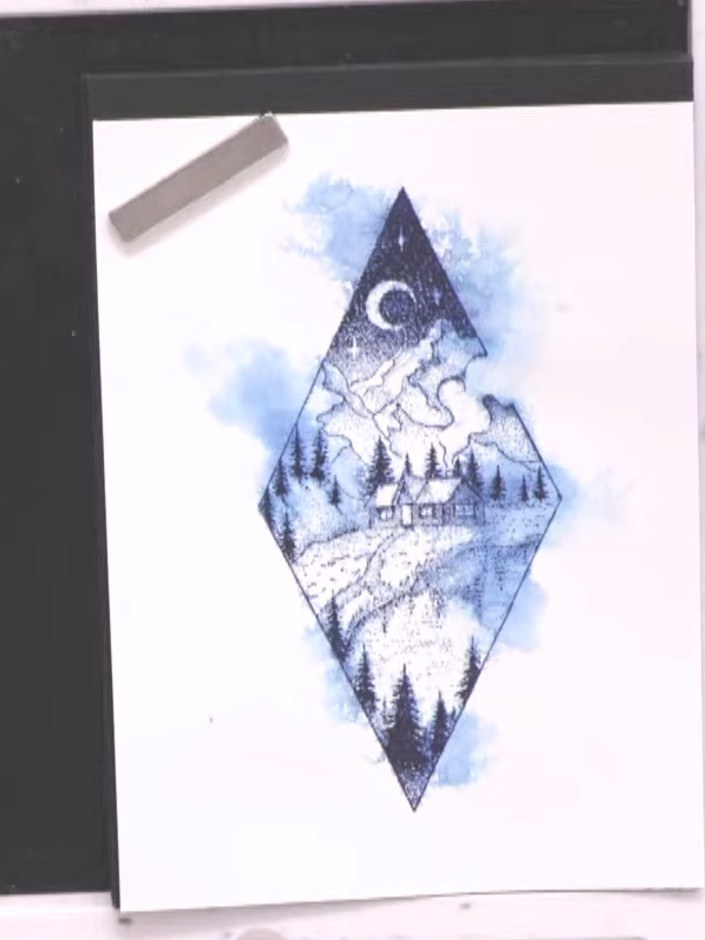 8
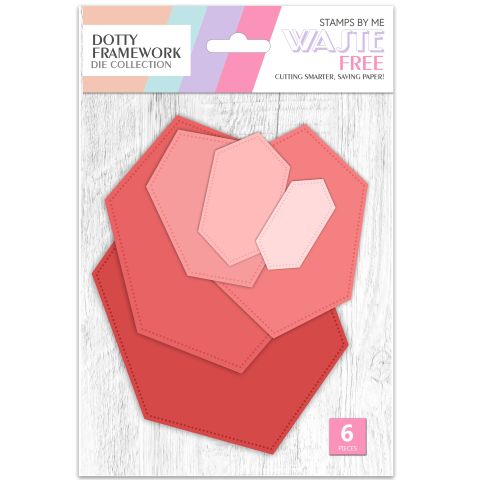
Cut an aperture in a second piece of watercolour card the same size as your first card using a diamond-shaped die from the Dotty Framework die set, positioning it to frame your stamped winter scene.
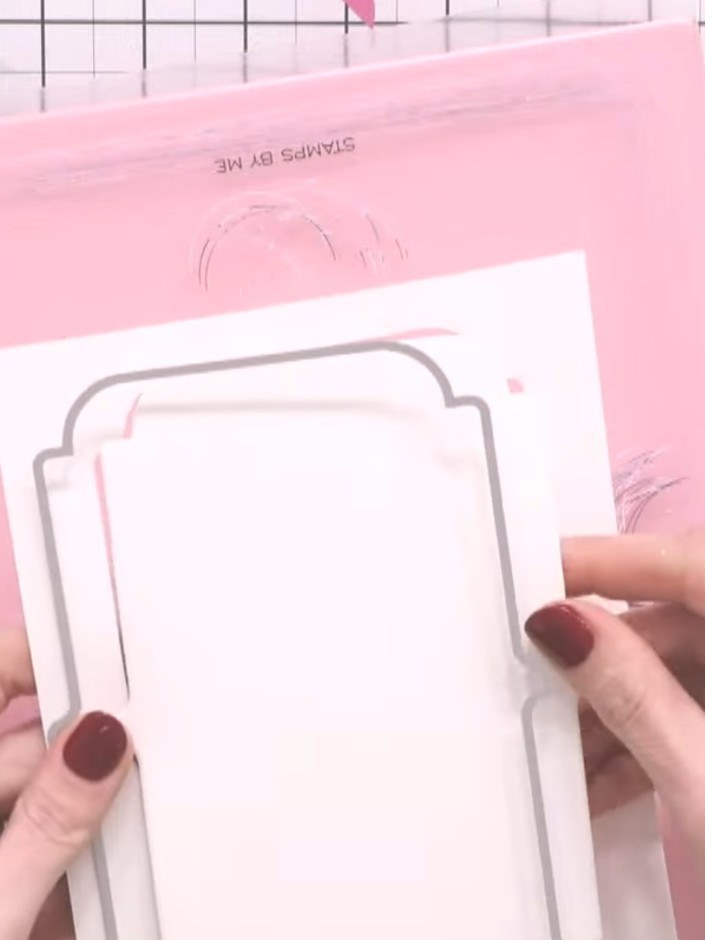 9
Adhere the stamped and sprayed diamond panel onto a cream card blank using adhesive.
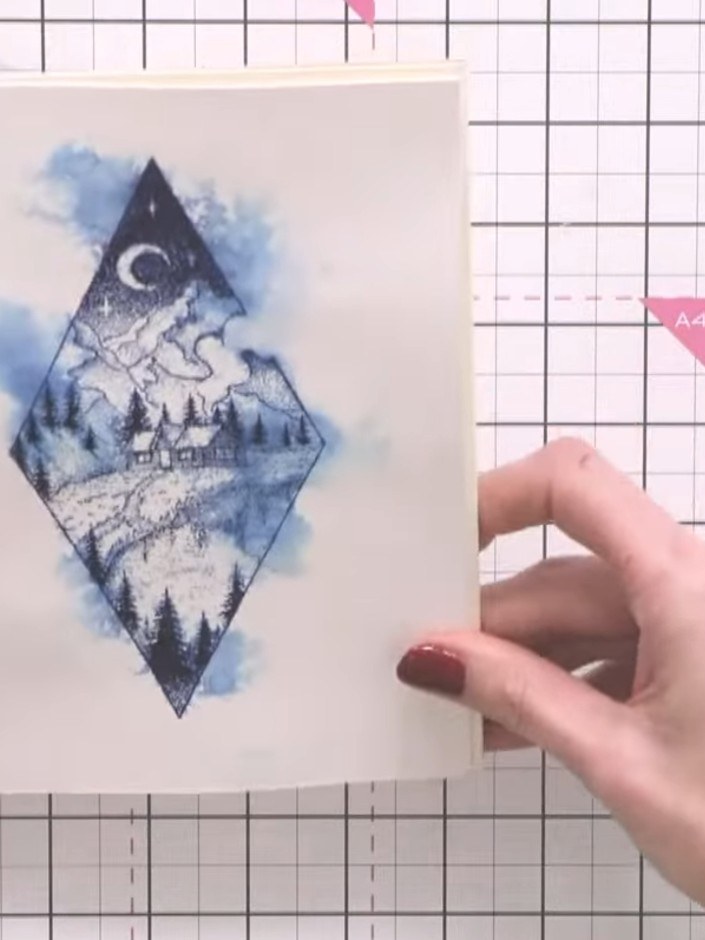 10
Layer the diamond aperture frame on top of the card using foam pads for dimension. Alternatively, adhere it flat if preferred.
Share your make with the Stamps By Me community - and keep this guide for next time.
Written up from the show itself. See every guide from our shows · free how-to guides · watch live on My Telly · the previous layout