Give your friends $10 off their first order!
Refer a FRIEND








Prices change straight away. Every language is our own translation, not Google.
A project from our live show We are celebrating 3 million LIKES! - Broadcast 12th November 2025 · 11/12/2025 · watch it from 47:15
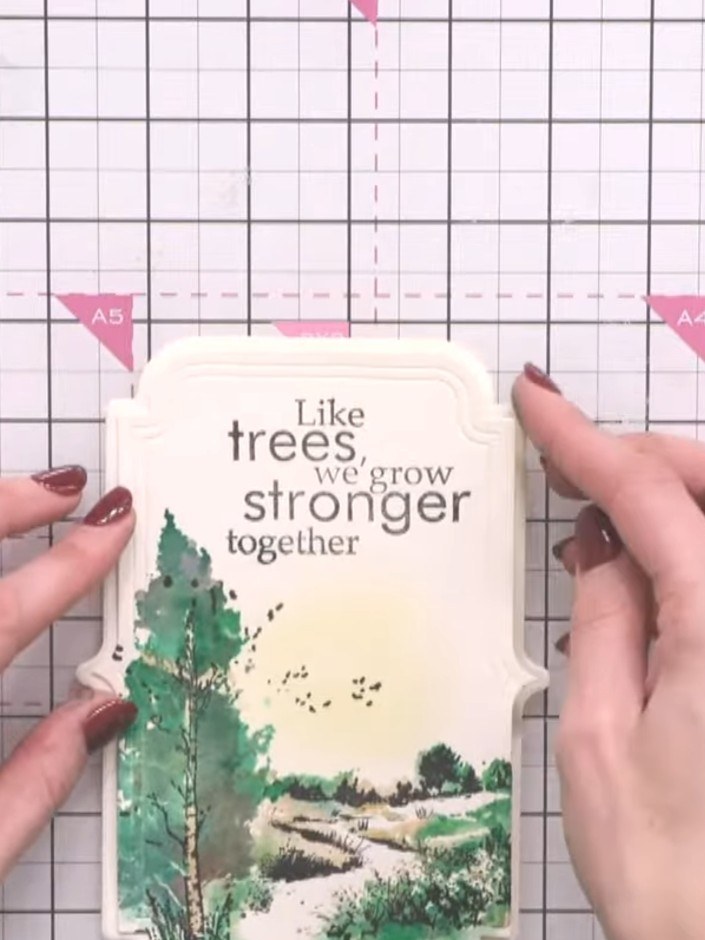
Create a stunning shaped easel card featuring a serene landscape scene with trees and a pathway. This elegant card uses die-cut borders and lamination techniques to build a dimensional scene in soft greens and natural tones. The card stands upright for display but folds flat for posting, making it both beautiful and practical.
 Stamps By Me Lamination Stamp Bundle - Beauty of Nature & Grow Stronger - 121125ASEE IT
 Stamps By Me Waste Free Die Set- Traditional Borders - 260424CSEE IT
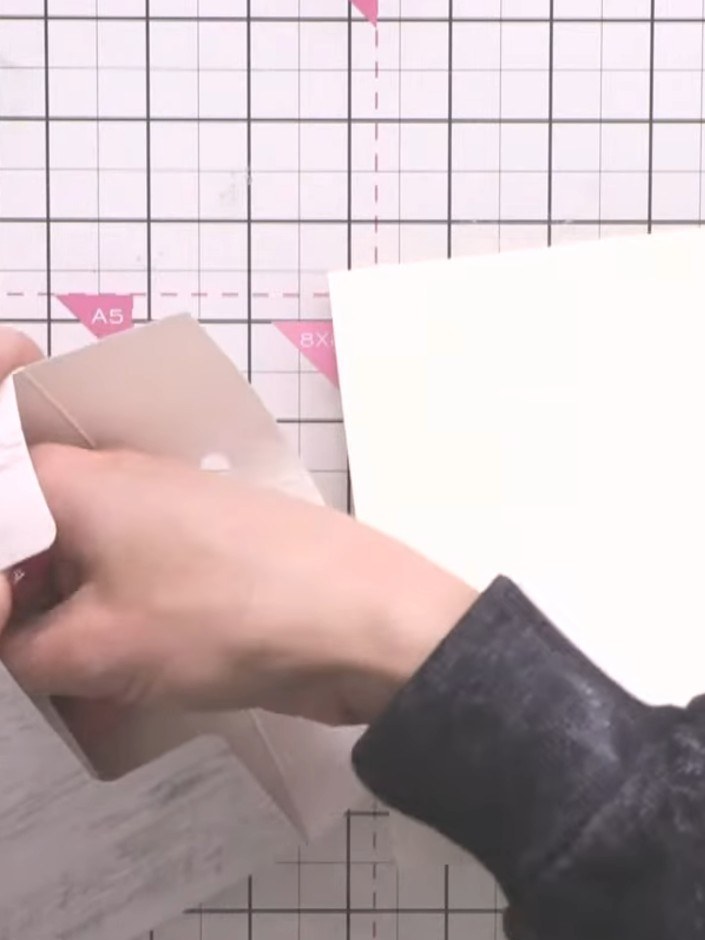
Start with a cream card blank that has a pre-scored fold line.
▶ watch this step (47:30)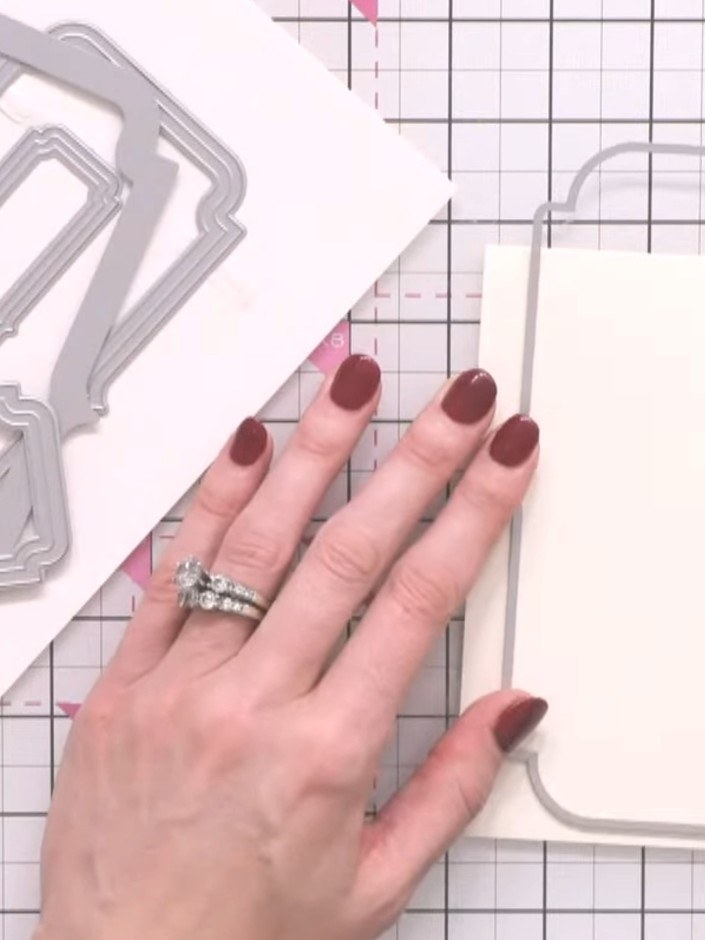
Position the largest die from the Traditional Borders set so it overhangs the score line slightly on your white card blank.
▶ watch this step (47:45)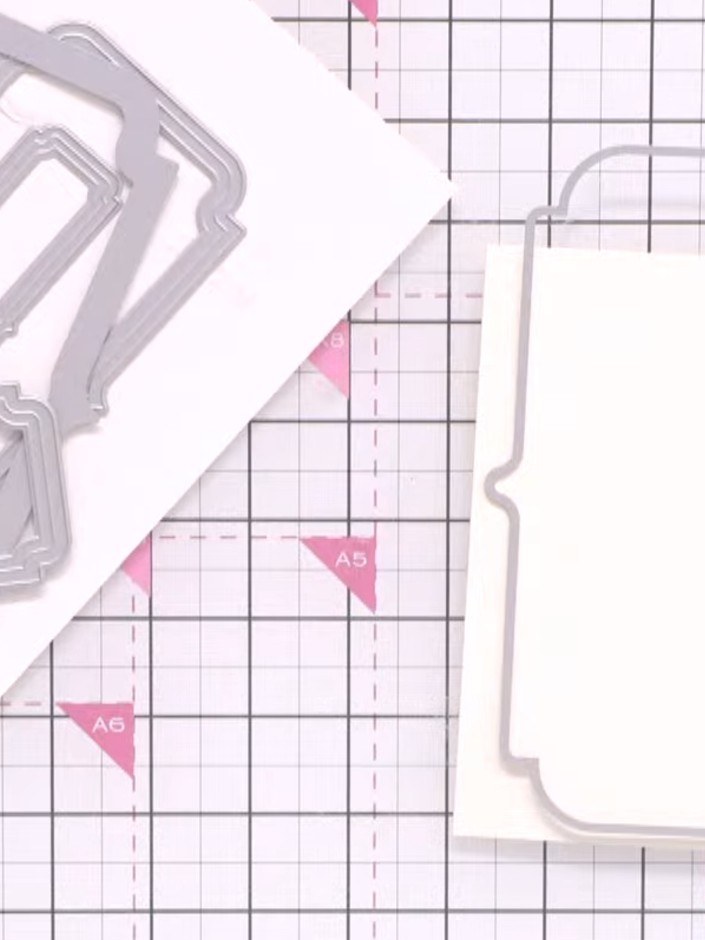
Place the shaped border die onto your white card base. Run the die and card through your die-cutting machine to cut the shaped border.
▶ watch this step (48:00)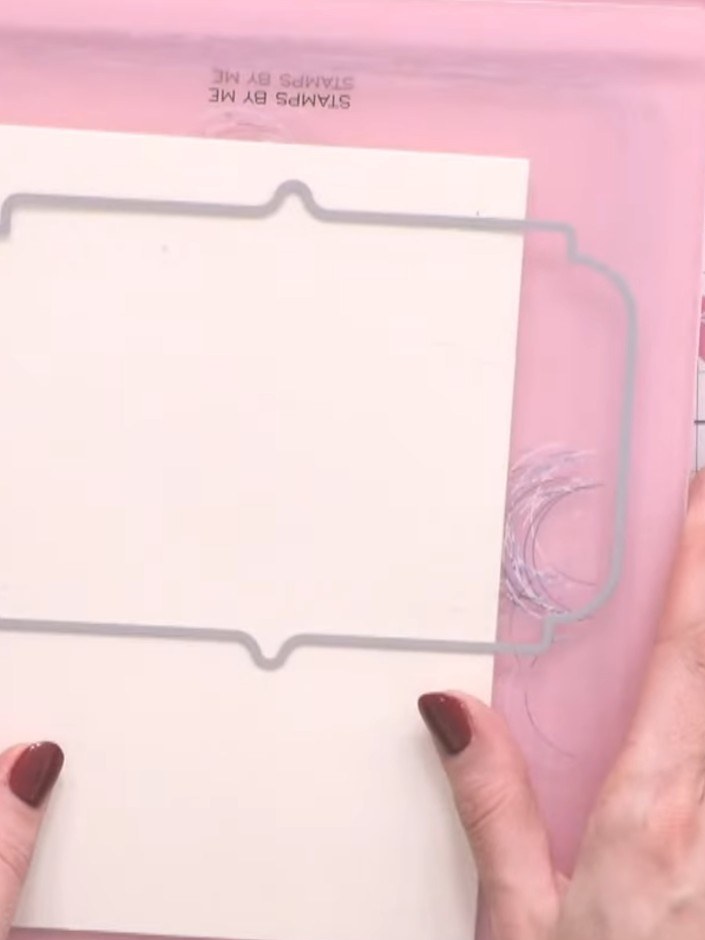
Carefully pop out the die-cut frame shape from the cream card panel. The frame has a decorative border edge and will be used as part of your easel card structure.
▶ watch this step (48:30)
Using the same die, cut a complete second shape from matching pink card stock. This will form the base of your shaped easel card.
▶ watch this step (48:45)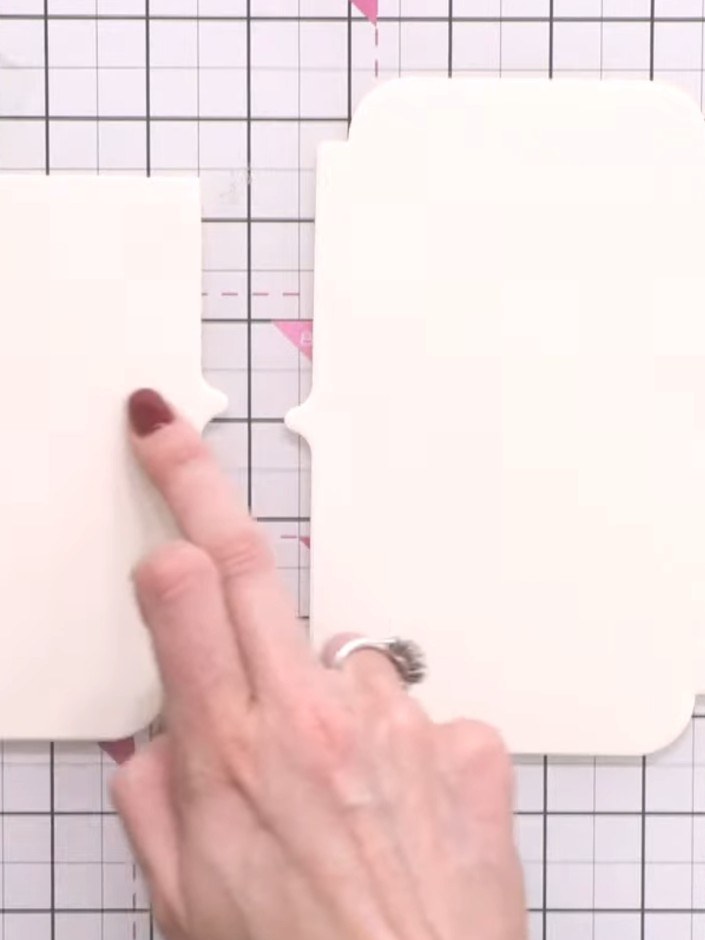
Score a horizontal line across the complete card shape just above the embossed ridges to create the easel hinge. Take your shaped card piece and prepare to create your lamination scene. Using the two-part stamp technique, first stamp the solid colour portion with greens and browns from the Beauty of Nature stamp set. Spray lightly with water to blend the colours together, then add the detail stamp over the top in black ink.
▶ watch this step (50:00)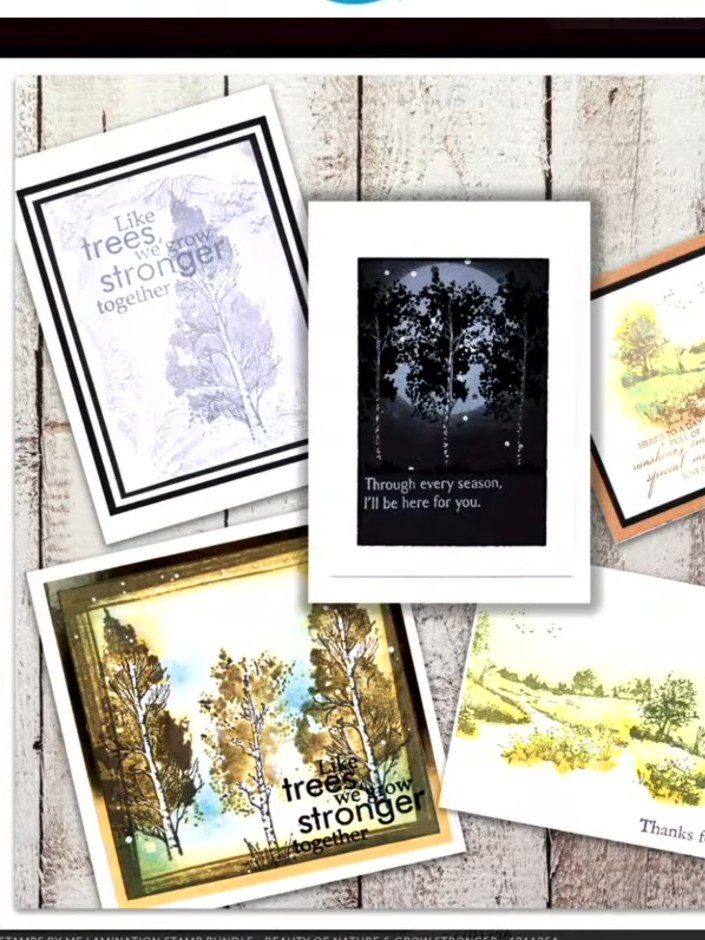
Stamp the pathway element in the lower portion of your design using brown and green inks to create a path effect.
▶ watch this step (55:00)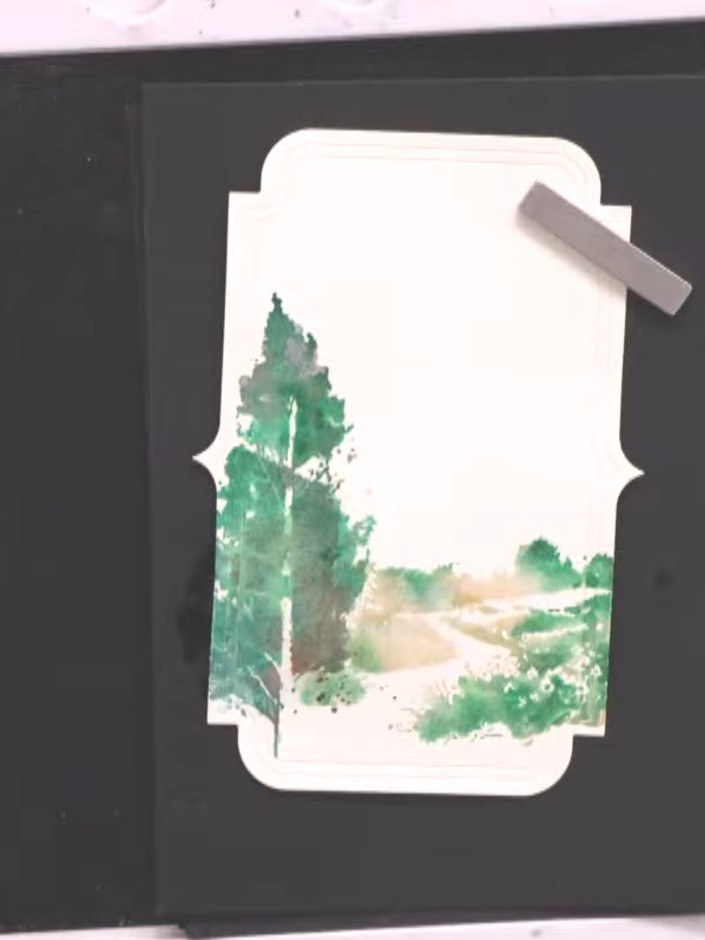
Use the tree detail stamp with black ink to add definition to the foliage. Stamp small birds onto the scene to complete the nature details.
▶ watch this step (1:01:00)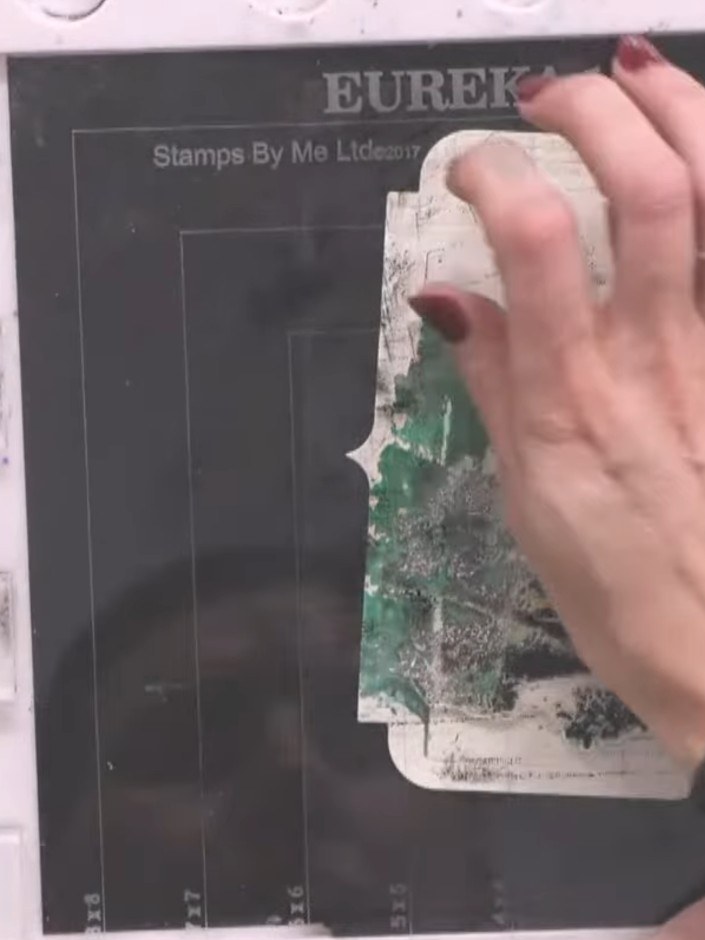
Using a damp brush, gently blend water over the stamped scene to soften edges and create watercolour effects. Work the water into the ink to add colour gradation and depth to the landscape elements.
▶ watch this step (1:02:00)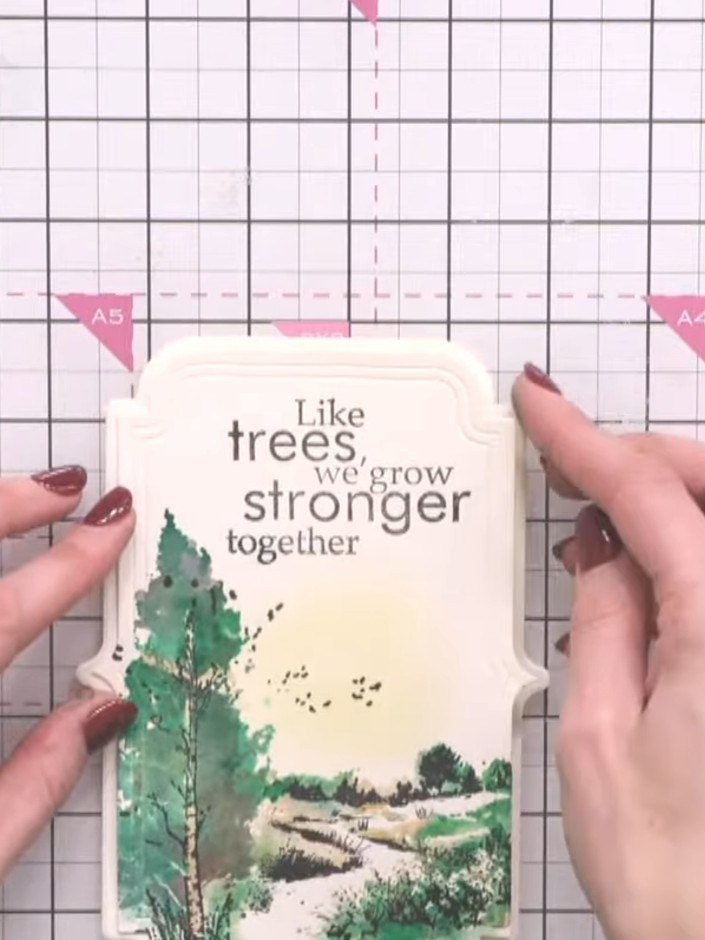
Adhere the decorated shaped topper to the front of your card base, positioning it below the score line so it stands upright when the card is displayed.
▶ watch this step (1:08:30)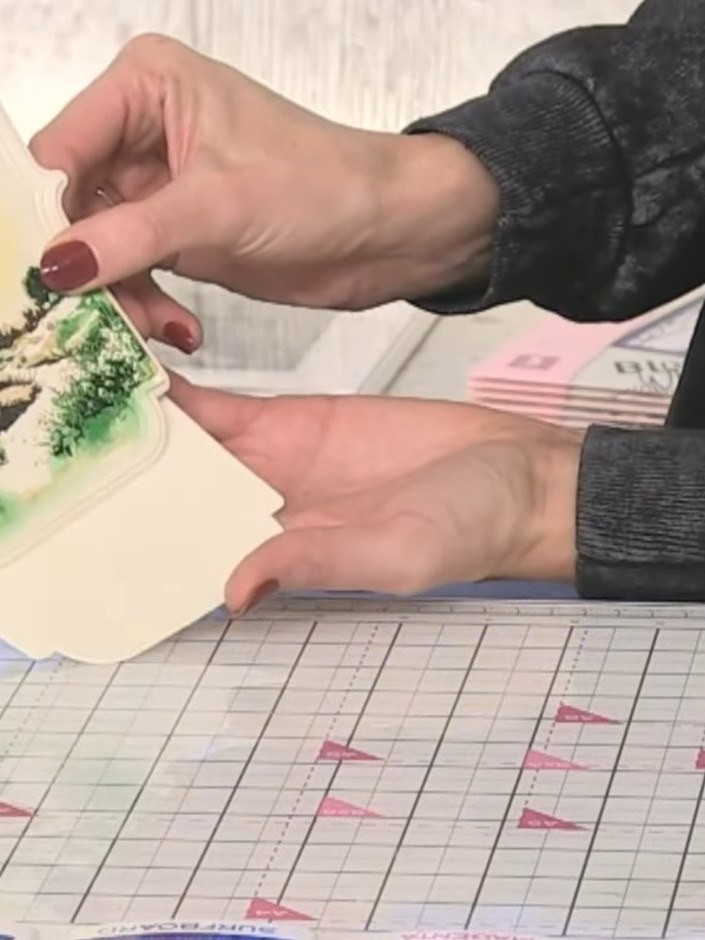
Fold the completed card flat for posting. When the recipient receives it, they can stand it upright on a surface to display the scenic easel card.
▶ watch this step (1:08:45)Written up from the show itself. See every guide from our shows · free how-to guides · watch live on My Telly


