Give your friends $10 off their first order!
Refer a FRIEND








A project from our live show ONE DAY SPECIAL - Join Toni for her brand new launch - Broadcast 21st November 2025 · 11/21/2025 · watch it from 43:30
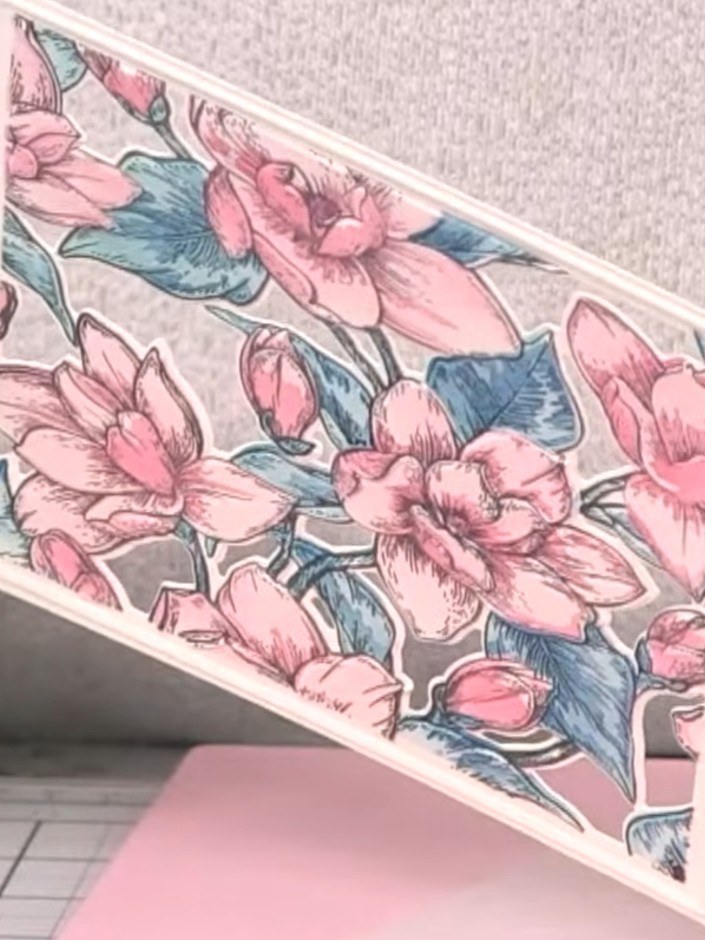
Create a stunning layered card featuring delicate magnolia flowers in soft pink and blue tones. Using the Quattro stencil system, you'll build up colour in four stages to achieve beautiful depth and dimension. The design is finished with die-cut shamfered edges and embossed details for an elegant, professional result.
 Stamps By Me Quattro D - Magnolia Garden - 200922ASEE IT
 Signature Watercolour 3D Embossing Folder - Geometric Leaves - 090622CSEE IT
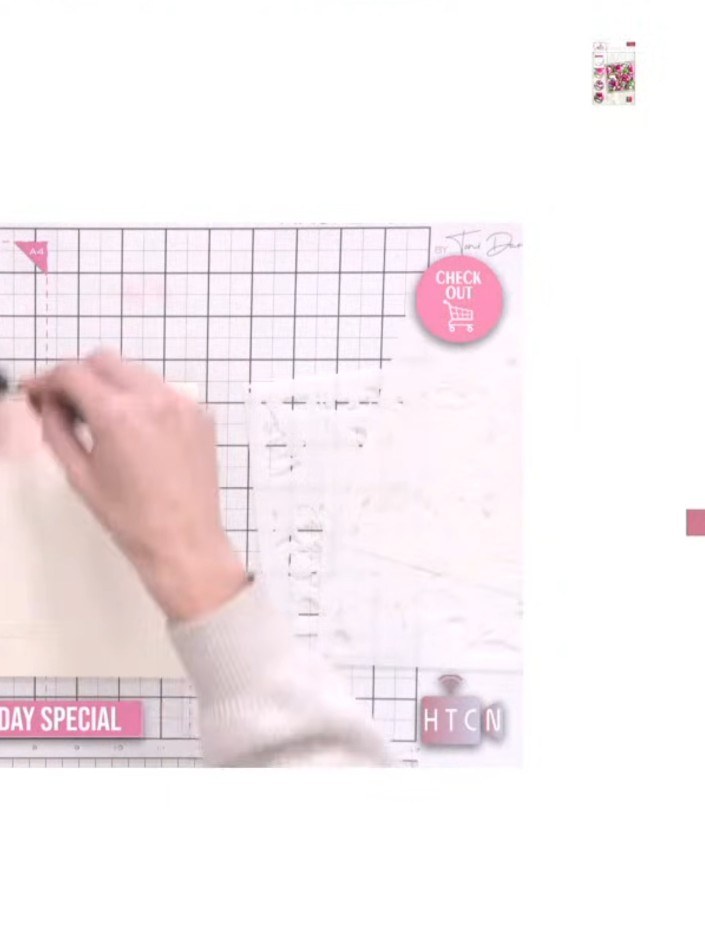
Position the first numbered stencil in the corner of your card stock, aligning it with the heart-shaped registration marks on the stencil guides.
▶ watch this step (46:30)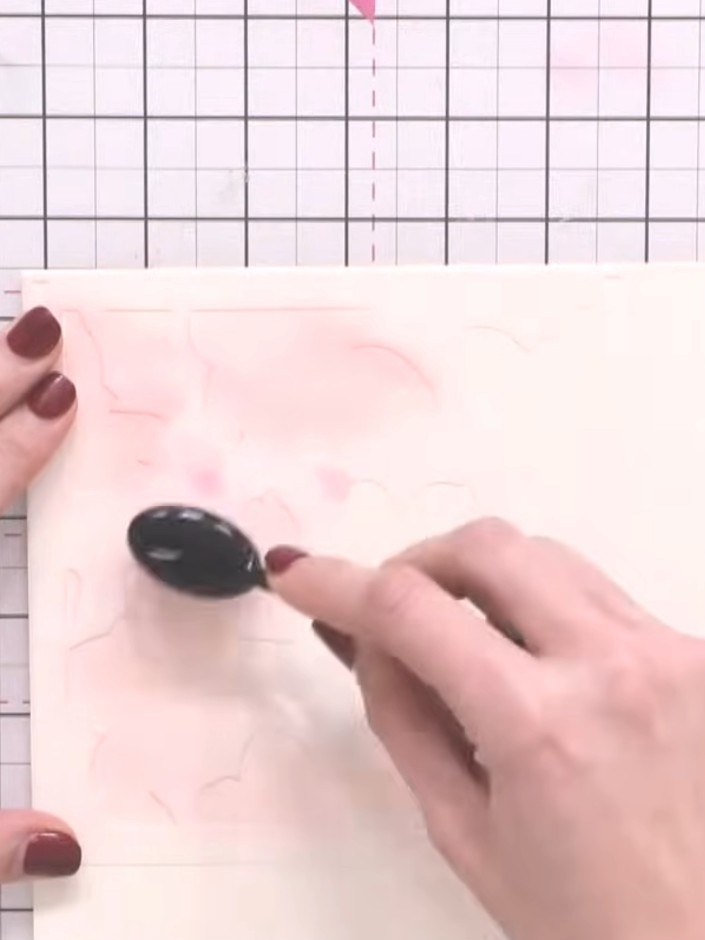
Position the first stencil from the Magnolia Garden set over your card panel. Using a blending tool, apply pink ink lightly through the stencil to begin colouring the magnolia petals.
▶ watch this step (46:45)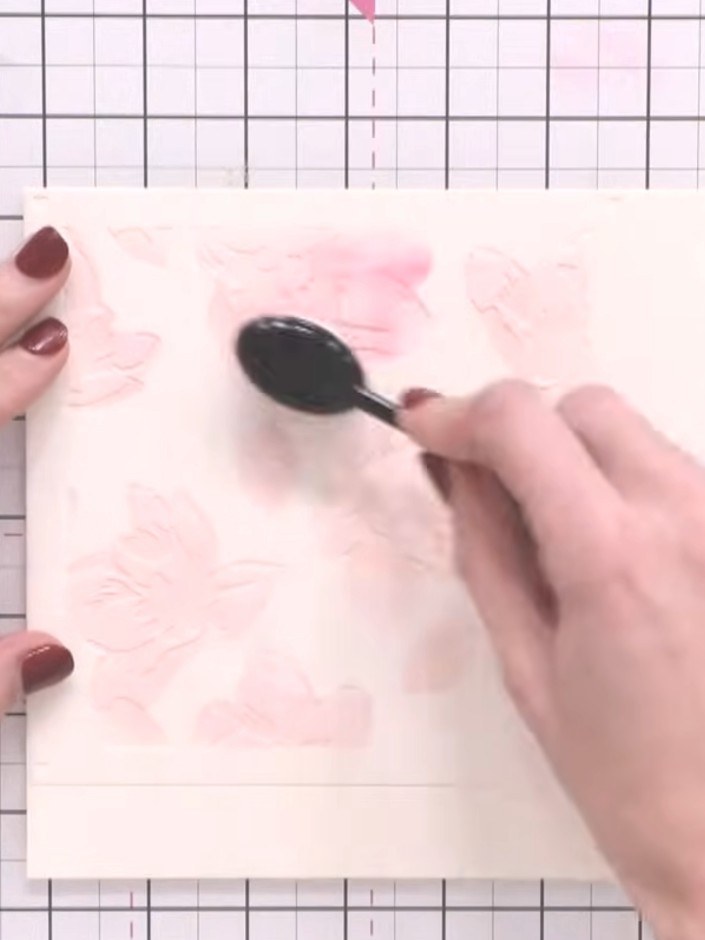
Position the second numbered stencil over the first, aligning with the heart guides. Apply a darker shade of pink ink using a blending tool.
▶ watch this step (47:30)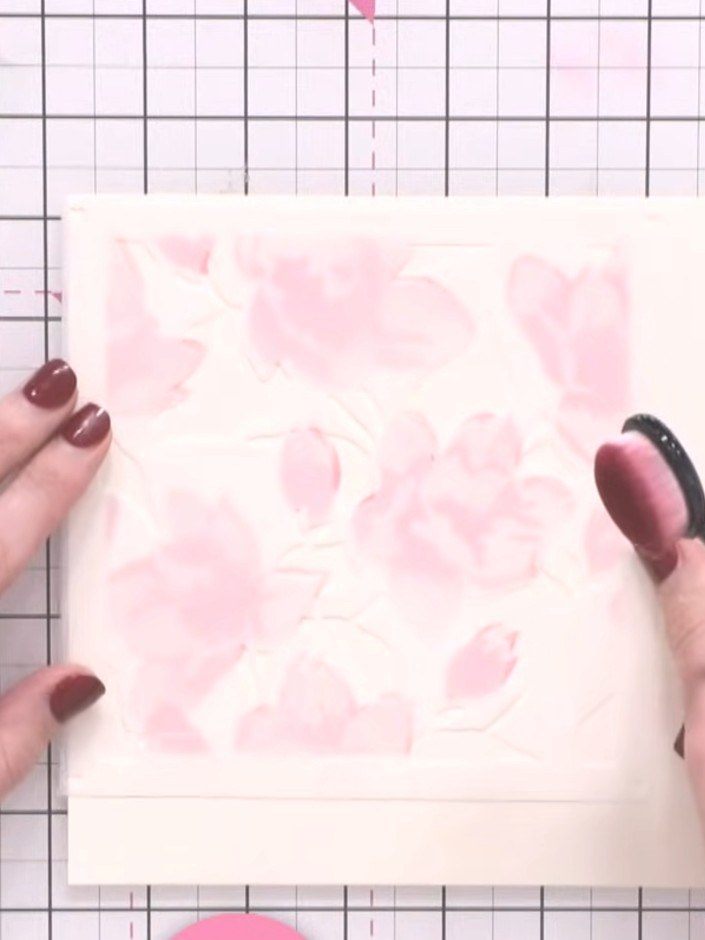
Position the third stencil over your card and apply pink ink to create the background floral elements. Use a blending tool to gently apply the ink through the stencil.
▶ watch this step (48:30)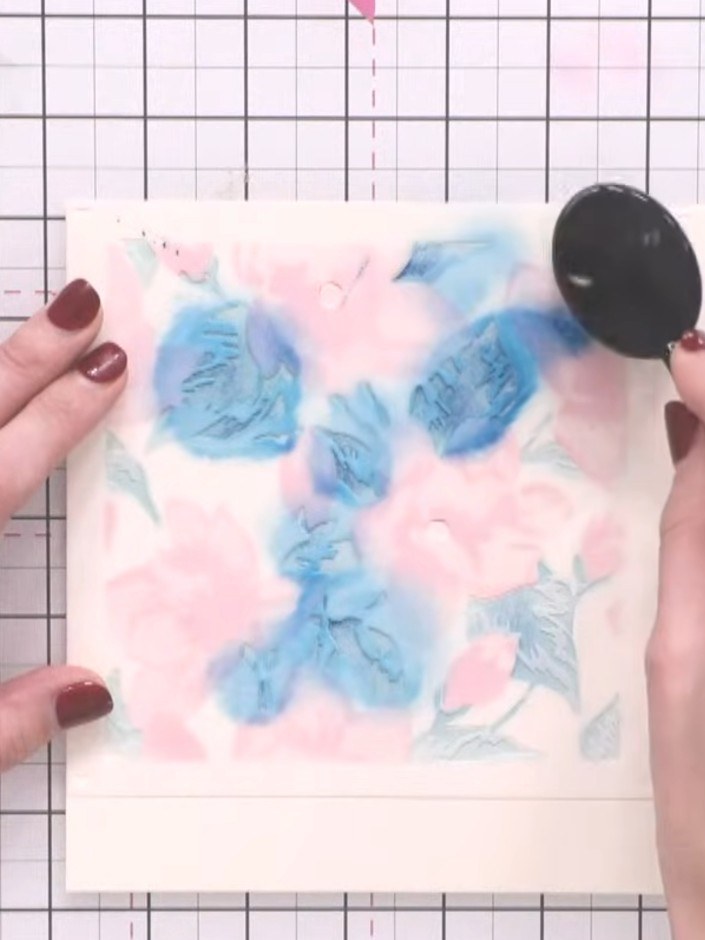
Position the fourth stencil over your card and apply purple ink using a blending tool to add the final details and flower centres.
▶ watch this step (49:45)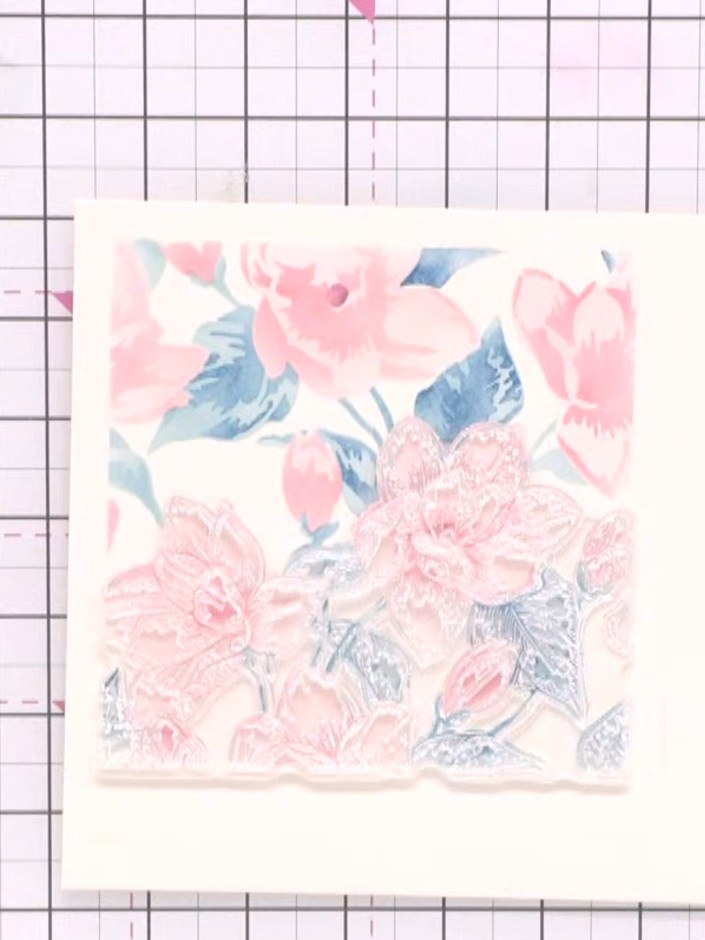
Stamp the border detail from the two-part stamp set using black ink, carefully lining up each section separately to create a continuous border around your card.
▶ watch this step (51:00)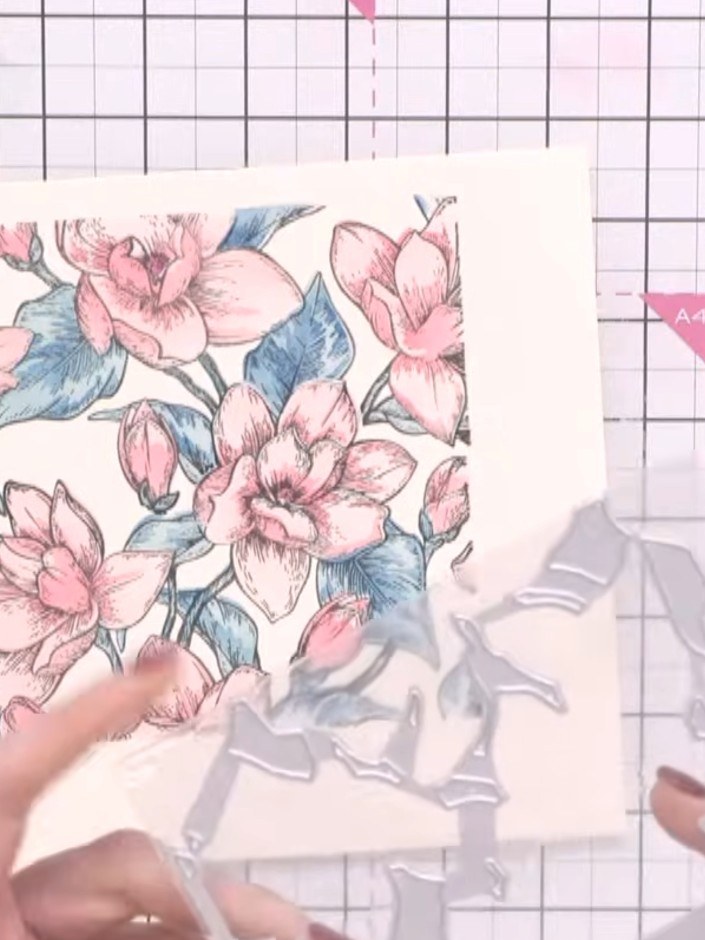
Run the die-cut through your machine to pop out all the cream background pieces, keeping the plate connected to avoid cutting through completely.
▶ watch this step (54:00)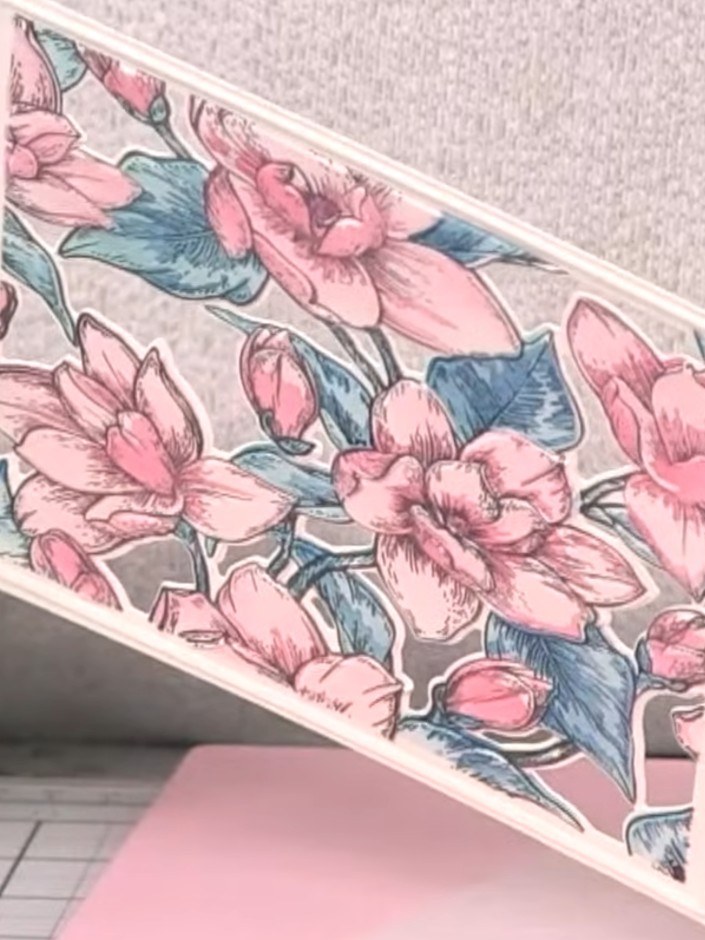
Using a guillotine or trimmer, carefully trim around the chamfered edge of the embossed panel to reveal the full embossed detail and create a neat finished edge.
▶ watch this step (59:00)Written up from the show itself. See every guide from our shows · free how-to guides · watch live on My Telly