Give your friends $10 off their first order!
Refer a FRIEND








Prices change straight away. Every language is our own translation, not Google.
A project from our live show MY PODCAST - Catch my latest updates broadcast 1st December 2025 · 12/01/2025
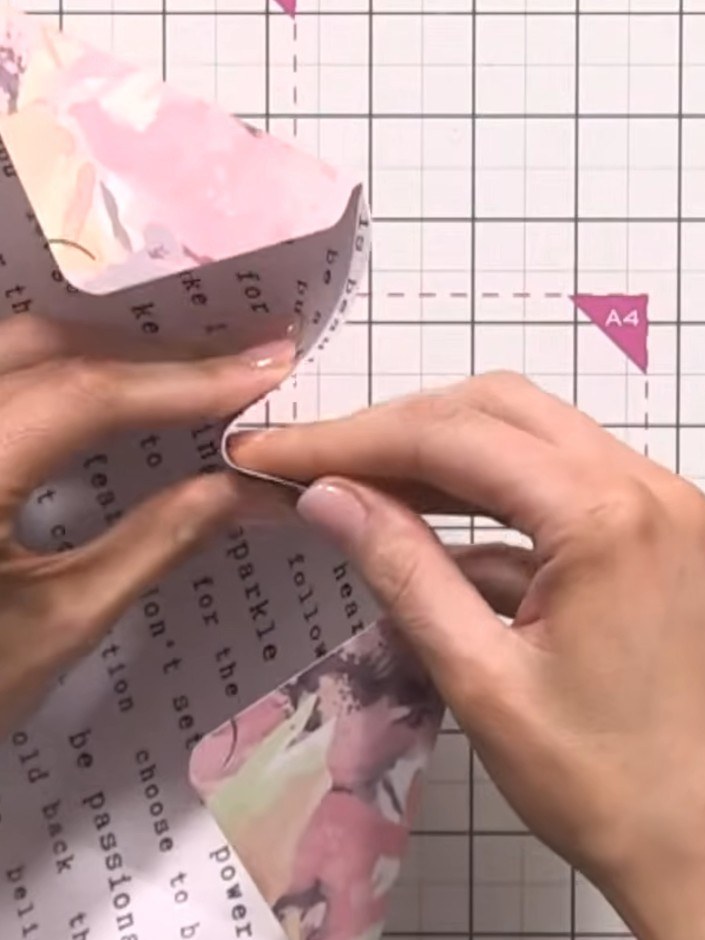
Create an elegant 4x4x4 inch gift box from a single sheet of 12x12 cardstock, perfect for presenting small gifts like ties, socks, cosmetics or perfume bottles. This clever design features a hook and eye closure system that locks securely without any glue required. The box can be customised with patterned papers in pink, purple and grey tones for a sophisticated finish.
 1
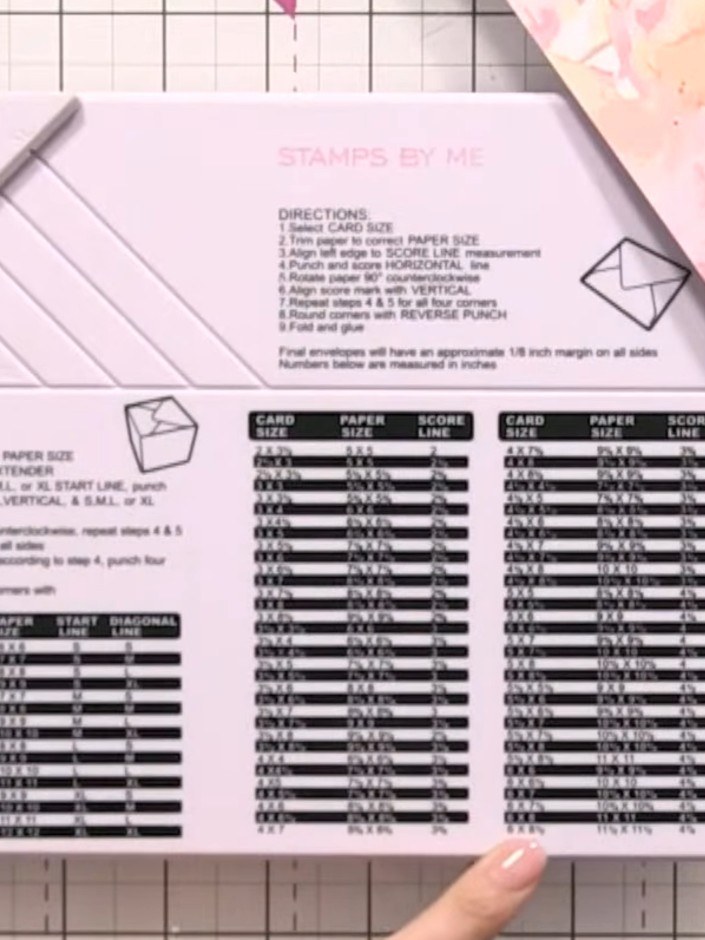
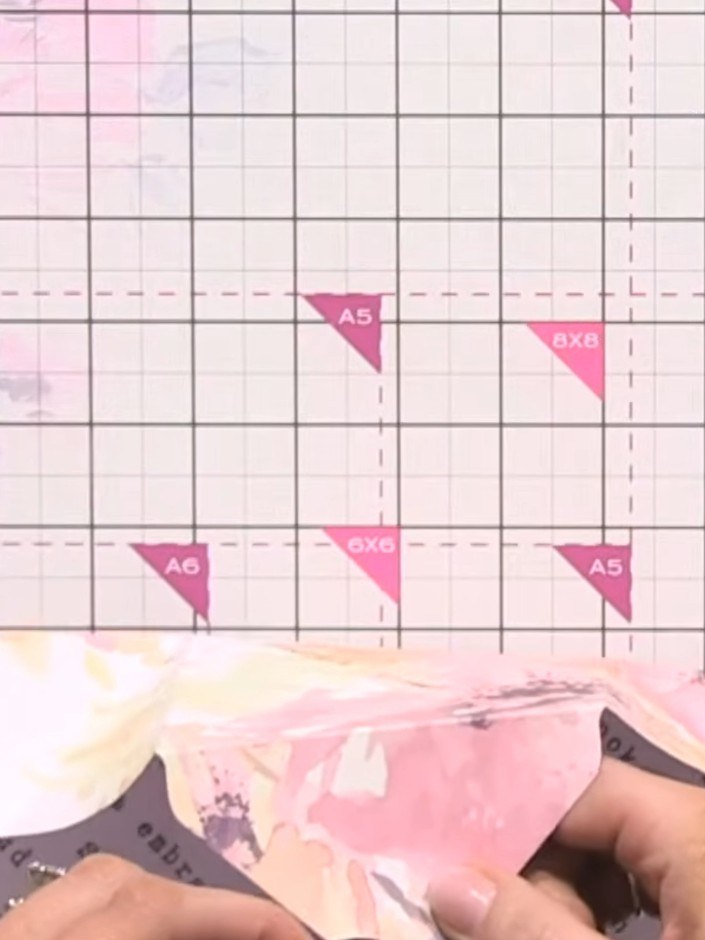
Take a 12x12 sheet of cardstock and position it on your envelope board, aligning it to the XL line and the diagonal line marked XL.
 2
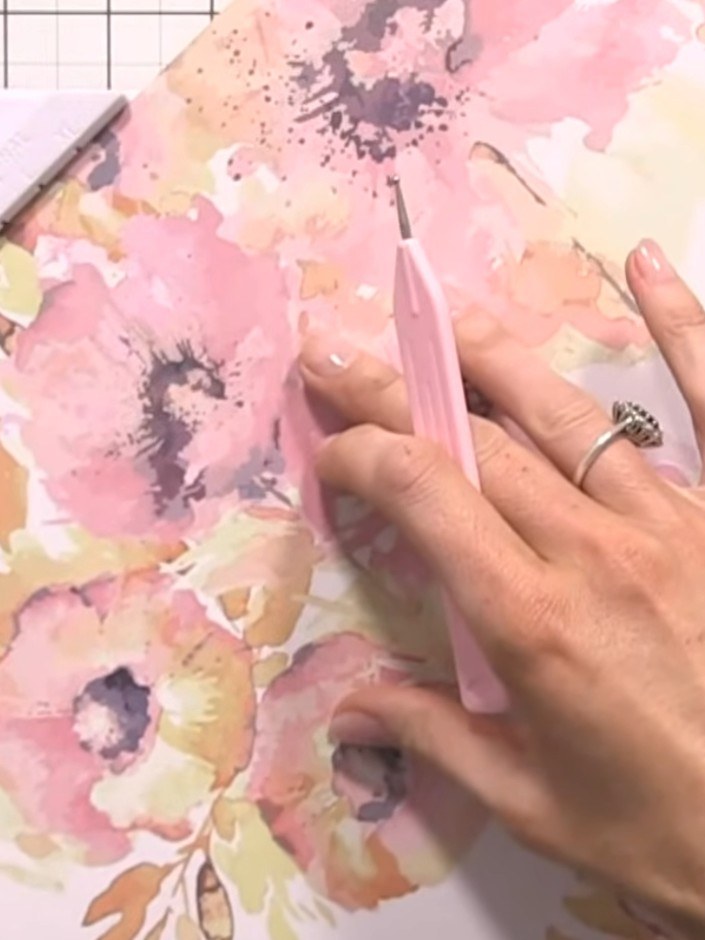
Score down the first line on your patterned paper. Then use the XL punch to create holes along the marked line.
 3
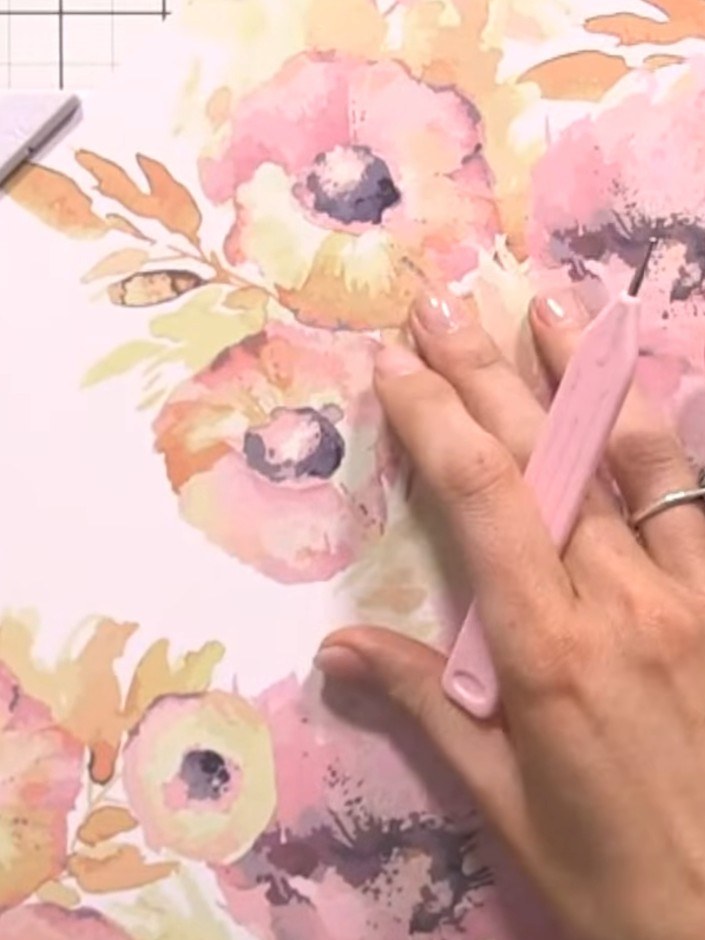
Continue scoring and folding down the decorative paper sheet. Repeat the scoring and folding process all the way across the sheet horizontally to create evenly spaced folds.
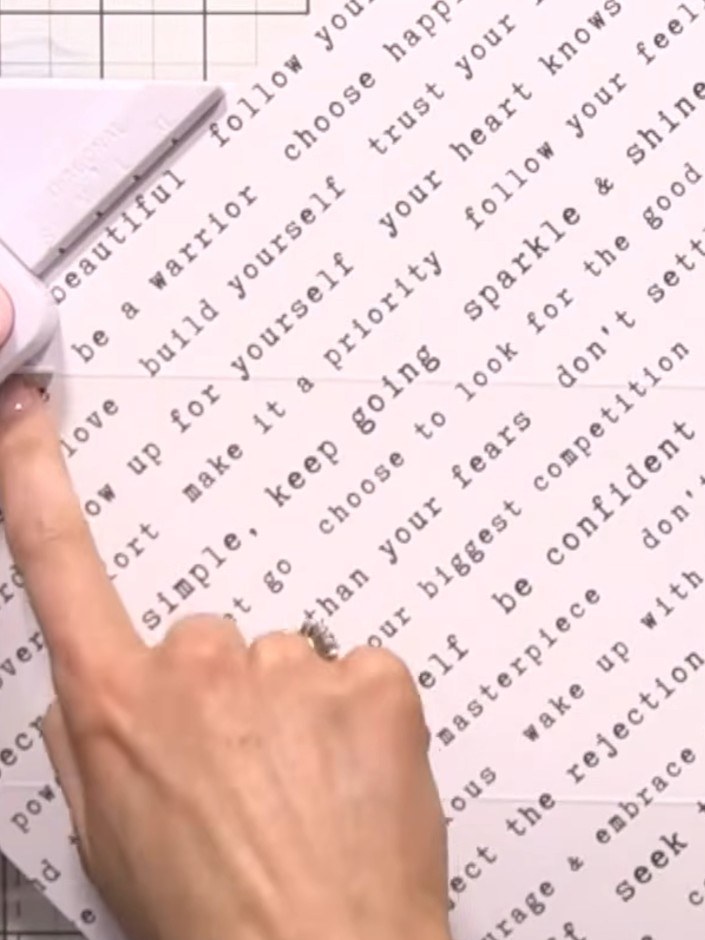 4
Locate the small triangular recesses on the decorative paper sheet and punch these out using your fingers to create the locking mechanism for the box closure.
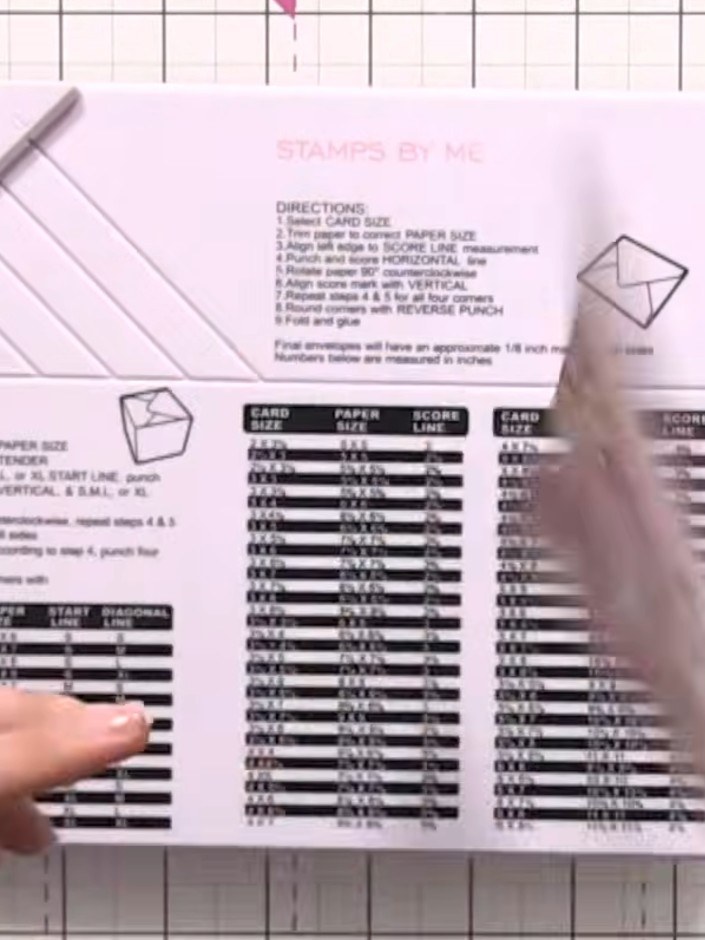 5
Turn the sheet over and line up the score lines with the envelope punch board. Punch again to complete the recesses on the reverse side.
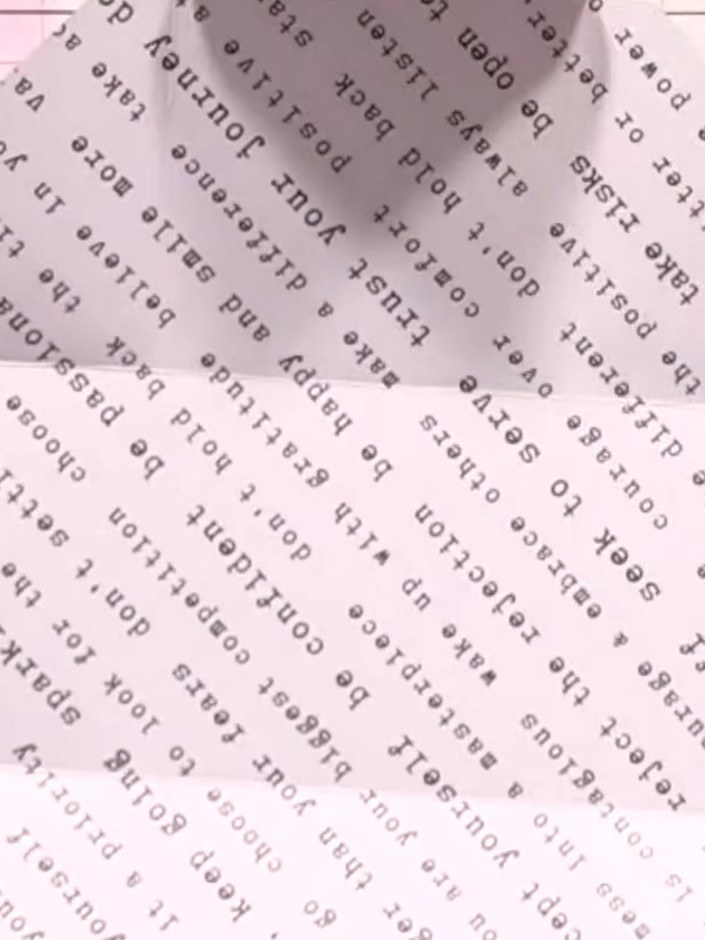 6
Gently pinch up the sides of the decorative paper sheet to help it come together and form the shape of the box more easily.
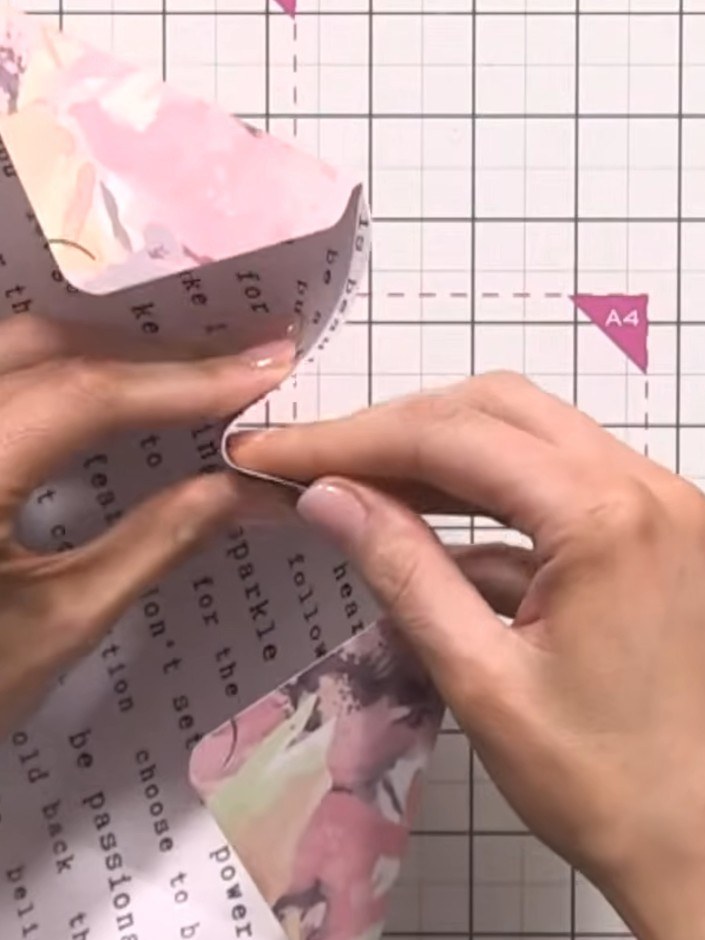 7
Bring up all four sides of the box. Hook the eye closure system together by inserting the claw clasp from one side into the corresponding slot on the adjacent side to secure the box.
 8
Give each corner of the box a good pinch and score the folds to ensure the box holds its shape properly.
Share your make with the Stamps By Me community - and keep this guide for next time.
Written up from the show itself. See every guide from our shows · free how-to guides · watch live on My Telly · the previous layout


